Creating Receipts
Receipts are used to indicate the successful receipt of a shipment from a vendor, as well as the items and item quantities received.
Complete the following steps to create a receipt:
L og in to the ONE system.
Navigate to Menus/Favs > Warehouse Mgmt > Receipts.
In the NEO UI, users can click on the Menus/Favs icon on the left sidebar and type in the name of the screen in the menu search bar. For more information, see "Using the Menu Search Bar."
The Receipts screen appears.Select the site where the receipt is to be created.
The Receipt Lists Report populates in the right pane.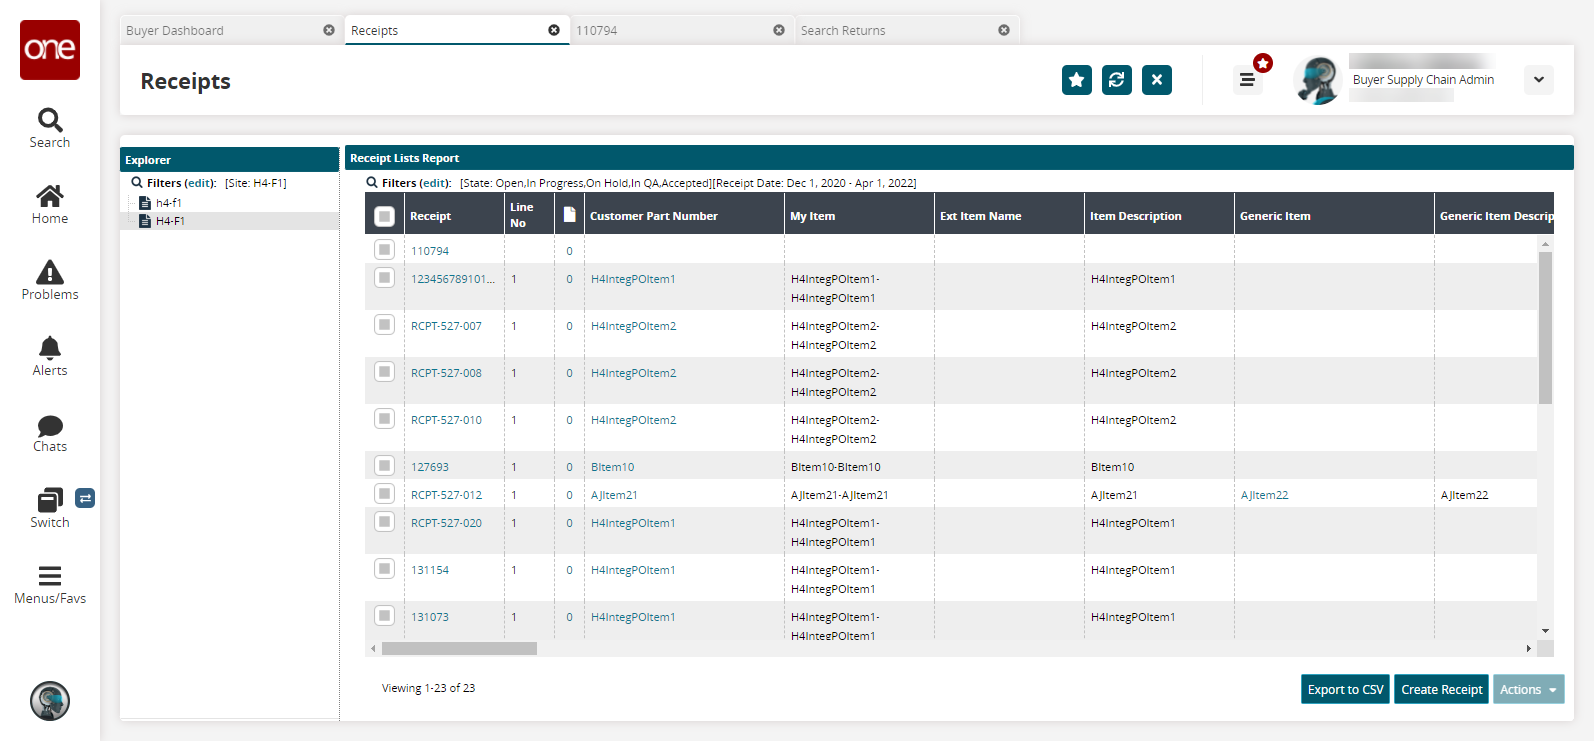
Click the Create Receipt button.
The Create Receipt screen appears.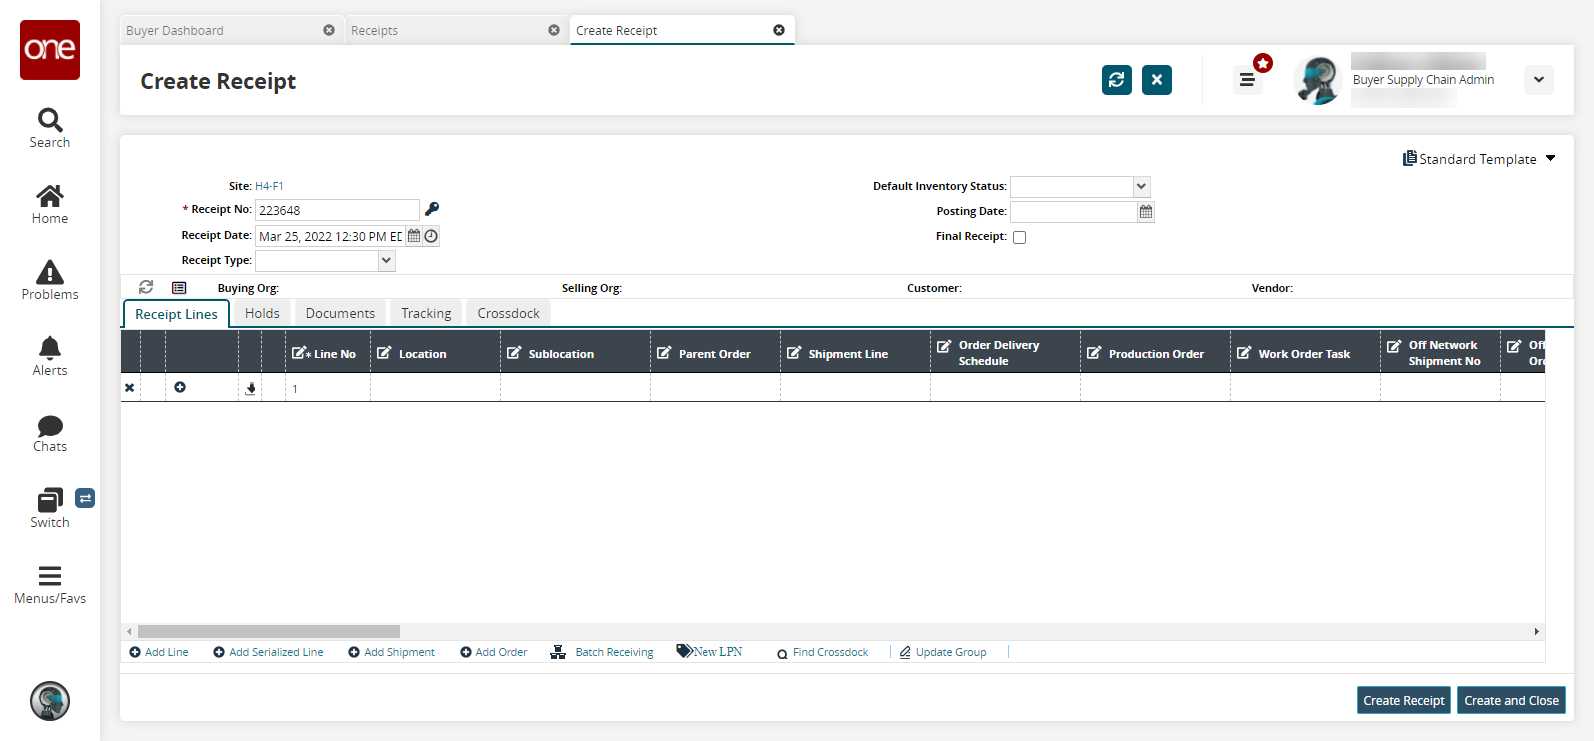
Enter values for fields described in the table below. Fields with an asterisk ( * ) are required.
Field
Description
* Receipt No
This field is automatically populated with a system-generated receipt number. If you would like to generate a new number, click the key icon to the right of the field.
Receipt Date
This field is automatically populated with the current date and time. You can change the field as necessary. Click the calendar icon to select a new date.
Receipt Type
Select a receipt type from the dropdown menu.
Default Inventory Status
Select a default inventory status from the dropdown menu.
Posting Date
Click the calendar icon to select a posting date.
Final Receipt
Select this checkbox if this receipt is a final receipt.
Click the Add Line or Add Serialized Line link if you require more lines on the receipt.
A new line is added.Fill out the line fields as needed.
If you need to enter negative item quantities on a receipt, click the Negative Receipt
 icon located in each line that contains a negative quantity. You may need to do this if you did not receive all of an order that was previously marked as received.
Click Create Receipt.
A success message appears and the receipt moves to the Open state.