Creating Sales Contractsa
The Vendor Sales Rep (VSR) role can create a new sales contract.
Complete the following steps to create sales contracts:
L og in to the ONE system.
Click Menus/Favs > Contract Mgmt > New Sales Contract. In the NEO UI, users can click on the Menus/Favs icon on the left sidebar and type in the name of the screen in the menu search bar. For more information, see "Using the Menu Search Bar."
The New Sales Contract screen displays.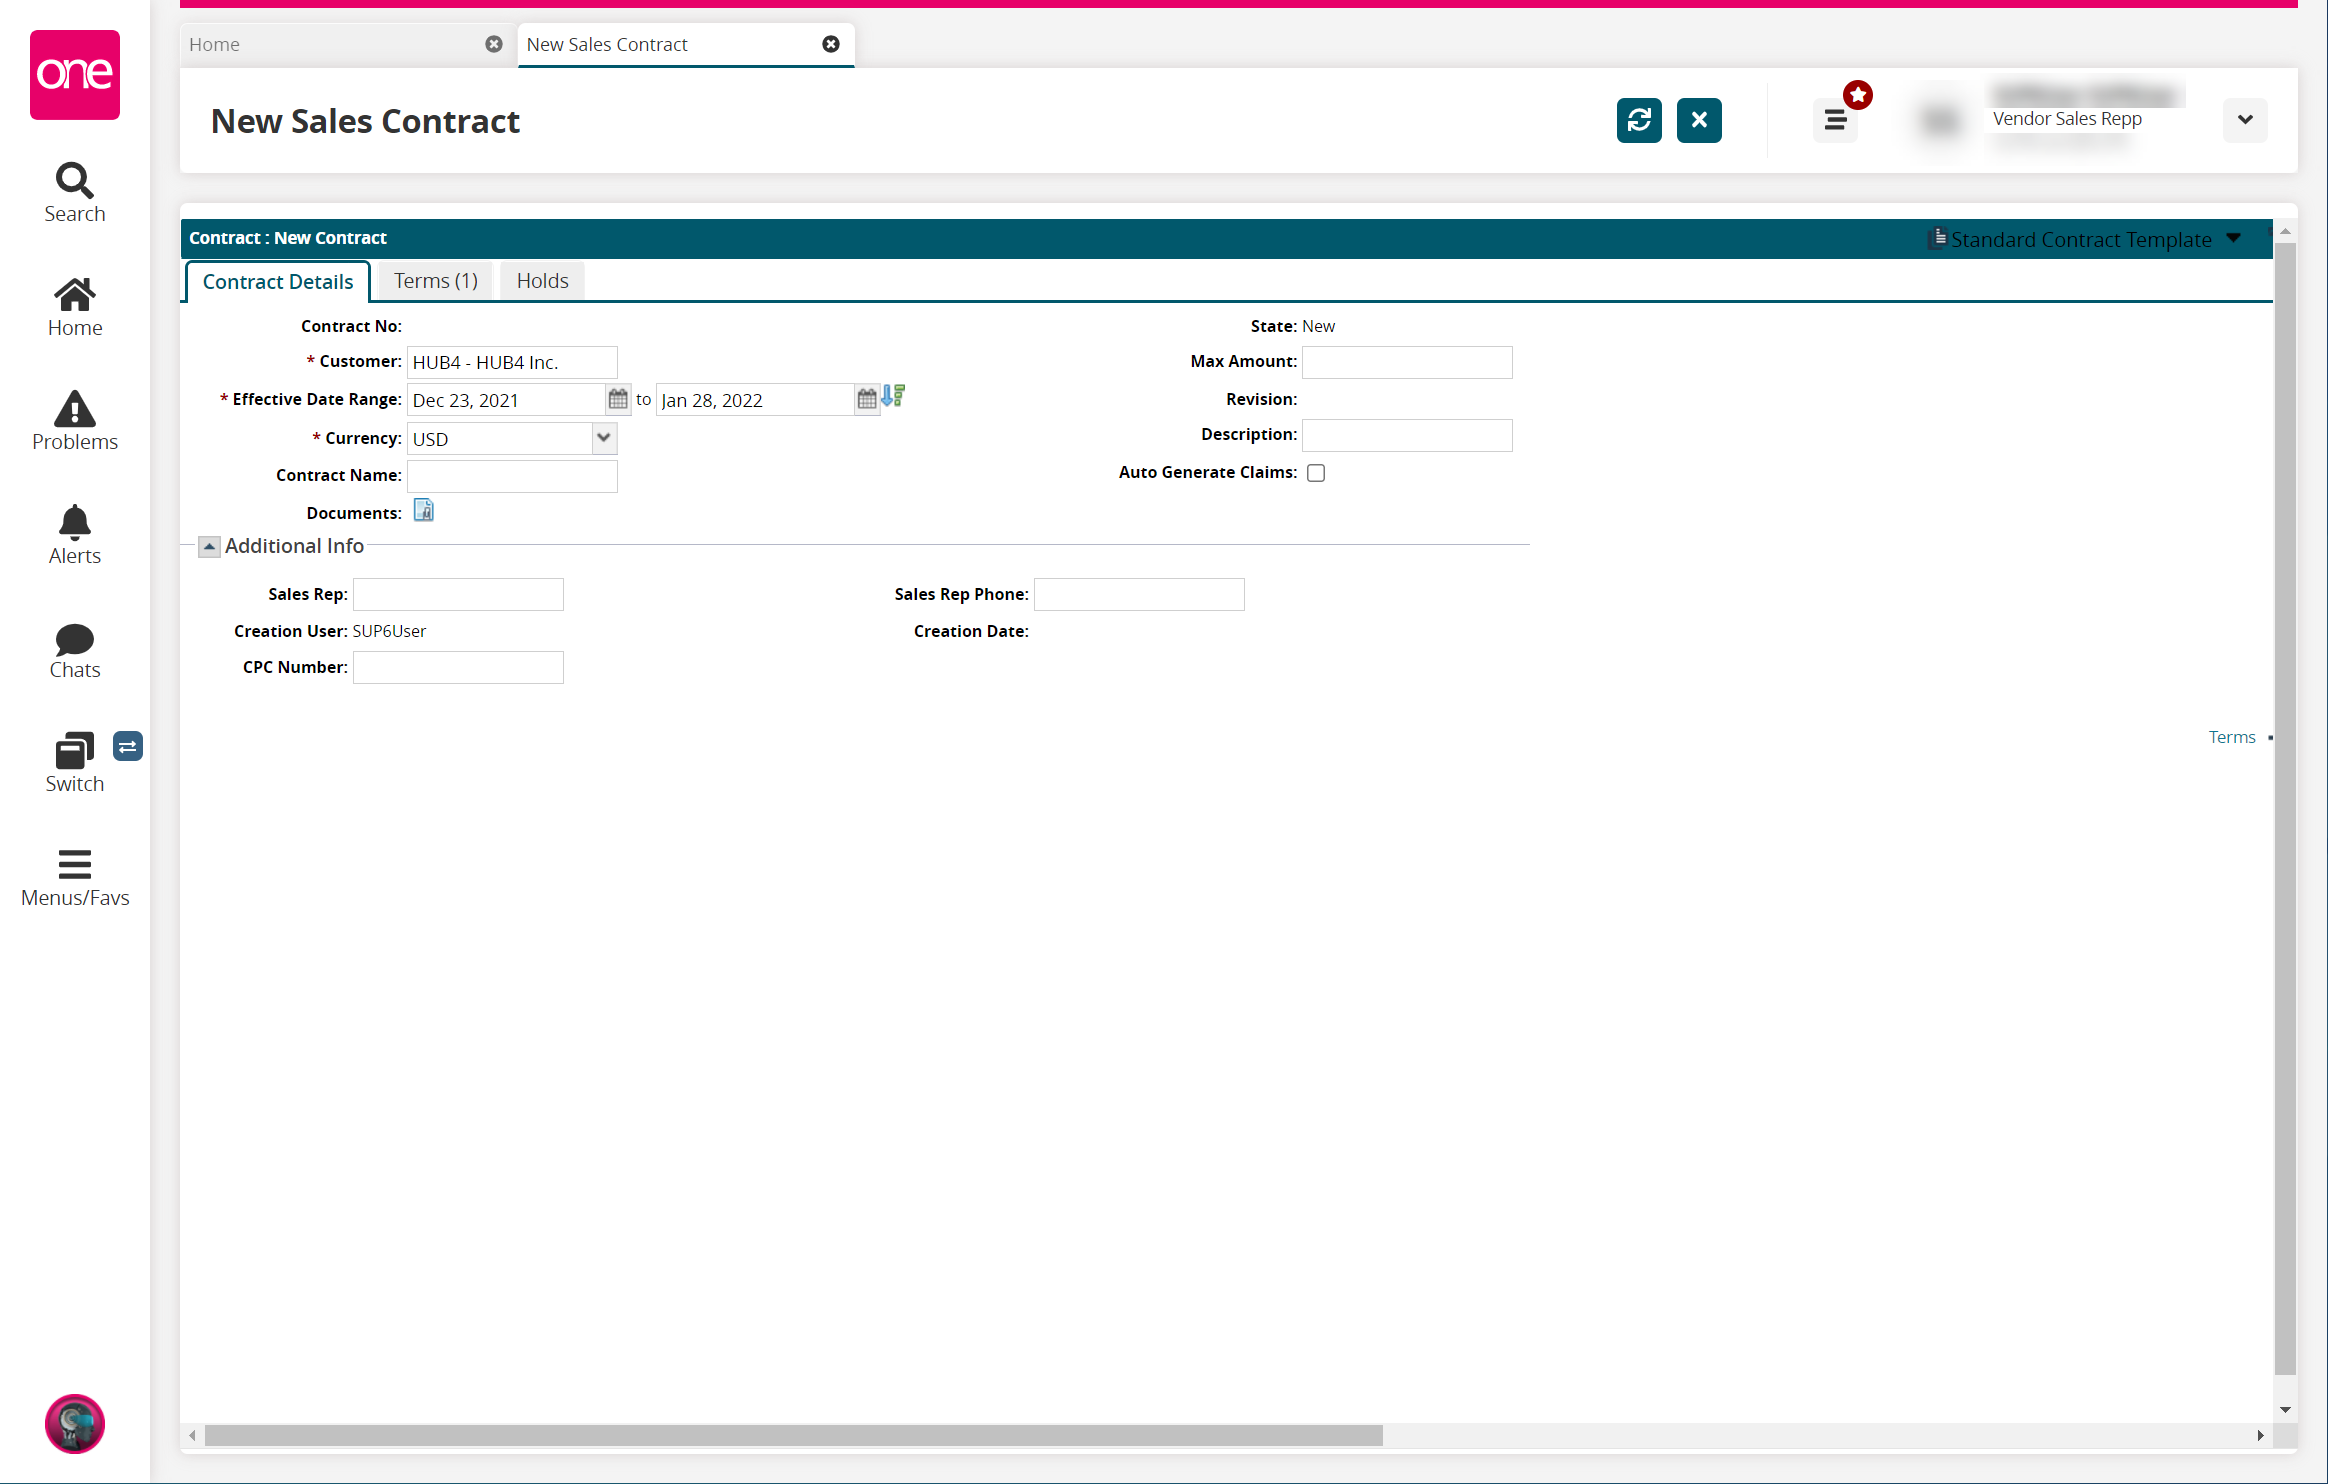
To select a standard or custom template for the contract, click the arrow beside Standard Contract Template at the top right.
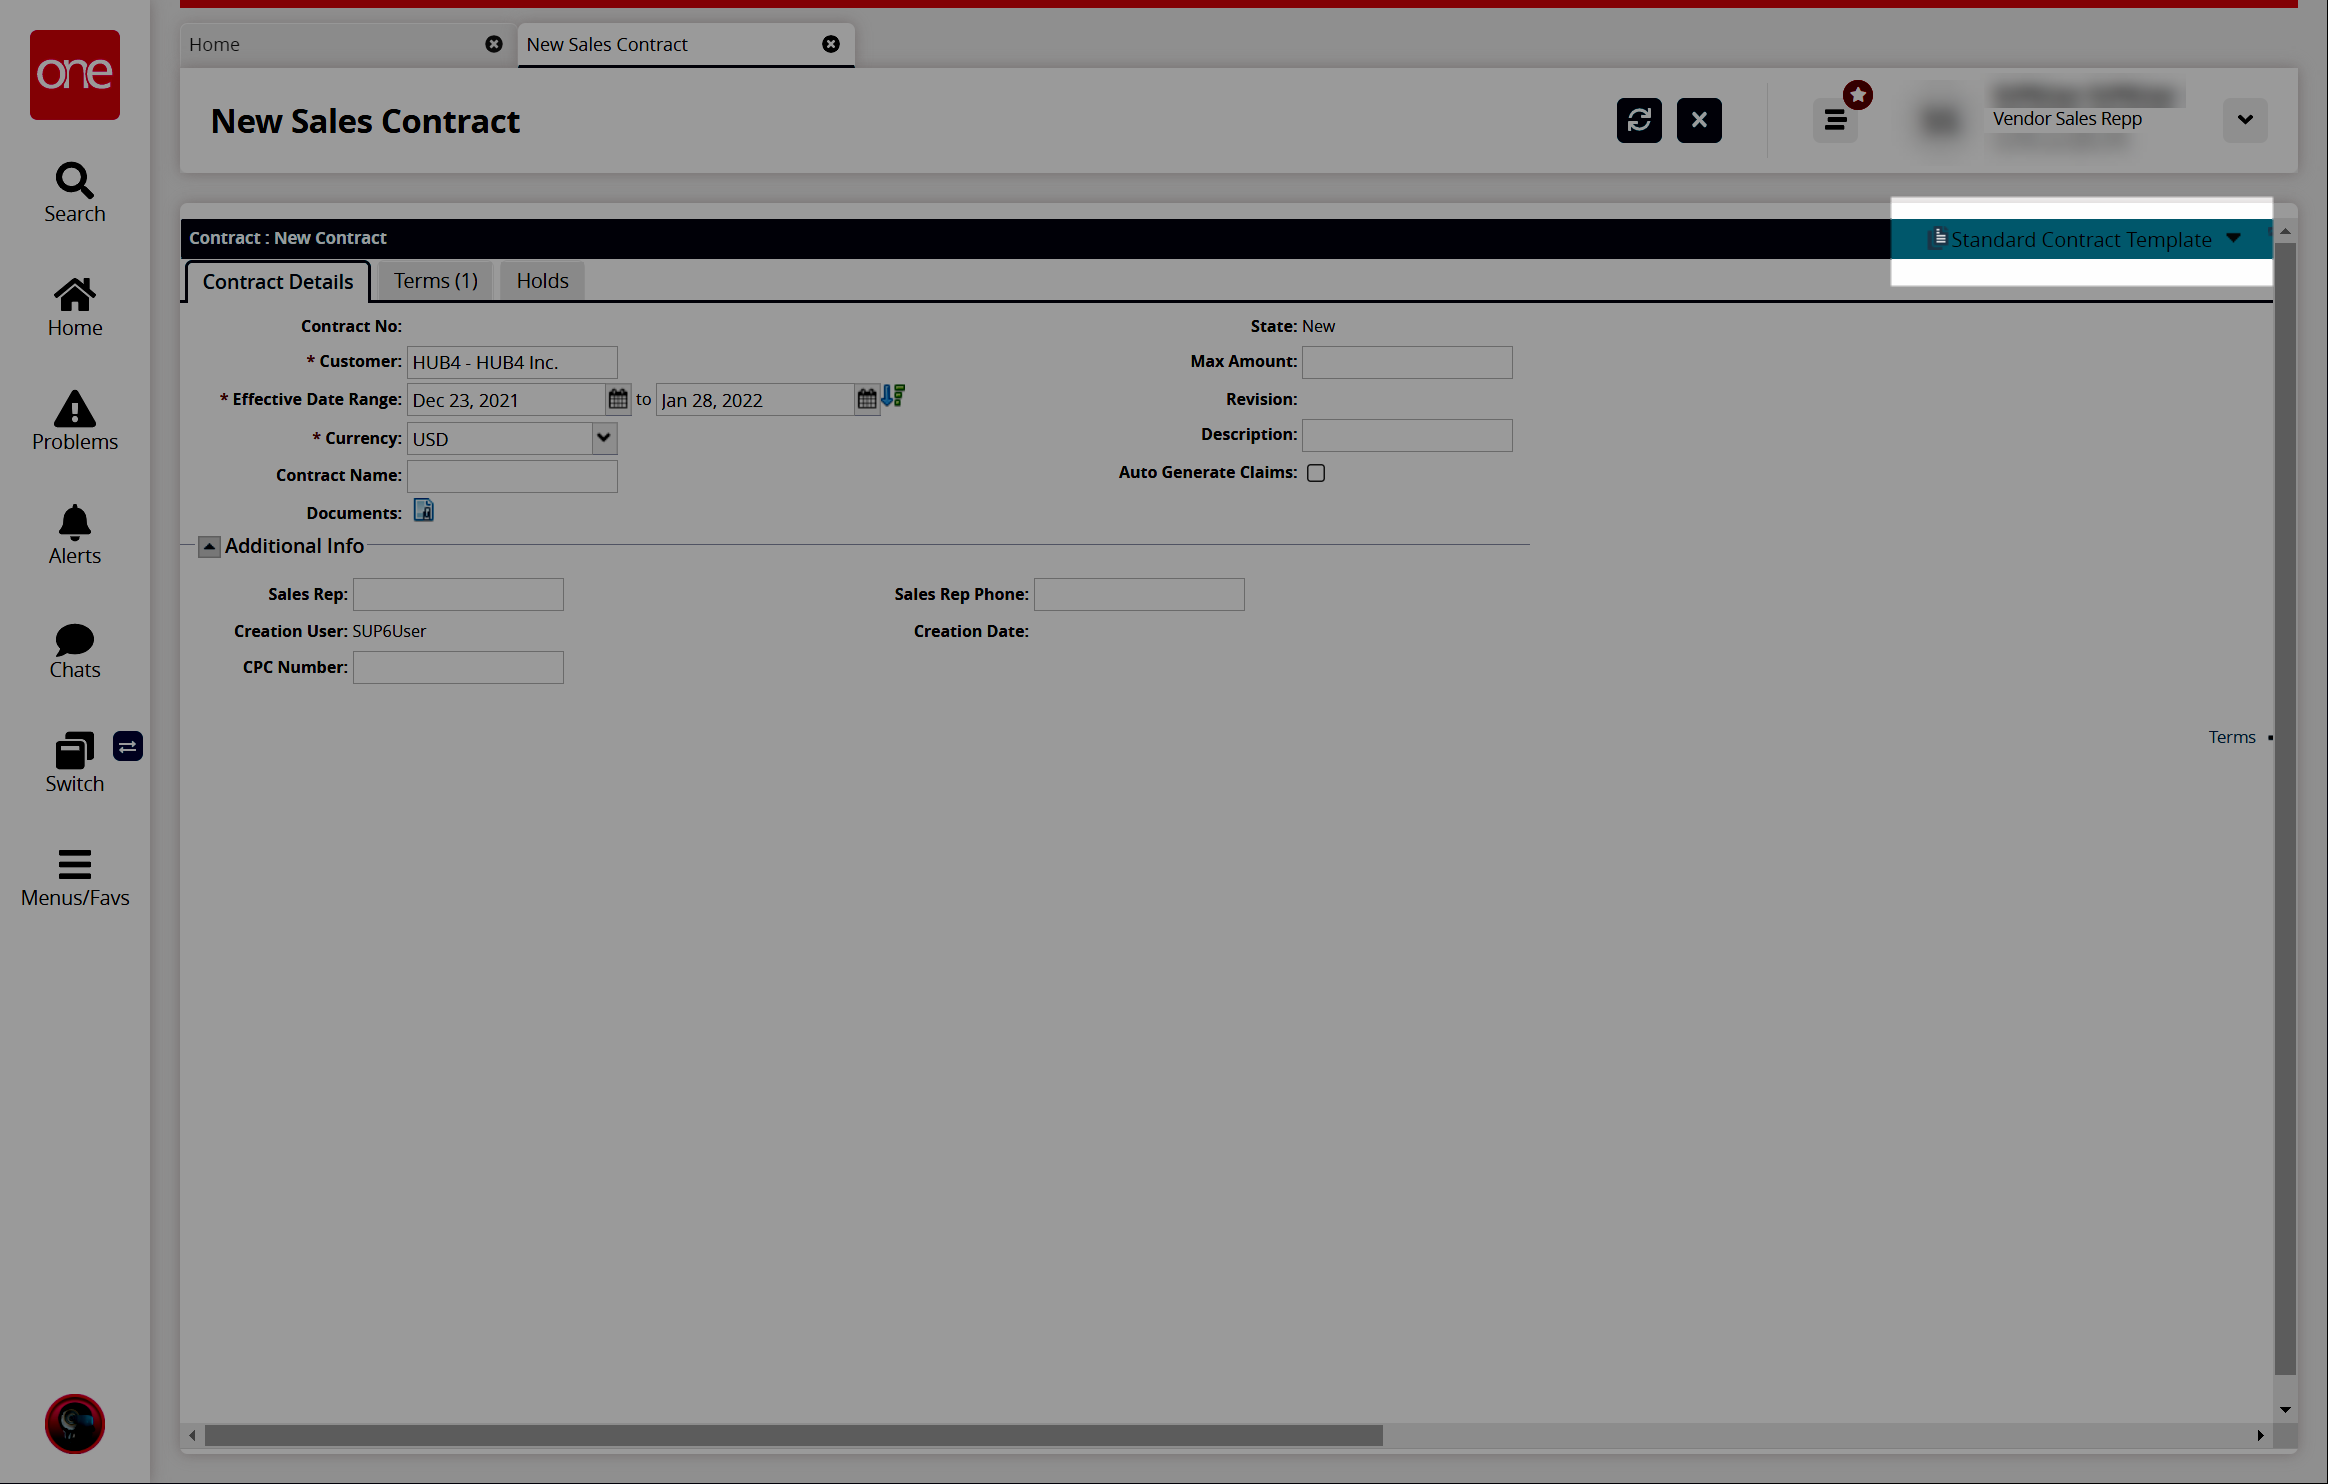
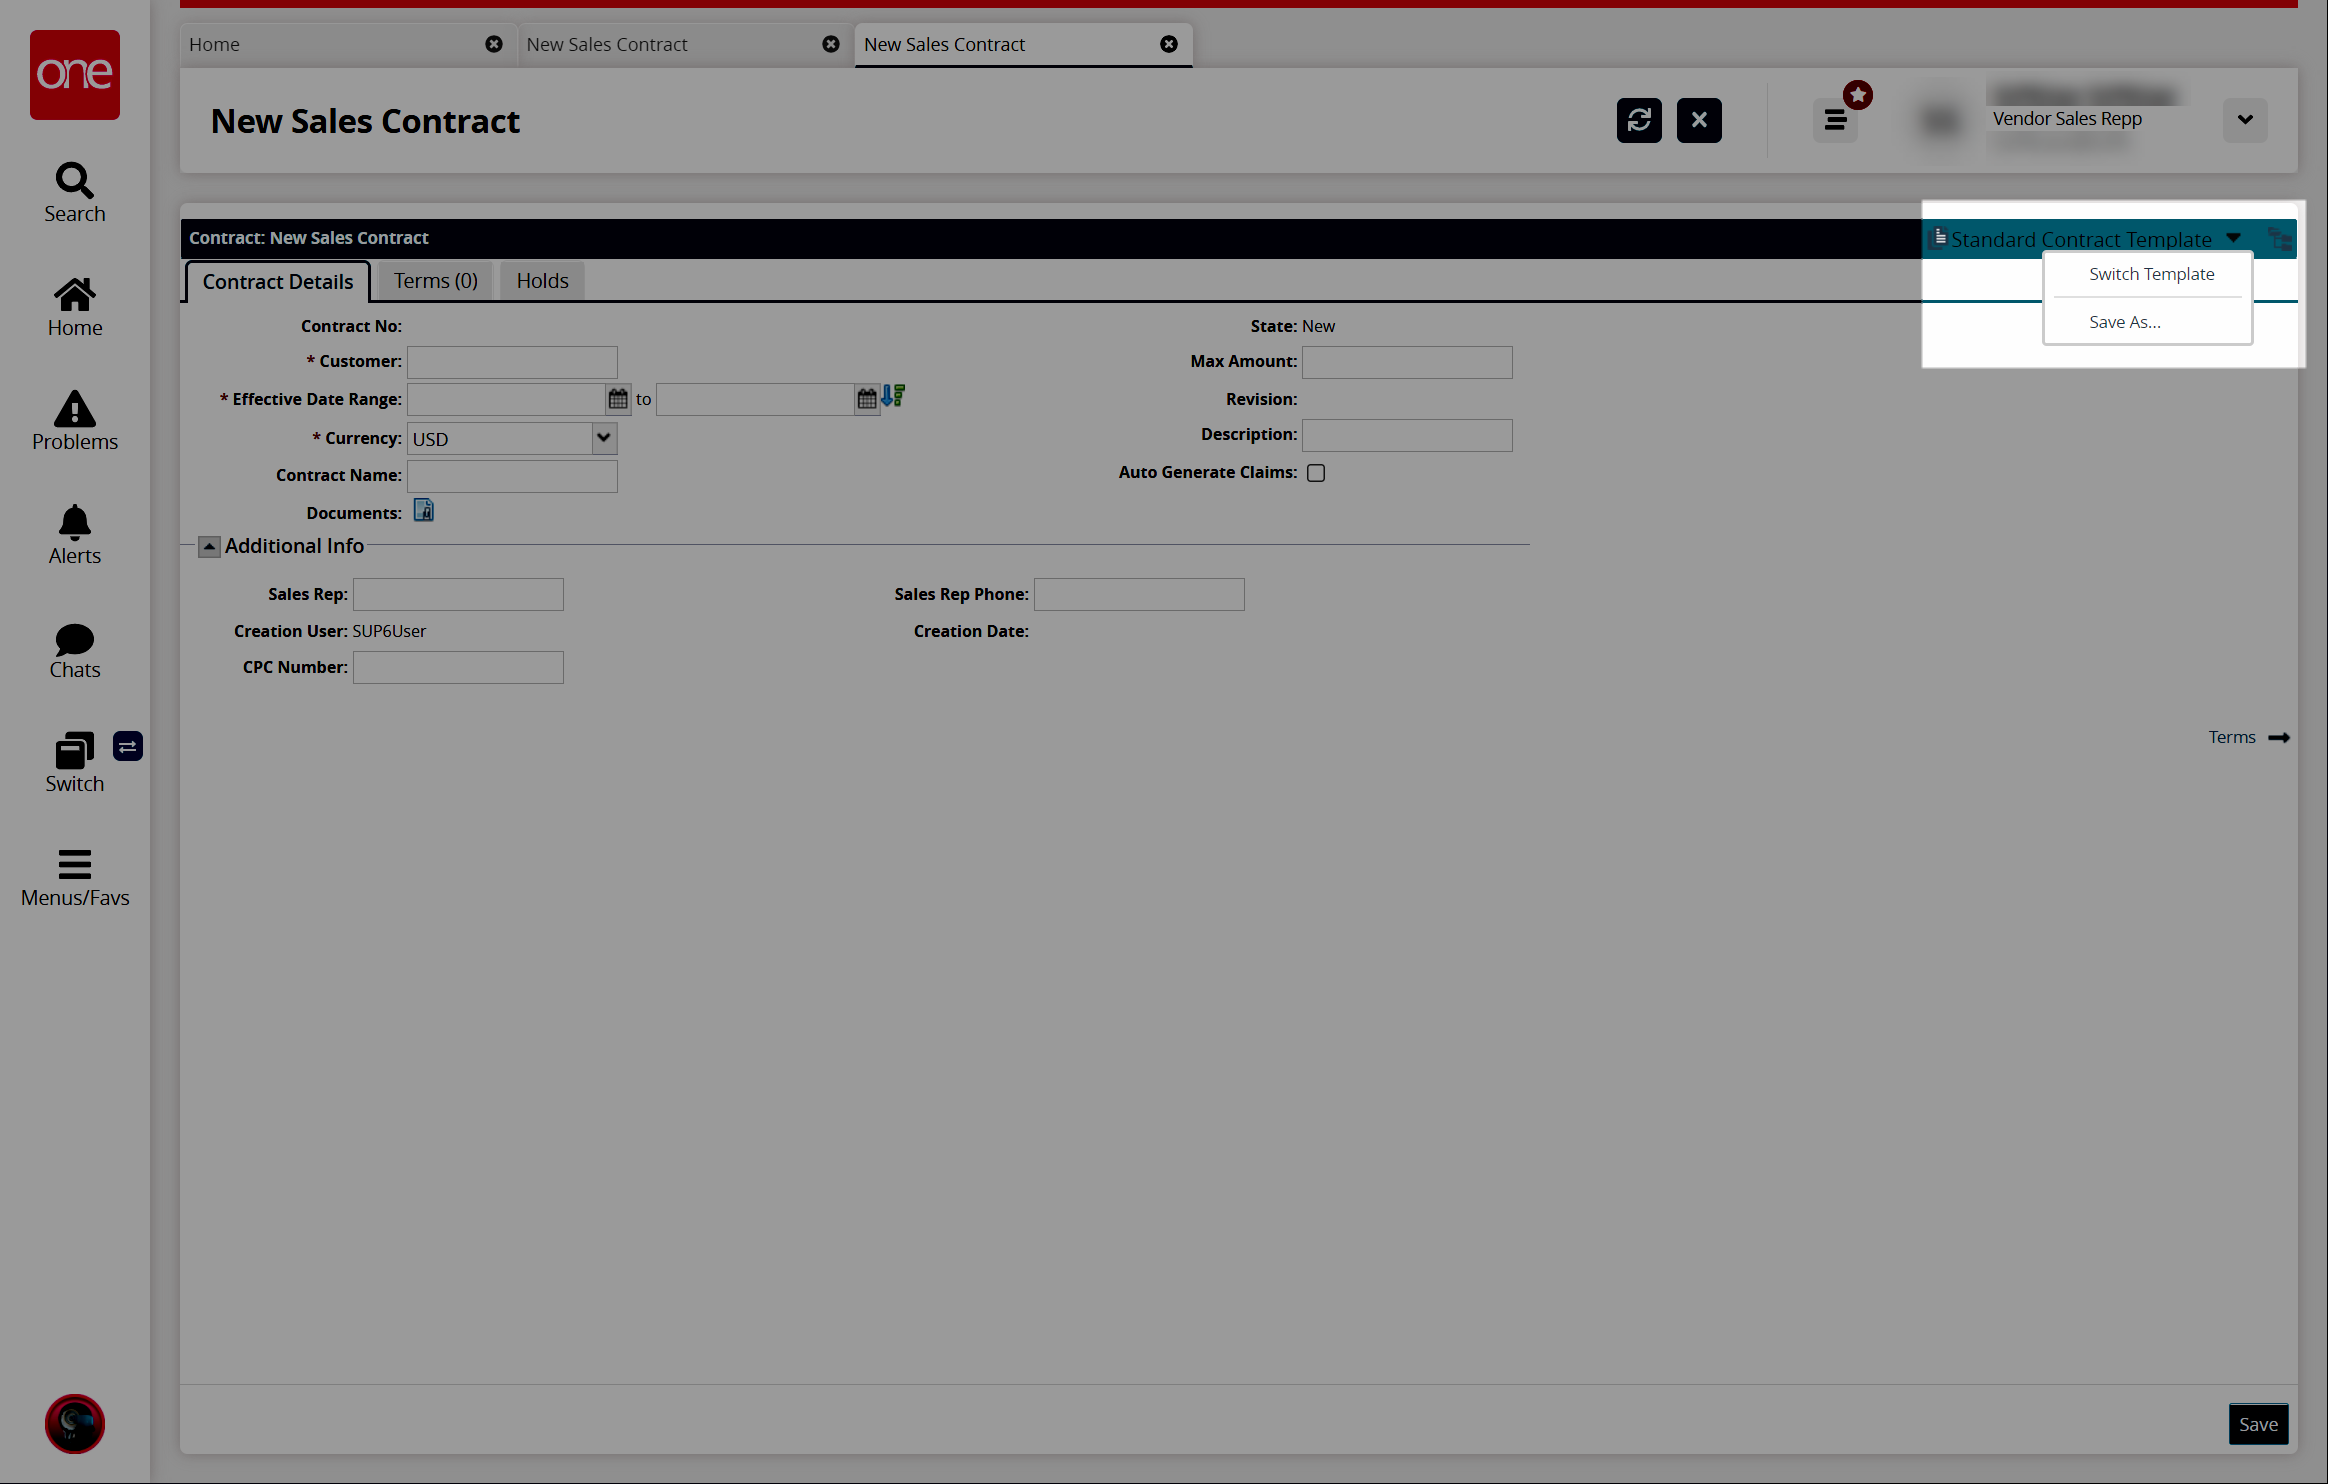
Click Switch Template.
The Select Template popup displays.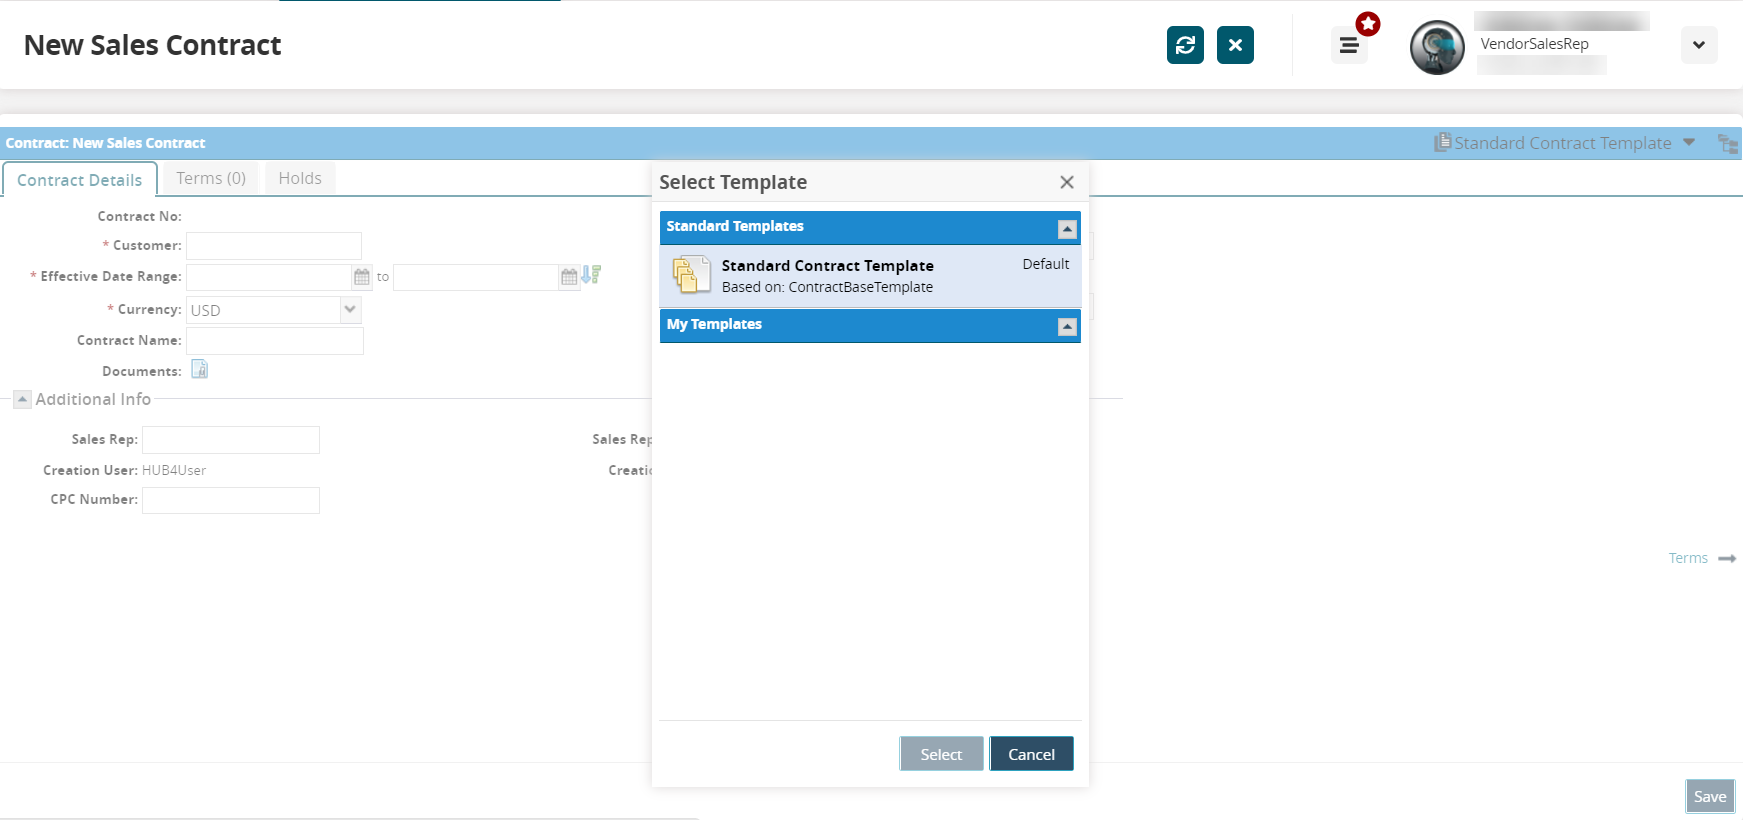
From either Standard Templates or My Templates sections, click a template option.
Click Select.
The screen displays fields and tabs for the selected template.
Contract Details
The following instructions are based on the default fields in the New Sales Contract screen.
Fill out the following fields. Fields with an asterisk ( * ) are required.
Section
Field
Description
Contract Details
Contract No
This field will populate once the contract has been saved.
* Customer
Type in the name of a customer. A list of customers displays as you type.
For a customer to appear as part of the auto-complete feature, that customer must exist in the Customer Master list.
* Effective Date Range
Use the calendar tool to select the beginning and end dates. Users can also select relative dates in a schedule.
Add to Terms (icon)
Click the icon to add the effective dates for this contract to the terms.
* Currency
Select a country currency code from the dropdown list. This field is related to the Max Amount field.
Contract Name
Type in a name for this contract.
Documents
Click the icon to attach a document to this contract. This functionality is only available once the contract has been saved.
State
This field is auto-populated and provides the state of the contract in the system.
Max Amount
Enter the number for the maximum amount allowed for this contract. This field relates to the currency selected.
Revision
This field auto-populates the revision information.
Description
Enter a description for the sales contract.
Auto Generate Claims
Click the checkbox to auto generate claims for this sales contract.
Additional Info
Sales Rep
Enter the name of the sales representative.
Creation User
This field displays the username of the user who created the contract. It is auto-populated.
CPC Number
Enter the Customers Procedure Code (CPC) number.
Sales Rep Phone
Enter the phone number for the sales representative.
Creation Date
This field auto-populates the creation date of the contract once it has been saved.
Click the Save button.
A green success bar shows, and the screen updates to show new actionable buttons at the bottom of the screen.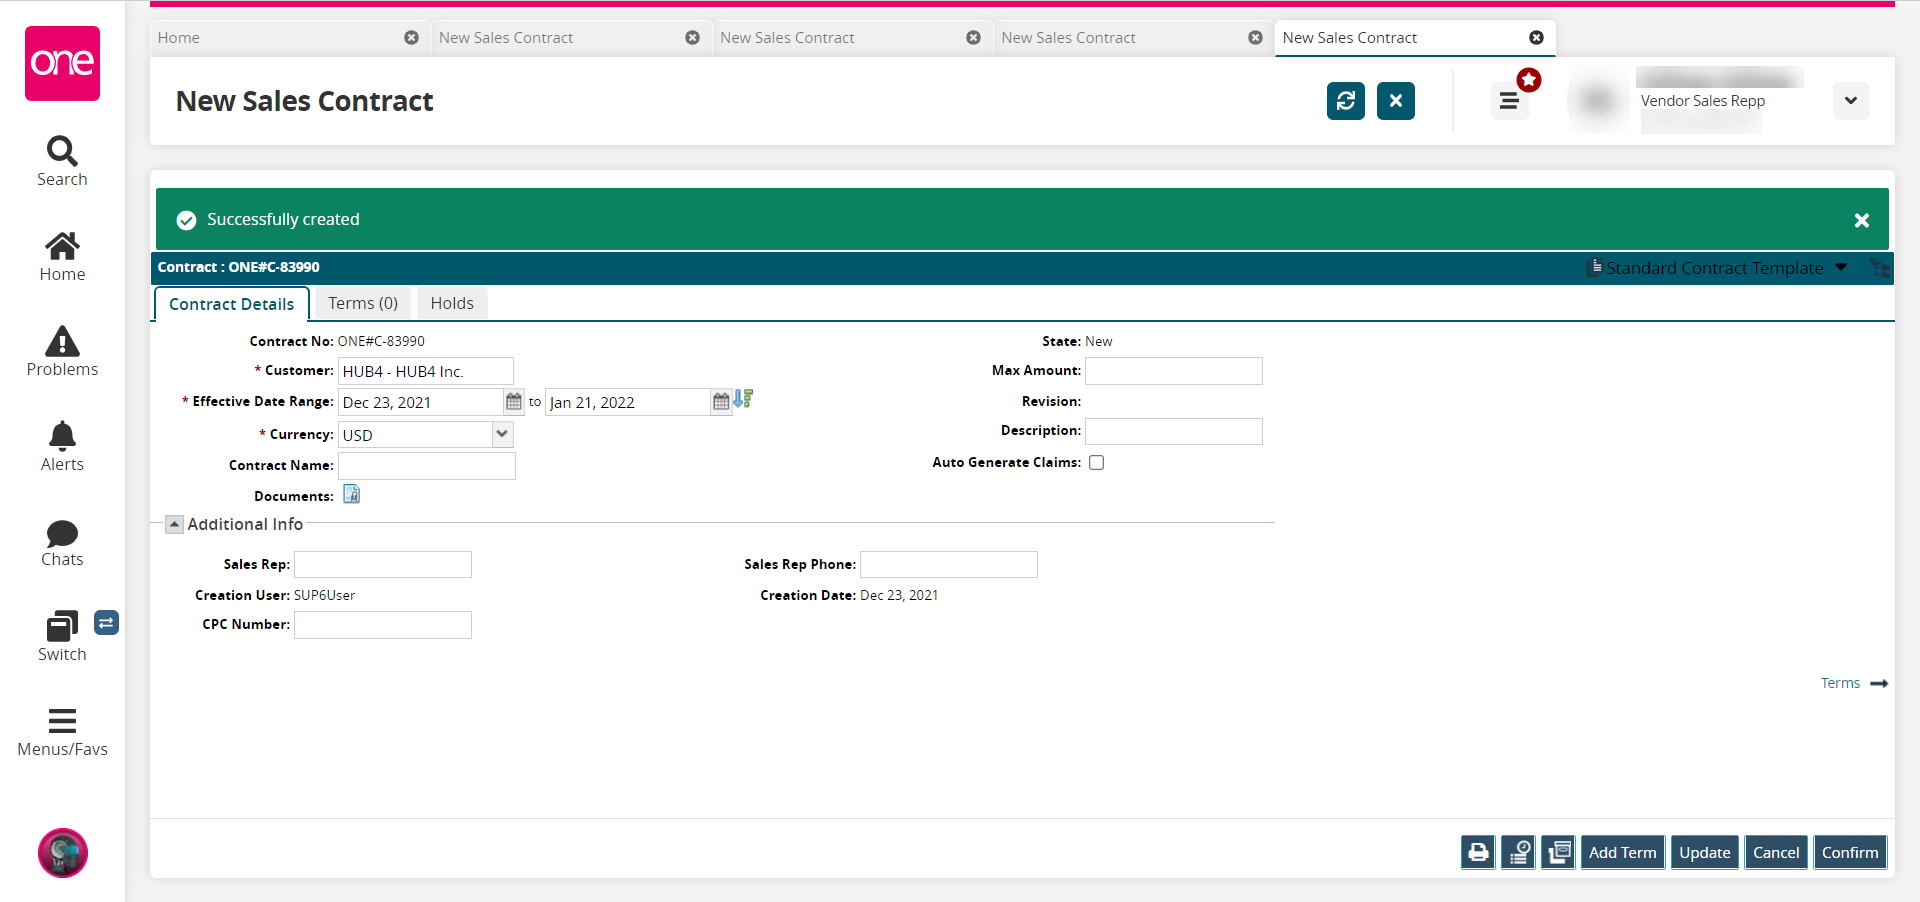
Click the Print button to print this contract.
Click the Audit button.
A new screen opens with the contract's audit trail, indicating any changes made to the contract. The information can be exported to a CSV file.Click the Clone Contract button to clone this contract.
A new screen opens with a cloned copy of this contract. Please see the "Cloning a Contract" section in the Online Help for more instructions.Click the Add Term to add terms to this contract.
Instructions for this process are found below in the "Add Terms to a Contract" section of this page. You can add terms at a later date if necessary.Click the Update button if changes are made and need to be saved so the contract can be updated.
A green success bar displays.Click Cancel to cancel this contract. If you wish to Confirm this contract instead, skip to step 10 and continue.
A Confirm popup window displays.
Click the Yes button to cancel.
A green success bar displays, and the state of the contract updates to Canceled. A Reopen button displays so that the contract can be reopened.Click the Confirm button.
A green success bar displays, and contract is confirmed. New actionable buttons display.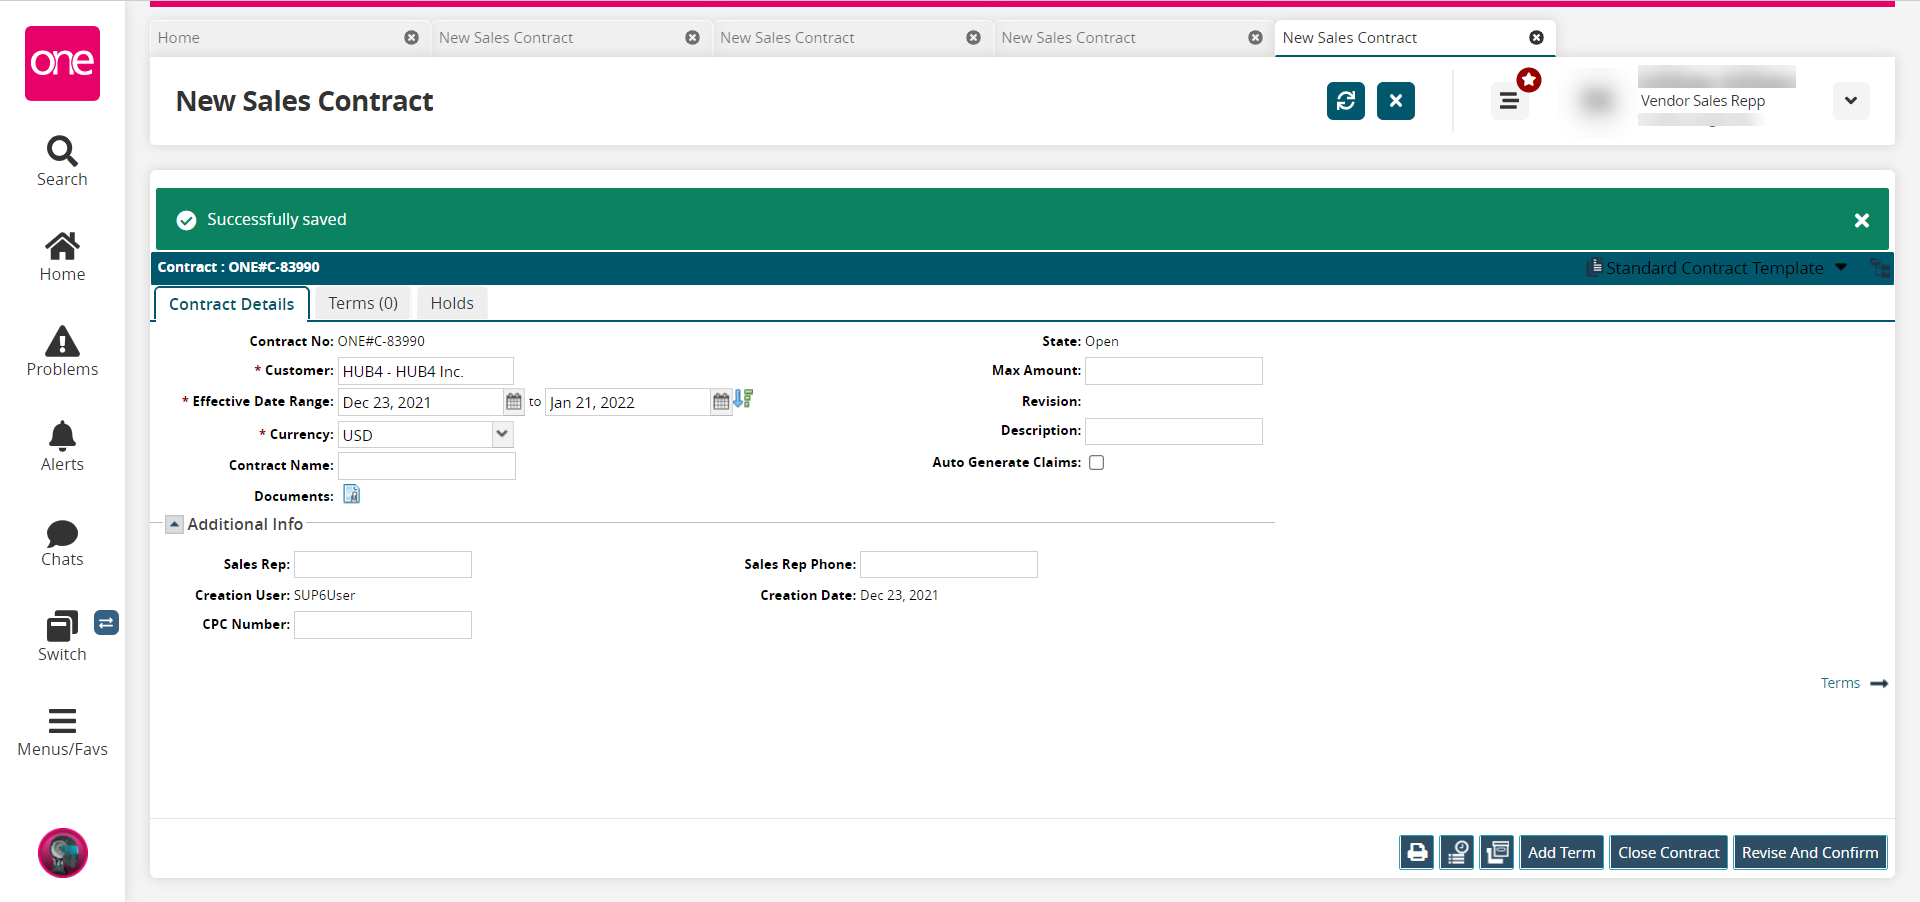
Click the Close Contract button to close out this contract.
A Confirm popup box displays.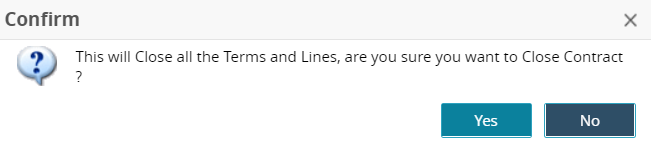
Click the Yes button to close the contract.
The contract updates and is closed for any updates. A Reopen button displays so that the contract can be reopened.