Creating Service Levels
Complete the following steps to add service levels:
Log in to the ONE system.
Click Menus/Favs > Administration > Service Levels .
The Service Levels screen displays.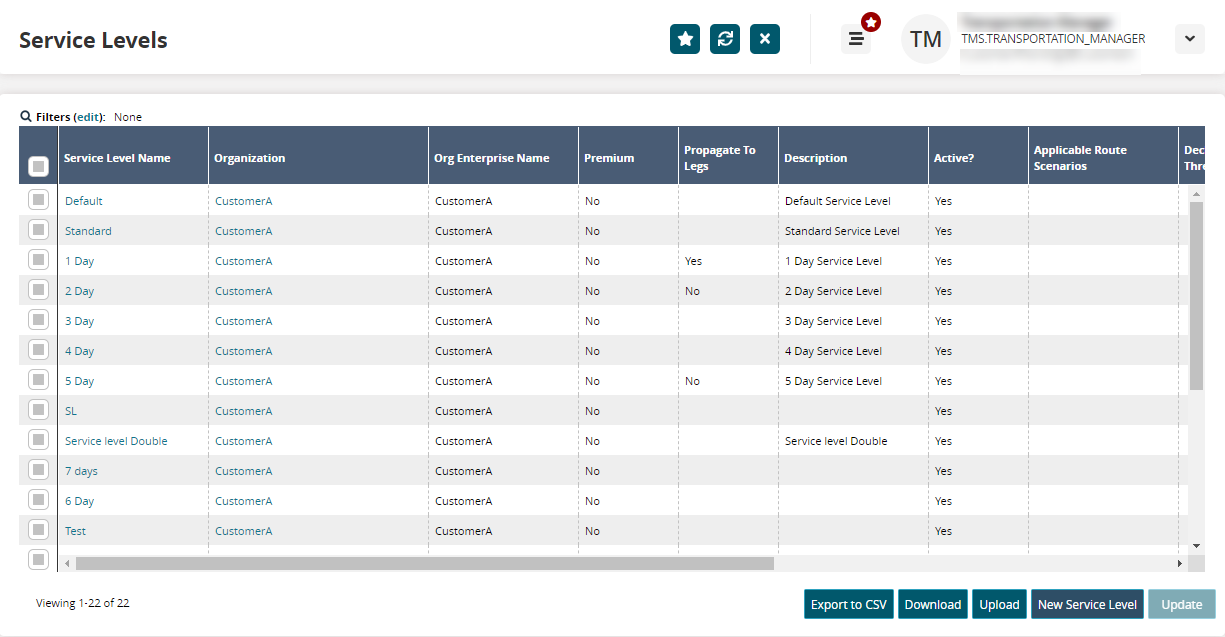
Click the New Service Level button at the bottom of the screen.
The New Service Level screen displays.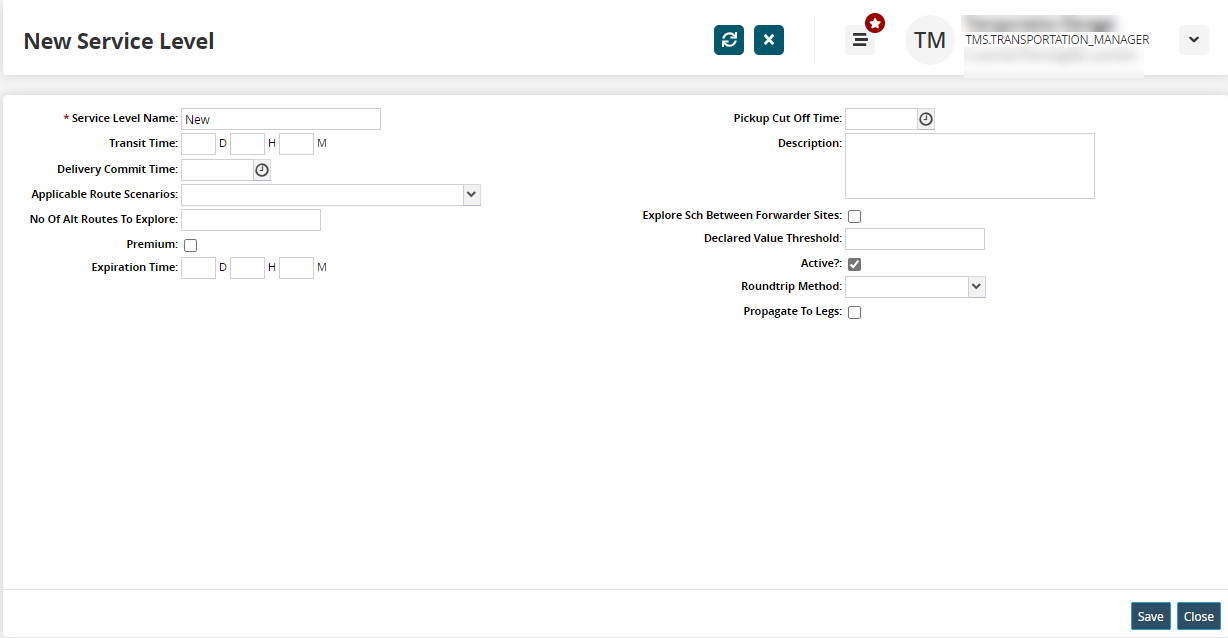
Fill out the following fields. Fields with an asterisk ( * ) are required.
Field Name
Description
* Service Level Name
Enter a name for the new service level.
Transit Time
Enter the transit time in days, hours, and minutes.
Delivery Commit Time
Enter the time committed for the delivery.
Applicable Route Scenarios
Select the applicable route scenarios from the dropdown list.
No of Alt Routes To Explore
Enter the number of alternate routes to explore.
Premium
Select this option to mark the service level as premium.
Expiration Time
Enter the expiration time in days, hours, and minutes.
Pickup Cut Off Time
Enter the cutoff time for the pickup
Description
Enter a brief description of the new service level.
Explore Sch Between Forwarder Sites
Select this option to consider the schedule between forwarder sites as part of the service level.
Declared Value Threshold
Enter the declared value threshold.
Is Active?
Select this option to mark the service level active.
Roundtrip Method
Select a round-tripping method from the dropdown list.
Propagate To Legs
Select this option to extend service levels associated with the parent shipment to all shipment legs.
Click the Save button.
A success message displays.