Entering Requisition Order Details
Complete the following steps to create a new requisition order:
Log in to the ONE system.
Click Menus/Favs > Order Mgmt > Requisition> New Requisition. In the NEO UI, users can click on the Menus/Favs icon on the left sidebar and type in the name of the screen in the menu search bar. For more information, see "Using the Menu Search Bar."
The New Requisition screen displays. The PR Standard Template is selected (top of the header section).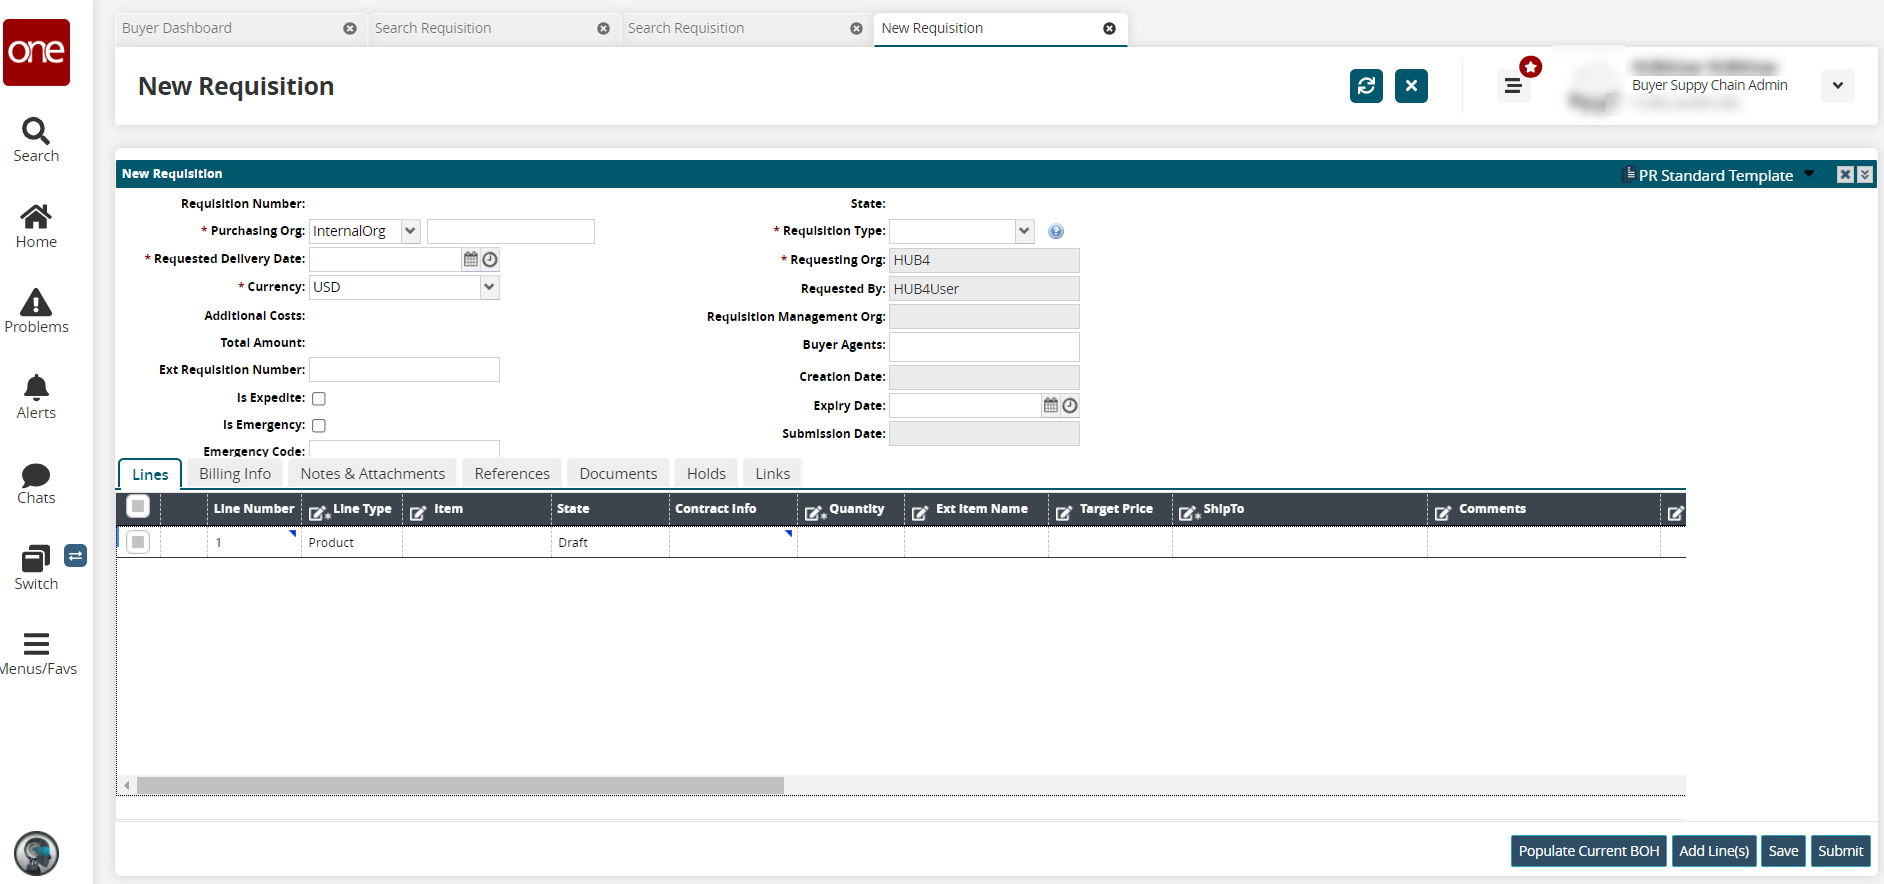
Select a new template if desired from the dropdown list.
Click the X in the header section bar to select fields to display.
A menu of fields displays. Available fields may differ based on enterprise, organization, and site-level policies and/or user roles.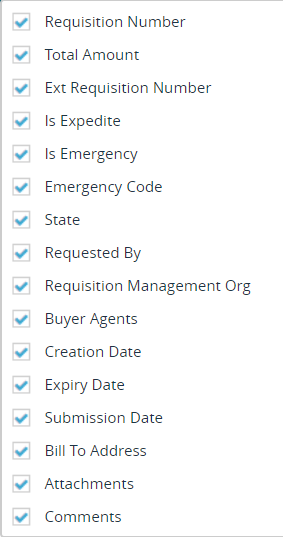
Check the box to hide/display fields.
Use the up and down arrows to expand and collapse page sections.
Enter values for fields described in the table below. Fields with an asterisk ( * ) are required.
Field
Description
Requisition Number
This field is auto-populated when the requisition has been saved/submitted.
* Purchasing Org
Select Internal Org or External Org from the dropdown list and enter the organization's name in the second field.
* Requested Delivery Date
Use the calendar and clock tools to select the requested date and time for delivery.
* Currency
Select a currency country code from the dropdown list.
Additional Costs
This field auto-populates when updates to the requisition are made.
Total Amount
This field auto-populates when updates to the requisition are made.
Ext Requisition Number
Enter an external requisition number.
Is Expedite
Check this box if the requisition should be expedited.
Is Emergency
Check this box if the requisition is an emergency. If this box is selected, the Emergency Code field is required.
Emergency Code
Enter the code for the emergency request.
State
This field auto-populates when the requisition is saved/submitted.
* Requisition Type
Select the requisition type from the dropdown list.
* Requisition Org
This field auto-populates with a requisition organization by default depending on policies set in the system.
Requested by
This field auto-populates with the username of who created the requisition order.
Requisition Management Org
Enter the requisition management organization.
Buyer Agents
Enter buyer agents for the requisition.
Creation Date
This field is auto-populated when the requisition is created (saved).
Expiry Date
Use the calendar and clock tools to select the date and time for the requisition to expire.
Submission Date
This field auto-populates based on when the requisition is submitted.
Click the tabs icon (
 ) to hide or displays tabs. Instructions for each tab are found in its own section in the Online Help.
A list of available tabs displays. Available fields may differ based on enterprise, organization, and site-level policies and/or user roles.Check the box to hide/display tabs.
Click the Populate Current BOH button to populate the balance on hand. See the "Populate Current Balance On Hand" section in the Online Help for more information.
Click the Add Line(s) button to add existing lines to this requisition order.
The Add Line(s) popup displaying the filters heading.Enter values for fields described in the table below. Fields with an asterisk ( * ) are required.
Field
Description
Item Name
Enter an item name. The field uses predictive text functionality and will display available matches as you type.
Description
Enter the description of the item.
Program
Enter the program the item is attached to.
Item Type
Select the item type from the dropdown list.
My Items
Enter an item name. The field uses predictive text functionality and will display available matches as you type.
To set the My Items availability, click Menu/Favs > Tools > My Preference > Search My Preferences.
See the "Create New My Product and My Item Preferences" in the Online Help for more information.Click the Search link.
Existing lines display.Select desired lines.
Click the OK button.
Lines are added to the requisition order.Click the Save button to save the information and keep it in a draft state. Instructions for each tab are found in its own section in the Online Help.
Click the Submit button to submit the order.