GLG: Telematic Asset Assignment via a Digest Email
GLG enables scheduling one-time and/or periodic emails to request dispatching drivers or vehicles for unassigned movements. Through the link provided by the email, off-network dispatchers can assign a driver or vehicle without logging into the system. It provides a means to remind and allow off-network users, who are not currently in the system, to dispatch movements. Carrier managers can schedule dispatch request emails to off-network dispatchers that include current unassigned movements. When the dispatcher receives the email, they use the URL provided in the email to open a new form to assign a driver or vehicle to any unassigned movements and submit the assignment to the system. Carrier users click the new Schedule Report button in the Unassigned detail report, which is accessed from the Dispatch Board and Vehicle Dispatch Board widgets.
Instructions
Complete the following steps to schedule dispatch request emails:
Log into the ONE system as a Carrier Manager user.
The NEO dashboard displays the Dispatch Board and Vehicle Dispatch Board widgets.Click the Unassigned label, count link, or chart bar.
The Unassigned screen displays. In the example below, we have used the unassigned driver dispatch link.
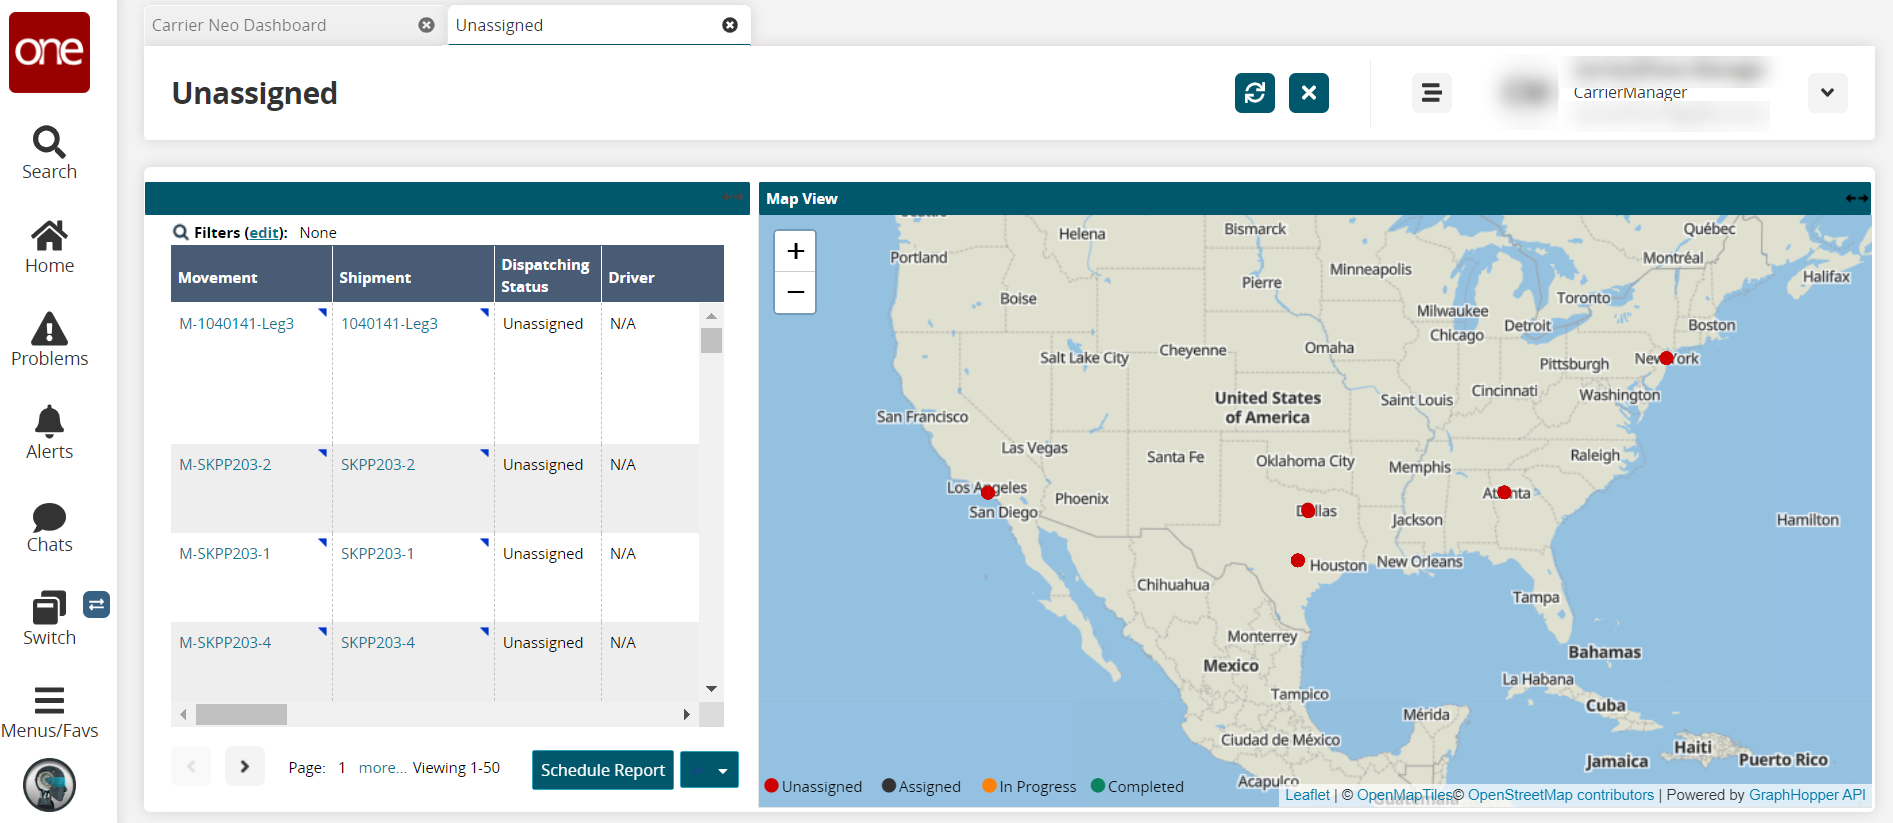
Click the Schedule Report button.
A confirmation popup displays.Click the Yes button.
The Create Integration Subscription screen displays.
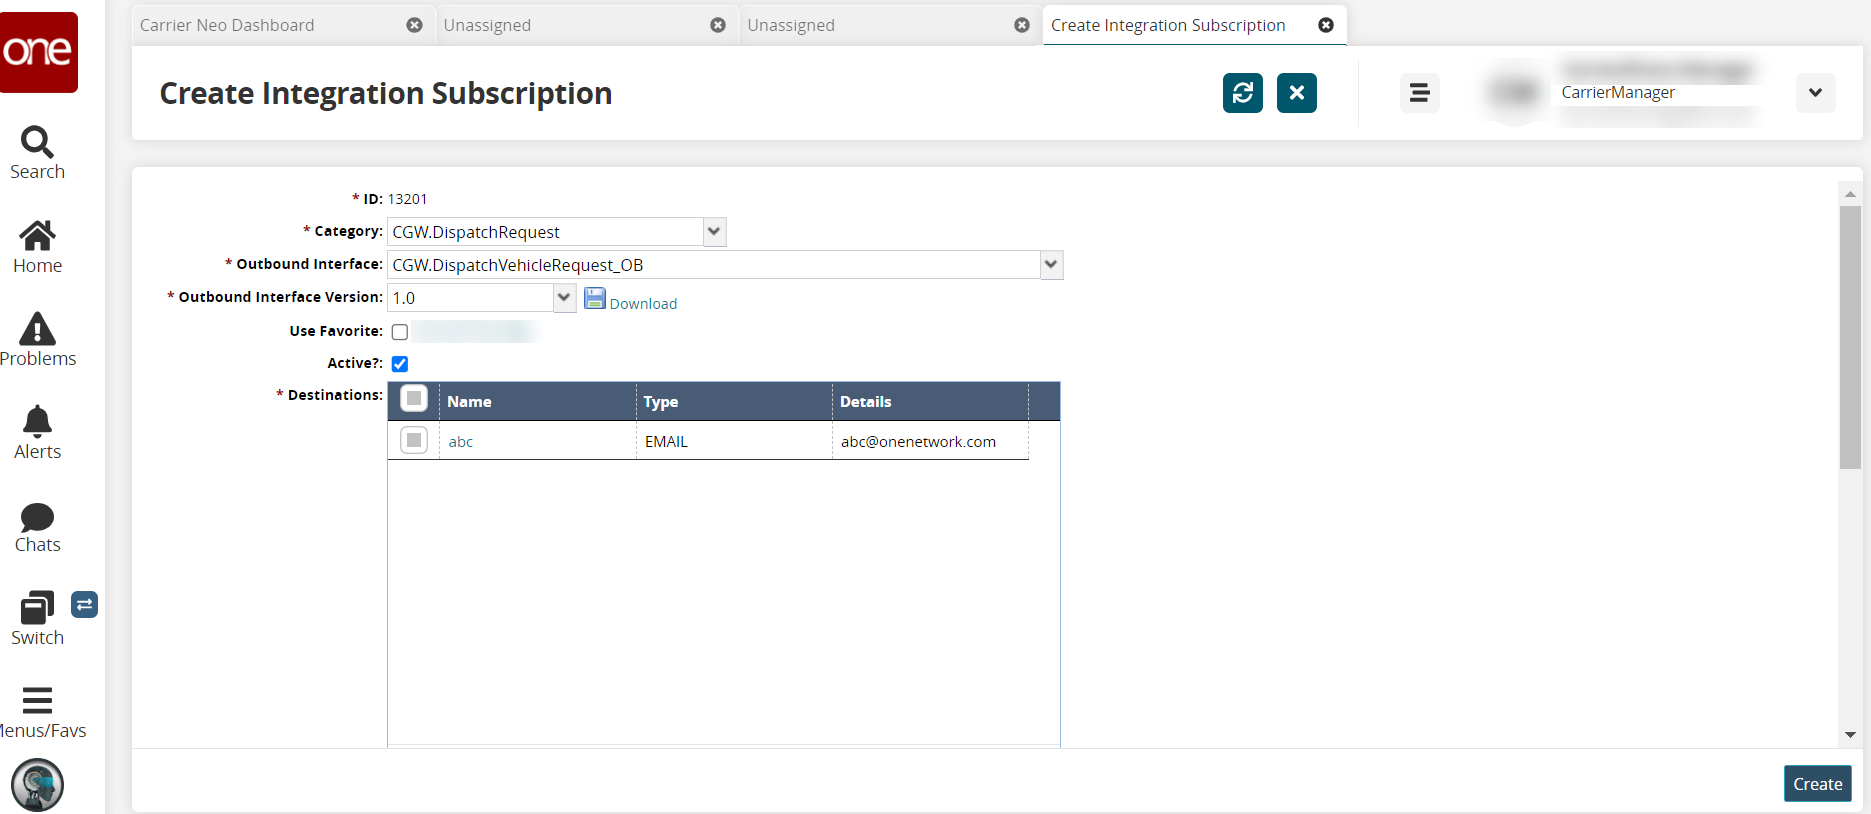
Complete the following fields as described in the table below. Fields with an asterisk ( * ) are required.
Field
Description
* ID
The ID field is autopopulated.
* Category
Select the category from the dropdown list.
* Outbound Interface
Select the outbound interface from the dropdown list. The default is auto-populated based on the widget and schedule report screen you clicked on in the previous steps.
* Outbound Interface Version
Select the version for the outbound interface from the dropdown list.
Download
Click the Download link to download a copy of the outbound interface version to your computer.
Use Favorite
Check the box to use a favorite.
Active?
Check the box to ensure that this integration subscription is active.
* Destinations
Click the checkbox for any existing destinations (recipients).
Click the Add new destination link to add a new destination (recipient) to the list.
The New Destination popup displays.
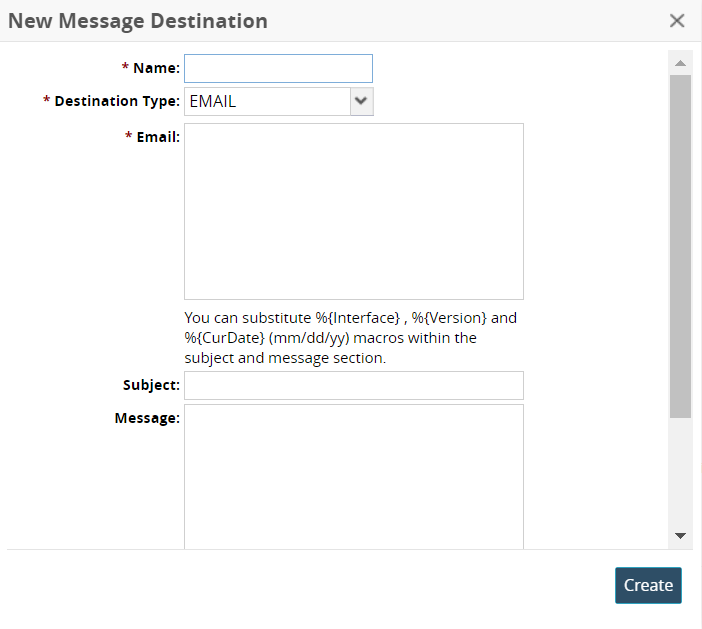
Complete the fields as described below. Fields with an asterisk ( * ) are required.
Field
Description
* Name
Enter the name of the recipient.
* Destination Type
Select the type of destination method from the dropdown list. Please note that the following fields are based on selecting Email from the list. The fields will change based on the destination type.
* Email
Enter emails for this destination recipient.
Subject
Enter the subject text for the email notification.
Message
Enter the message for the email notification.
* Attached File Name
Enter the file name attached to the email.
Click the Create button.
The new destination is added to the Destinations table.
* Execute As
This field is auto-populated.
Ignore Changes Made By
Use the picker tool to select users to ignore who have made changes.
Preferred Timezone
Select the desired time zone from the dropdown list.
Schedule
Click the Add link to add a schedule.
A new row displays. Fields with the edit icon (pencil) are editable.Select the month or Every Month from the dropdown list for the Month field.
Select the day or Every Day from the dropdown list for the Day field.
Select the time from the dropdown list for the Time field.
Select a time zone from the dropdown list for the Timezone list.
Active Date Range
Use the calendar and clock tools to select the beginning and end dates and times for which this subscription notification is active.
Click the Create button.
The page for the newly created subscription (shown with a new ID number) displays with a green success message.