GLG: Uploading Documents
Users upload documents into the ONE system for a variety of reasons. The following instructions provide an overview of the Upload functionality that is found throughout the system.
Complete the following steps to upload a document:
Log in to the ONE system.
Click Menu/Favs > Tools > Upload > Movement Assign Vehicle. Users can select any of the upload options. We are using Movement Assign Vehicle in this example.
The Movement Assign Vehicle screen displays, and the Upload popup window displays.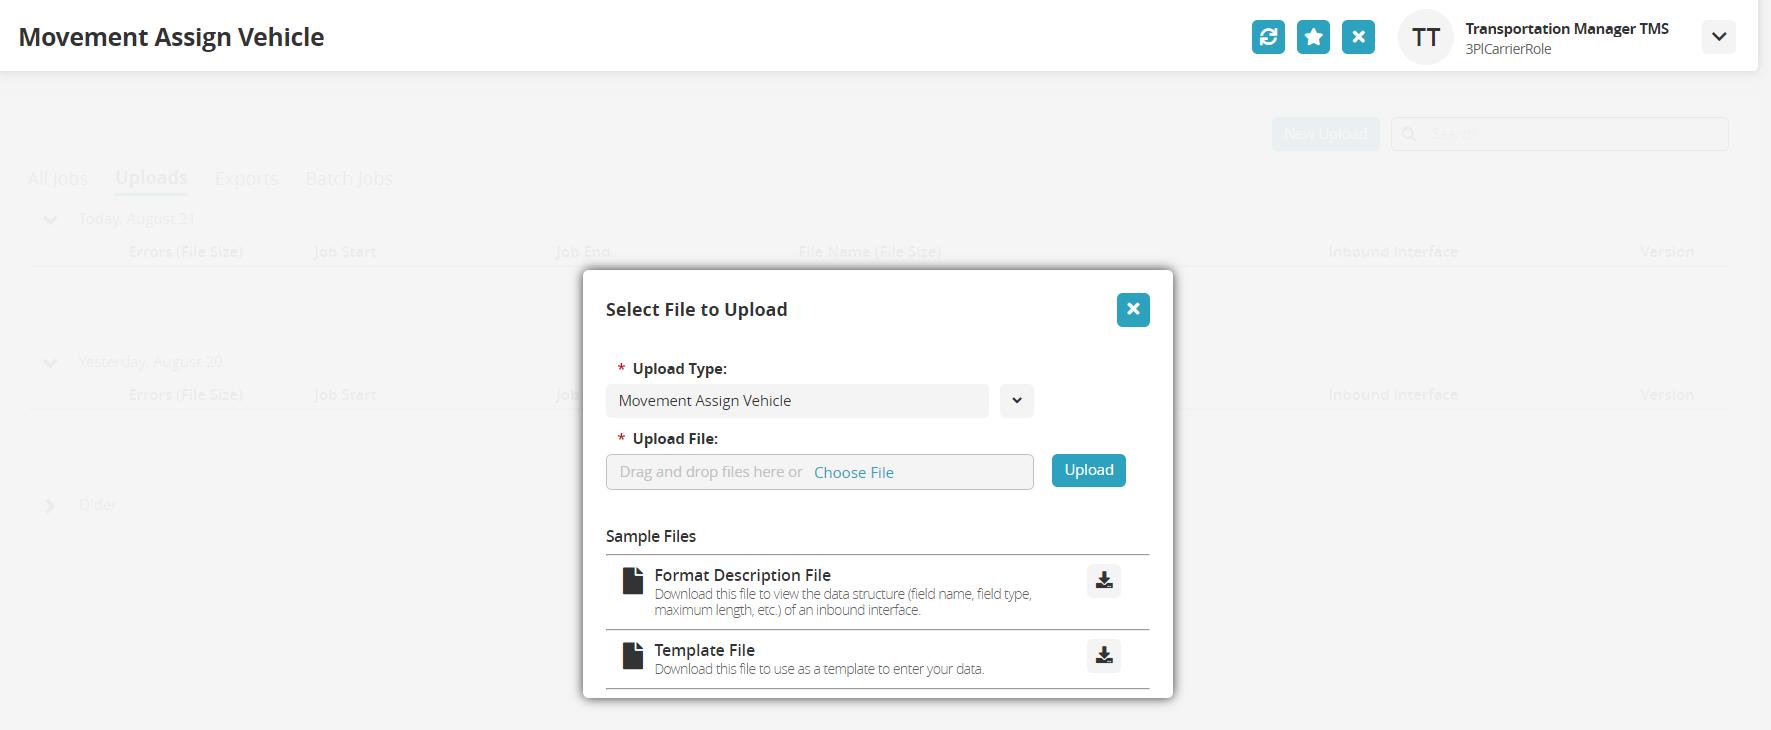
In the * Upload Type field, select the correct document type from the dropdown menu. All fields with an asterisk ( * ) are required.
Users can click the download icon for either the Format Description File as a reference or the Template File to enter data.
Click the Choose File link and select a file from the user's computer.
Click the Upload button.
The file displays on the Movement Assign Vehicle screen.
If the upload was successful, a green/white check displays. If the upload failed, a red/white exclamation mark displays.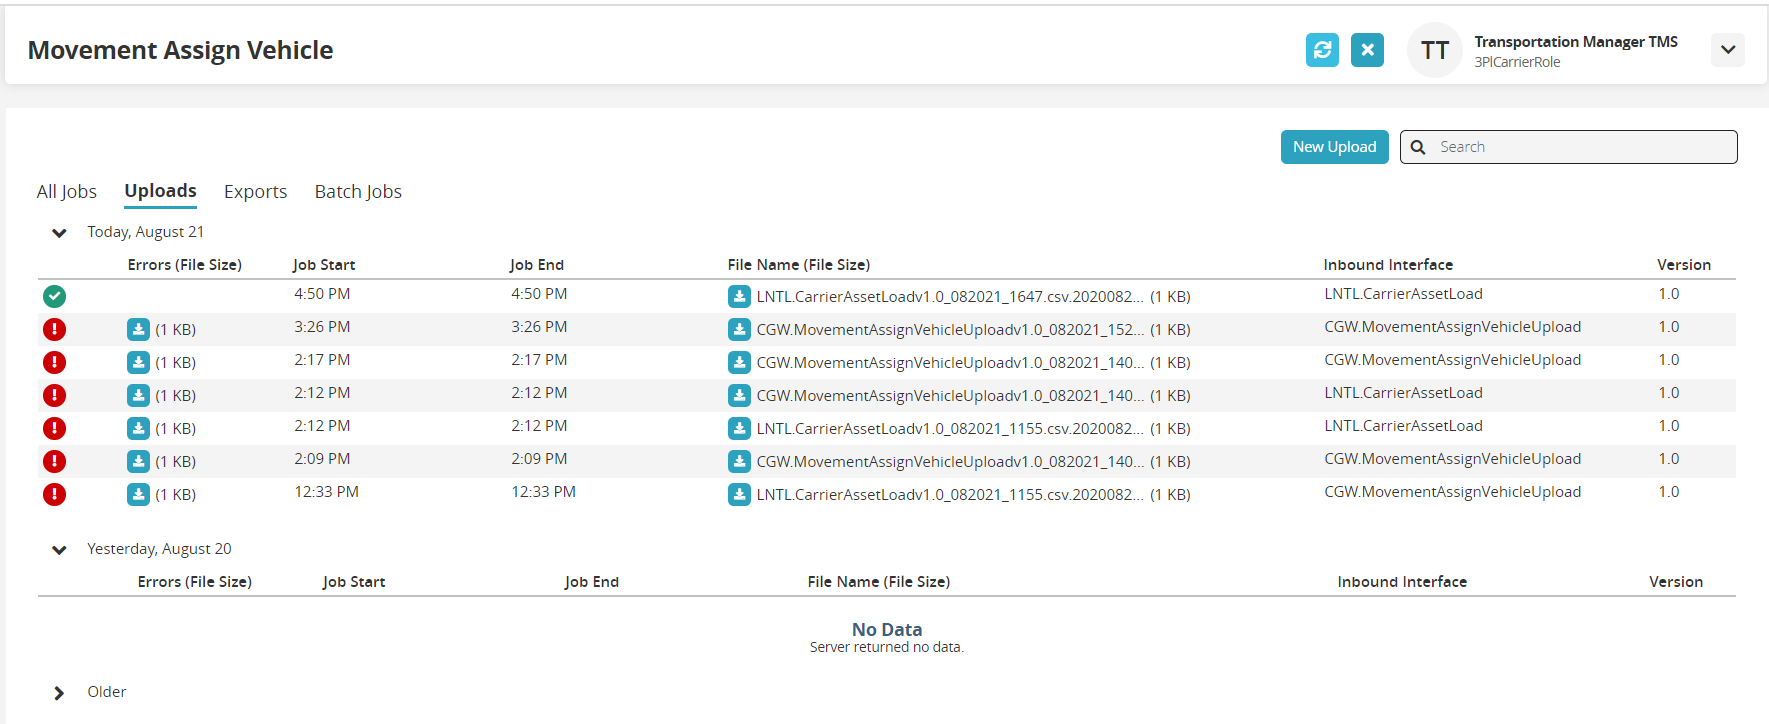
To view the error file for correction, click the download icon under the Errors column.
The CVS file downloads to the user's computer and can be reviewed for errors.