GLG: Working with Shipment-Related Documents
Complete the following steps to view, attach, and print shipment-related documents:
Log in to the ONE Network system.
To locate a shipment, click Menus/Favs > Transportation > Search Shipments.
The Search Shipments screen displays the Filters header.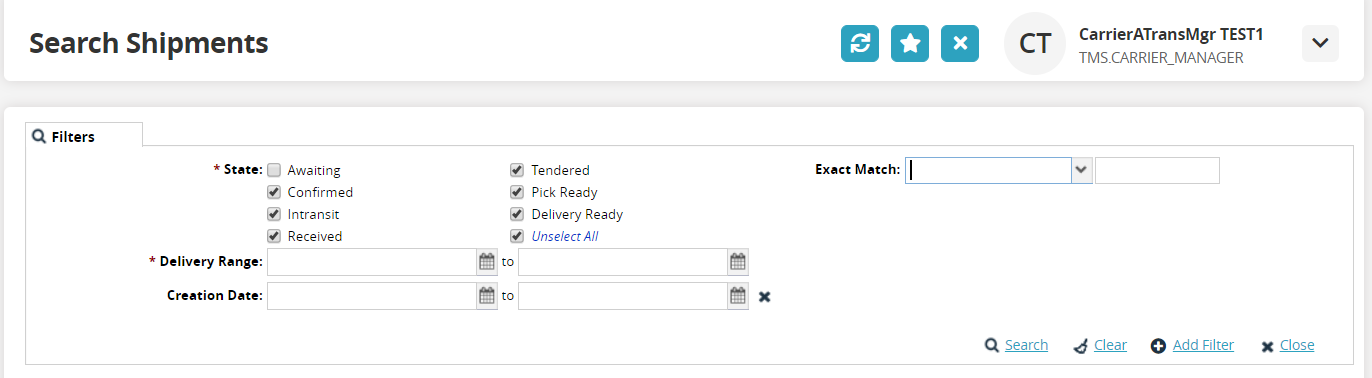
Fill out the following fields. Fields with an asterisk ( * ) are required.
Field
Description
* State
Click the checkbox for the state of the shipment.
* Delivery Range
Use the clock and calendar tools to select the beginning and end dates for the delivery range.
Shipment
Enter the shipment number.
Equipment
Select the value parameter from the drop-down list for the first field. Select the equipment type for the second field.
Creation Date
Use the calendar tool to select a date range for the creation date of the shipment.
Exact Match
Select movement or shipment from the drop-down list for the first field. Enter the exact movement/shipment number in the second field.
Click the Search link.
The data results display.
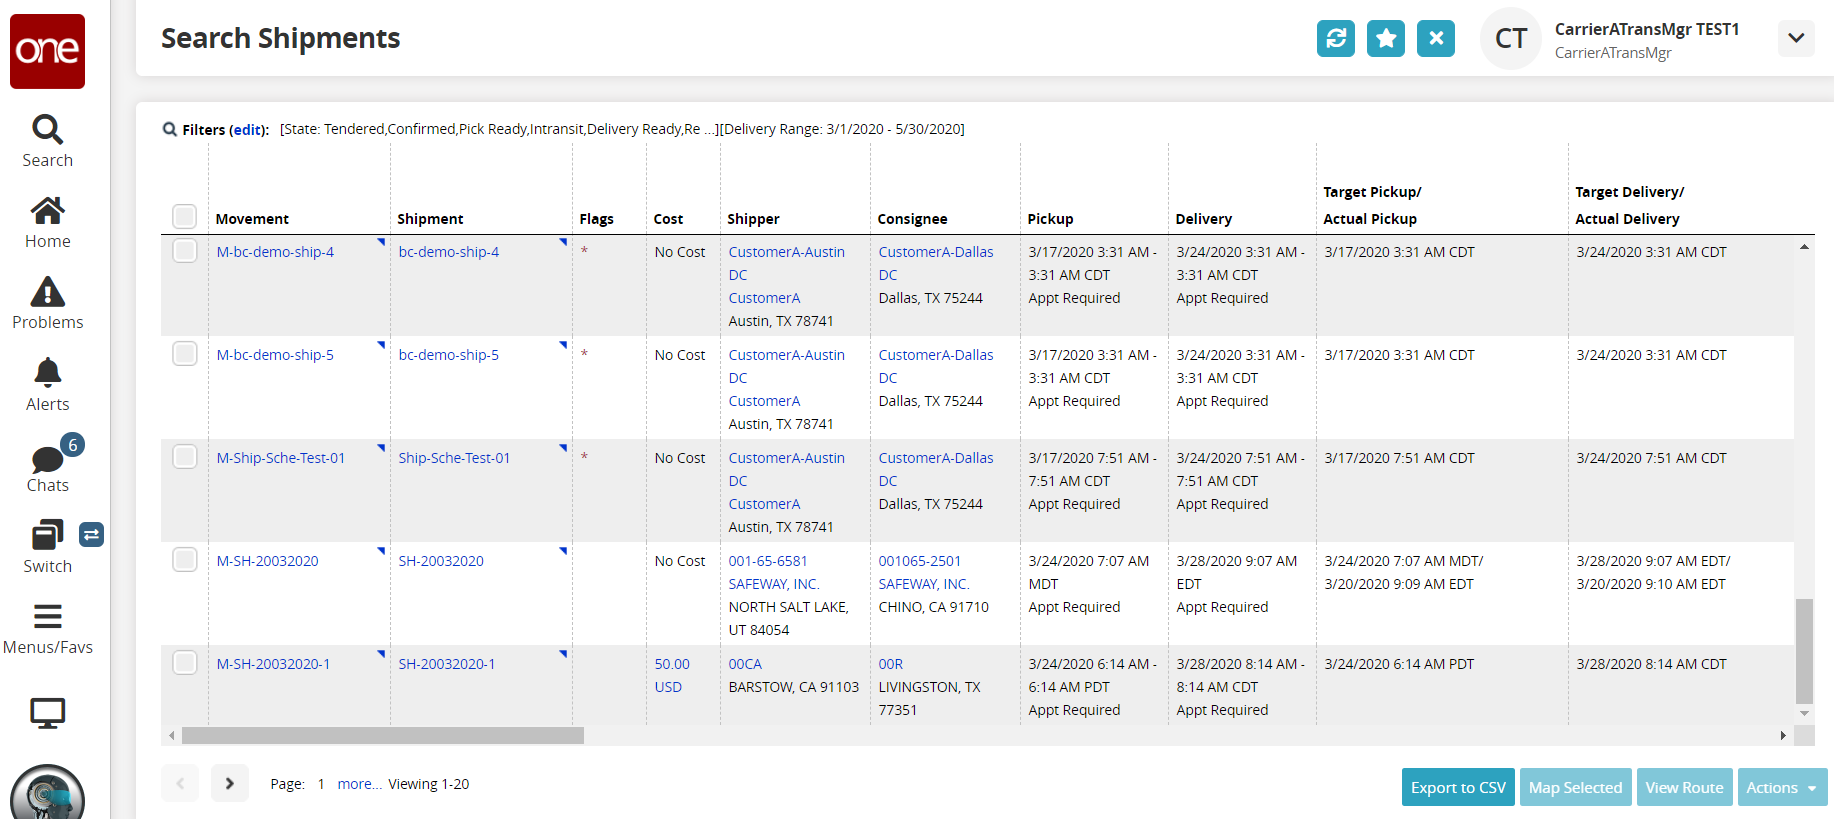
To access the shipment information, click the shipment number located in the Shipment column.
The Shipment Details page is displayed for the selected shipment.On the Shipment Details page, select the Documents tab.
The Documents tab displays different sections for shipment-related documents.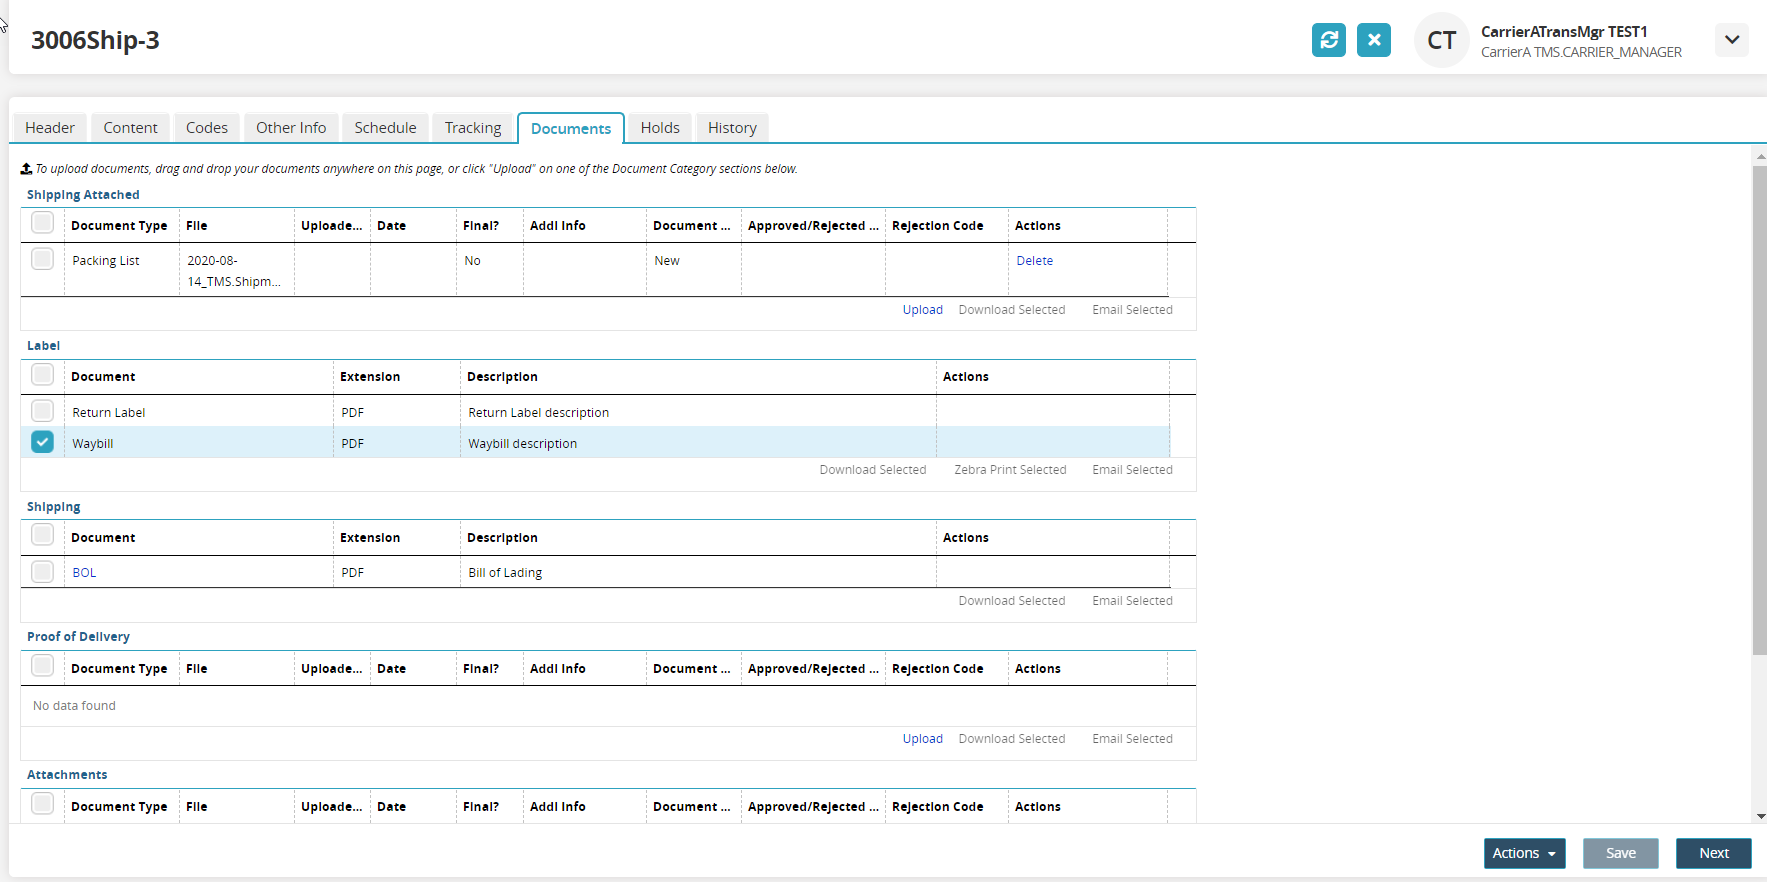
Click the Upload link under any section to upload that type of document.
The Upload popup window display. Fields with an asterisk ( * ) are required.
Select the * Document Type from the dropdown menu.
In the Addl Info field, click the edit/pencil icon to add information.
Click the checkbox if this is a final document for this type.
Click the Browse button to locate a file from the user's computer.
Click the OK button.
The file displays under the section.
Download a Document
Click the checkbox next to the document.
Click the Download Selected link.
The document downloads to the user's computer.
Print a Document
Click the checkbox next to the document.
Click the Zebra Print Selected link.
The document prints.
Email a Document
Click the checkbox next to the document.
Click the Email Selected link.
The Email Documents popup window displays.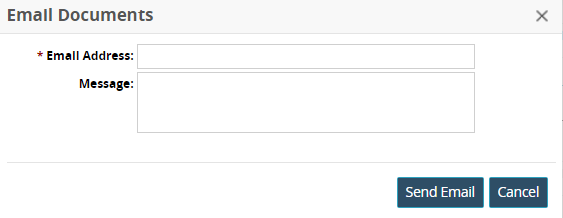
In the * Email Address field, type the email address.
Type a message in the Message field.
Click the Send Email button.