Managing AVL Procurement Policies
Users can search, update, and add AVL procurement policies in the system.
Complete the following steps to search, update, and add AVL procurement policies:
L og in to the ONE system.
Select Menus/Favs > Contract Mgmt > Procurement Policies > AVL Policies.
For some users, the AVL Policies UI is also available from the Menus/Favs > Administration > Procurement Policies > AVL Policies menu.
In the NEO UI, users can click on the Menus/Favs icon on the left sidebar and type in the name of the screen in the menu search bar. For more information, see "Using the Menu Search Bar."
The AVL Policies screen displays.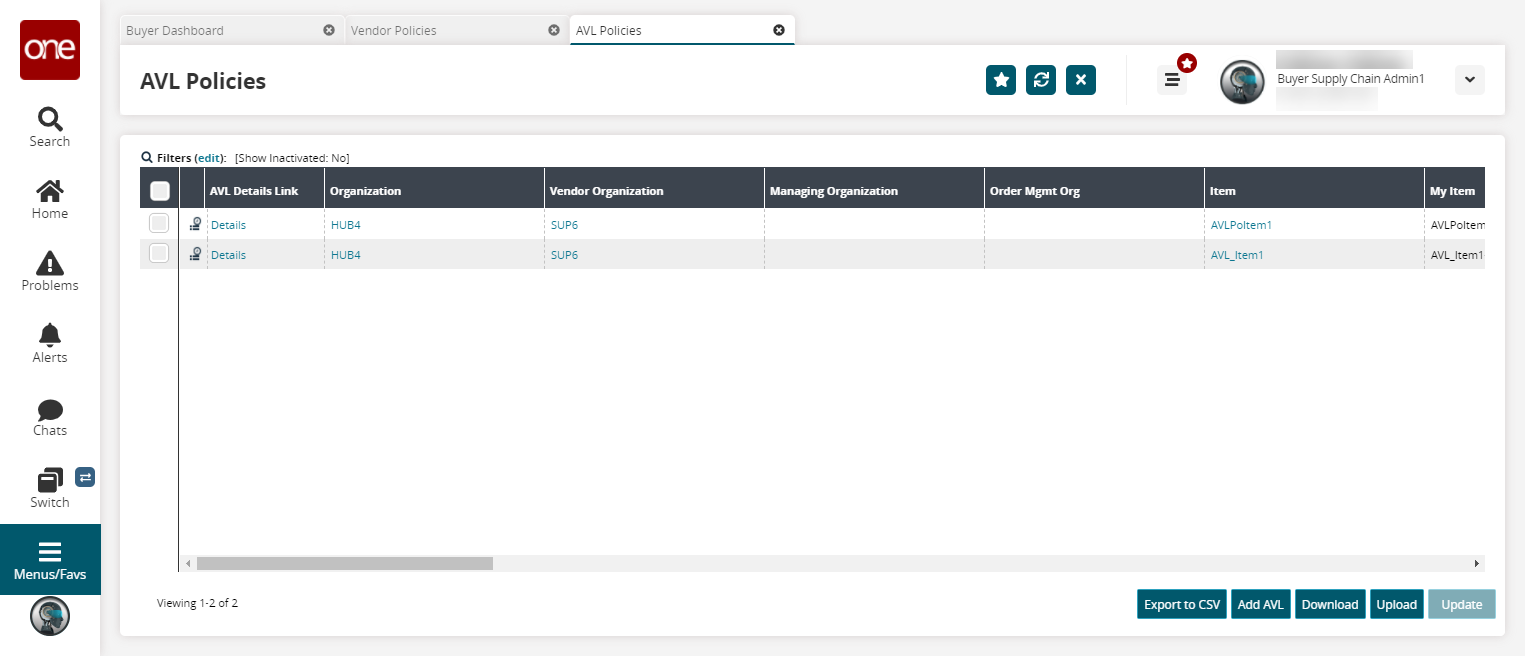
Click the Filters (edit) link to apply search criteria to reduce the number of entries shown.
The Filters menu displays.To add more search filters, click the Add Filter link, and then click one or more filter options from the Add Filter list.
Fill out the filters as desired, and click the Search link.
The search results display.Click the Export to CSV button to export the report to a CSV file.
Click the Add AVL button to add an AVL. See the "Creating Approved Vendor Lists (AVLs)" section in the Online Help for more information.
Click the Download button to download an AVL policy.
Click the Upload button to upload an AVL policy.
Select a checkbox and click the Update button to update an AVL policy.
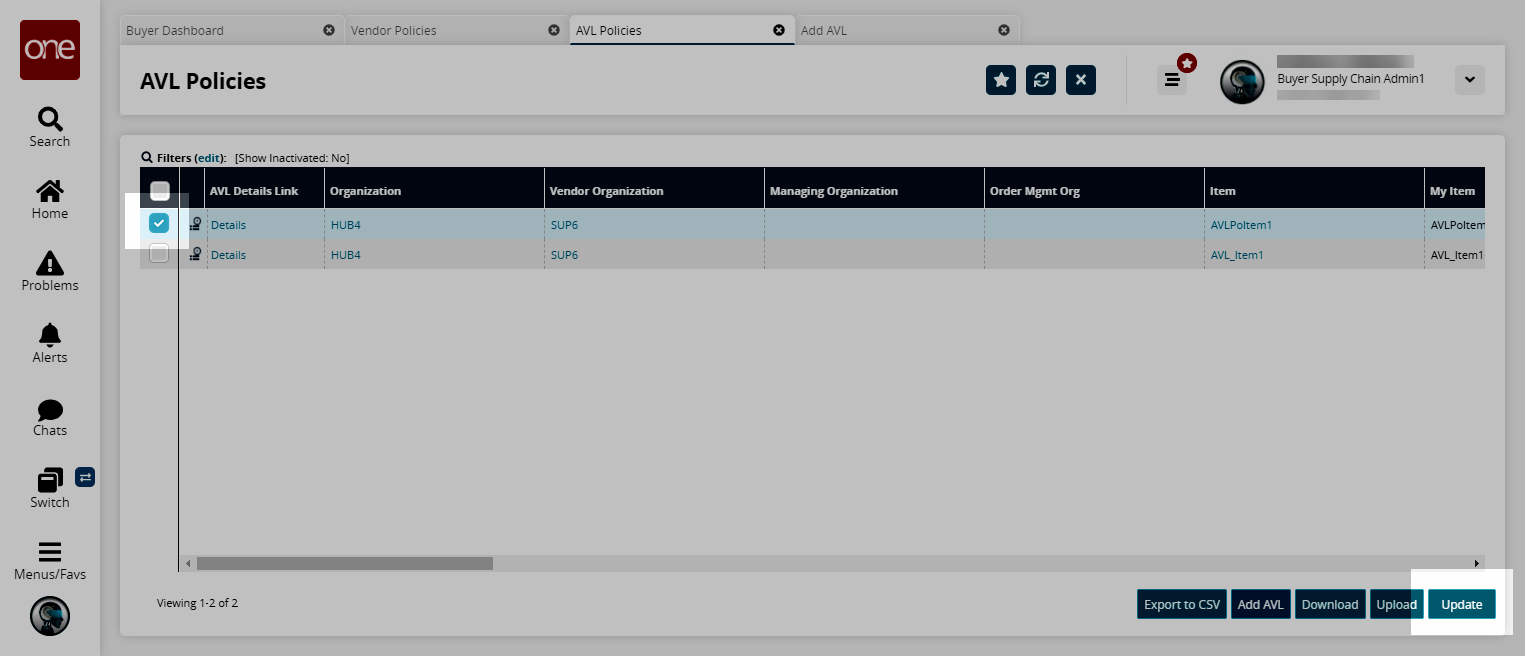
Update the Organization field as desired.
Click Submit.
A success message displays.