Managing Resource Assignments for Movements
You can view resource assignments by site for movements.
Complete the following steps to manage resource assignments:
L og in to the ONE system.
Click Menus/Favs > Fleet Mgmt > Resource Assignment. In the NEO UI, users can click on the Menus/Favs icon on the left sidebar and type in the name of the screen in the menu search bar. For more information, see "Using the Menu Search Bar."
The Resource Assignment screen displays.Select the site in the Explorer pane.
The Movement Schedule pane displays. Each movement shows the default date range of -2 to +2 days from the current date.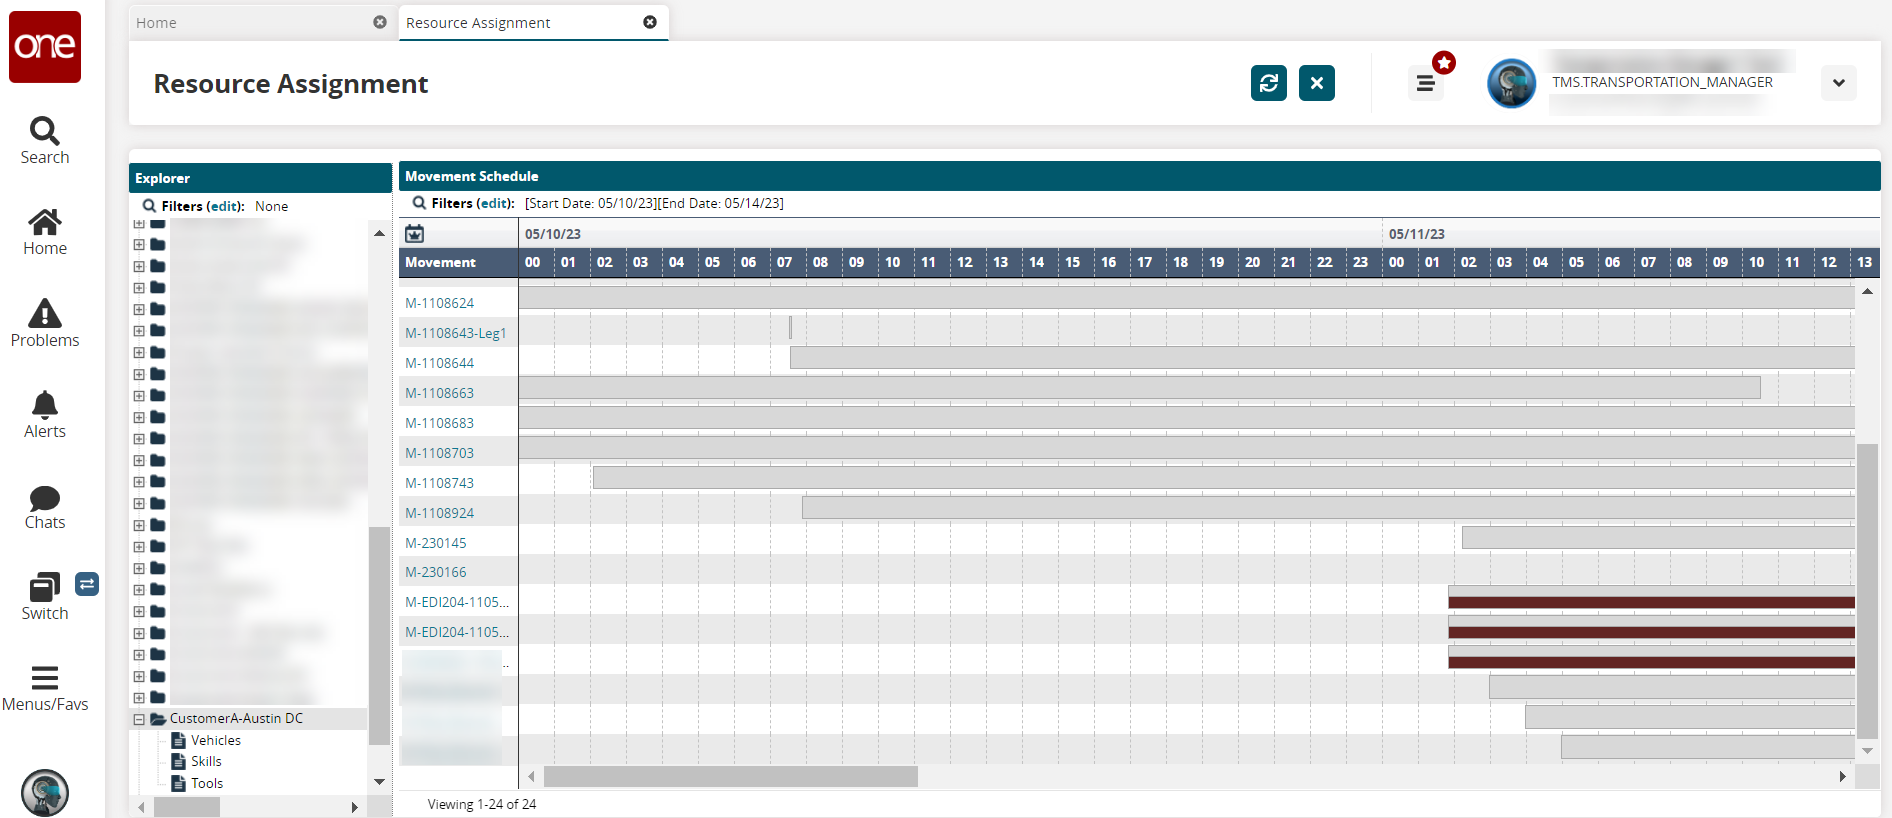
Click the Filters (edit) link to open the search filter box.
Use the calendar tool to select days for the * Start Date and * End Date.
Select a value from the dropdown list for the Resource Status field.
Enter the ID in the Movement field.
Click the Search link.
All movements matching the search criteria appear in the Movement Schedule pane.Click the legend icon (
 ).
).
A legend with color coding explanations displays.Hover the cursor over a block.
A box displays the status.Click the movement's timeline block.
The detail pane displays at the bottom of the Movement Schedule pane. A list of assigned resources also displays.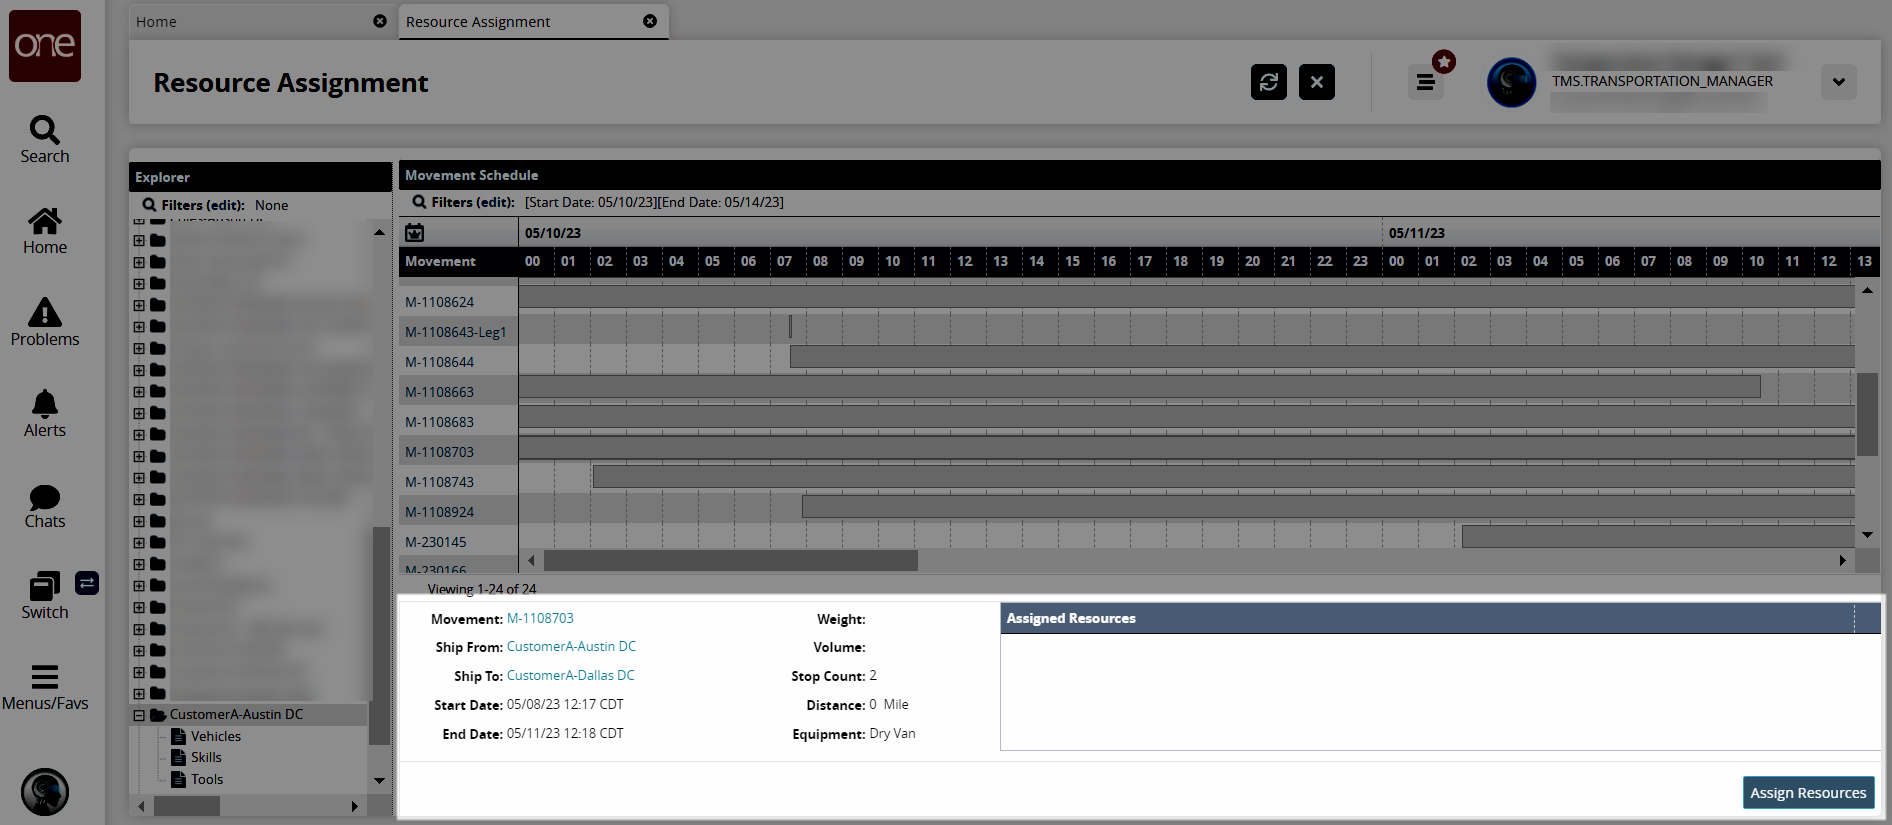
Click on any links to open details screens.
See the "Assigning Resources for Movements" section for more information.