Order-Shipment Schedule Dashboard
The Order-Shipment Schedule Dashboard displays purchase orders and their corresponding shipments. When users open the dashboard report, only orders with shipments display by default, and the default is states related to order execution (shipments) with default filtering with the following states:
Open
In Fulfillment
In Transit
Partially Shipped
Partially Received
A boolean filter (checkbox) allows filtering orders with and without shipments. If the user wants to view other purchase orders, they must explicitly select other states as filters.
Complete the following steps to view the Order-Shipment Schedule Dashboard:
L og in to the ONE system.
Click Menus/Favs > Order Mgmt > Purchase Order > Order-Shipment Schedule Dashboard.
The Order-Shipment Schedule Dashboard screen displays the Filters header by default.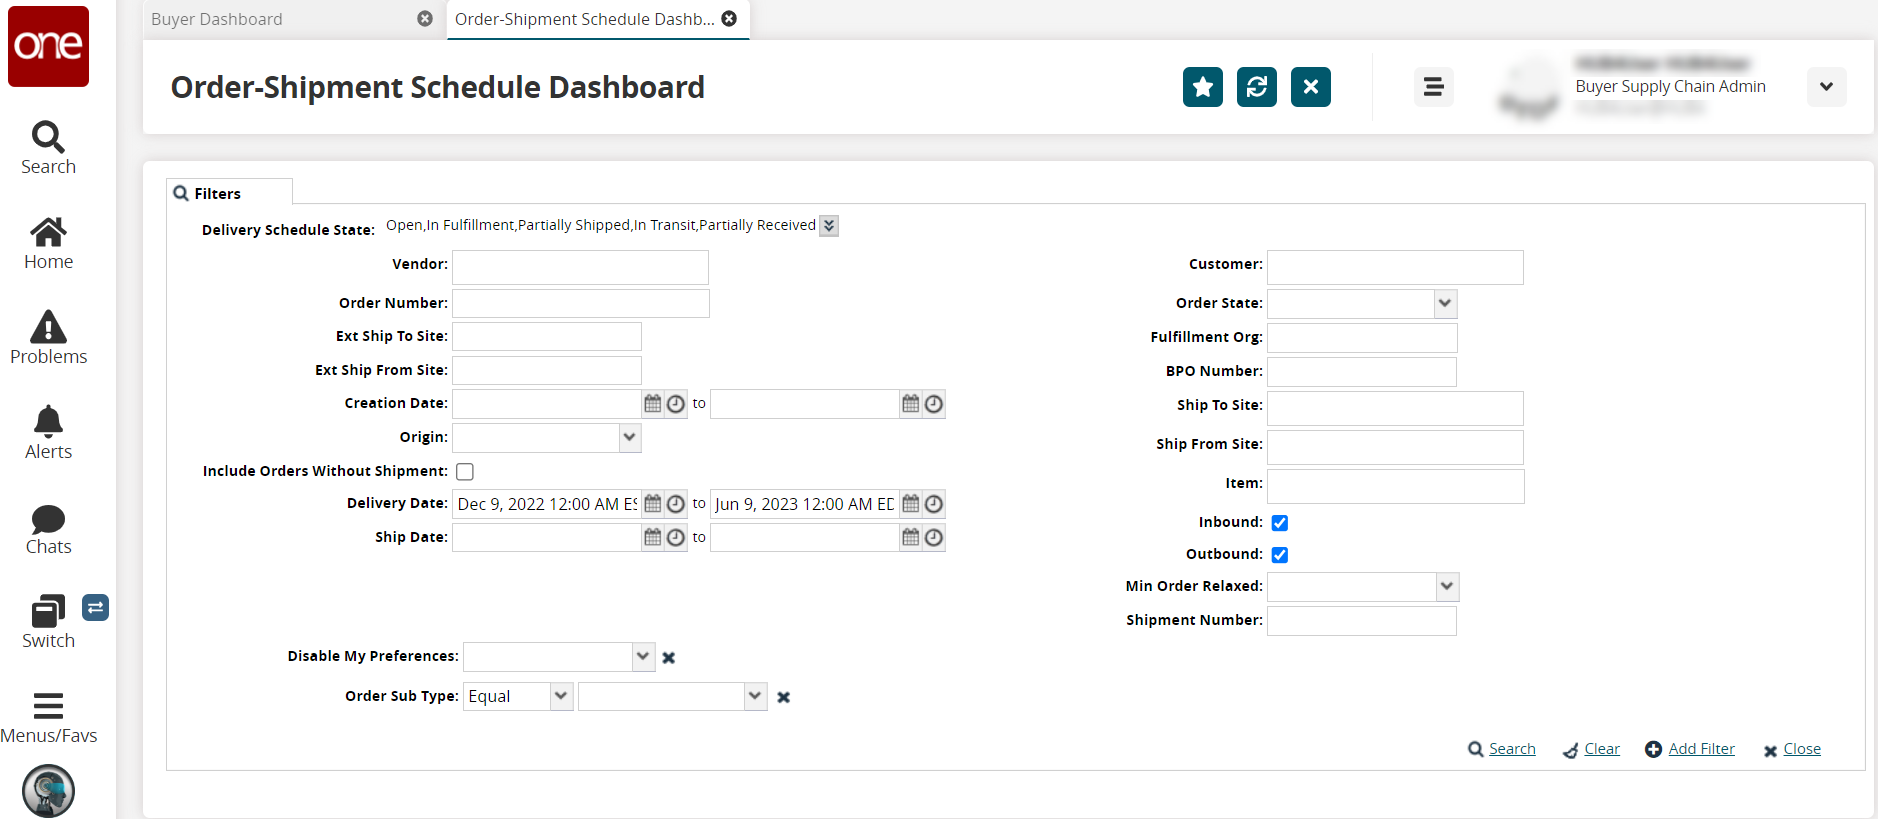
Fill out the following fields. Fields with an asterisk ( * ) are required.
Field
Description
Delivery Schedule State
This field is auto-populated to filter delivery schedules with the following states:
Open
In Fulfillment
In Transit
Partially Shipped
Partially Received
Click the down arrow to display all states and check the boxes for desired states.
Vendor
Enter the vendor.
Order Number
Enter the order number.
Ext Ship To Site
Enter the external Ship To site.
Ext Ship From Site
Enter the external Ship From site.
Creation Date
Use the calendar and clock tools to select the beginning and end date range for the creation date.
Origin
Select the origin for the schedule from the dropdown list.
Include Orders Without Shipments
Check the box to include orders without shipments.
Delivery Date
Use the calendar and clock tools to select the beginning and end date range for the delivery date.
Ship Date
Use the calendar and clock tools to select the beginning and end date range for the ship date.
Disable My Preferences
Select Yes or No from the dropdown list to disable My Preferences.
Order Sub Type
Select Equal or Not Equal from the first dropdown list and then the order subtype from the second dropdown list.
Customer
Enter the customer.
Order State
Select the order state from the dropdown list.
Fulfillment Org
Enter the fulfillment organization.
BPO Number
Enter the Blanket Purchase Order (BPO) number.
Ship To Site
Enter the Ship To site.
Ship From Site
Enter the Ship From site.
Item
Enter the item name.
Inbound
Check the box for inbound.
Outbound
Check the box for outbound.
Min Order Relaxed
Select Yes or No if the minimum order is relaxed.
Shipment Number
Enter the shipment number.
Click the Add Filter link and click to add additional filter fields.
The fields are added to the Filters header.Click the Search link.
The search results display.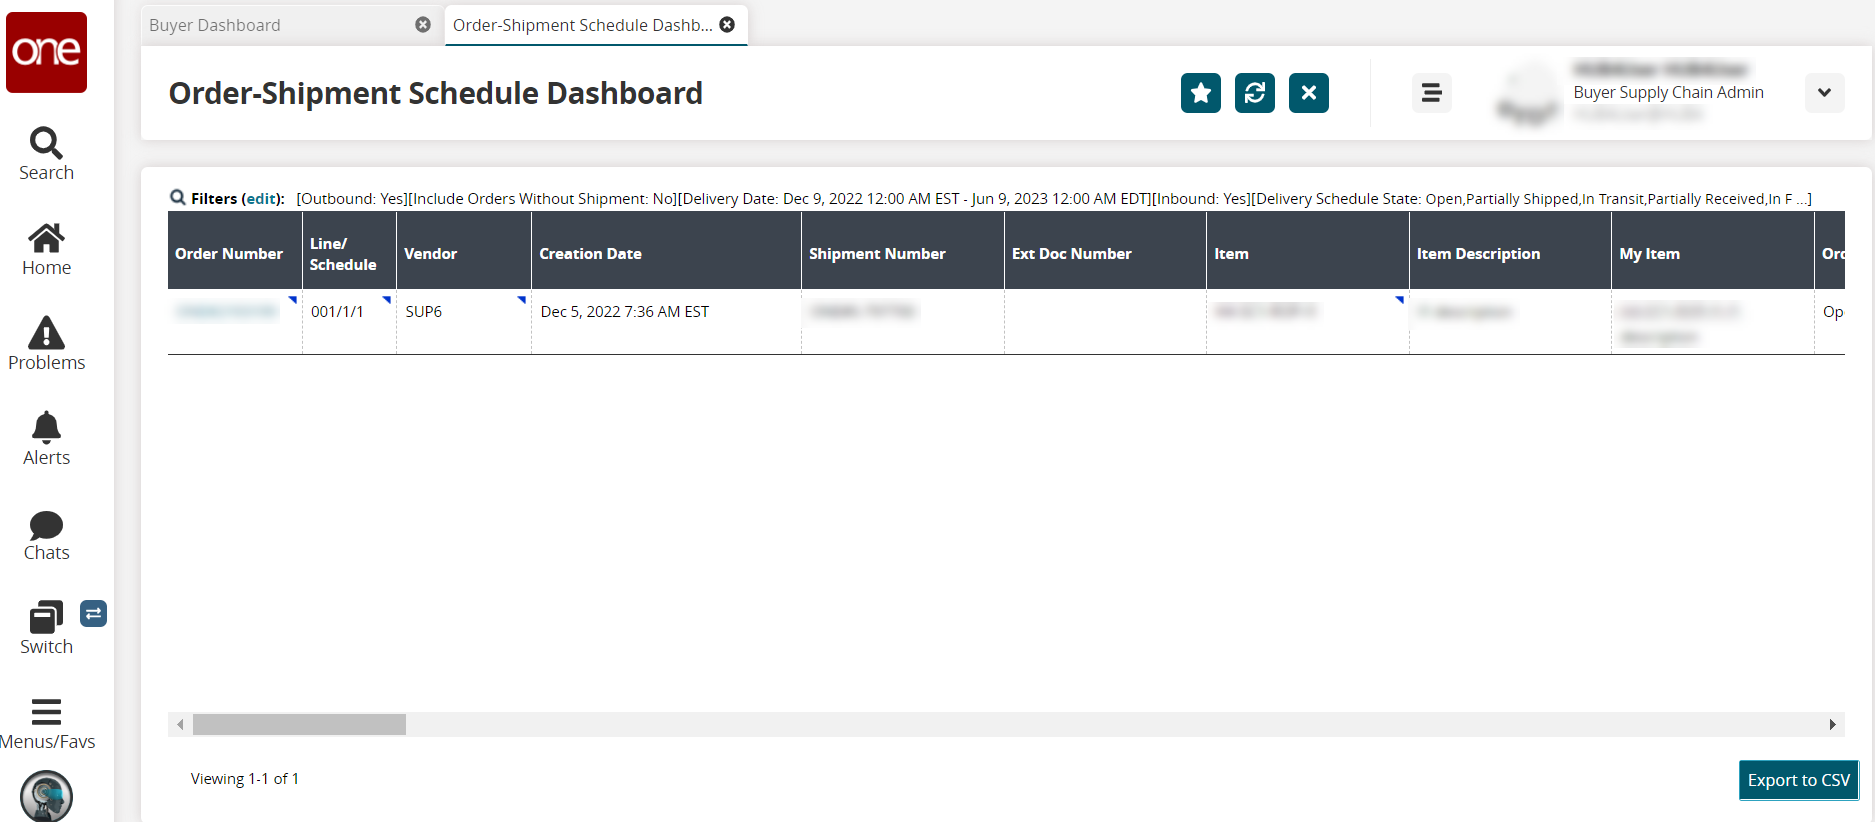
Click the link in the Order Number column to open the order details page.
The order details page displays in a new perspective.Click the contextual menu (triangle) for the Order Number.
A contextual menu displays.
Click any option to open a new perspective for that page using the order number as a filter.
Click the contextual menu (triangle) for the Line/Schedule.
A contextual menu displays.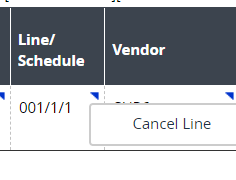
Click Cancel Line to cancel.
Click the contextual menu (triangle) for the Vendor.
A contextual menu displays.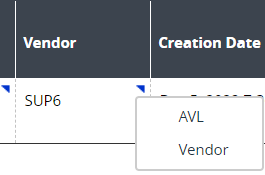
Select AVL (Approved Vendor List) or Vendor to open perspectives for those associated with this order.
Click the Export to CSV button to export the report to a CSV file.