Cloning Purchase Orders
This process is applicable to all order types. The example below uses Purchase Orders.
Complete the following steps to clone a purchase order (PO):
L og in to the ONE system.
Click Menus/Favs > Order Mgmt > Purchase Order > Search POs .
The Search POs screen displays.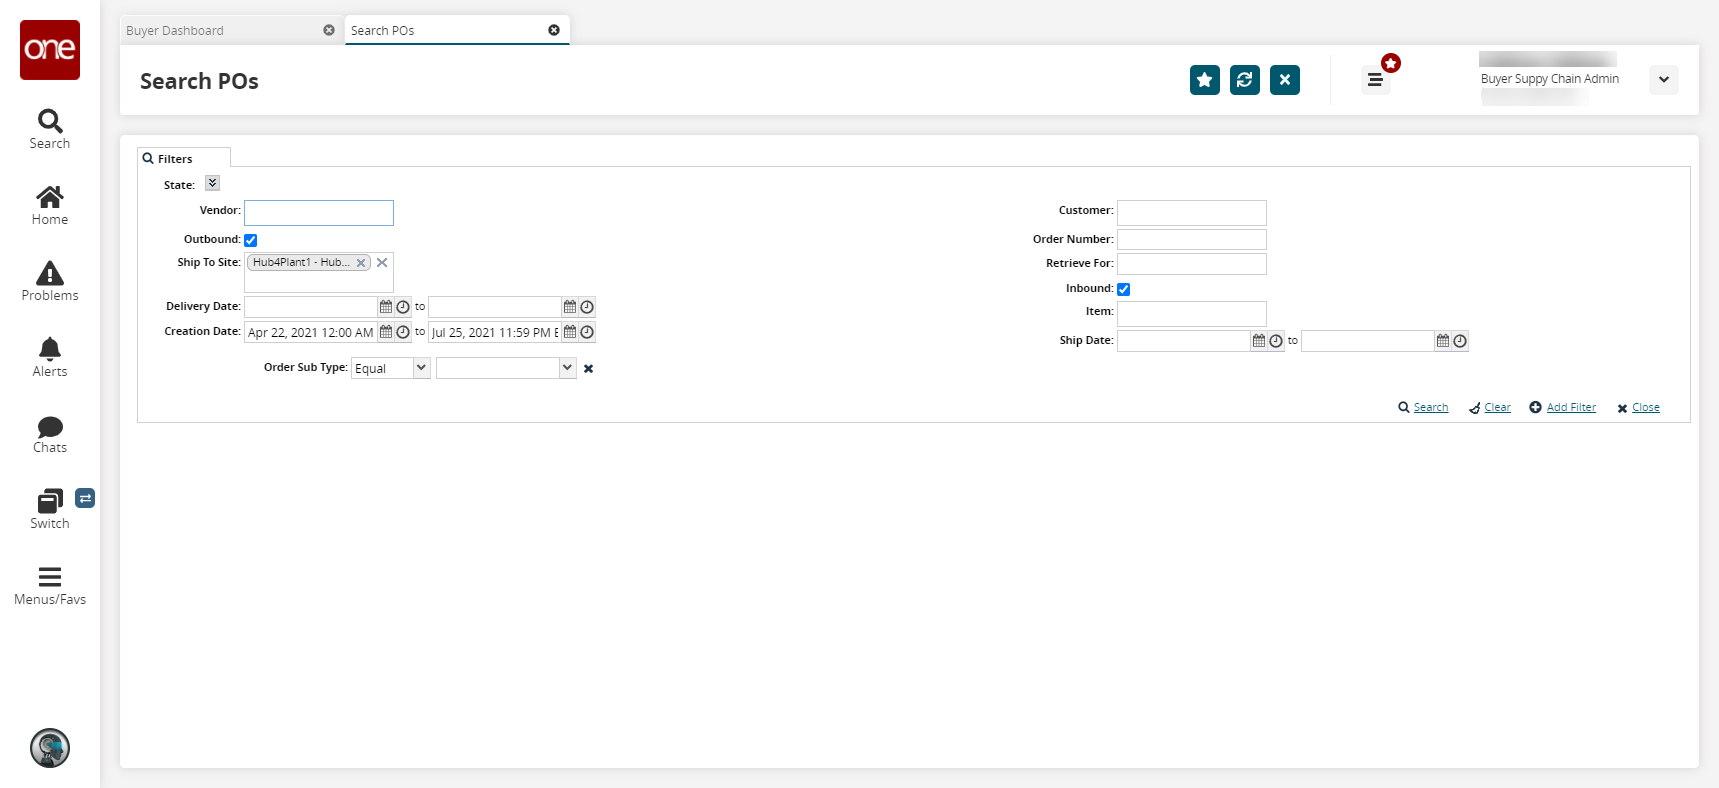
In the State field, click the downward arrow to open the purchase order state options.
Fill out the following fields as necessary. Fields with an asterisk ( * ) are required. See the "Searching Purchase Orders" section of Online Help for more information.
Field Name
Description
State
These checkboxes allow you to filter search results by the current order state. Select one or more options to include only those options selected. Click the Select All checkbox to include all order states in the search results .
Vendor
The vendor associated with the purchase order.
Outbound
Select this option to include only outbound orders.
Ship To Site
Enter a site to include only orders for the selected site.
Delivery Date
Enter a delivery date range to include only orders which fall within the entered range.
Creation Date
Enter a creation date range to include only orders which fall within the entered range.
Customer
Filter order search results by customer.
Order Number
Filter order search results by order number.
Retrieve For
Select the number of days to retrieve from the dropdown menu. The available options are Last 30 Days, Last 60 Days, Last 4 Months, Last 6 Months, and Last Year.
Inbound
Select this checkbox to only include inbound orders.
Item
Filter order search results by item.
Ship Date
Enter a ship date range to include only orders within the entered range.
Disable My Preferences
Select Yes or No to disable all the selected preferences.
Order Subtype
This field indicates the subtype of the order. Select an option from the drop-down menu. The available options are Blank, No Receipt, Consignment, Rebalance, Standard, or VMI.
Click the Add Filter link to add more filters.
Click the Search link.
A summary of purchase orders matching the search criteria displays.
In the first column, click the checkbox to select the order you want to clone.
Click the Actions button and select Clone.
The Clone Order popup window appears.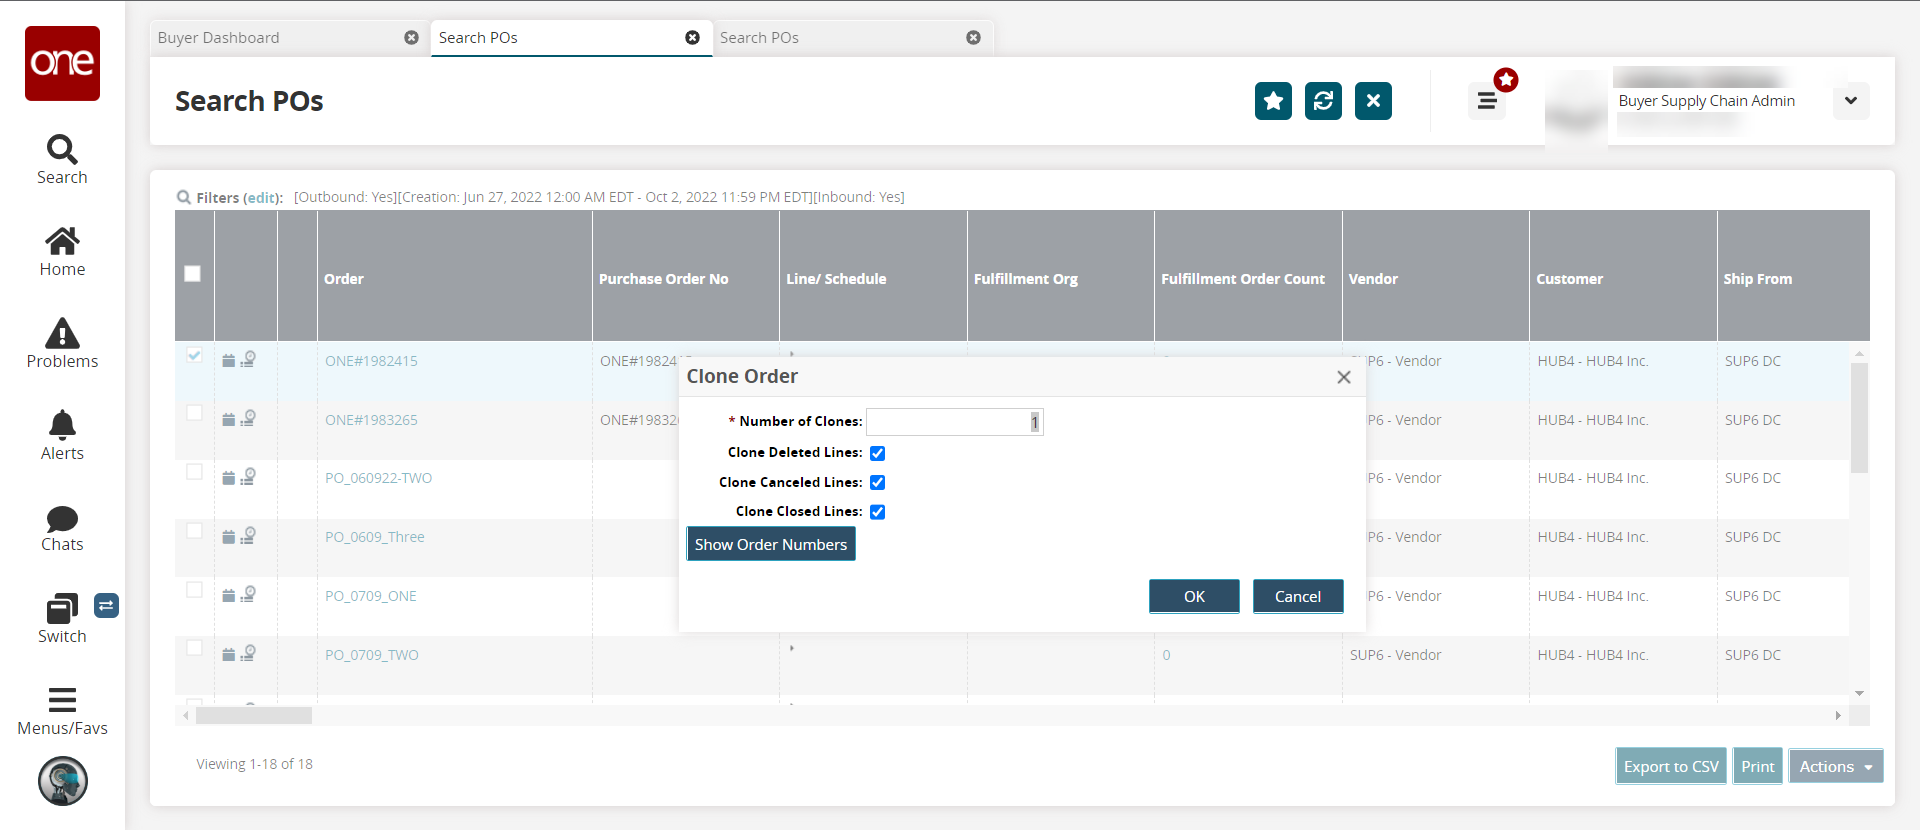
In the Number of Clones field, enter the number of clones to create from the selected order.
In the Clone Deleted Lines field, click the checkbox to clone deleted lines of the parent order.
In the Clone Canceled Lines field, click the checkbox to clone canceled lines of the parent order.
In the Clone Closed Lines field, check the box to clone closed lines of the parent order.
Click the Show Order Numbers button.
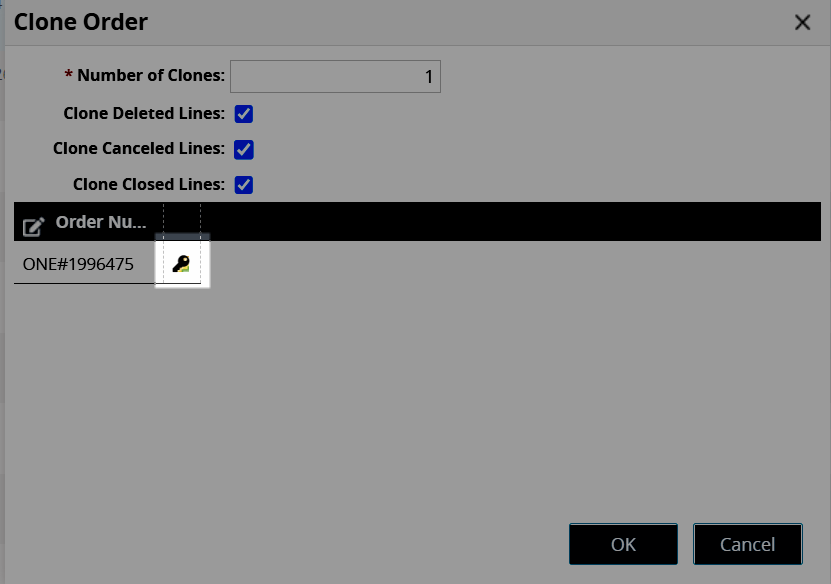
A grid appears with pre-generated order numbers for the cloned orders. In the example below, only one cloned order was created.
If you want to manually add an order number for a cloned order instead of using the pre-generated number, click the order number in the Order Number column. Alternatively, you can use the pre-generated number and skip to step 17 below.
The order number field becomes editable.Enter the order number.
Repeat the process for each order number you want to enter manually. At any time, click the key icon beside an order number to revert to the pre-generated number.
Once all order numbers have been edited, if desired, click OK.
The order is cloned and created in a draft state. The Search POs screen opens with the newly cloned order as the only order in the list.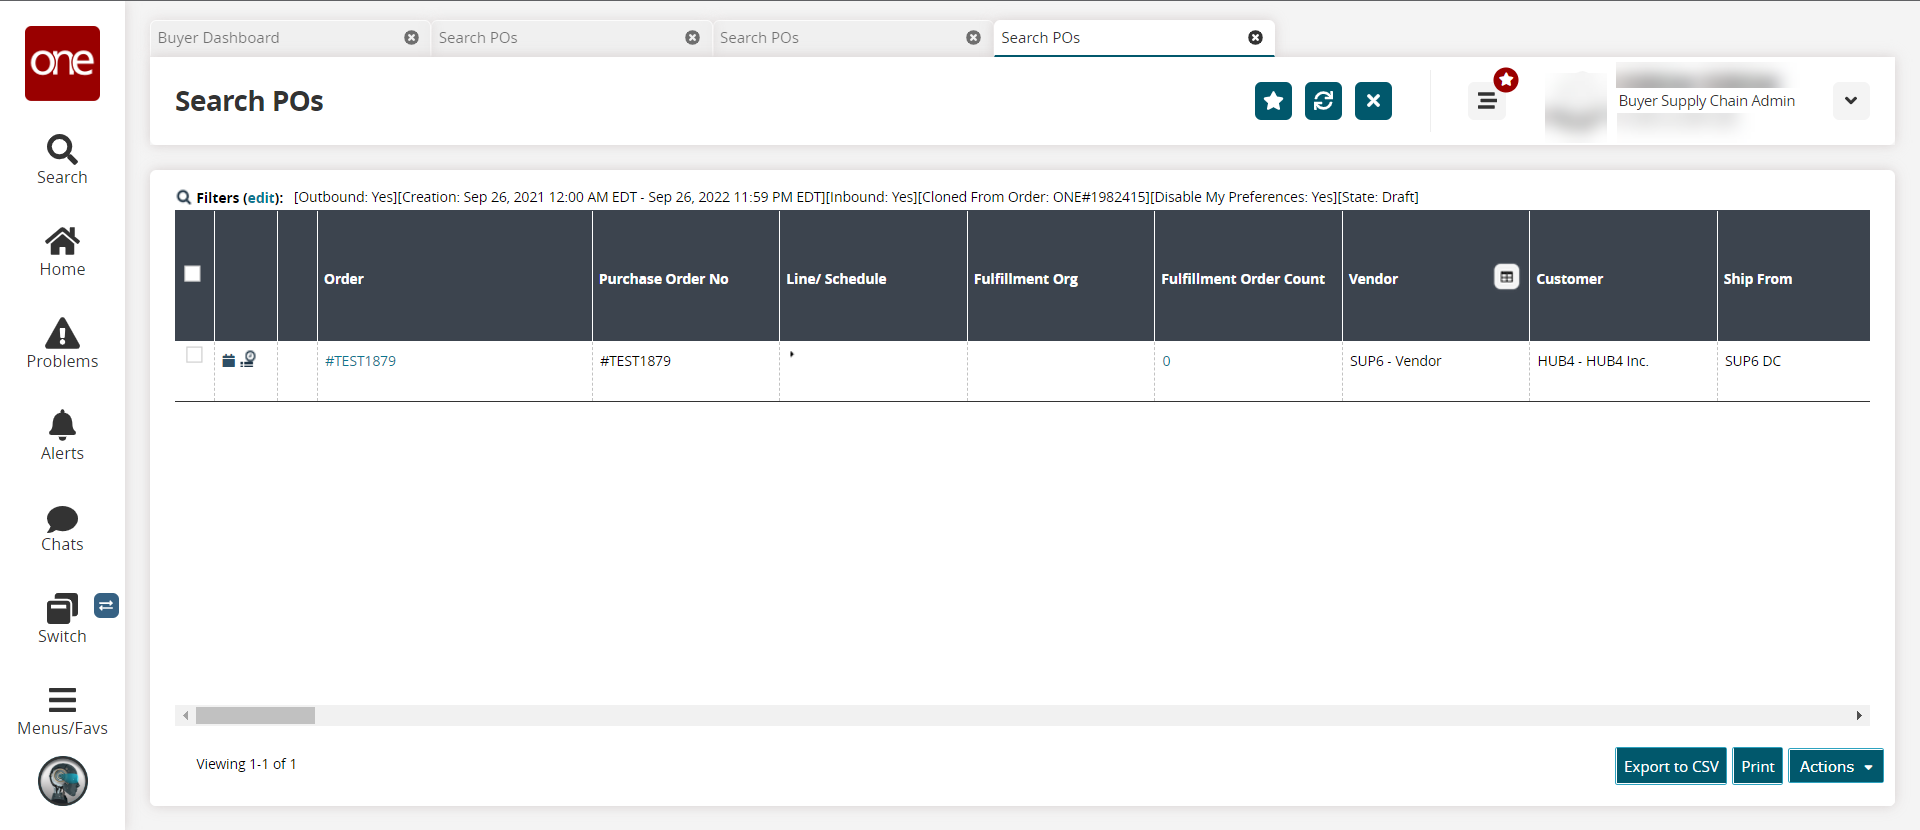
In the first column, click the checkbox to select a cloned order.
Click the Actions button and select Submit to submit the order as-is, or follow the steps below to update/edit the cloned order before submitting.
In the Order column, click the newly cloned order number link.
The order details screen opens.Update the order as desired before submitting. See the "Creating Purchase Orders" and the "Submitting a Purchase Order" sections in the Online Help for more information.