Picking Internal Components When Assembling an Asset
The section describes how an asset admin can pick internal components from the internal inventory when assembling an asset.
The Maintenance Repair Overhaul (MRO) policy, Disable Multi Inventory Put Back, must be enabled as a prerequisite.
Complete the following steps to search and set the Disable Multi Inventory Put Back policy for an asset:
Log in to the ONE system.
Click Menus/Favs > Administration > Policies > MRO Policies .
The MRO Policies screen displays.
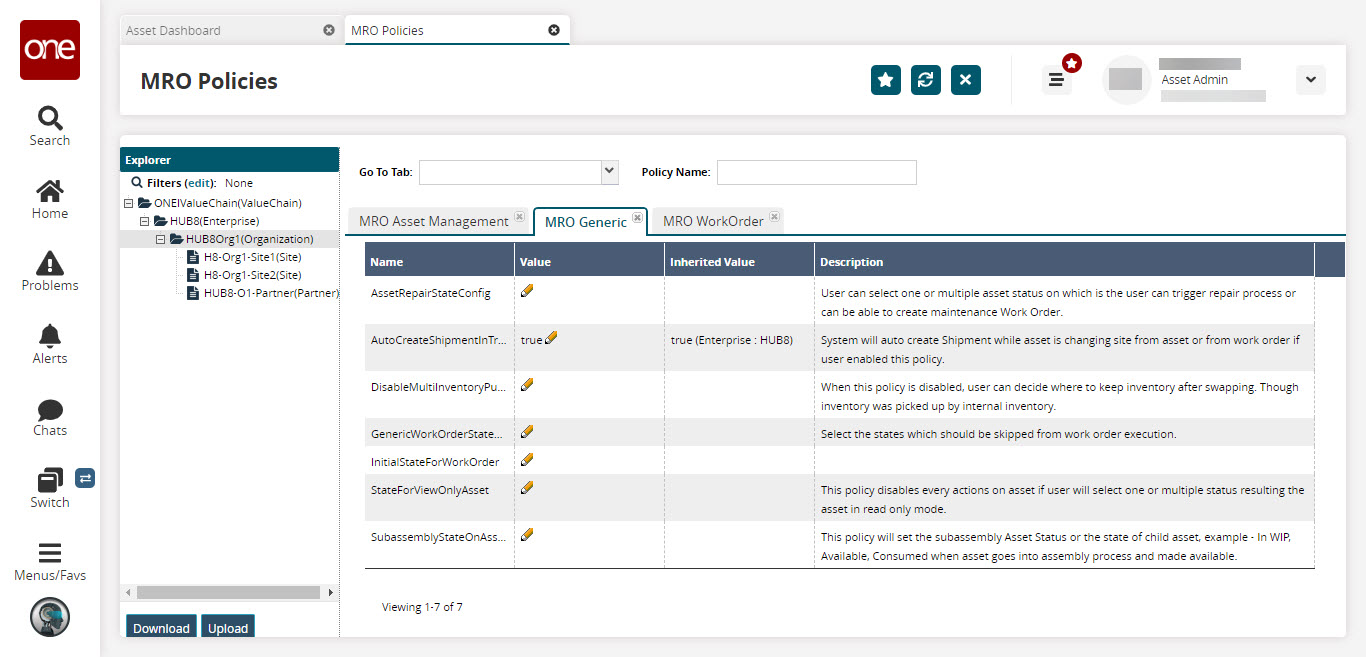
In the Explorer pane on the left, select the appropriate hierarchy level for the policies.
Policies relevant to the selection are displayed. By default, the MRO Asset Management tab is selected.
Click the MRO Generic tab.
In the Disable Multi Inventory Put Back policy row, c lick the pencil icon to update the policy value.
The Policy Value dialog box opens.
In the Value field, click the checkbox and then click the Save button.
The Disable Multi Inventory Put Back policy is set, and the True value displays next to the pencil icon

Complete the following steps to pick internal components when assembling an asset:
Log in to the ONE system.
Click Menus/Favs > Asset Management > Search Asset.
The Search Asset screen displays.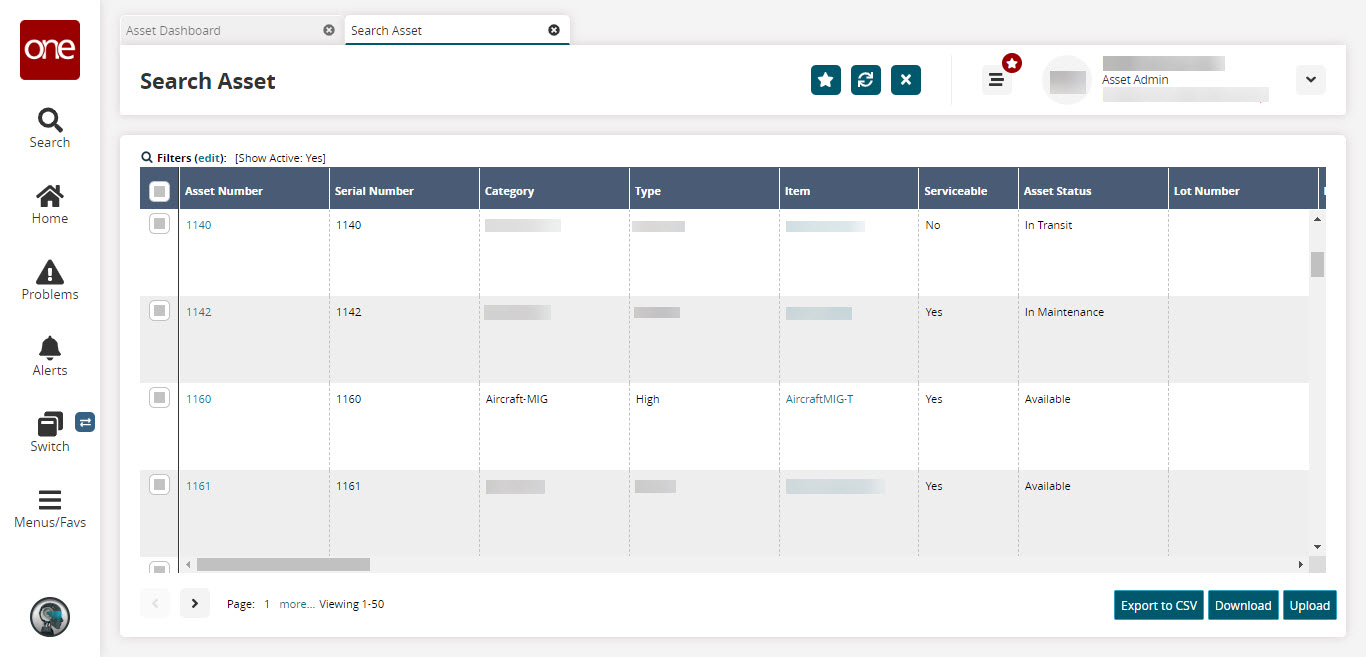
Click the Filters (edit) link to select the desired asset.
In the Asset Number column, click the asset number link to view the desired asset's details.
The Asset Details page opens.
Click the Structure tab.
The item type details and respective child items are displayed.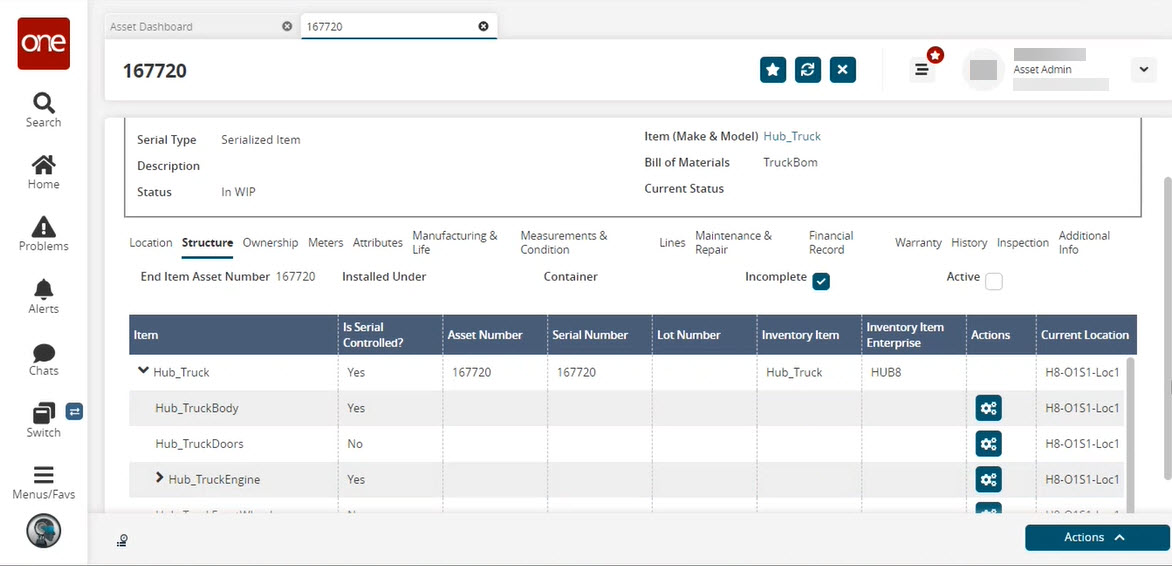
Click the
 icon to expand the item details.
In the Actions column, click the Settings icon
 .
.
The three Action icons appear. (Edit, Swap, and Delete icons)
Click the Swap icon
 to pick up or swap the internal components from the inventory.
The Inventory Summary Picker Report dialog box displays.
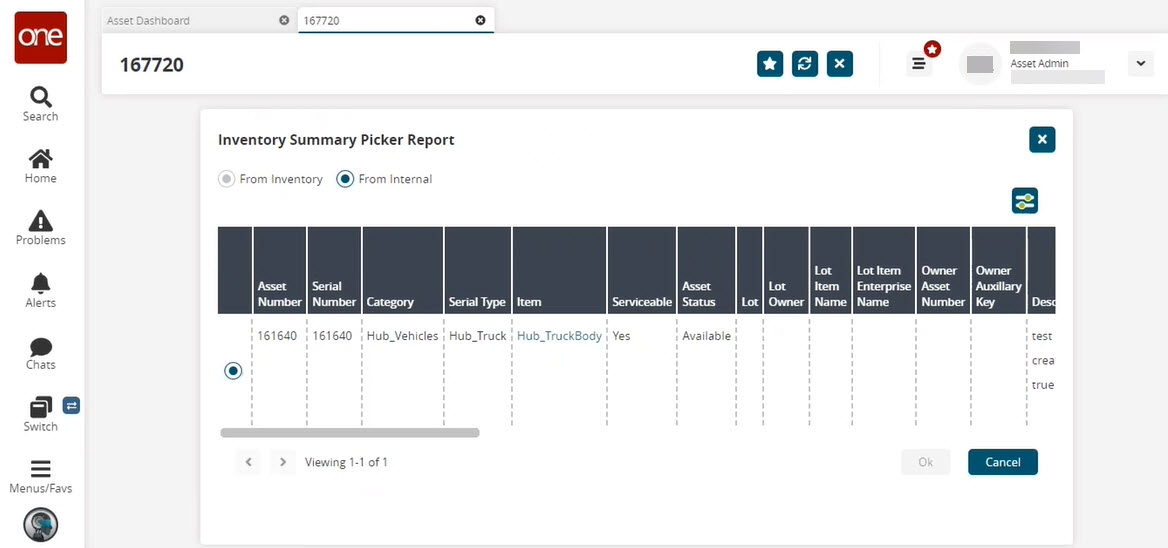
Select the From Internal option.
Select the appropriate component type and then click the Ok button.
The component is added for the corresponding asset item.