Quorum Approval Routing Mode
The approval routing mode Quorum (also called "X of Y") is available for Supply Chain Admin roles. With this approval process, if X users of Y total users approve, then the approval process completes. For example, if 7 of 10 users approve, the approval process completes.
Complete the following steps to configure and use the Quorum approval routing mode:
Log in to the ONE system as a Supply Chain Admin role.
Click Menus/Favs > Approval Routing > Approval Routing.
The Approval Routing screen appears.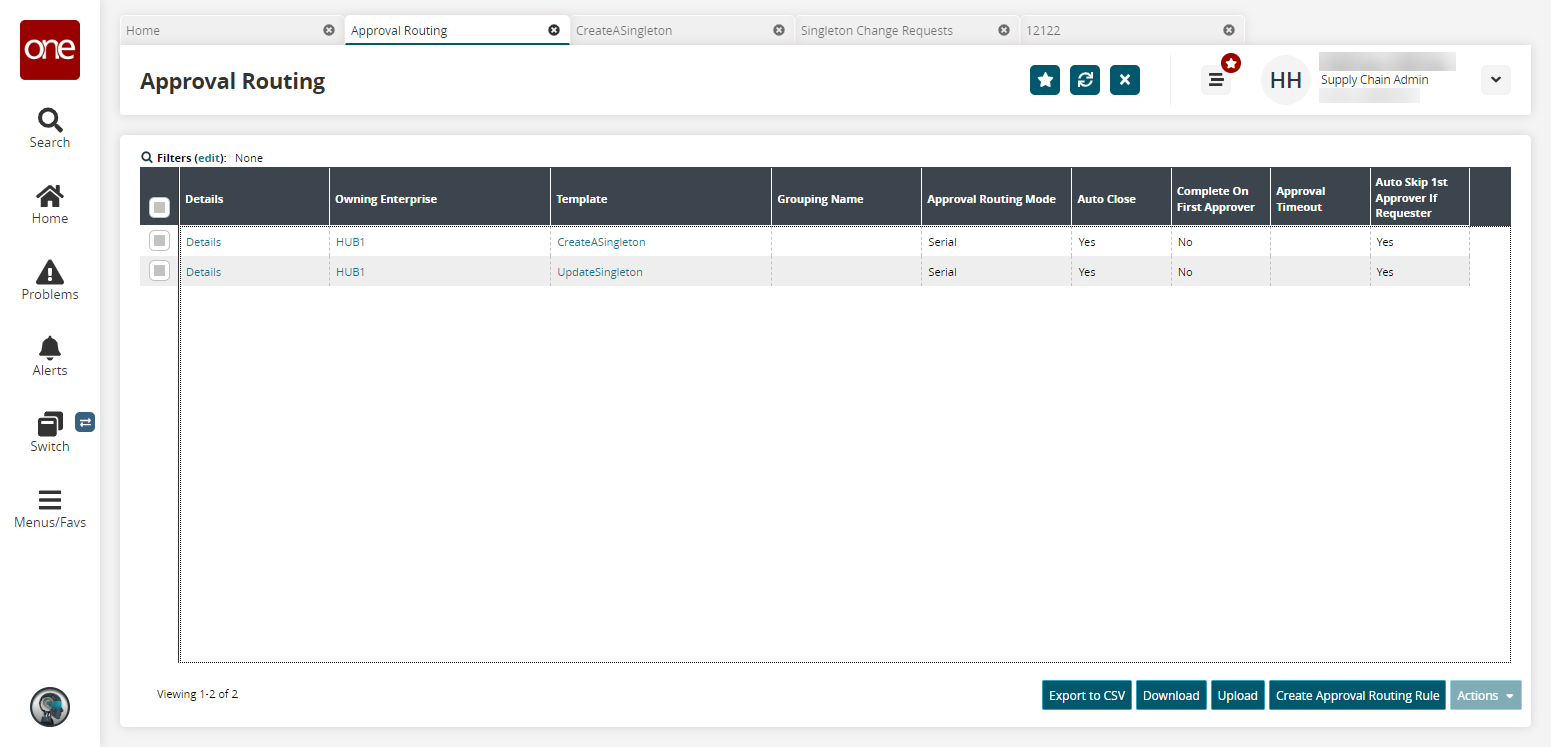
Currently, only two templates are supported, CreateASingleton and UpdateSingleton, and duplicate templates are not allowed. The number of templates is determined by the specific modules that use this feature in the ONE system. If two rows already exist, as found in this current example, one must be deleted before another can be created.
If the maximum number of templates already exists, and you would like to create another, click the checkbox for that row and click Actions > Delete.
The Delete popup appears. For the following steps, we will assume that the CreateASingleton has been deleted.Click Submit.
The Approval Routing screen appears with the row deleted.
Click the Create Approval Routing Rule button.
The Create Approval Routing Rule screen appears.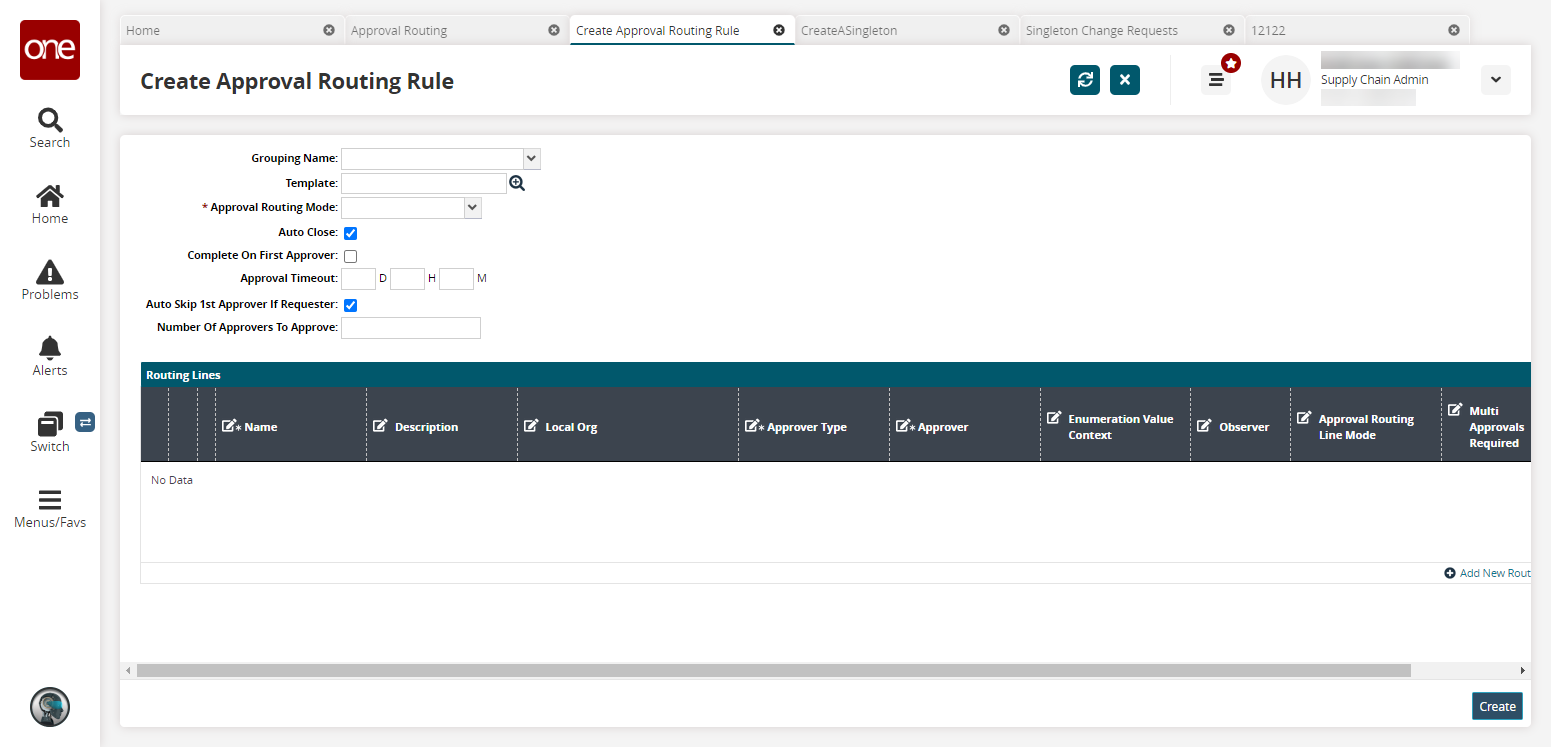
Fill out the following fields. Fields with an asterisk ( * ) are required.
Field
Description
Grouping Name
Select a grouping name from the dropdown menu.
Template
Select a template using the picker tool. For this example, we selected CreateASingleton.
* Approval Routing Mode
Select an approval routing mode from the dropdown menu. For this example, we selected Serial.
Auto-Close
Select this checkbox to auto-close the approval routing rule.
Complete On First Approver
Select this checkbox to complete the approval routing rule after the first approver.
Approval Timeout
Enter a time frame in days, hours, and minutes the approval is valid.
Auto-Skip 1st Approver If Requester
If this checkbox is selected and the first approver is also the requester, the first approval line is skipped and automatically approved. If this checkbox is not selected, then even if the requester is the first approver, the requester must explicitly provide their approval. This field is enabled by default.
Number of Approvers to Approve
Enter the number of approvers. This field determines how many approvers must approve for the approval to "pass". For this quorum workflow example, if this value is "1" and there are two routing lines, if either of the routing lines is approved, the entire singleton is approved. For this example, we will enter 1in this field.
In the Routing Lines table, click the Add New Routing Rule Line.
A new row appears. For this example, add two rows.Enter a *Name for each row.
Select an *Approver Type for each row. For this example, select Role for all rows.
Select an *Approver for each row. For this example, select Supply Chain Admin for one of the rows.
Select an Approval Routing Line Mode for each row. For this example, select Parallel for all rows.
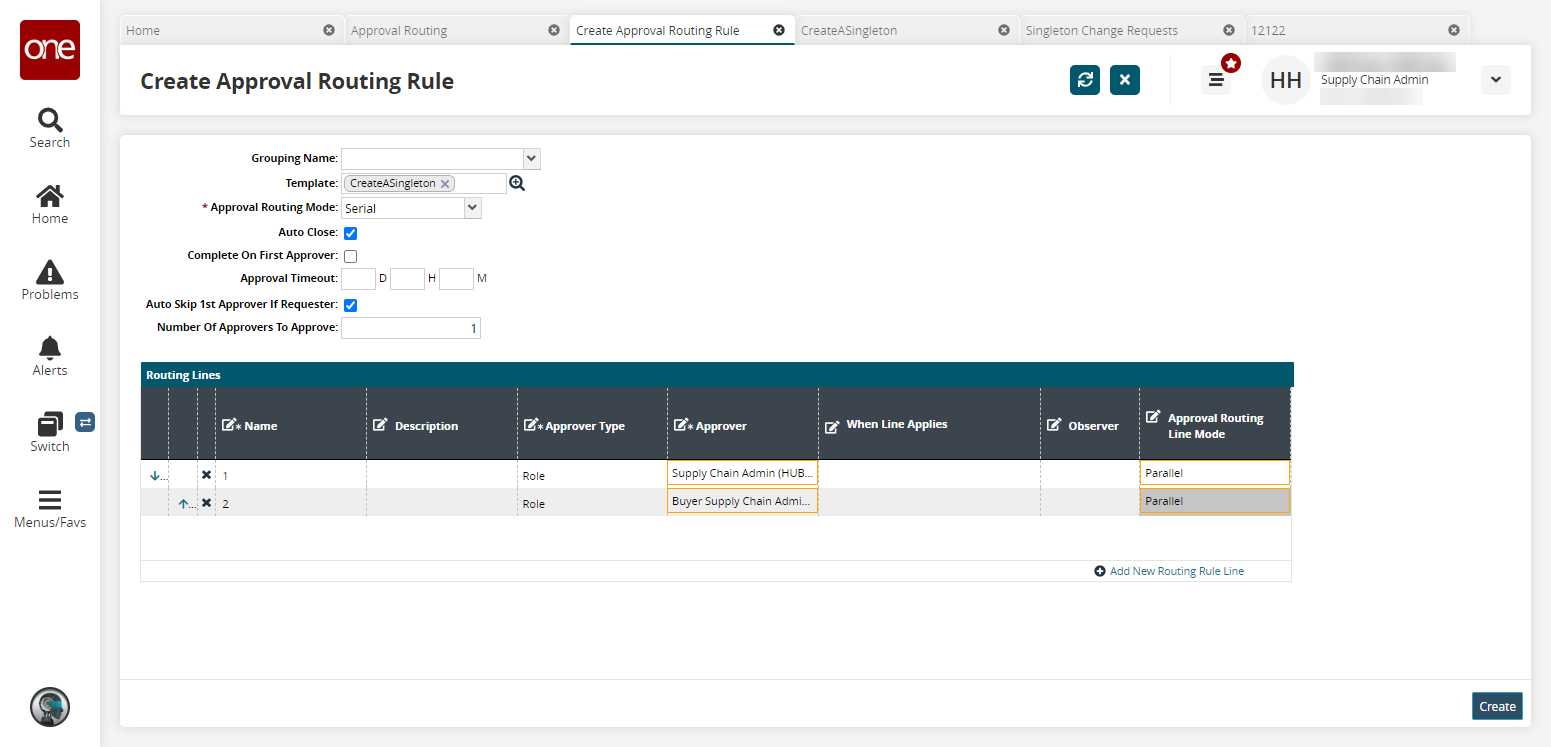
Click the Create button.
A success message appears.Click the Export to CSV button to export the report to a CSV file.
Click the Download button to download a file.
Click the Upload button to upload CSV files to the ONE system.
Complete the following steps to create a singleton and approve it using the quorum settings configured earlier:
Click Menu/Favs, and in the search bar, enter Singleton Change Request.
The Singleton Change Request screen appears.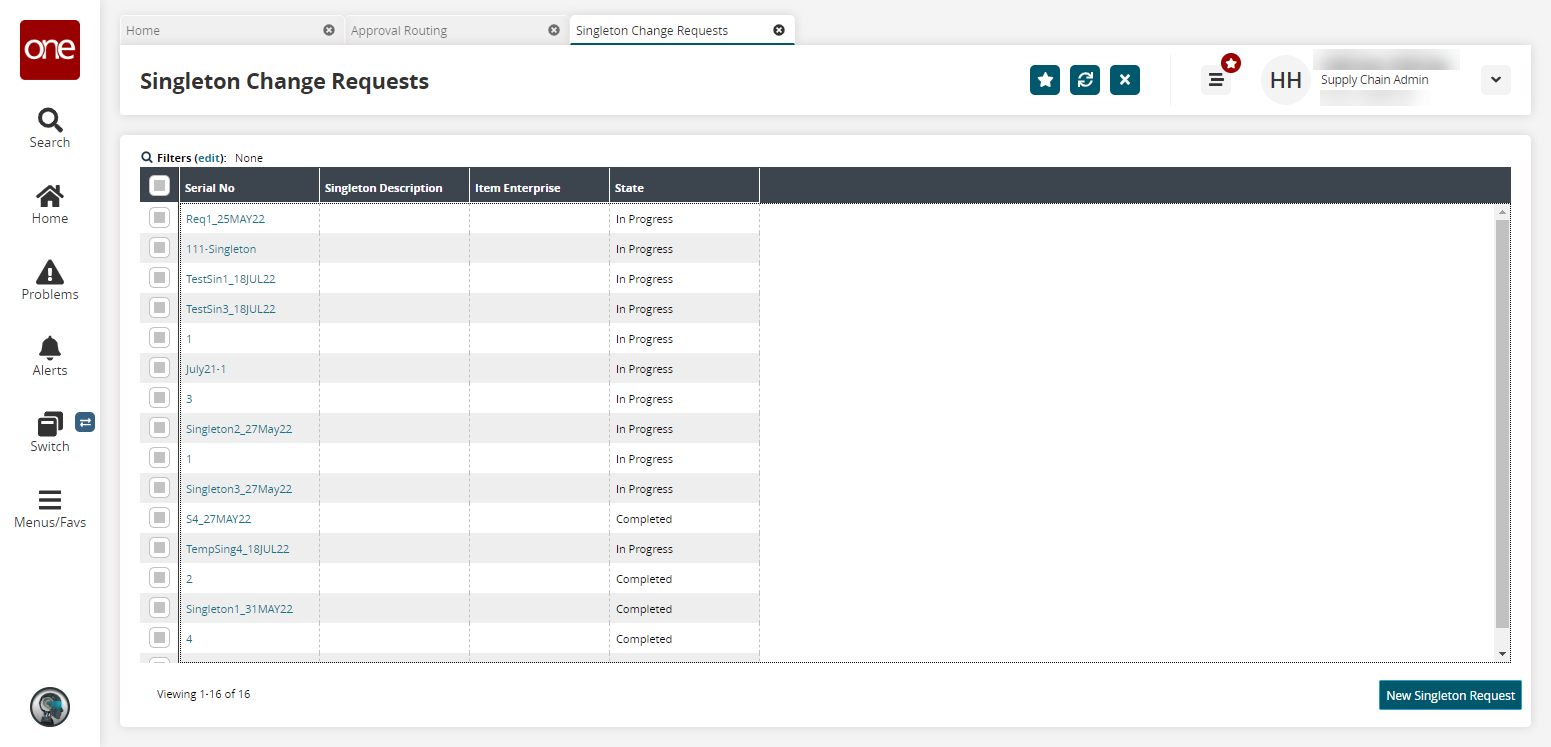
Click the New Singleton Request button.
The Singleton Request screen appears.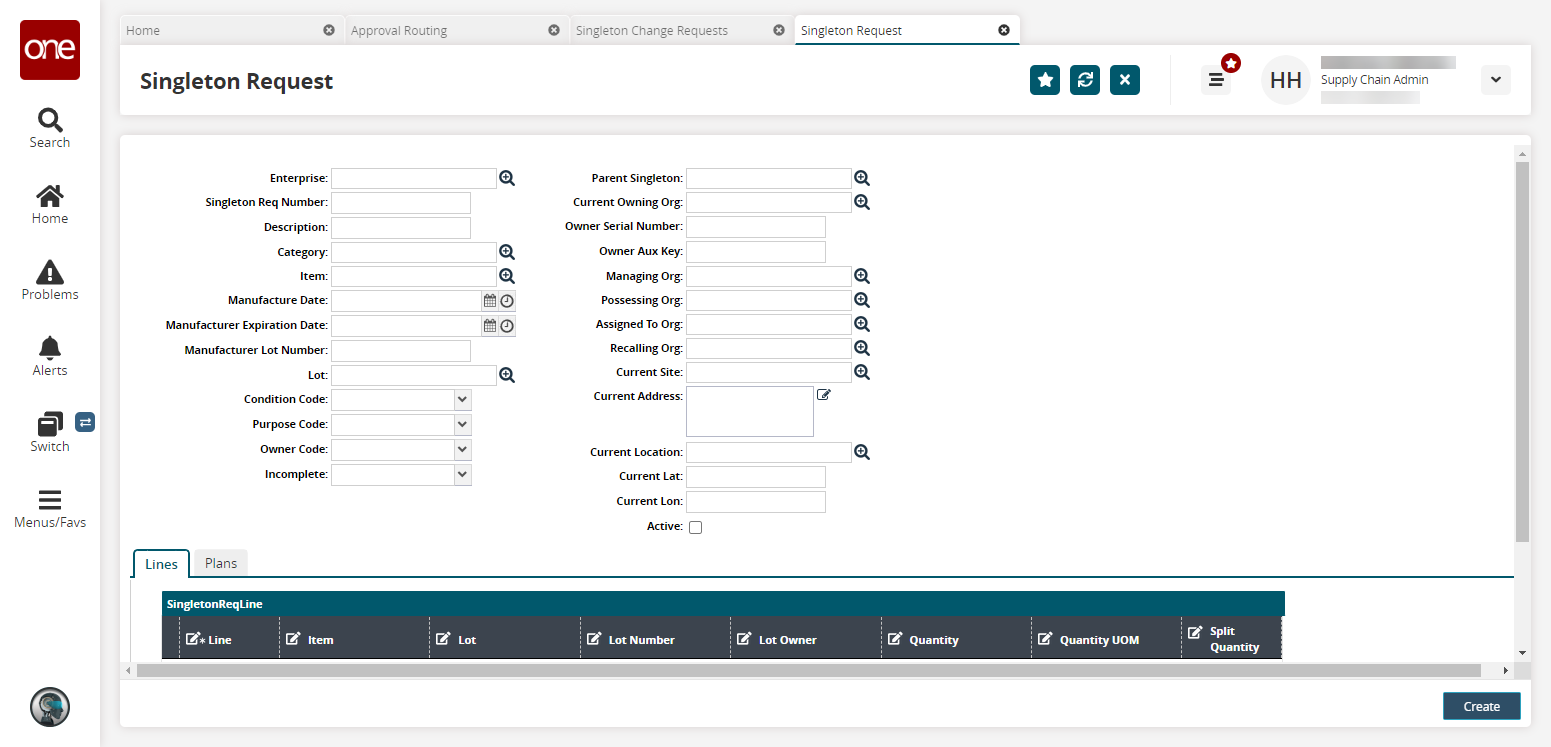
Fill in the following fields.
Field
Description
Enterprise
Use the picker tool to select an enterprise. In this example, we selected HUB1.
Singleton Req Number
Enter a unique name/number for the singleton.
Description
Enter a description.
Category
Use the picker tool to select a category.
Item
Use the picker tool to select an item.
Manufacture Date
Use the date and time buttons to select a manufacture date.
Manufacturer Expiration Date
Use the date and time buttons to select a manufacture expiration date.
Manufacturer Lot Number
Enter a manufacturer lot number.
Lot
Use the picker tool to select a lot.
Condition Code
Select a condition code from the dropdown menu.
Purpose Code
Select a purpose code from the dropdown menu.
Owner Code
Select an owner code from the dropdown menu.
Incomplete
Select an incomplete code from the dropdown menu.
Parent Singleton
Use the picker tool to select a parent singleton.
Current Owning Org
Use the picker tool to select an enterprise. In this example, we selected HUB1.
Owner Serial Number
Enter an owner serial number.
Owner Aux Key
Enter an owner auxiliary key.
Managing Org
Use the picker tool to select a managing organization.
Possessing Org
Use the picker tool to select a possessing organization.
Assigned To Org
Use the picker tool to select an assigned to organization.
Recalling Org
Use the picker tool to select a recalling organization.
Current Site
Use the picker tool to select a current site.
Current Address
Enter the current address.
Current Location
Use the picker tool to select a current location.
Current Lat
Enter the current latitude.
Current Lon
Enter the current longitude.
Active
Select the Active checkbox if the singleton request is active. In this example, select this checkbox.
Click the Create button.
A success message appears.Click Actions > Submit.
Click the Submit button.
A success message appears.Click the Plans tab.
The table is populated with information from the approval routing rule created earlier.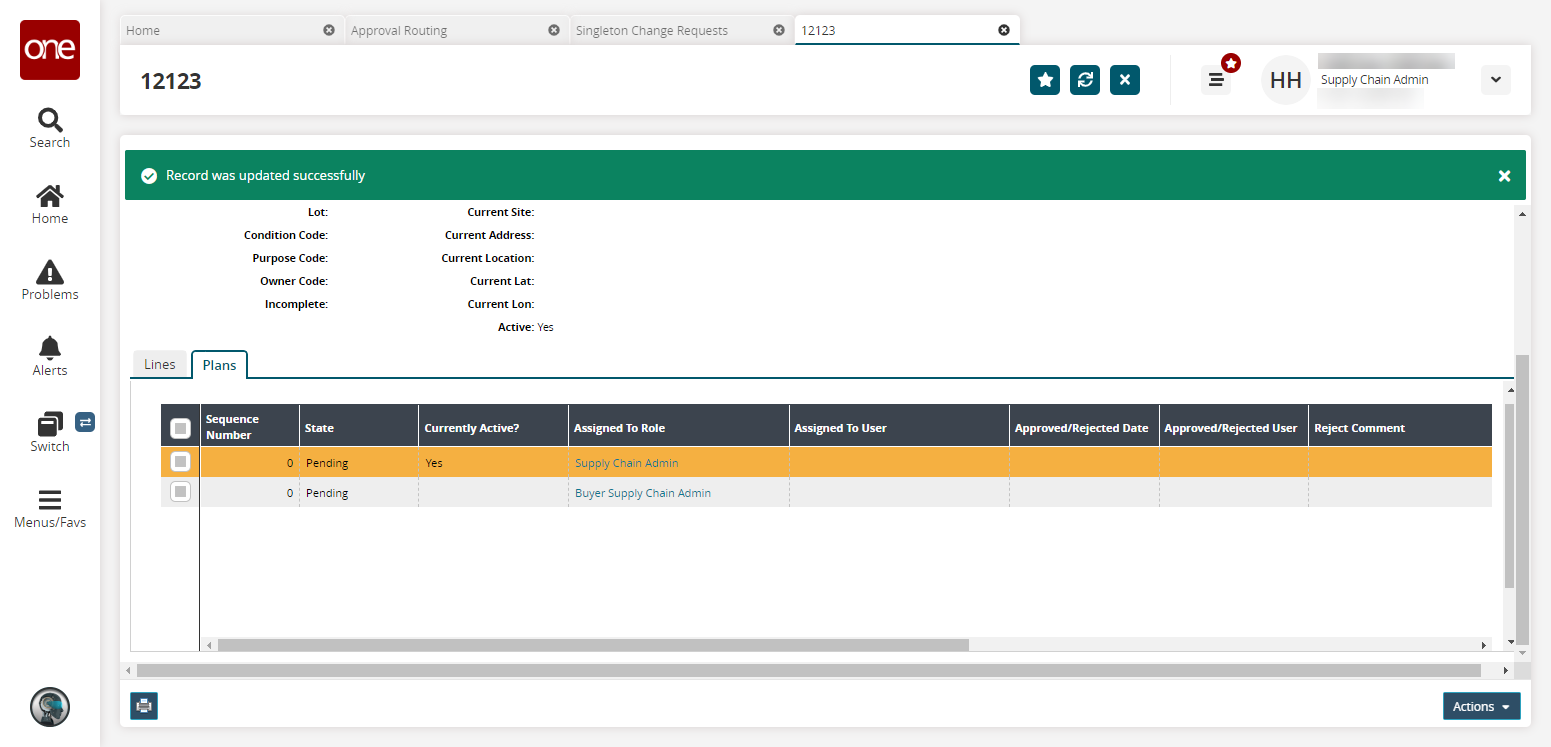
Select the row matching your current user. In this example, select the row for Supply Chain Admin.
Scroll down, and click Approve.
The Authorize popup appears.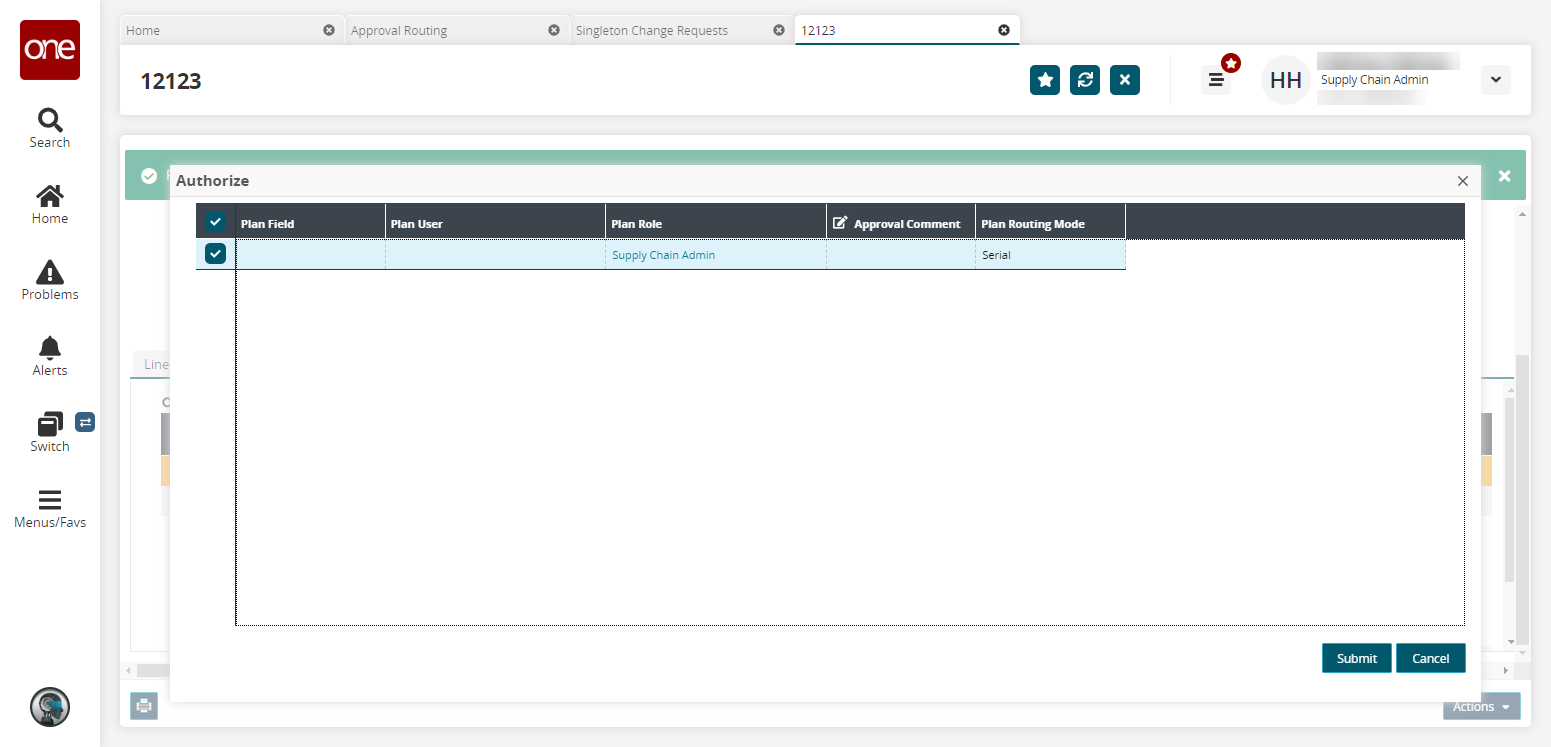
Enter an approval comment if desired, and click the Submit button.
A success message appears. The Plans tab is updated. Notice that the approved line has a state of Completed, and the other line(s) have a Bypassed state. This indicates the quorum setting has worked as intended and bypassed all other approvals once the required number of approvals has happened (in this example, one).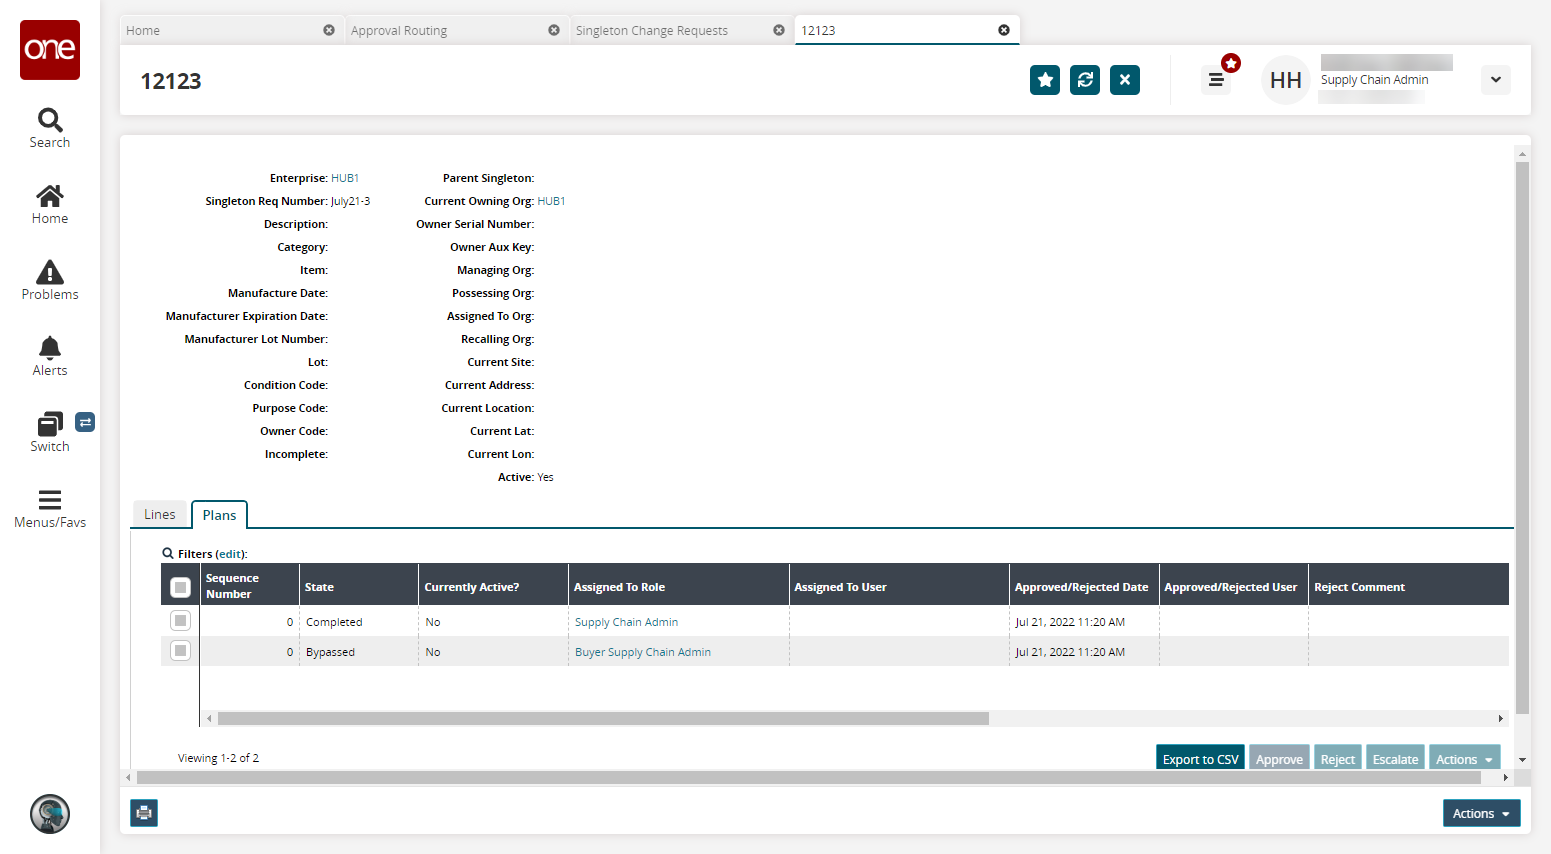
Click the Export to CSV button to export the report to a CSV file.
Select a plan and click the Approve button to approve the approval plan.
Select a plan and click the Reject button to reject the approval plan.
Select a plan and click the Escalate button to escalate the approval plan.