Reason Code Policies
Complete the following steps to configure reason code policies:
L og in to the ONE system.
Click Menus/Favs > Transportation > Policies > Reason Code Policies.
In the NEO UI, users can click on the Menus/Favs icon on the left sidebar and type in the name of the screen in the menu search bar. For more information, see "Using the Menu Search Bar."
The Reason Code Policies screen appears.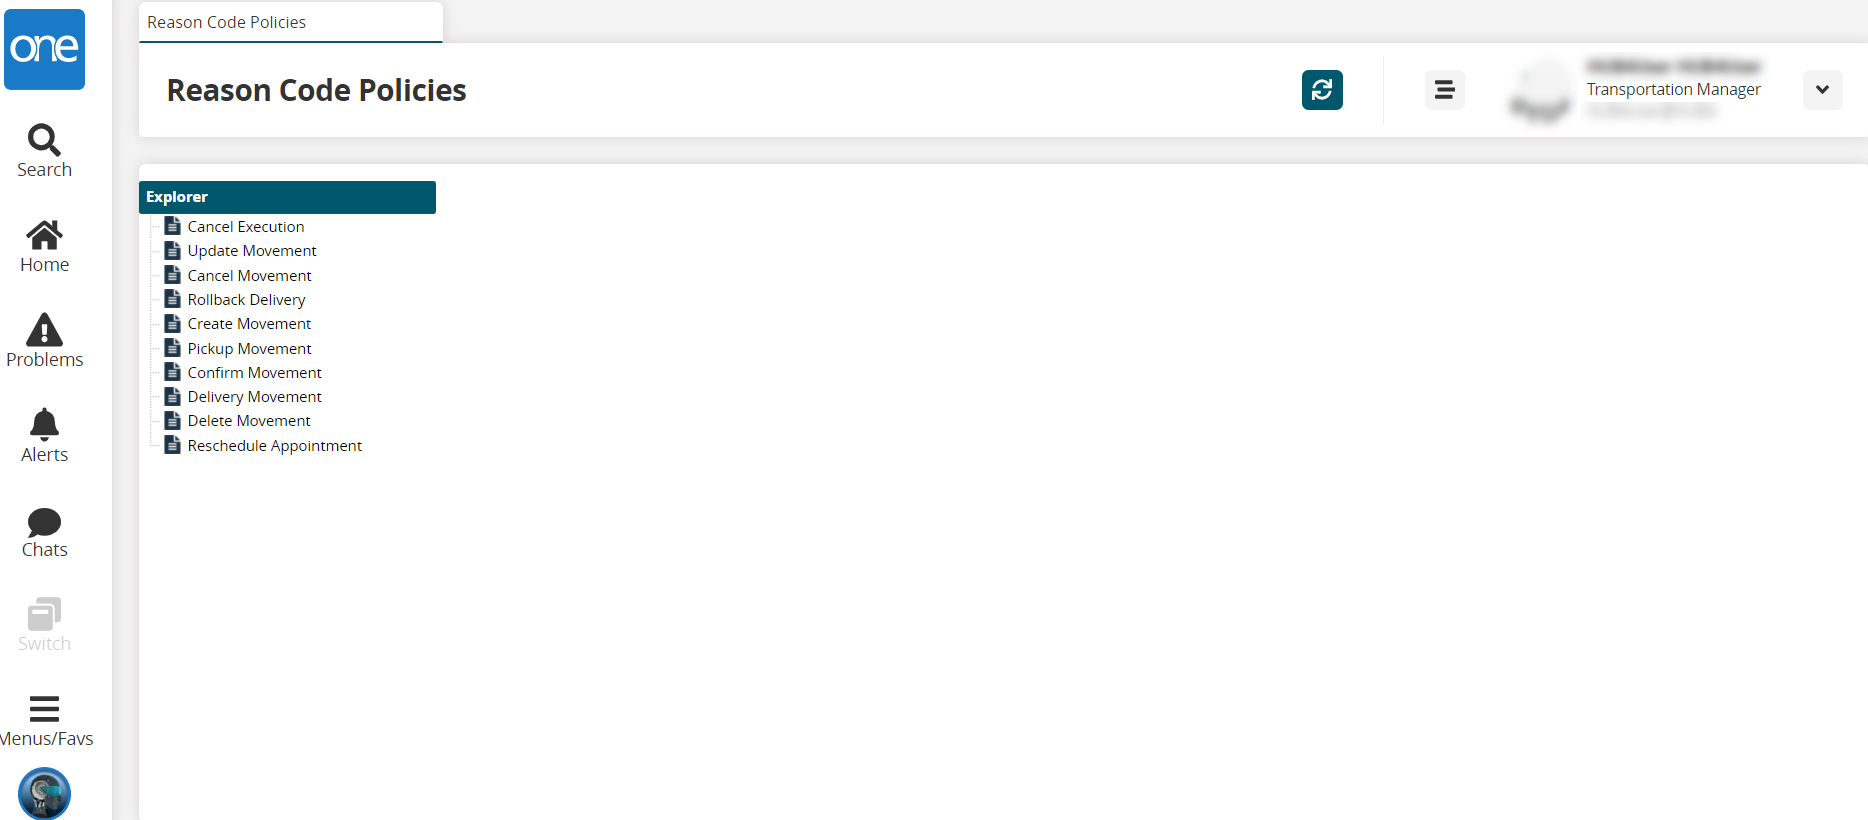
From the Explorer pane, select the required action.
The details appear in the right pane.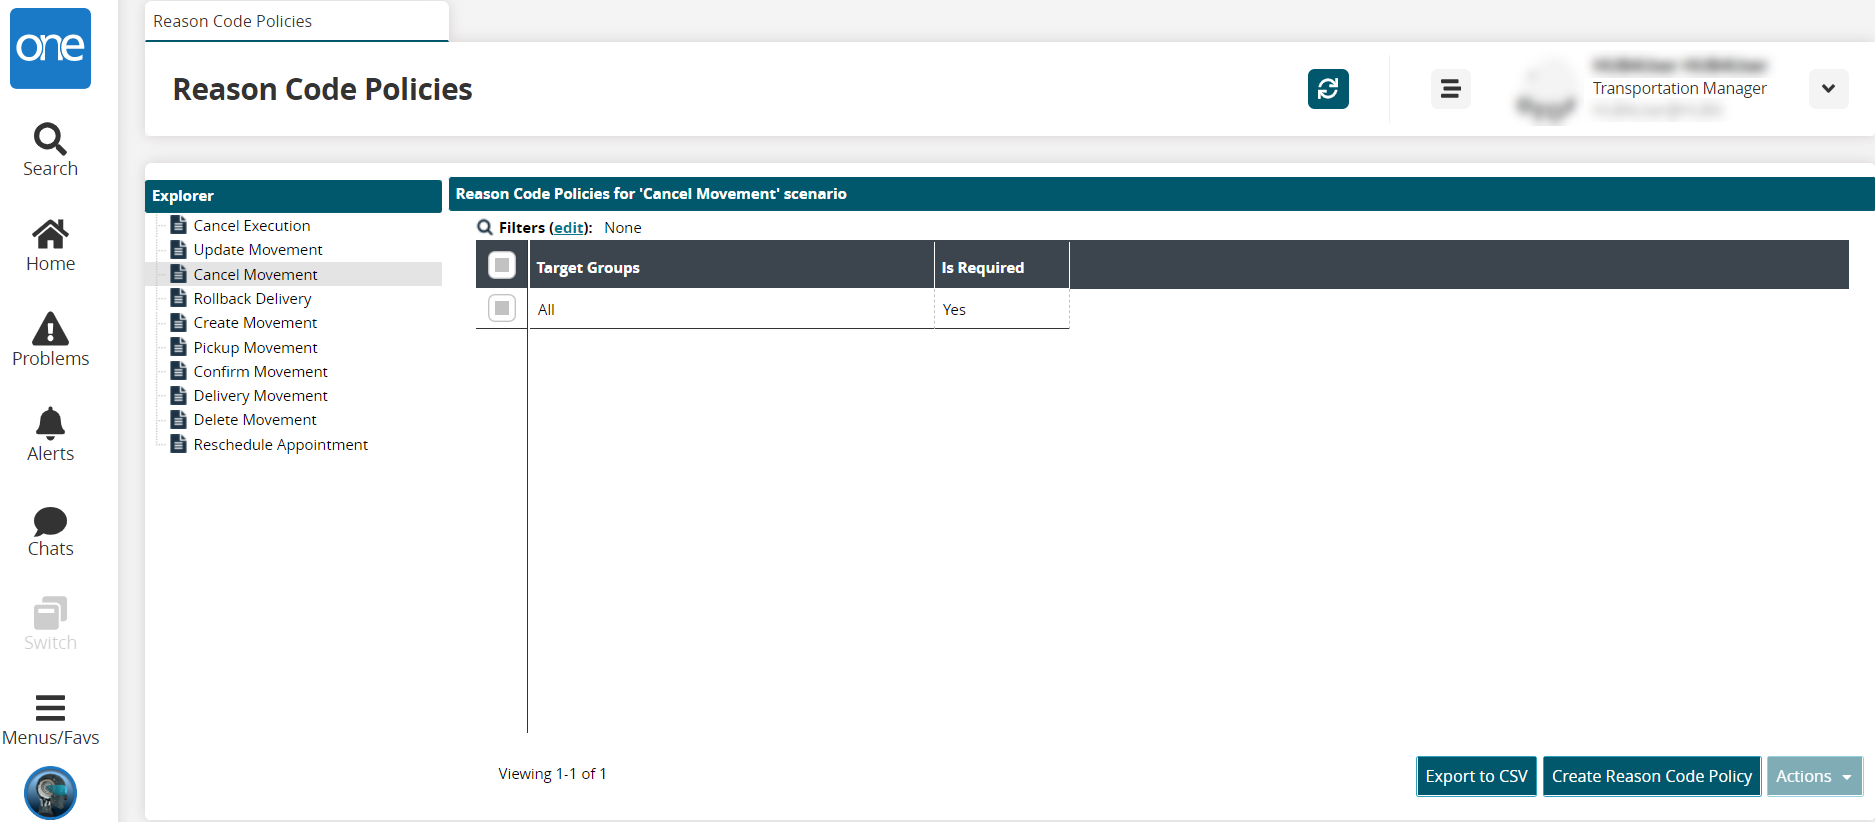
Click the Export to CSV button to export the report to a CSV file.
Click the Create Reason Code Policy button.
The New Reason Code Policy popup displays. The * Organization and * Scenario fields auto-populate. Fields with an asterisk ( * ) are required.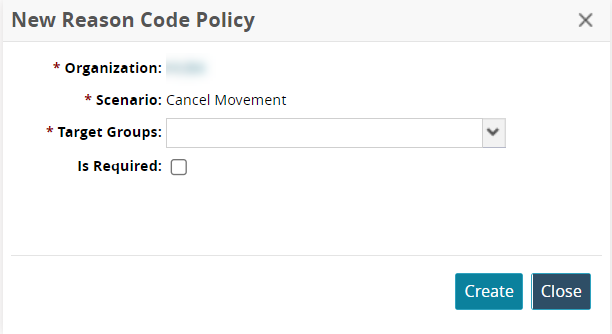
Select user groups from the * Target Groups dropdown list.
Check the Is Required box if entering a reason code note is required for canceling (re-rating) a movement.
Click the Create button.
A green success message displays on the popup.Click the Close button to close the popup.
The new reason code policy is added to the right panel.Click a policy checkbox, and click the Actions button.
Click the Delete option to delete a policy.
The Delete popup displays the selected policyClick the Submit button.
A green success message displays, and the policy is deleted from the table.To update an existing policy, click the Update option in the Actions menu.
The Update popup displays. Fields with an asterisk (*) are required, and fields with a pencil icon are editable.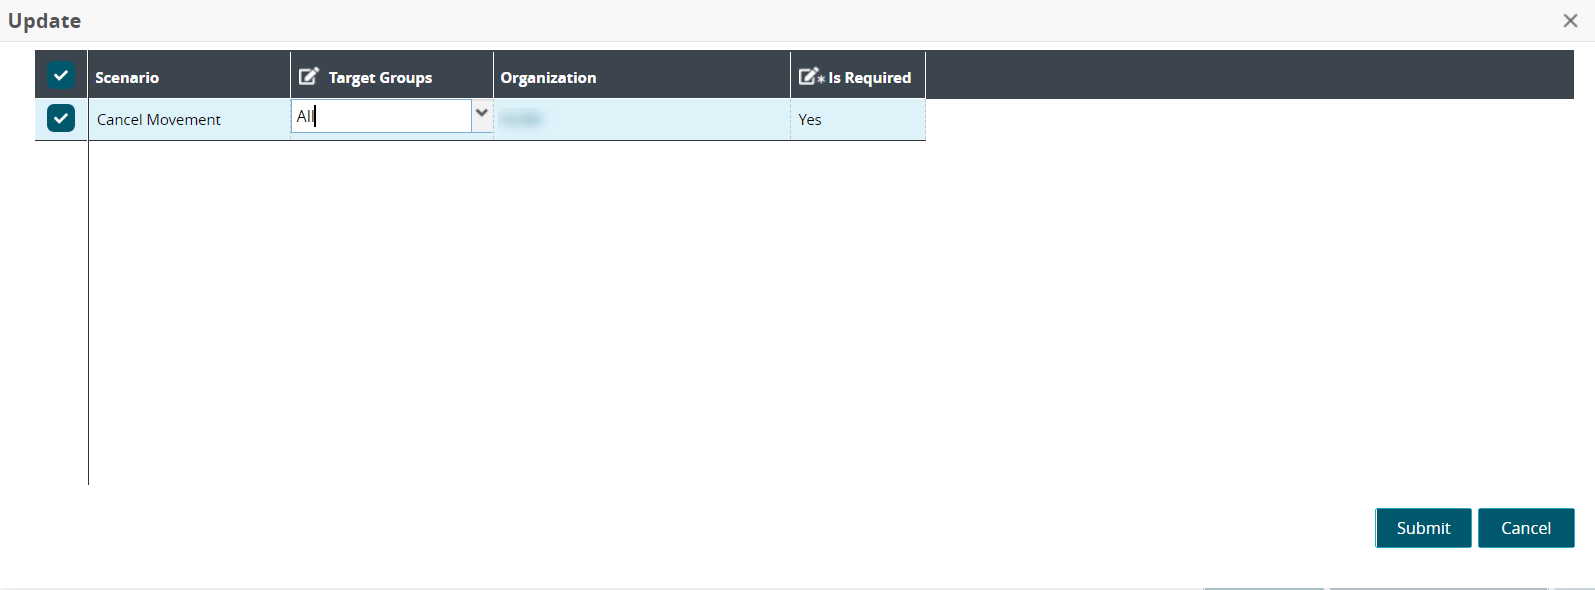
Change the Target Groups and *Is Required fields as required.
Click the Submit button.
A green success message displays.