Searching Dock Door Settings
The Search Dock Door Settings UI under the Scheduling menu allows Transportation Manager users to easily search and edit dock door settings. This feature eliminates the need for manual scrolling through dock door settings. Filters are available to narrow down the available options, and a wildcard character, an asterisk (*), is supported as a suffix.
Please note that the Dock Door Settings and the Dock Door Setting References screens both use the upload function in the ONE system. See the "Uploading Files" section in the Online Help for more information.
Complete the following steps to search, edit, and add/update dock door settings:
L og in to the ONE system.
Click Mensu/Favs > Scheduling > Search Dock Door Settings.
In the NEO UI, users can click on the Menus/Favs icon on the left sidebar and type in the name of the screen in the menu search bar. For more information, see "Using the Menu Search Bar."
The Search Dock Door Settings screen appears with all existing dock door settings visible to the current user.
Click the Filters (edit) link to filter the visible dock door settings.
In the Type and Based On columns, click the arrow icons to expand each row.
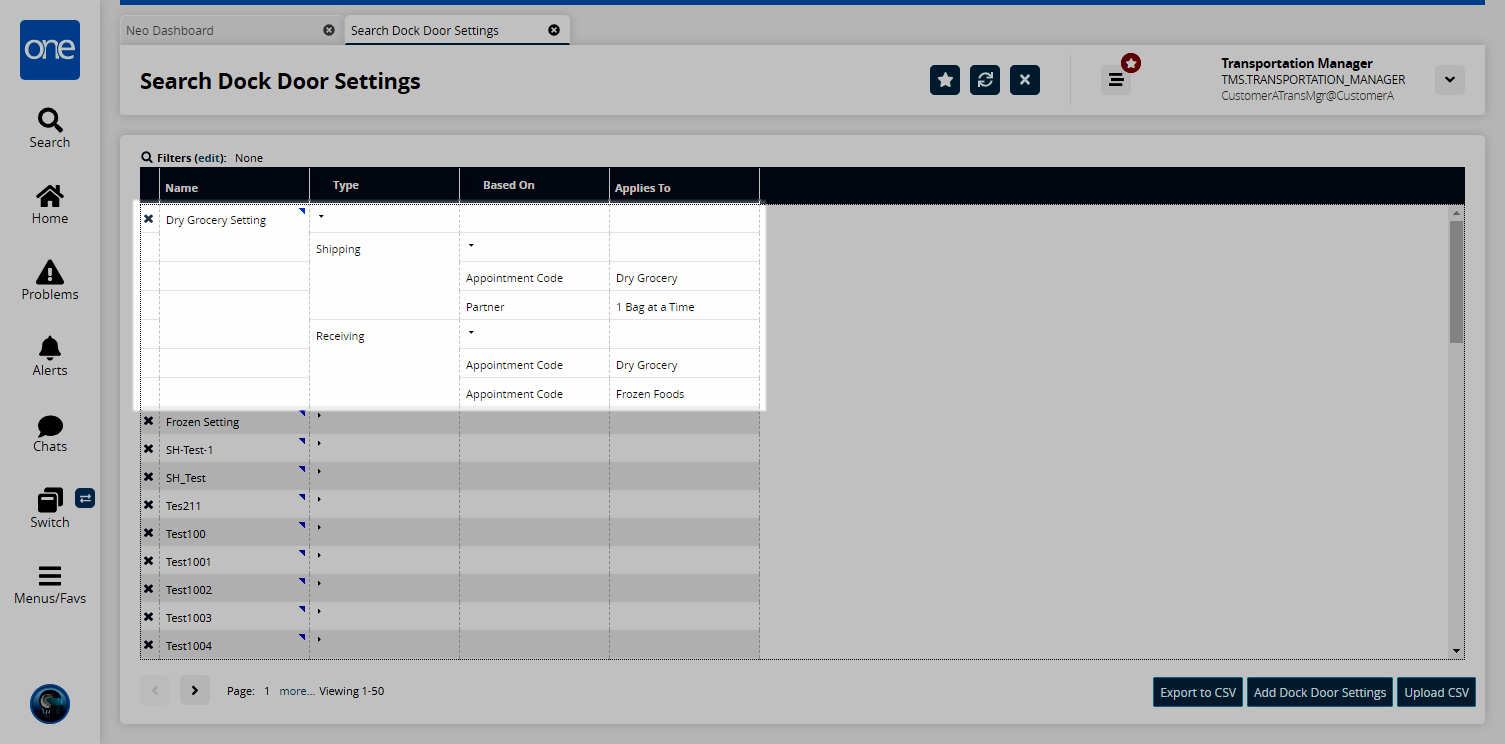
Click the blue triangle and then either Shipping or Receiving to edit settings for a particular dock door.
The Dock Door Setting popup window appears.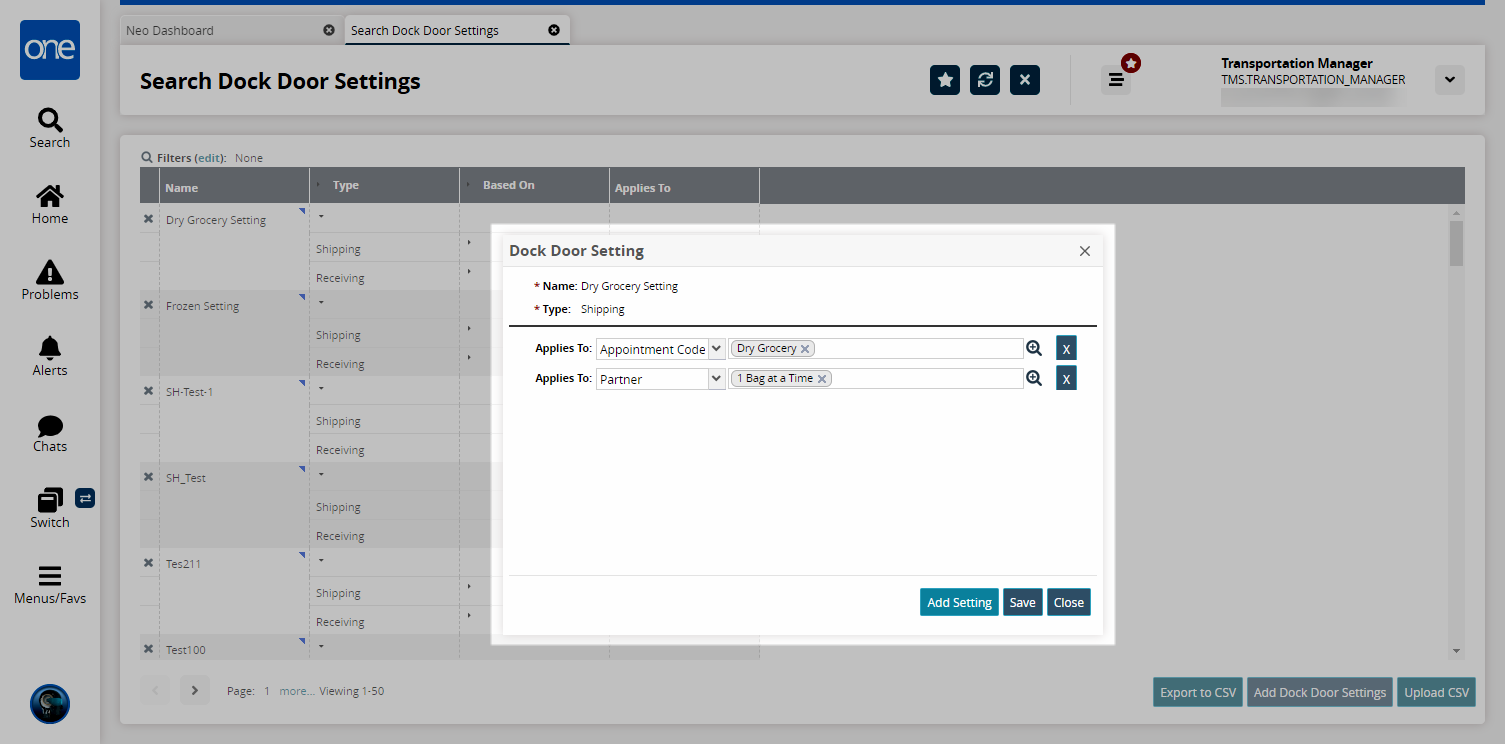
Select the category the dock door setting will apply to in the Applies To dropdown menu and the specific object by using the picker tool.
Click the Add Setting button to add additional Applies To rows, or click the X button to delete rows.
Click the Close button to exit the popup and disregard any changes, or click the Save button to save your changes.
A success message appears.Click the Export to CSV button to export the current data to a CSV file.
Click the Upload CSV button to upload a CSV file with dock door settings.
Adding New Dock Door Settings
Click the Add Dock Door Settings button to add new dock door settings.
The Save Dock Door Setting popup window appears.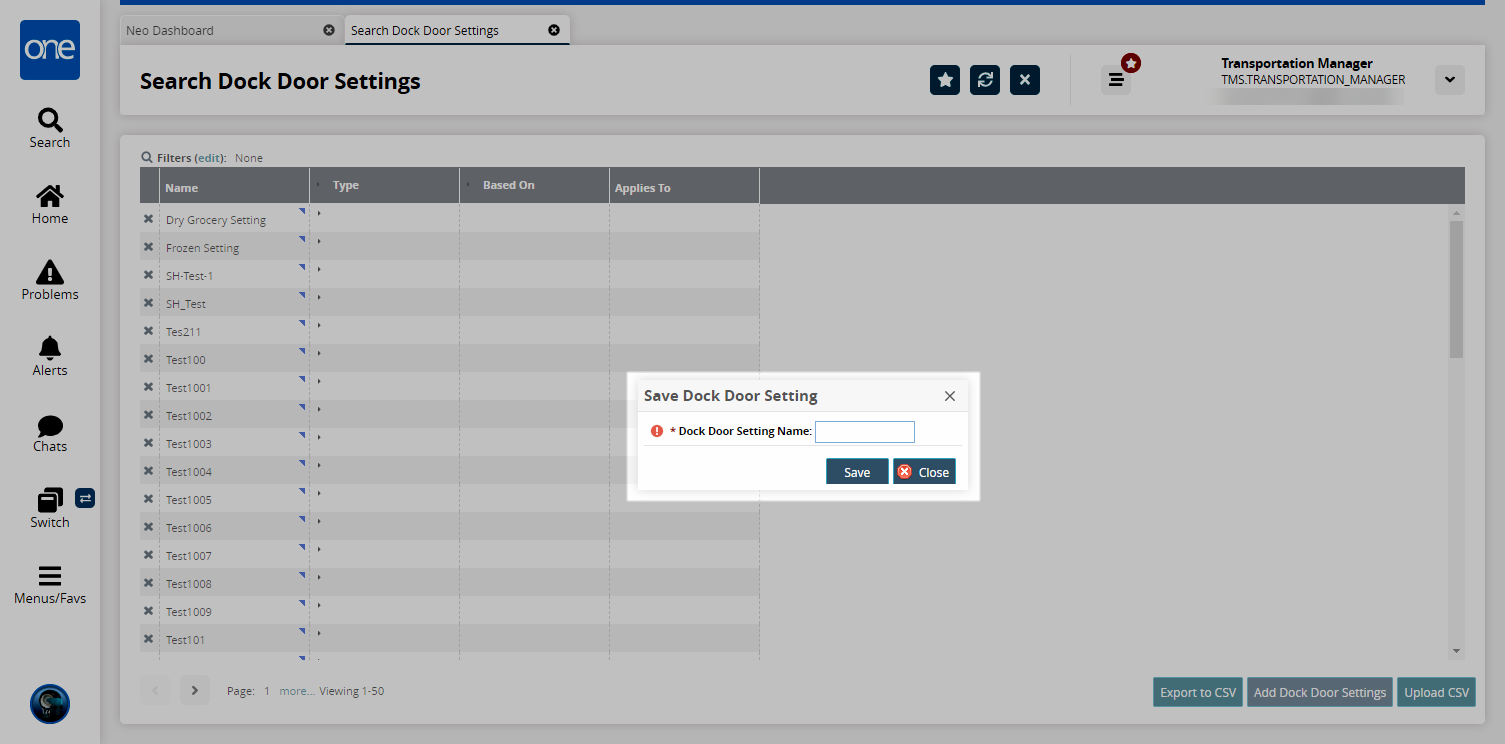
Enter a name for the setting in the *Dock Door Setting Name field, and click Save.
A success message appears.