Searching Roles
Complete the following steps to search roles:
L og in to the ONE system.
Click Menus/Favs > Administration > Role > Role > Search Role.
In the NEO UI, users can click on the Menus/Favs icon on the left sidebar and type in the name of the screen in the menu search bar. For more information, see "Using the Menu Search Bar."
The Search Role screen opens.
Click the Export to CSV button to export the report to a CSV file.
Click the Download button to download the list.
Click the Upload button to upload a list.
Click the New Role button to add a new role. See the "Adding Roles" section for more information.
Click a checkbox corresponding to a role and then click the Update button to update the role.
Click a Name link for a role.
Details about the role open in a new tab.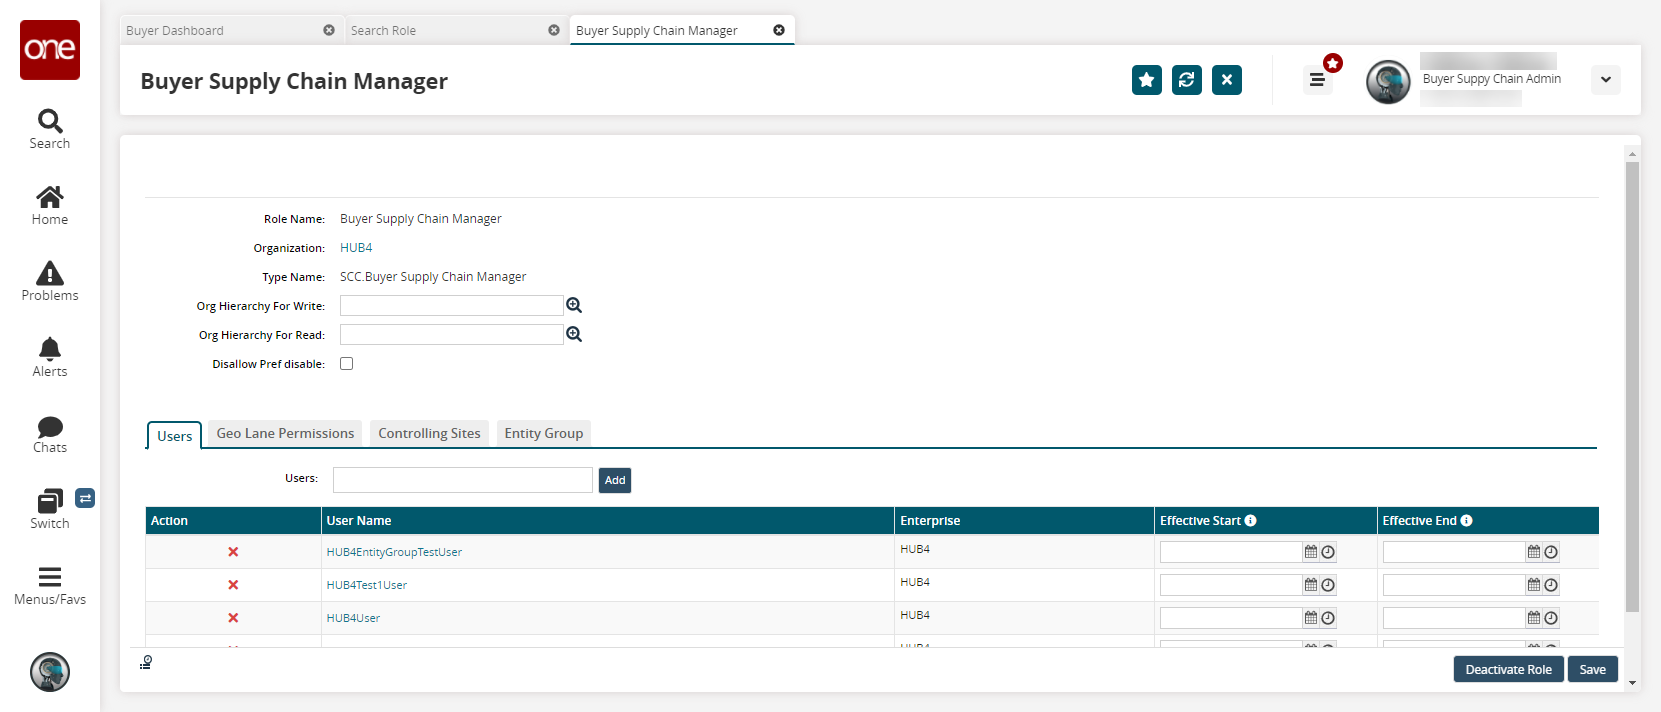
To add users to this role, click the Add button under the Users heading.
The User popup window appears.Select one or more users to add and click OK.
The selected users are displayed in the Users list.
Geo Lane Permissions Tab
Click the Geo Lane Permissions tab.

Click the Add button next to the Geo Lane field.
The Geo Lane popup window opens.
Select one or more lanes to add and click OK.
The selected lanes appear in the Geo Lane Permissions list.
Controlling Sites Tab
Click the Controlling Sites tab.
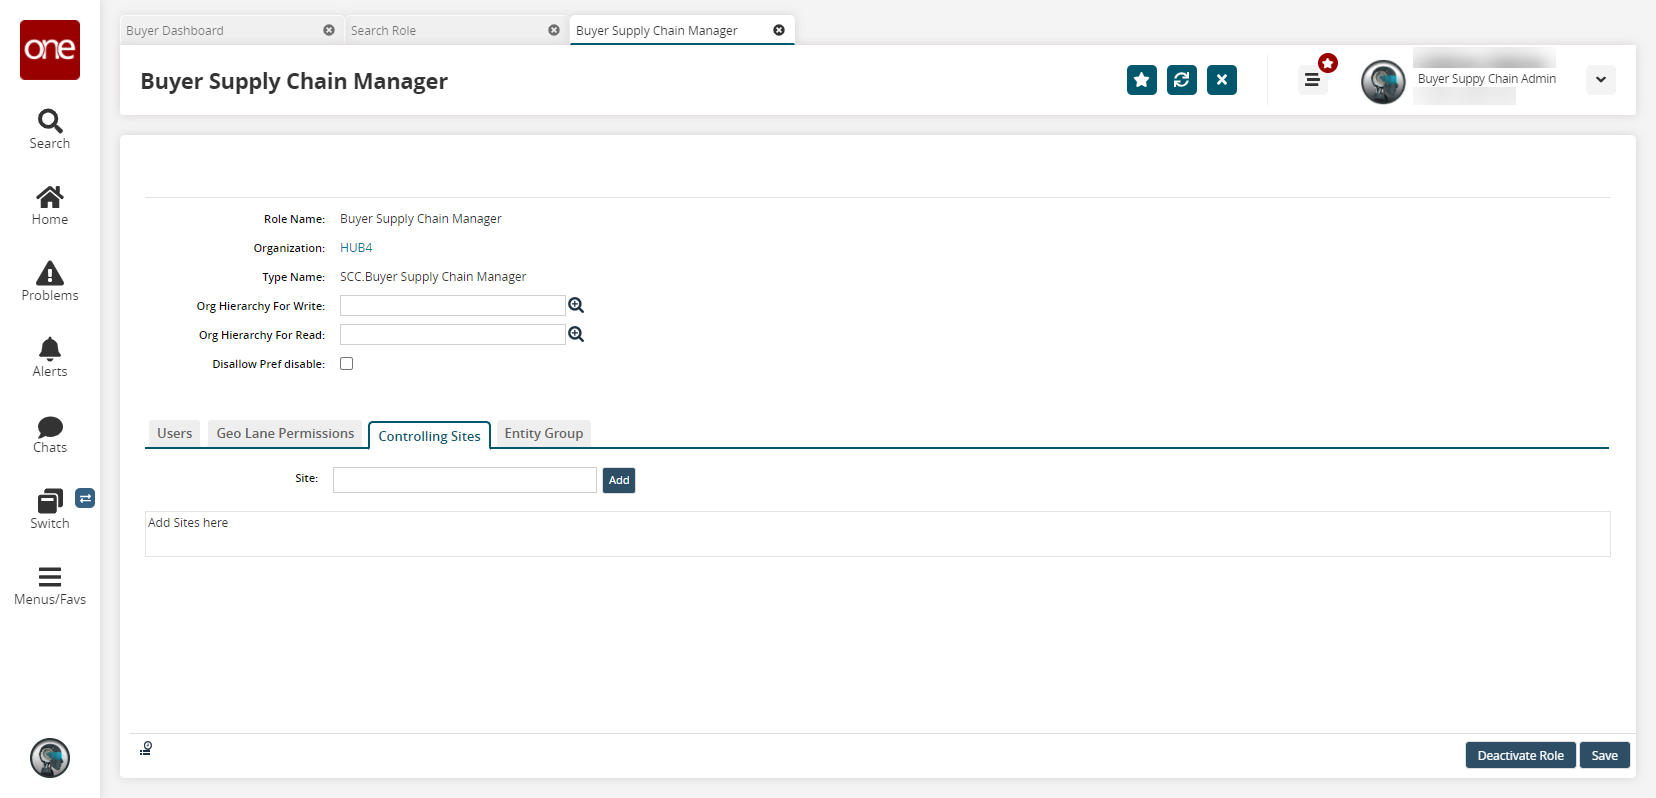
Click the Add button next to the Site field.
The Site popup window opens.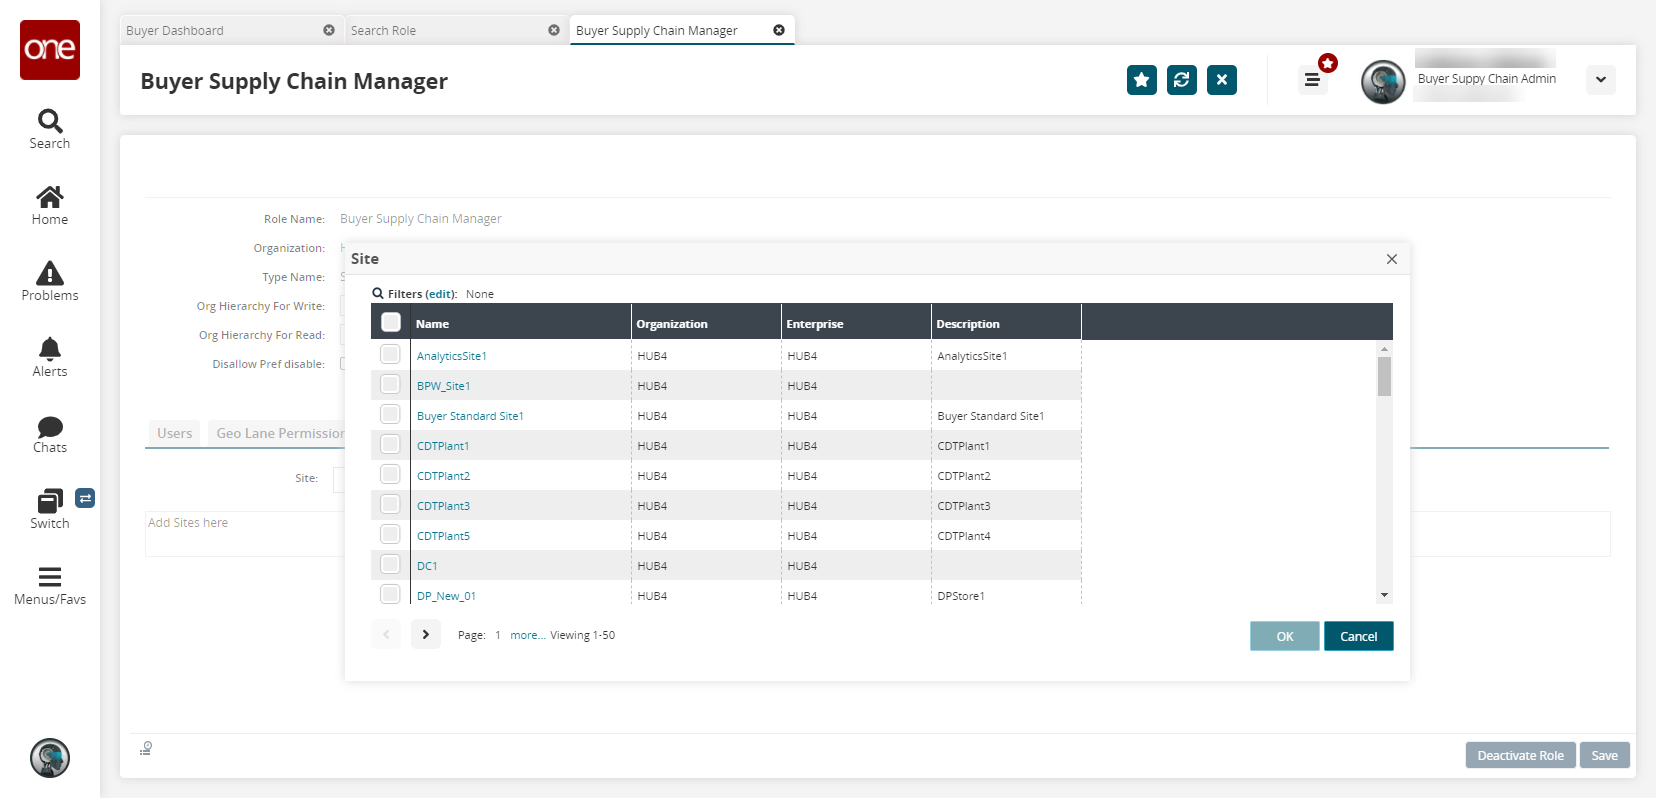
Select one or more sites to add and click OK.
The selected sites appear in the Controlling Sites list.
Entity Groups Tab
Click the Entity Group tab.
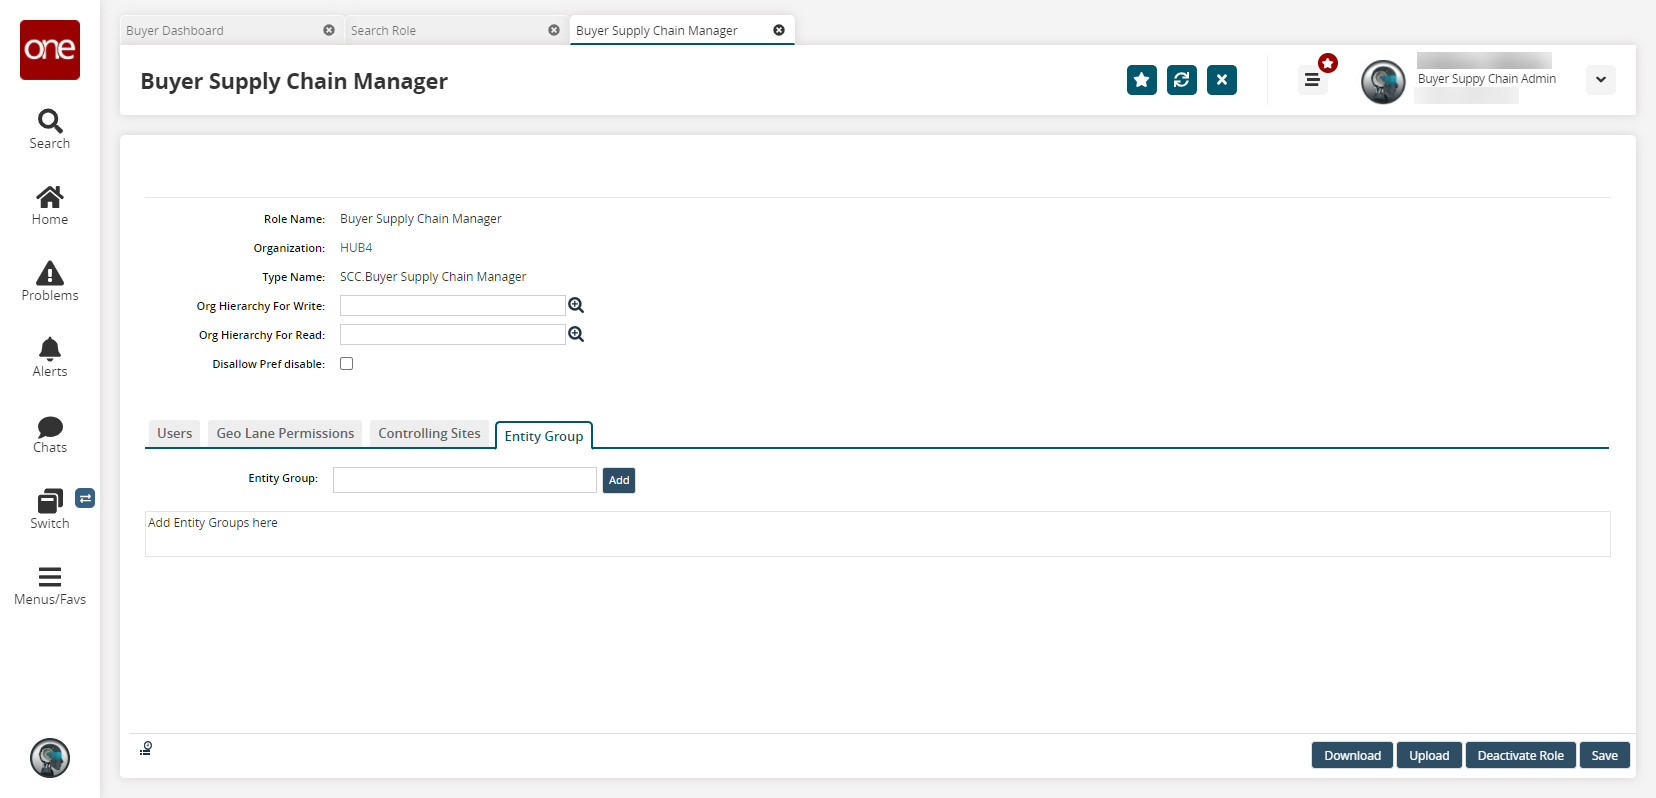
Click the Add button next to the Entity Group field.
The Entity Group popup window opens.Select one or more groups to add and click OK.
The selected entity groups appear in the Entity Group list.
Deactivate a Role
To deactivate this role, click the Deactivate button at the bottom of the screen.
A success message is displayed.