Searching and Updating Replenishment Configurations
Users can search, update, and create replenishment configurations from the Search Replenishment Config screen.
Complete the following steps to search replenishment configurations:
L og in to the ONE system.
Click Menus/Favs > Replenishment > Replenishment Engines > Replenishment Engine Configuration > Search Replenishment Config.
In the NEO UI, users can click on the Menus/Favs icon on the left sidebar and type in the name of the screen in the menu search bar. For more information, see "Using the Menu Search Bar."
The Search Replenishment Config screen appears.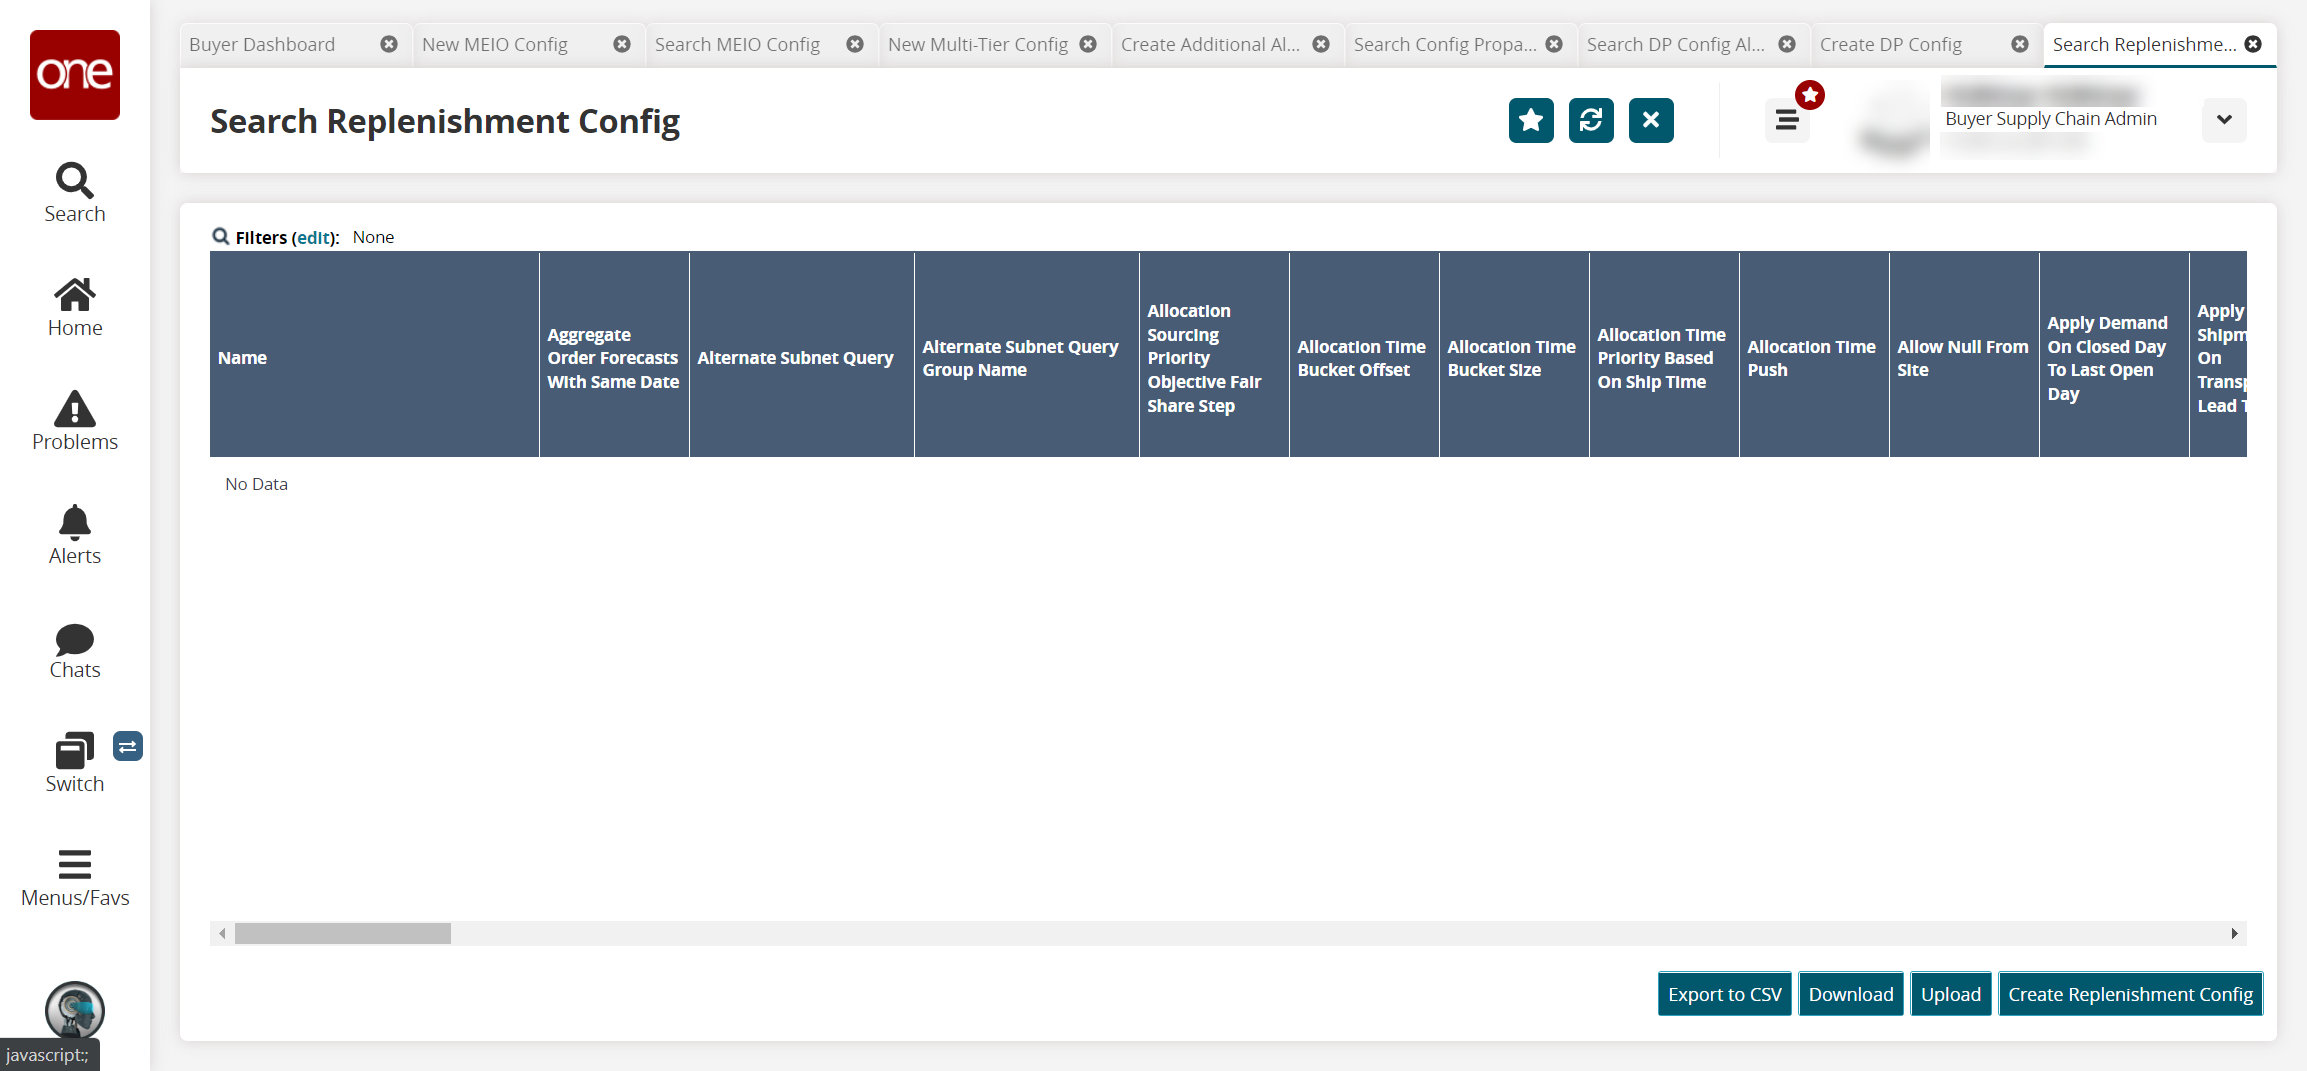
Click the Export to CSV button to export the report to a CSV file.
Click Download to download the list of replenishment configs.
Click Upload to upload a replenishment config from a CSV file.
Under the Name column, click the config link to view or update the details of the replenishment config.
The config details screen appears.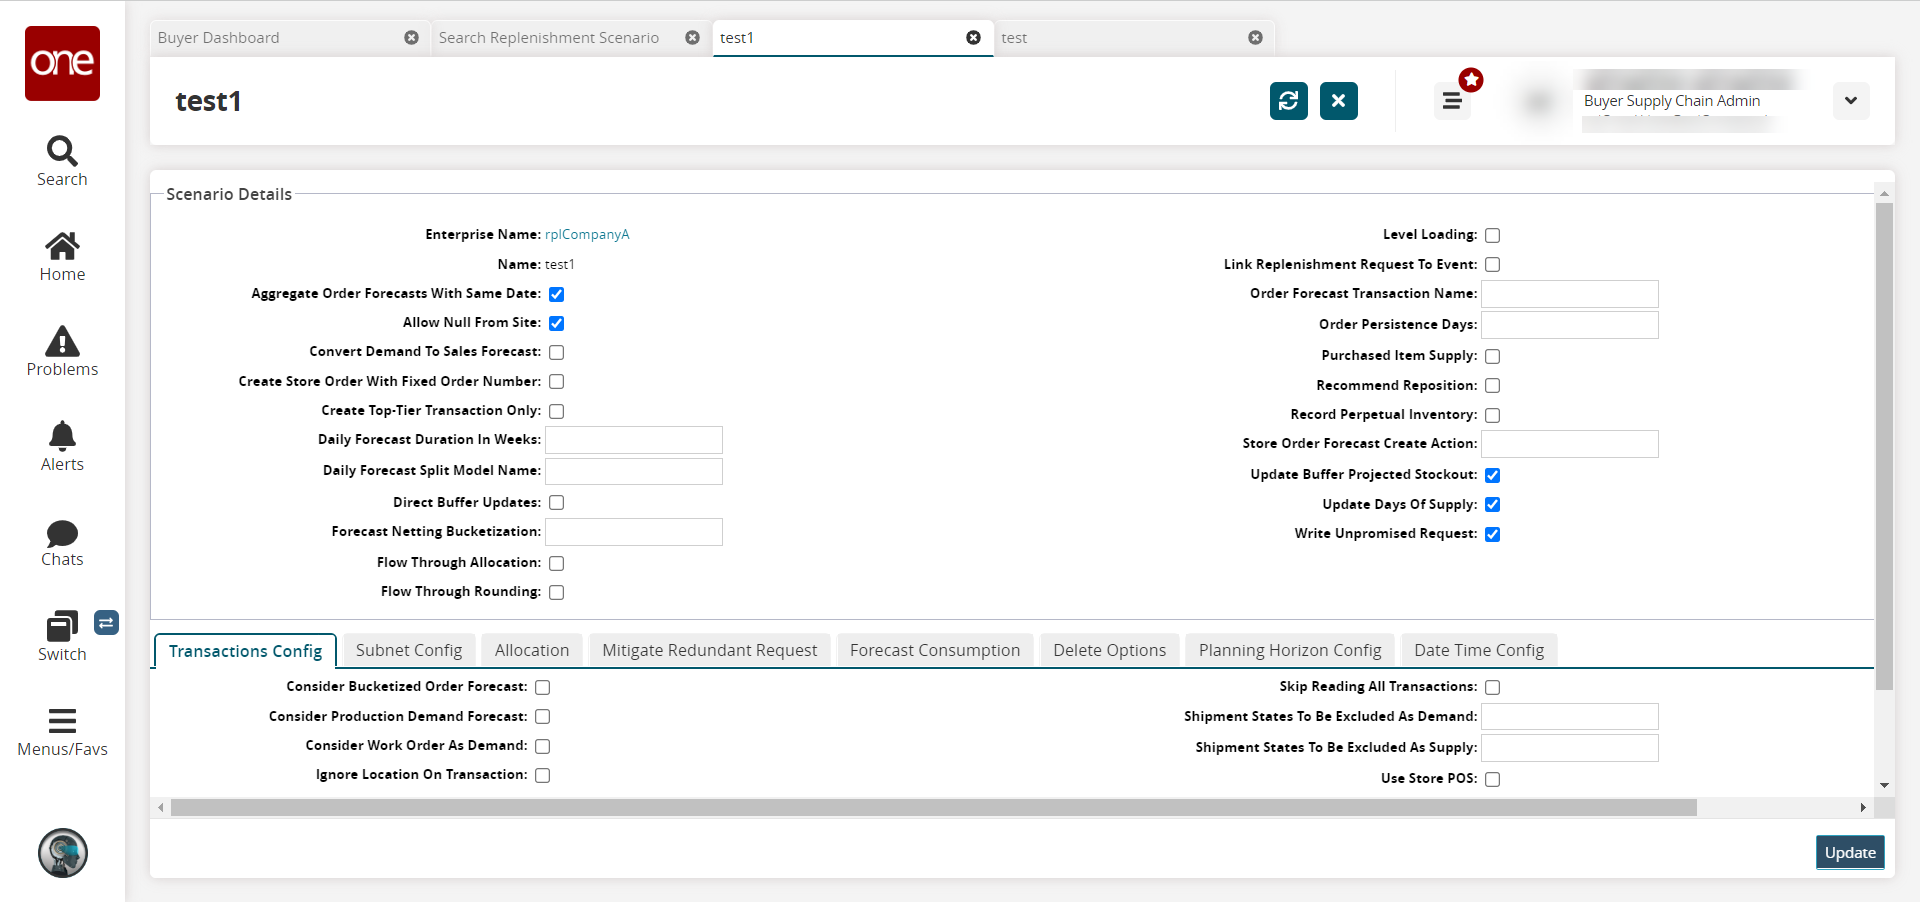
Update the fields as desired. For information on each field and each tab, see the "Creating a Replenishment config" section below.
Click Update to update the replenishment config.
A success message appears.
Complete the following steps to view the audit history for replenishment scenarios:
In the Name column, click the blue triangle for a replenishment scenario.
A contextual menu displays.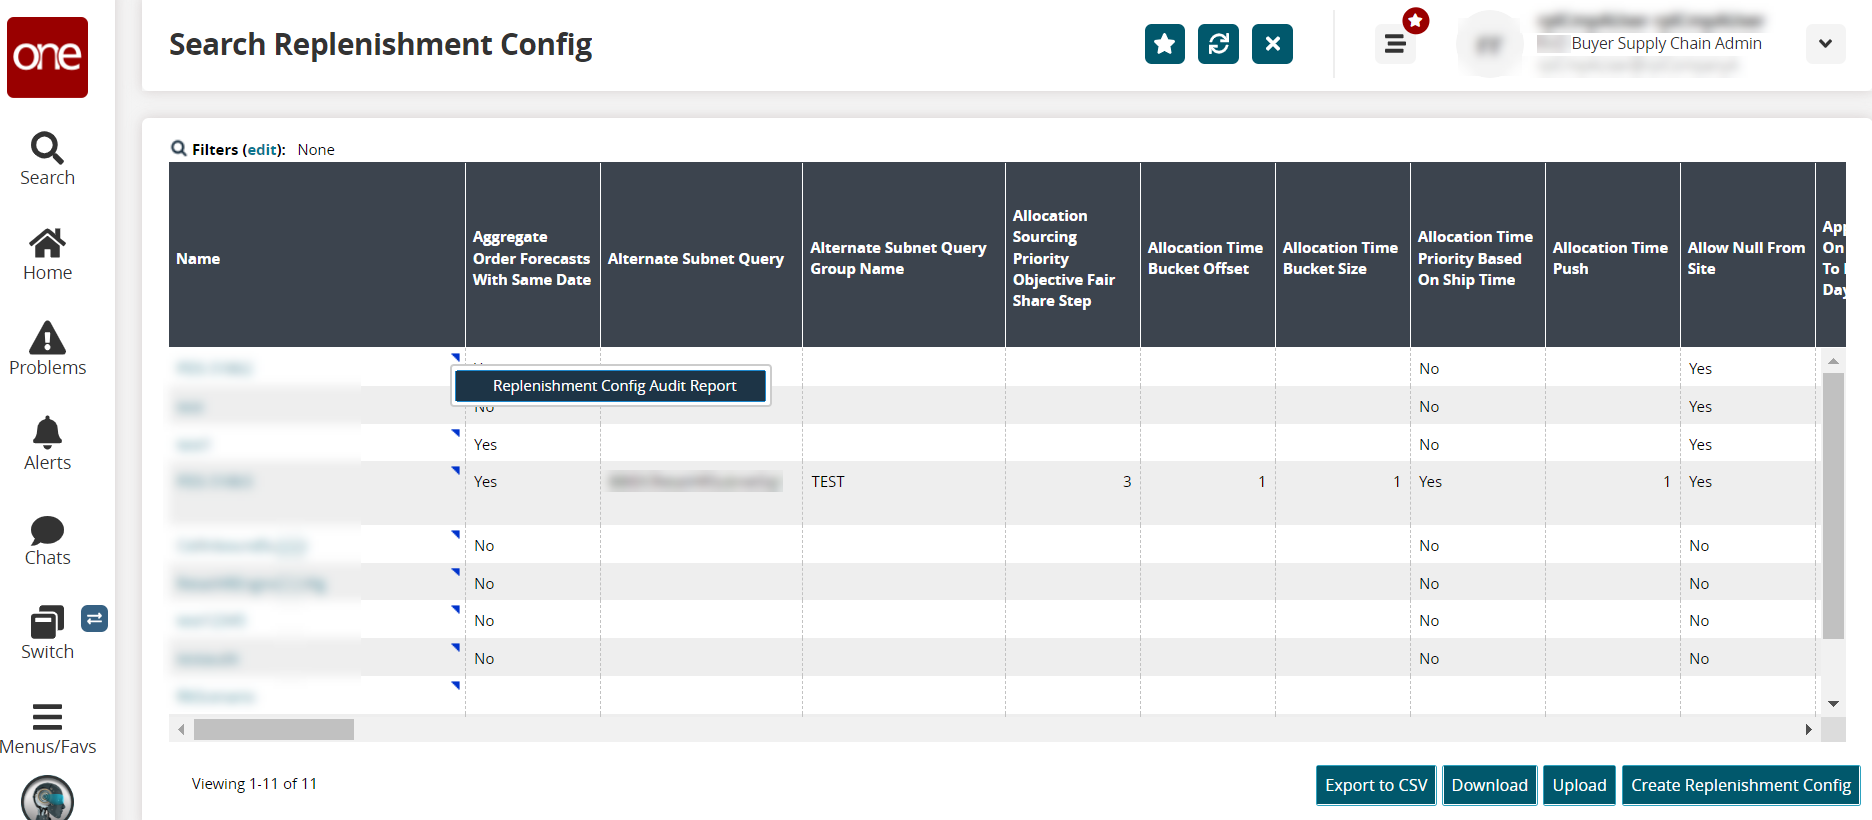
Click the Replenishment Config Audit Report option.
The Replenishment Config Audit Report screen for that scenario displays.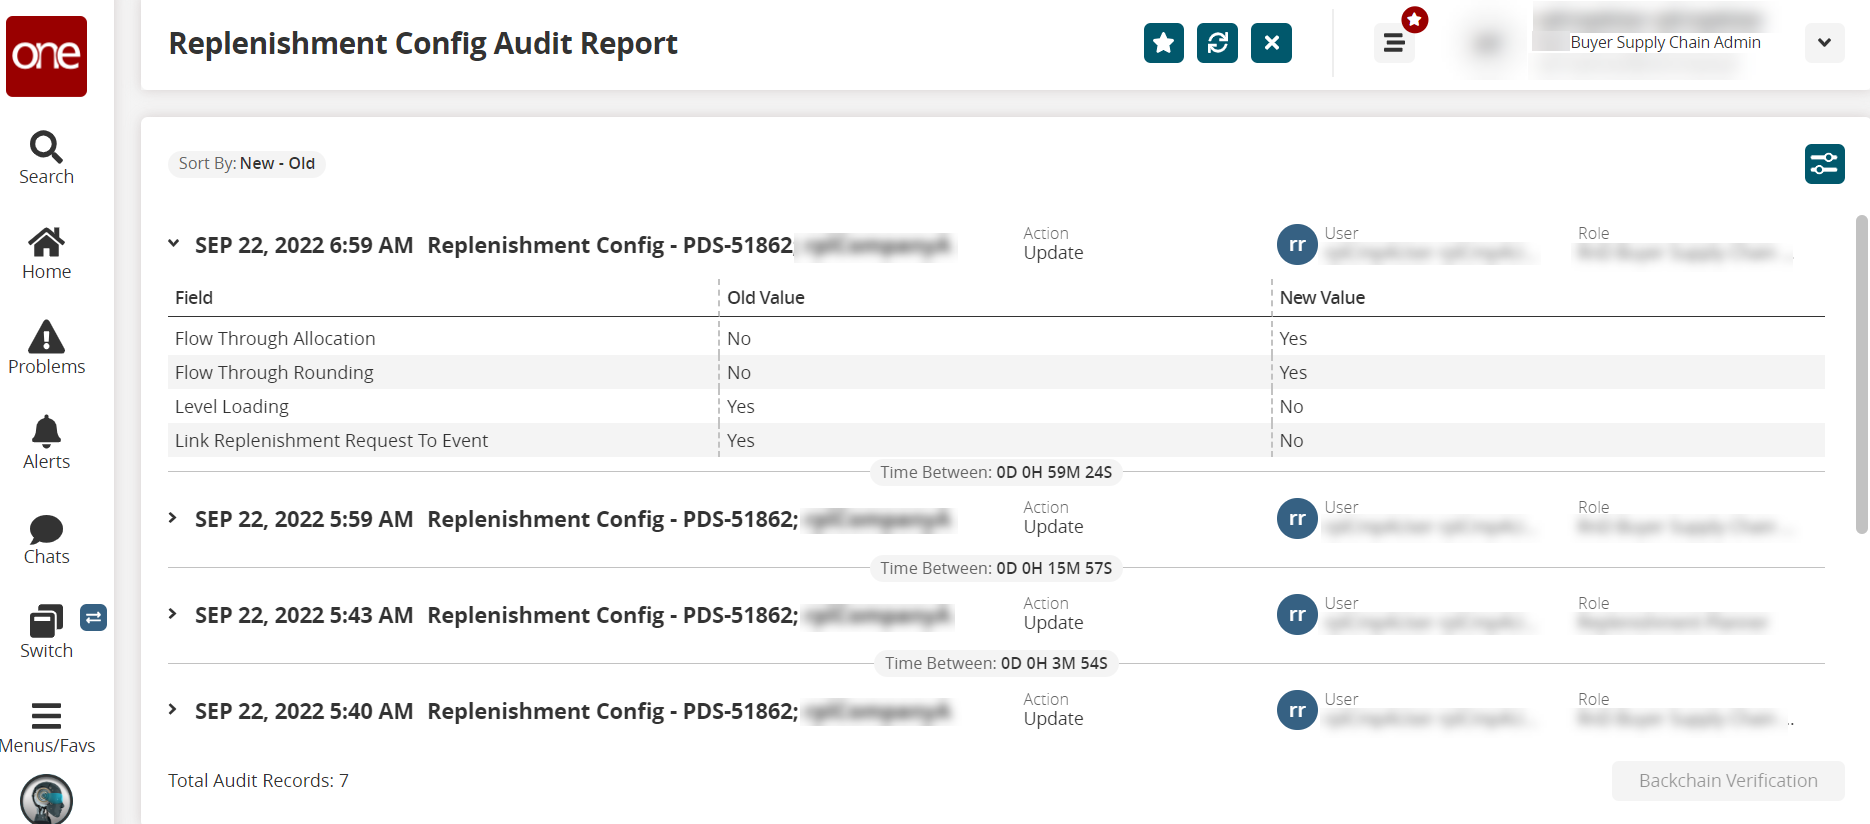
Click the down arrows next to each record to display further details for each change.
Click the Filter Options button (
 ) for filters.
The Filter Options display.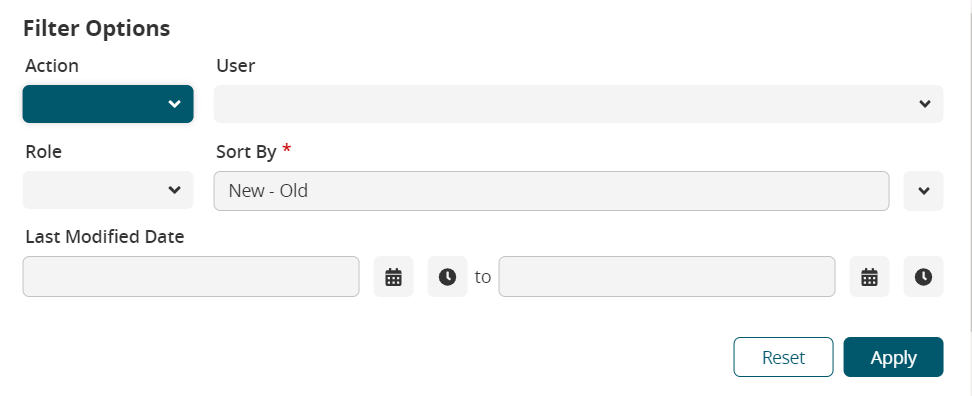
Complete the following fields shown in the table below. Fields with an asterisk ( * ) are required.
Field
Description
Action
Select a change action type from the dropdown list.
User
Select the user's name who made the change from the dropdown list.
Role
Select the role of the user who made the change from the dropdown list.
Sort By *
Select the order for sorting from the dropdown list.
Last Modified Date
Use the calendar and clock tools to select the beginning and end dates for the date the scenario was last modified.
Click the Apply button to make the changes.
Click the Reset button to reset all changes back to the default parameters.