Site Resource Allocated Capacity TLV
The Site Resource Allocated Capacity timeline view (TLV) displays all site resource capacity-related information, such as allocated capacity, required capacity, used capacity, remaining capacity, and so on. The permitted visibility of the various capacity metrics on the TLV differs between contract manufacturers and their original equipment manufacturers (OEMs), with contract manufacturers having visibility to all site resources and capacity measures and OEMs having visibility only to their allocated site resources and the capacity of the allocated resources.
Complete the following steps to view the Site Resource Allocated Capacity TLV:
L og in to the ONE system.
Click Menus/Favs > Production Planning > Capacity Collaboration > Site Resource Allocated Capacity.
The Site Resource Allocated Capacity TLV appears with the filters displayed.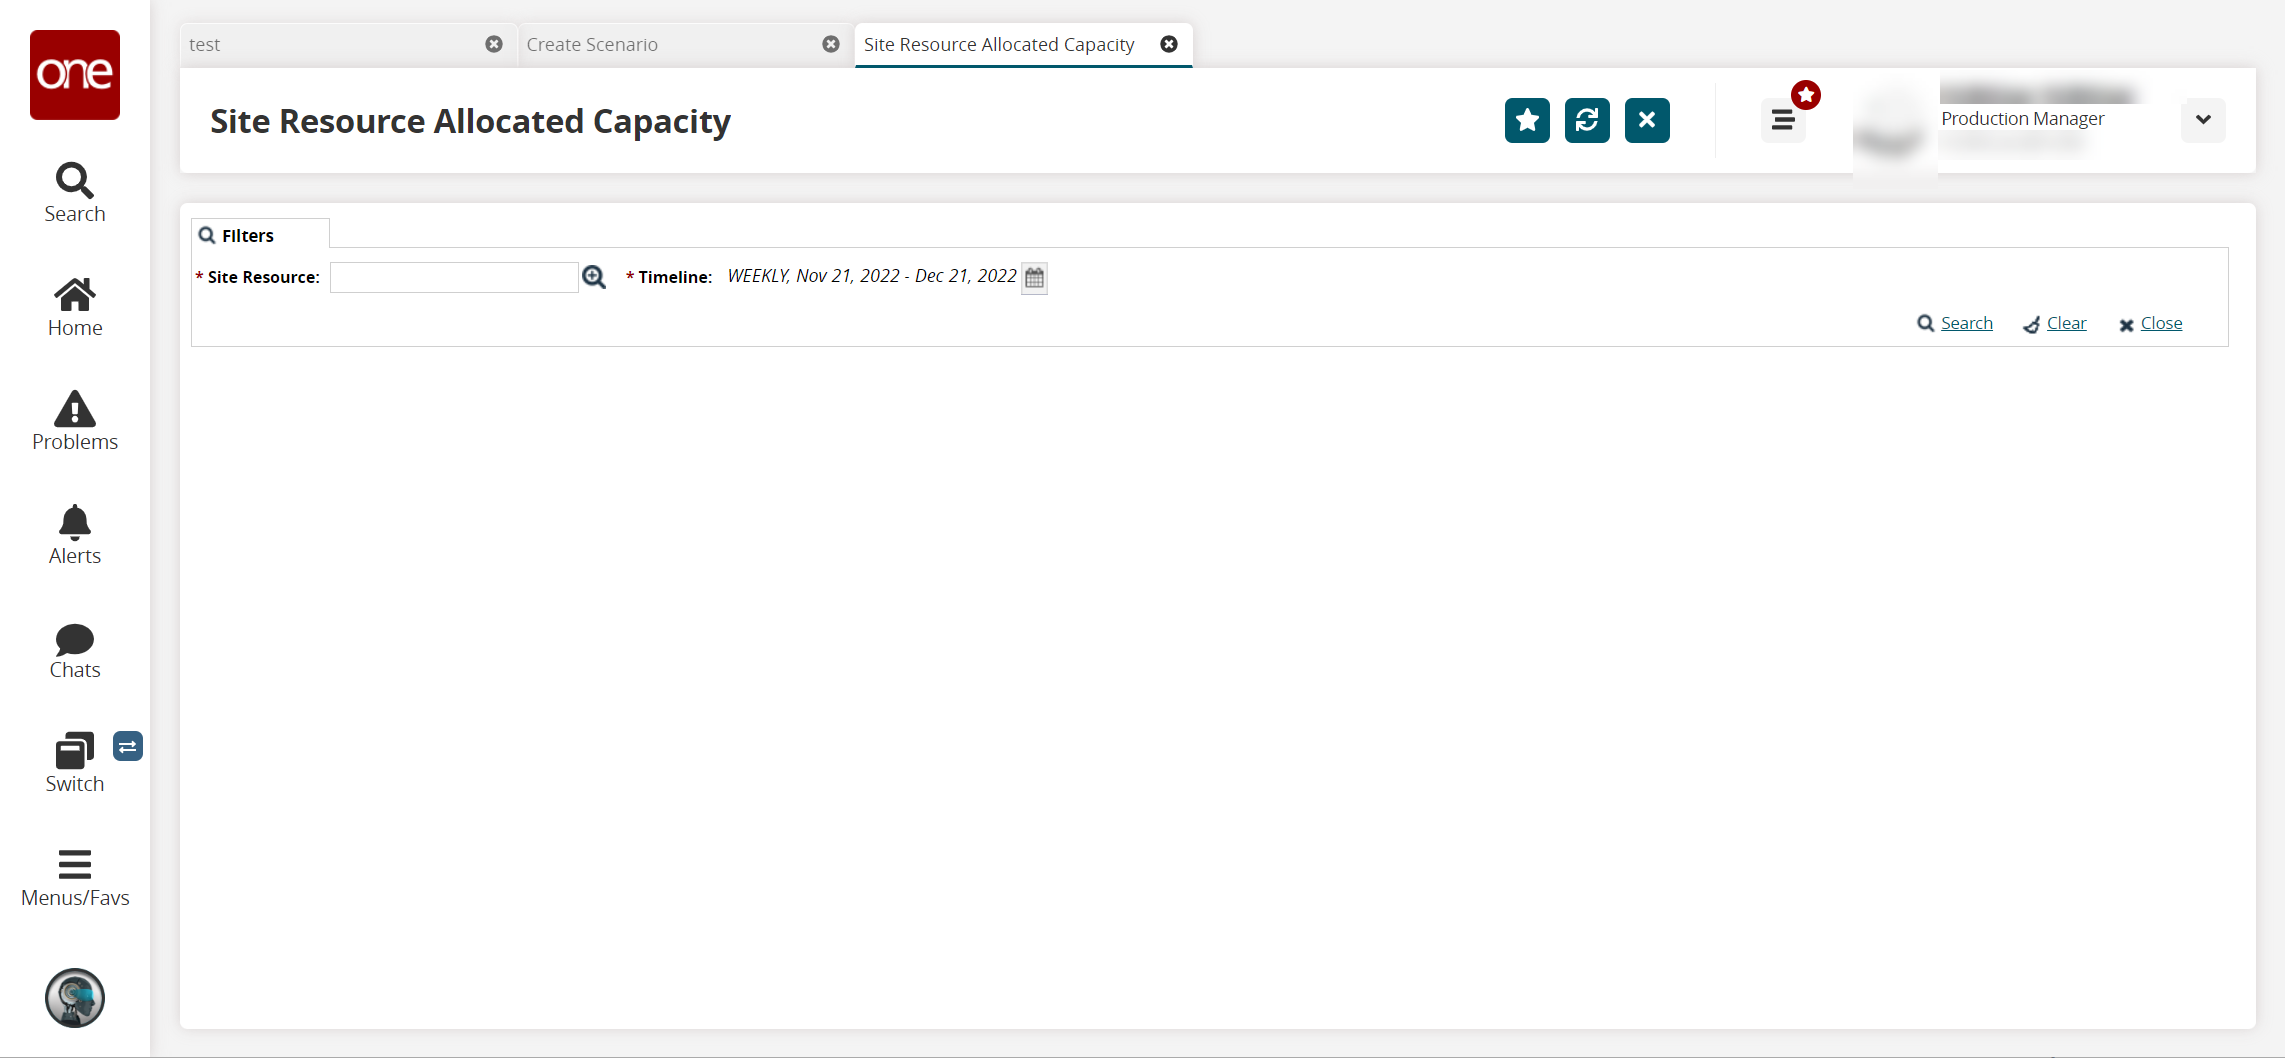
In the Site Resource field, use the picker tool to select a site resource for the TLV.
In the Timeline field, click the calendar icon to select a bucketization value and a date range for the TLV. The default bucketization value is weekly, and the default start date is the current date.
Click the Search link.
The Site Resource Allocated Capacity TLV for the selected site resource appears.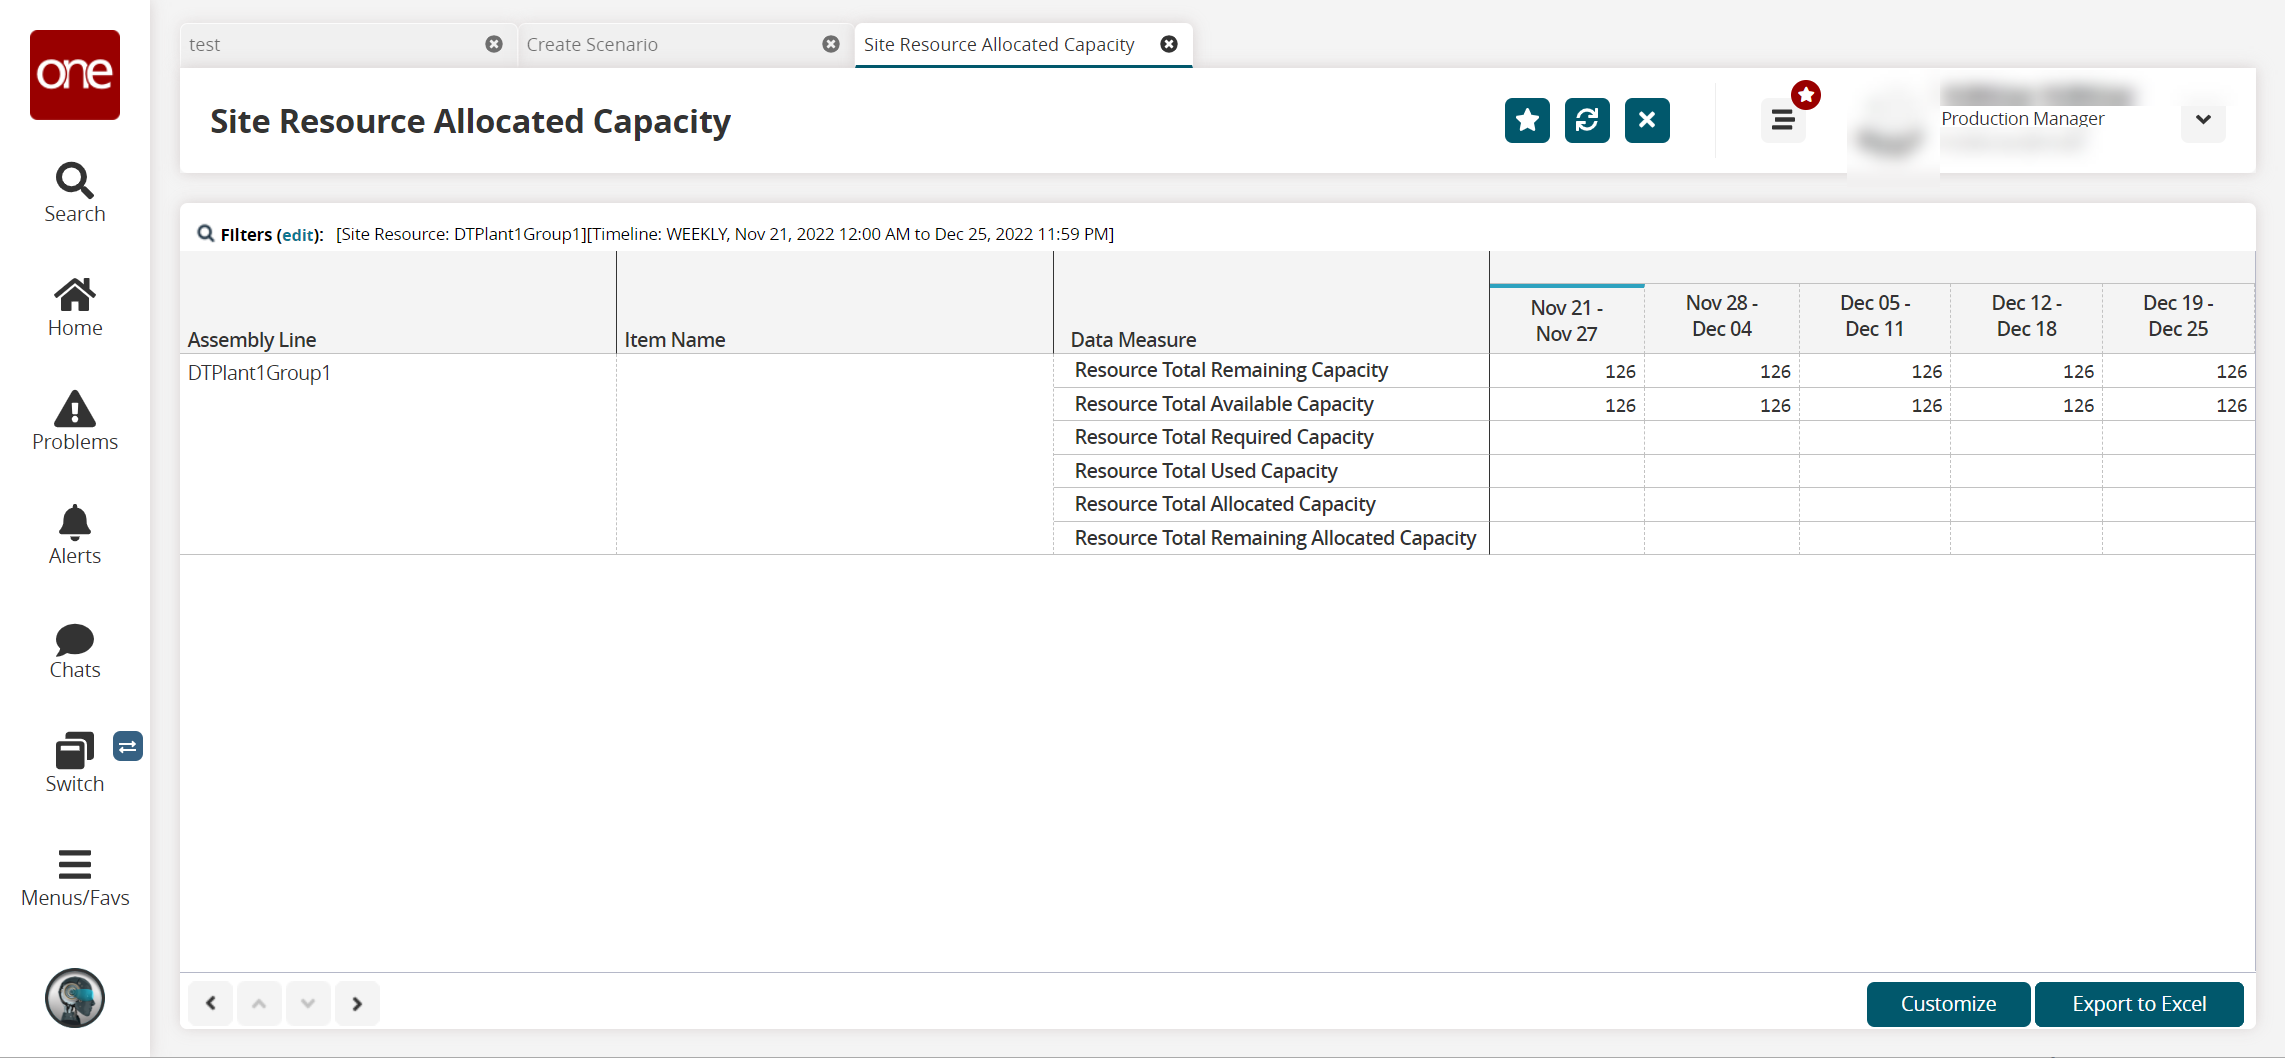
Click the Export to Excel button to export the TLV to an Excel spreadsheet.
Click the Customize button to customize the TLV.
The Customization Level popup appears.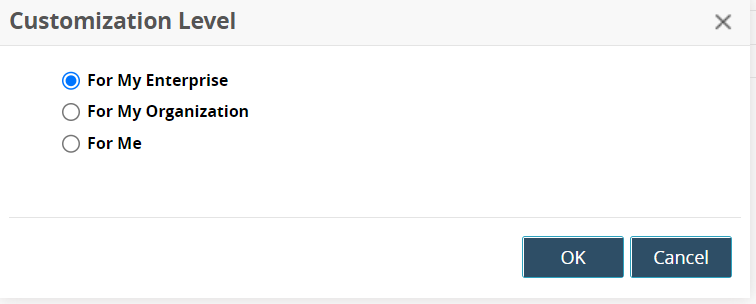
Select For My Enterprise, For My Organization, or For Me.
Click the OK button.
The TLV becomes editable.
In the Data Measure column, click an eye icon to hide a data measure on the TLV.
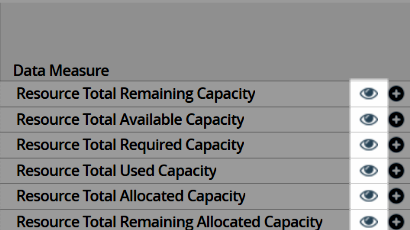
The eye icon updates to indicate that data measure is now hidden on the TLV.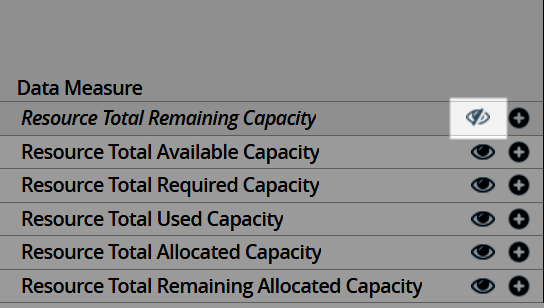
Click a plus
 icon to add a data measure.
Options display.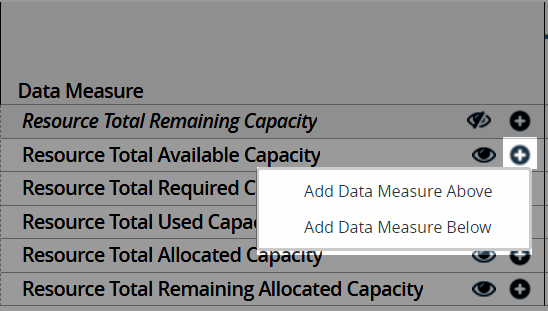
Click Add Data Measure Above to add another data measure above the selected one or Add Data Measure Below to add one below the selected measure.
The Add Data Measure popup appears.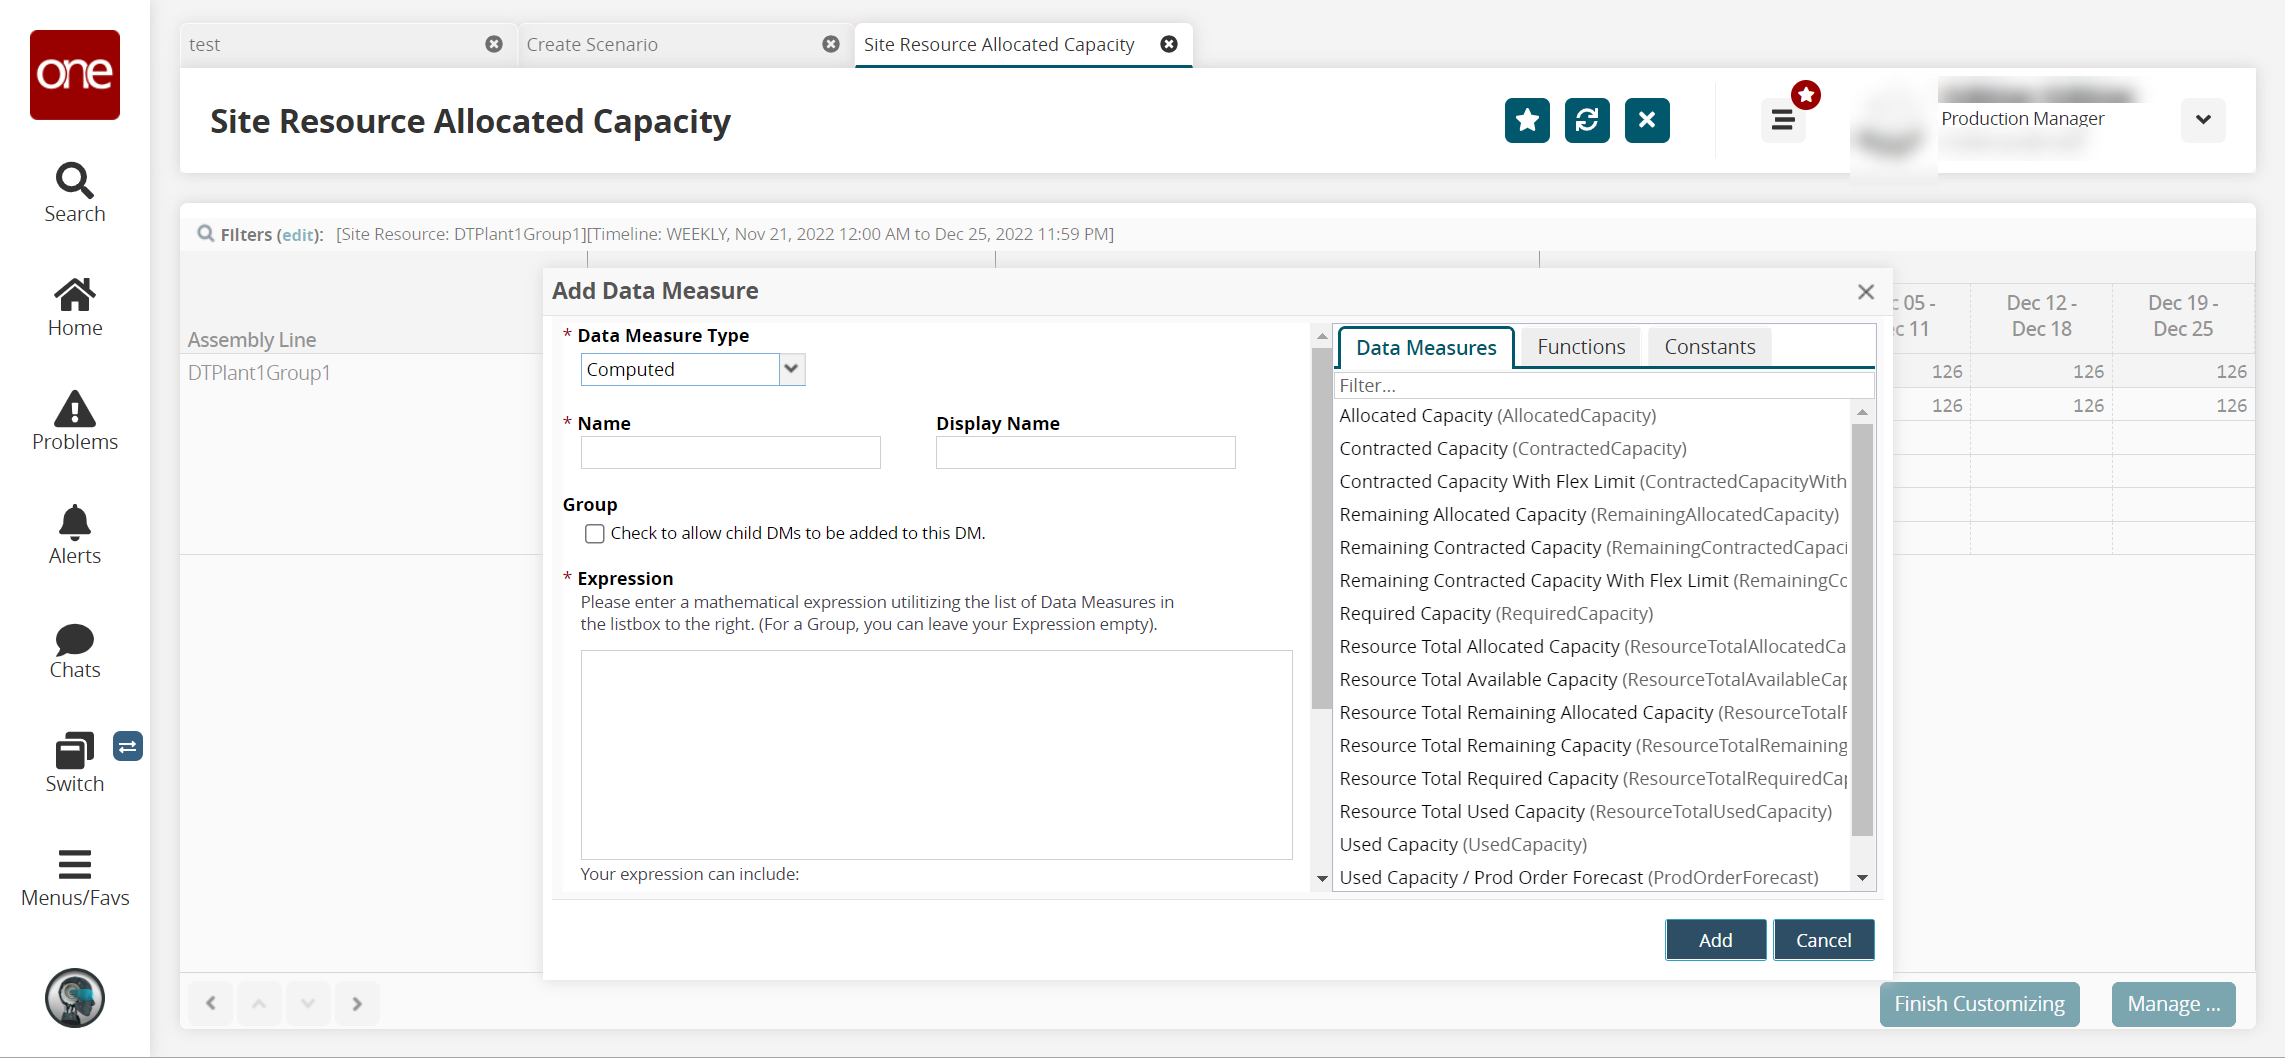
Fill out the following fields. Fields with an asterisk ( * ) are required.
Field
Description
* Data Measure Type
Select a data measure type from the dropdown menu.
* Name
Enter a name for the data measure
Display Name
Enter a different name to display on the report, if desired.
Group
Check the box to allow child data measures to be added to this data measure.
Expression
Click the tabs (Data Measure, Function, and Constants) in the pane on the right to build a mathematical expression from the lists.
Click the Add button.
The data measure is added as a new row.Click the Manage button to display the added customizations in a new tab.
The Manage Customization screen appears in a new tab.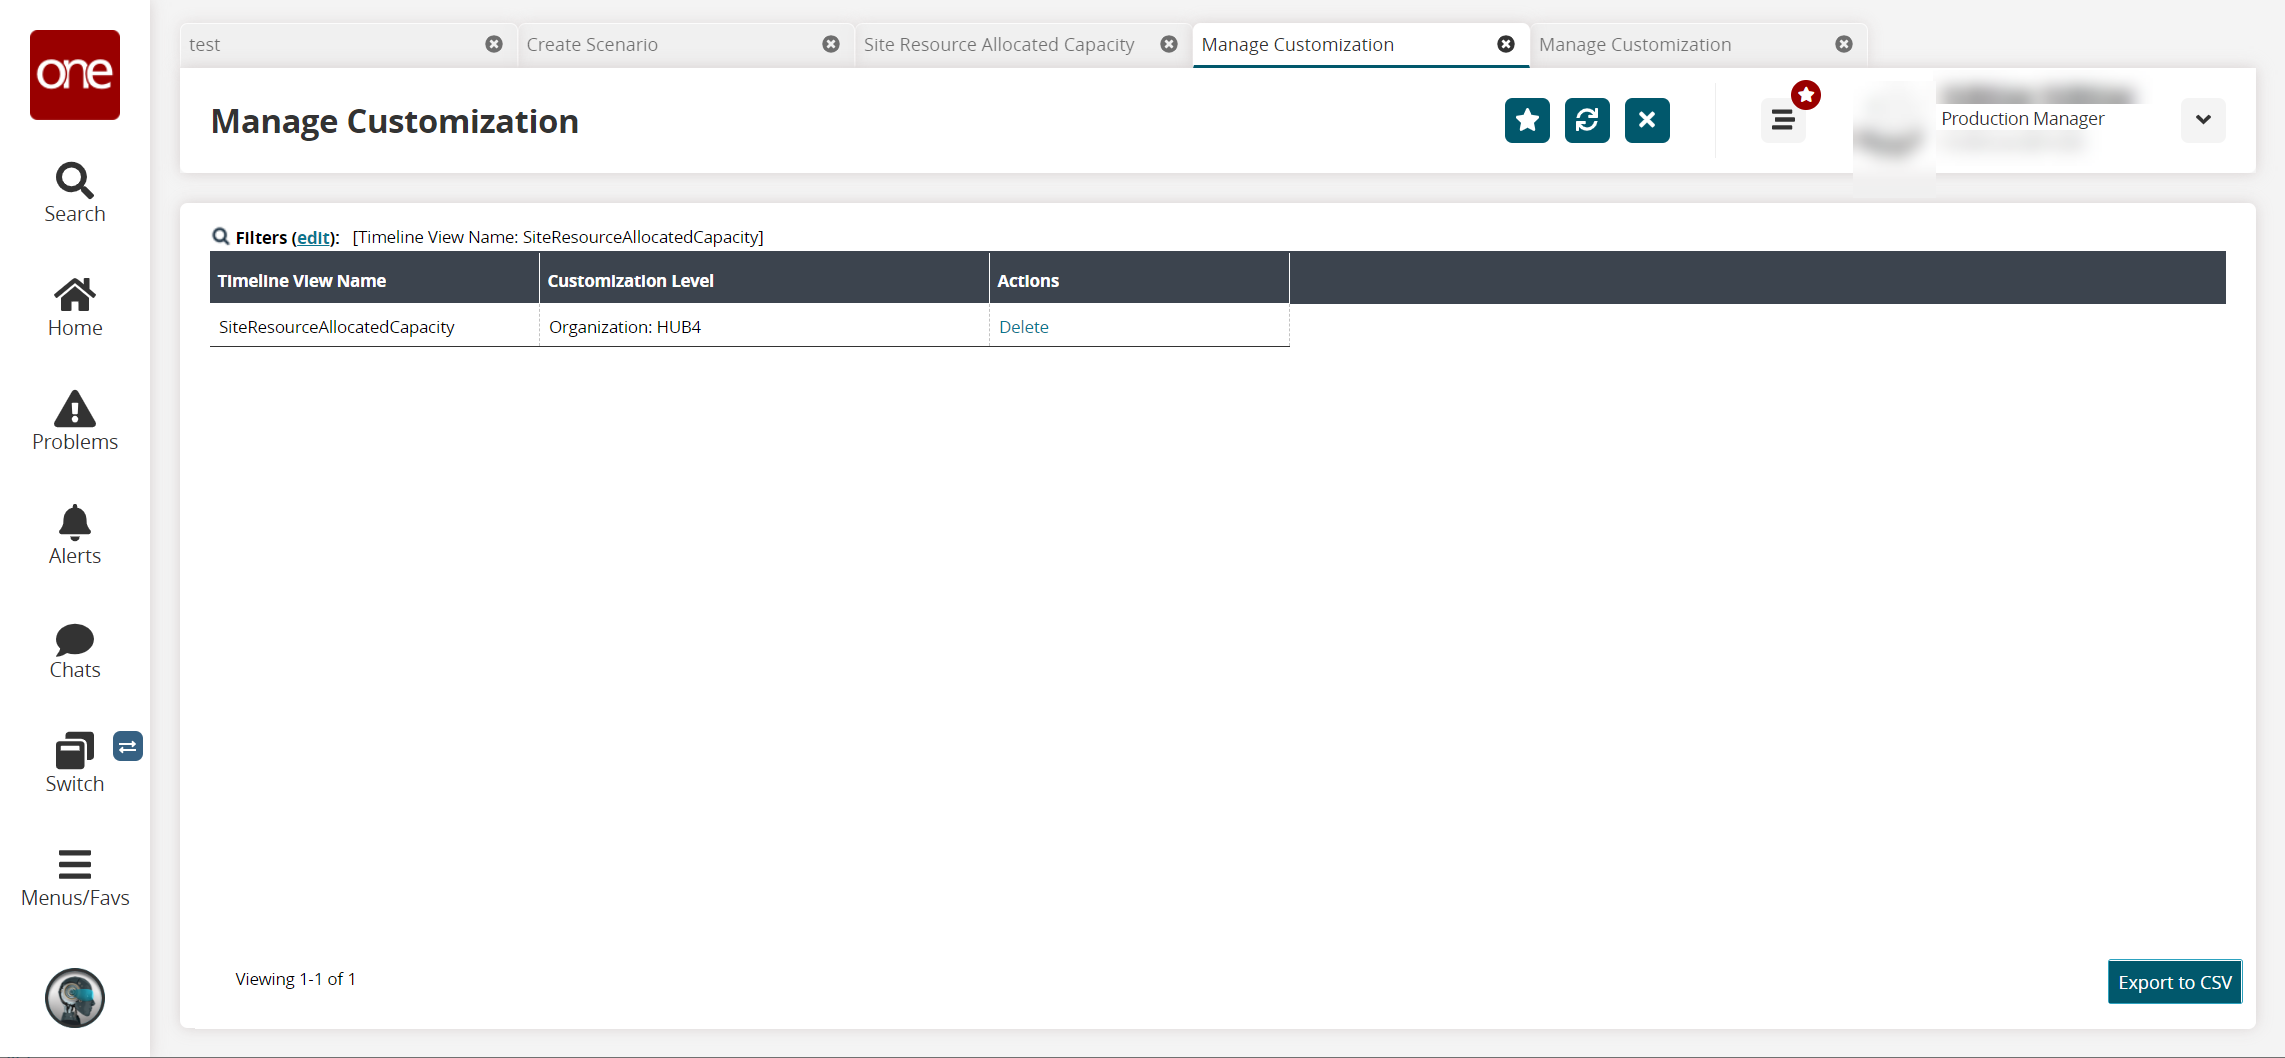
In the Actions column, click the Delete link to delete a customization.
Click the Export to CSV button to export the report to a CSV file.
Returning to the Site Resource Allocated Capacity TLV screen, click the Finish Customizing button once all data measures have been added or hidden as desired.
The TLV updates.