Tracking and Tracing Kit Items
The Kits report allows administrator users to view the summary report for assembled kits and kit items associated with different enterprises and sites. The report also helps users track kit availability at the site, its components' positions, and linked inventory, even if components are distributed across multiple sites.
Complete the following steps to view the Kits report for tracking and tracing kit items:
L og in to the ONE system.
Click Menu/Favs > Reports > Kits. In the NEO UI, users can click on the Menus/Favs icon on the left sidebar and type in the name of the screen in the menu search bar. For more information, see "Using the Menu Search Bar."
The Kits screen appears.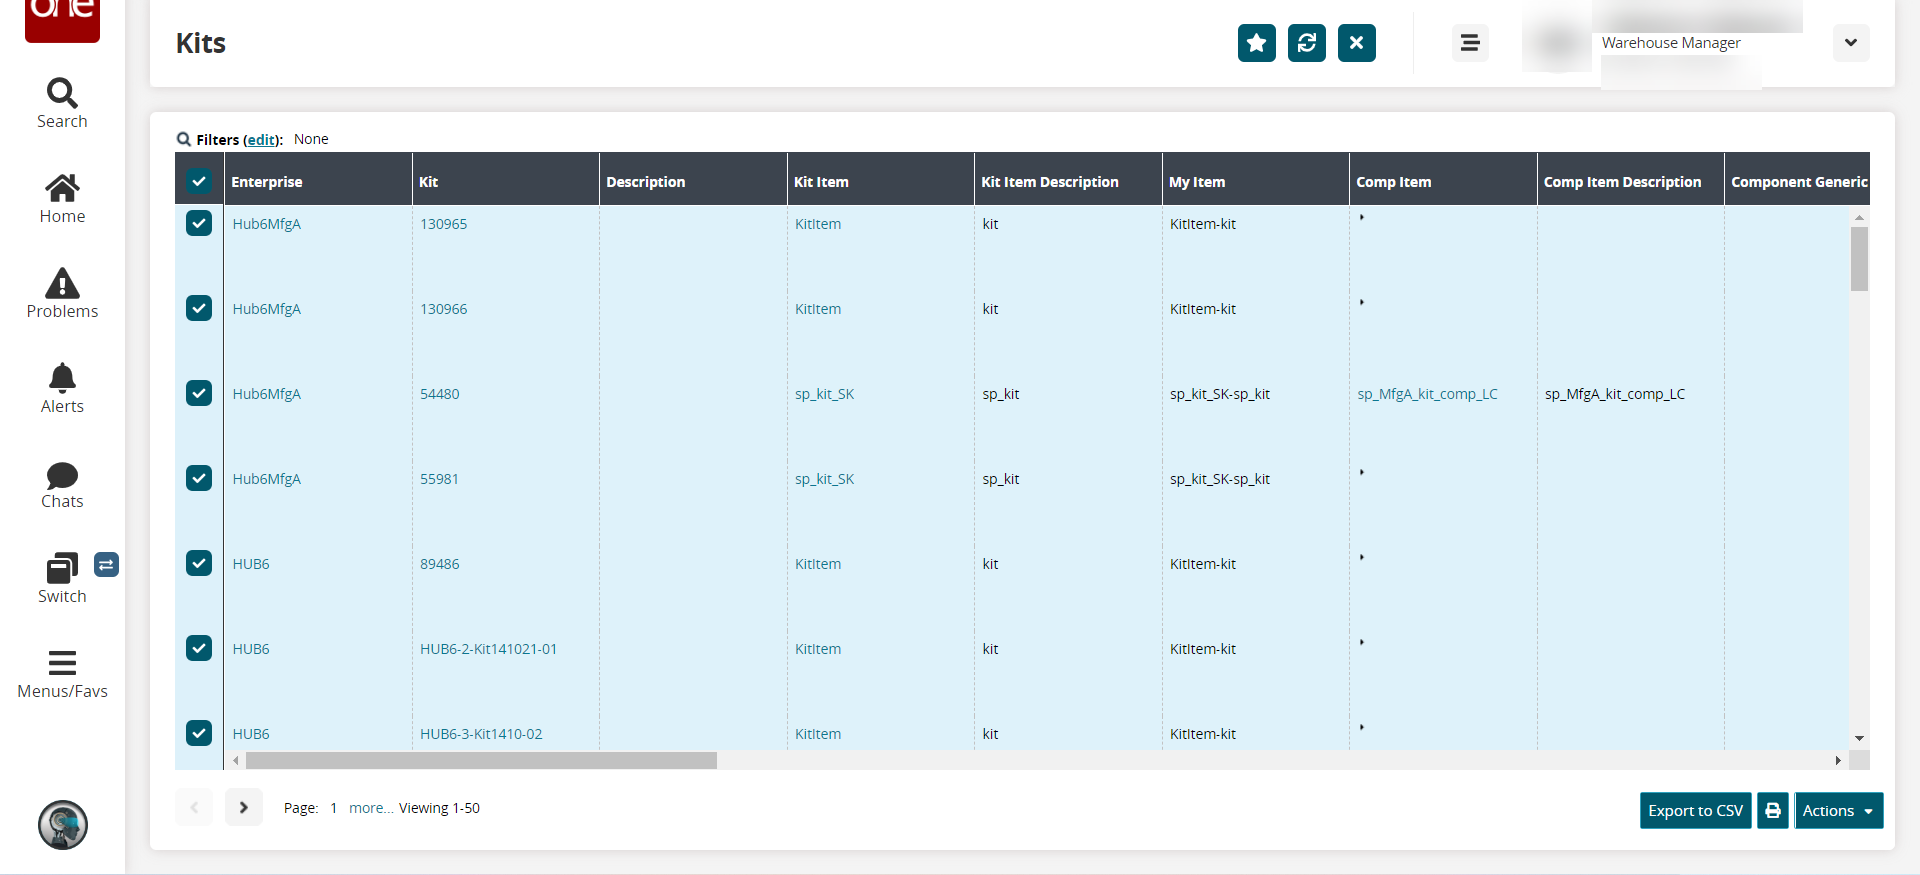
Click the Filters (edit) link to apply desired filters to the report.
In the Kit column, click the kit link to view the details of the kit in a new tab.
In the Kit Item column, click the kit item link to view the details of the kit item.
In the Comp Item column, click the triangle to view kit components.
The kit components display below the triangle.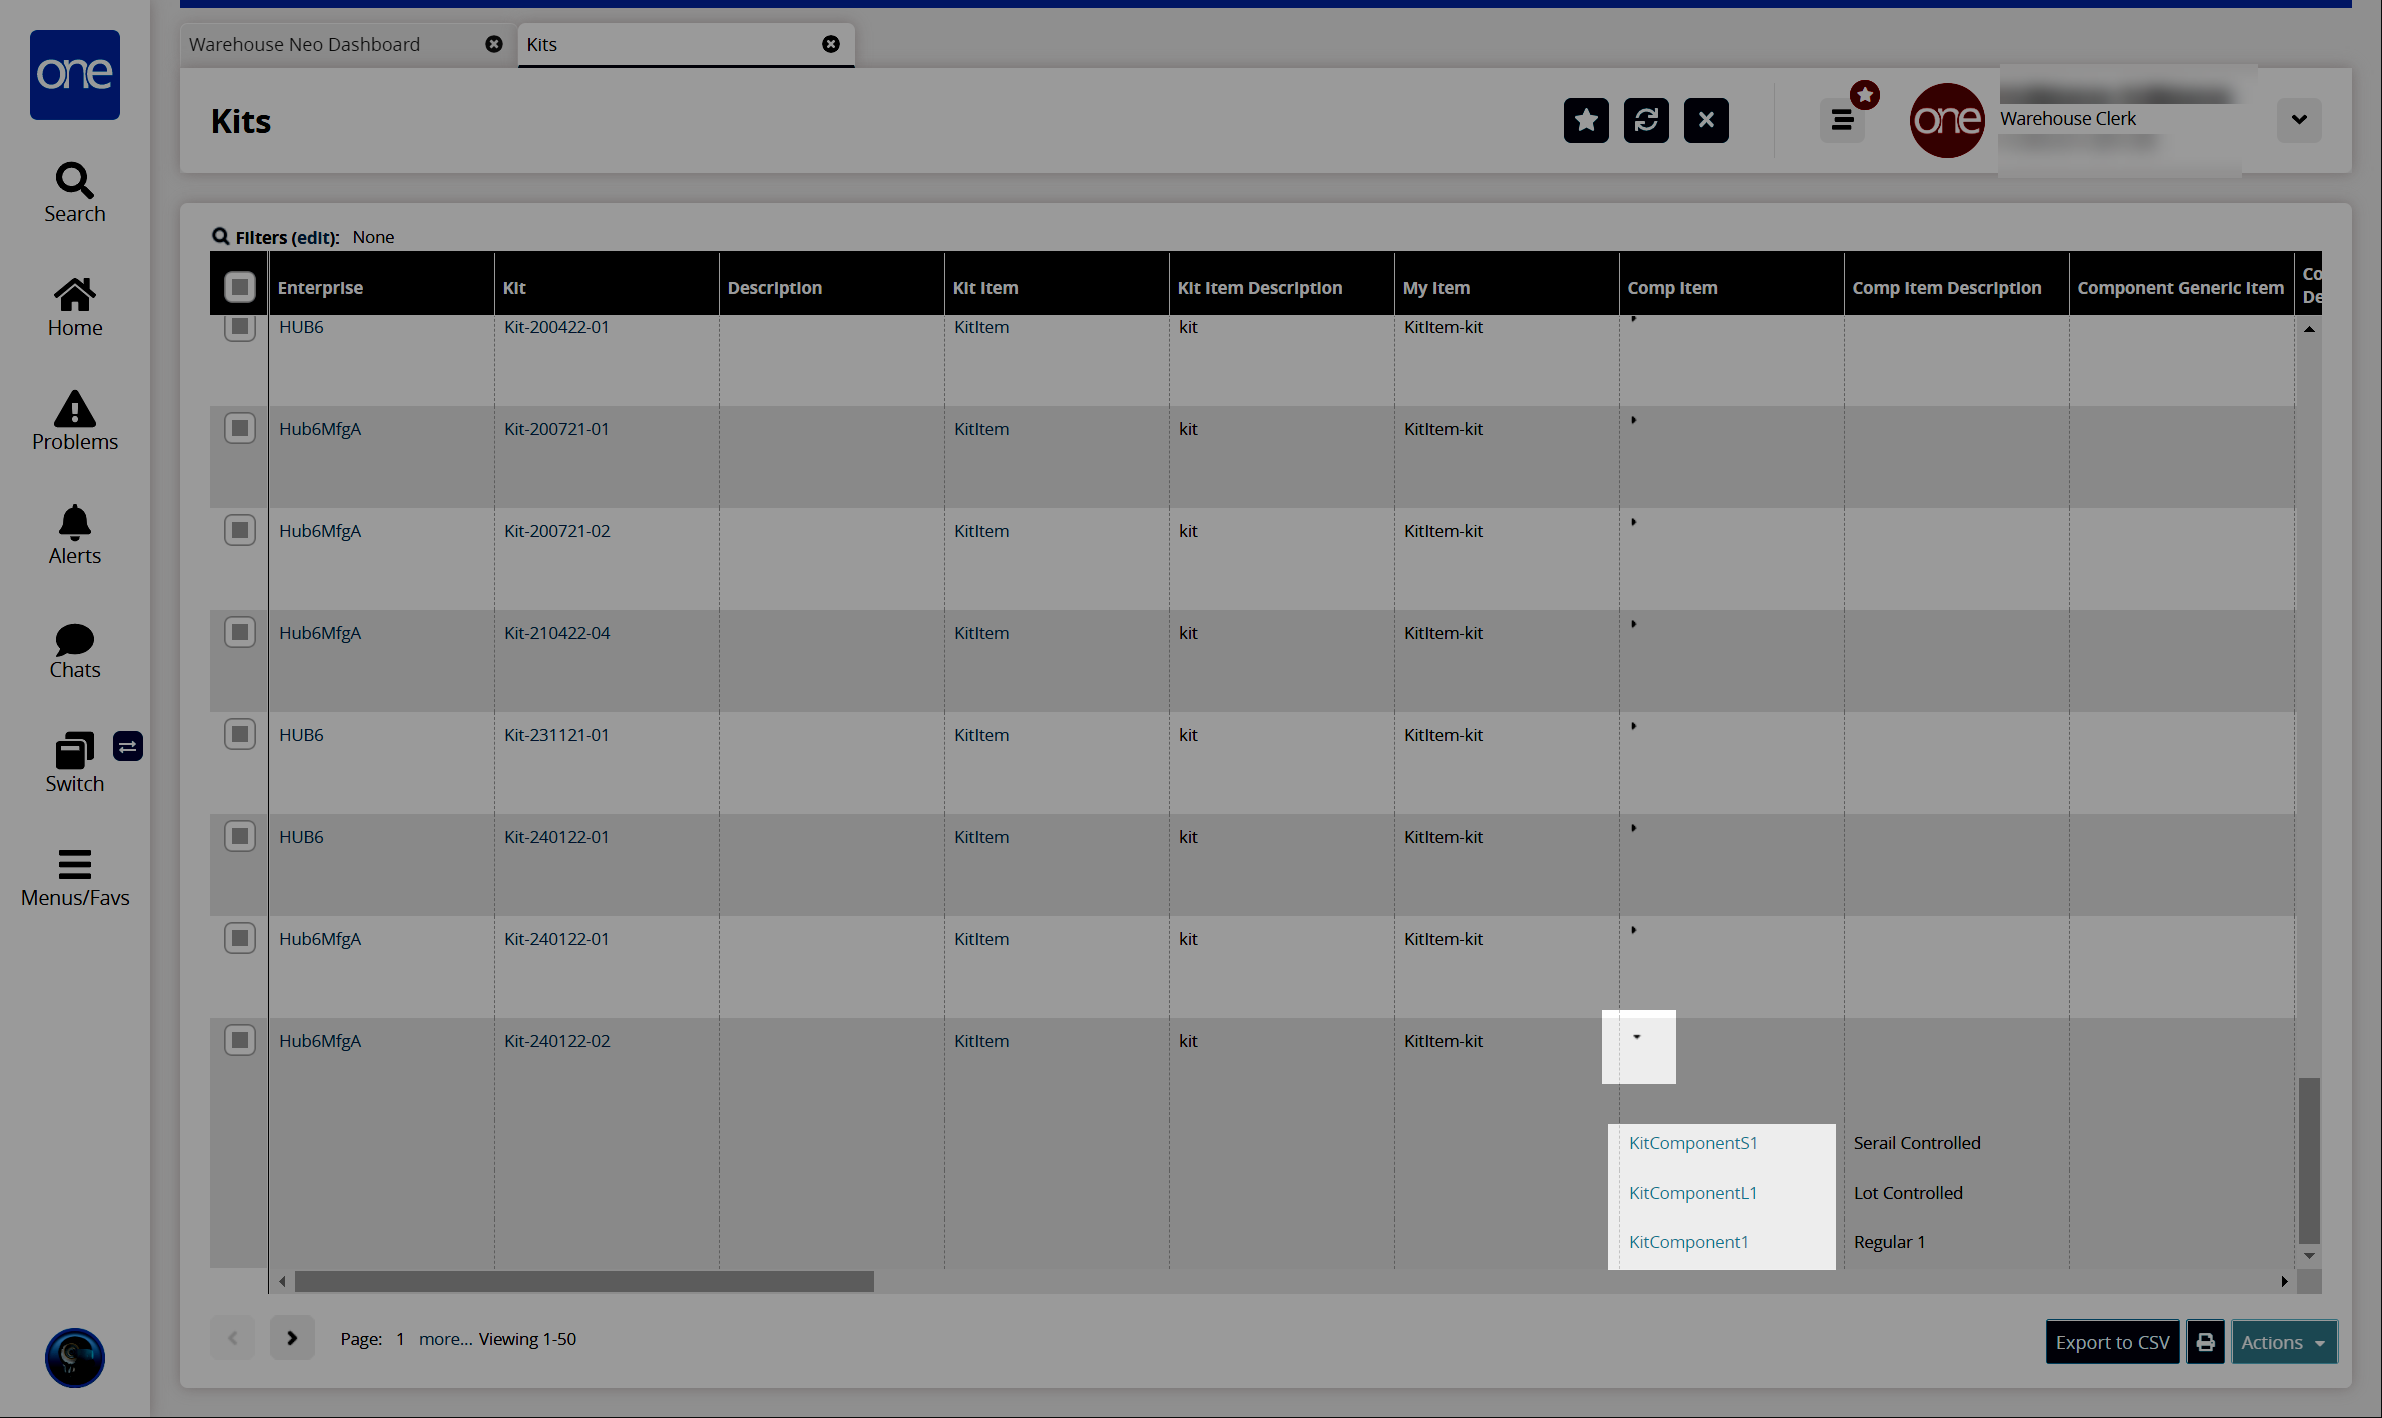
In the Comp Item column, click a kit component link to view the kit component details in a new tab.
Click Export to CSV to export the kit report into a spreadsheet.
Click the Print Kit icon to download a PDF of the kit report or print the kit report.
Select the checkbox for a kit row, and click the Actions button.
The Reconfigure action appears.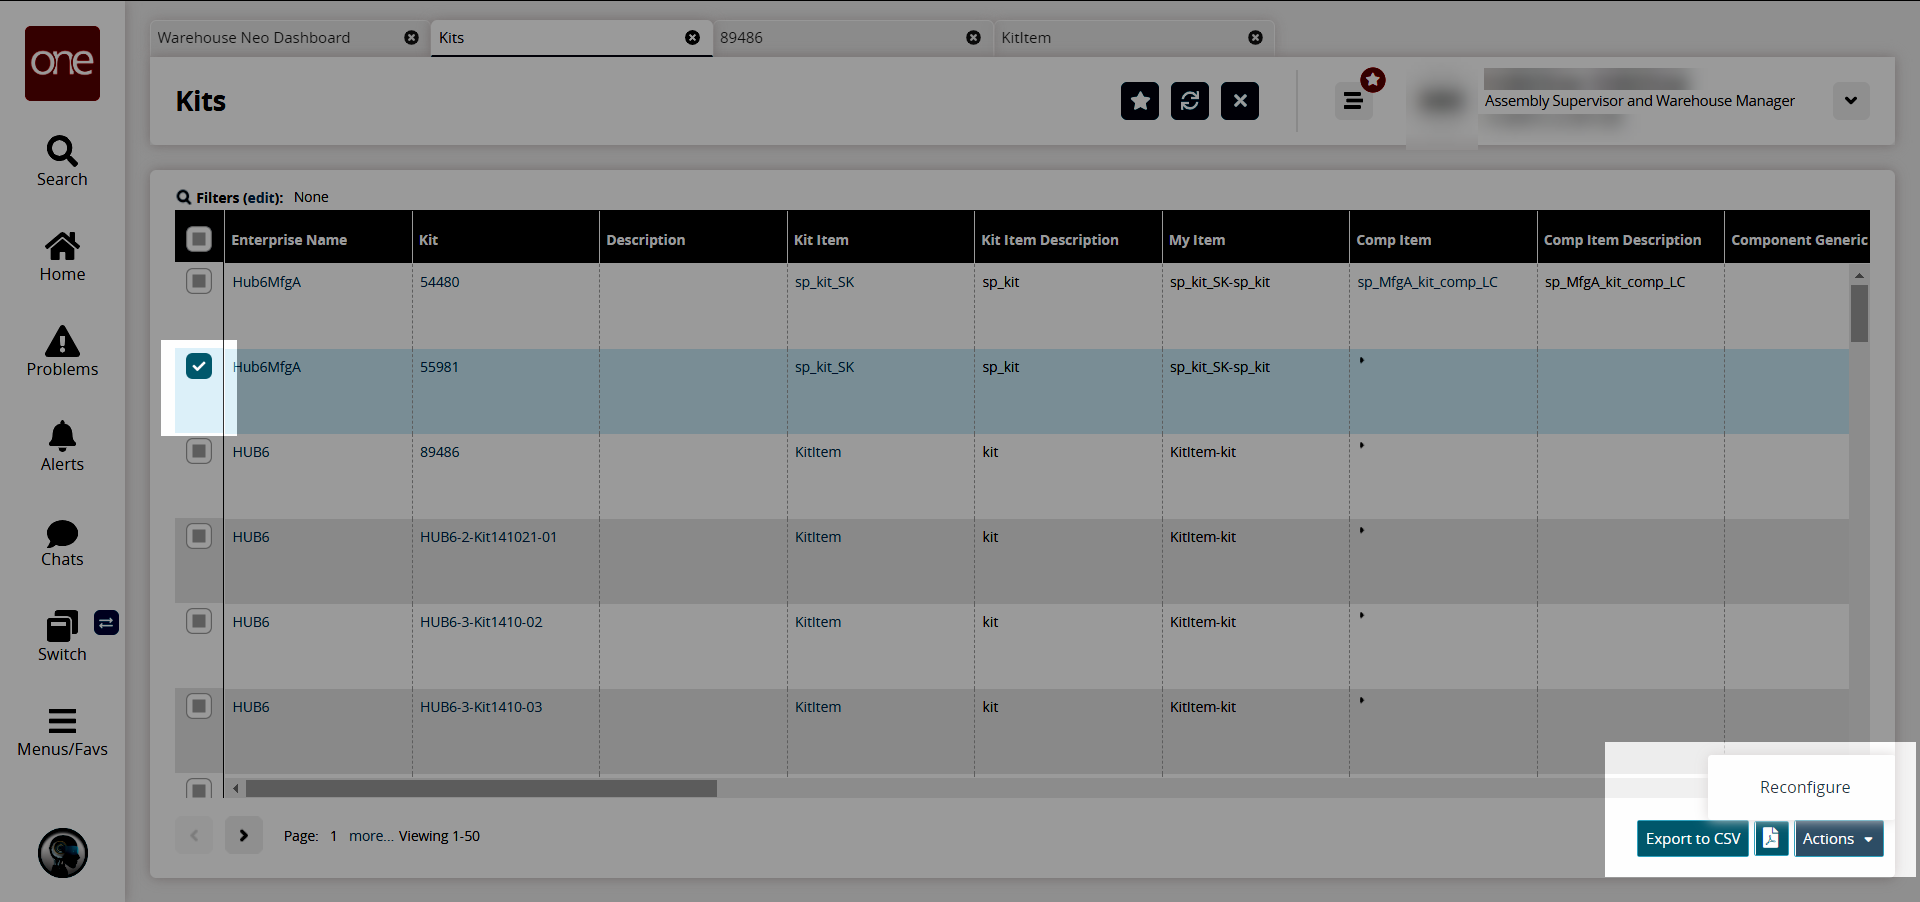
Click Reconfigure.
The Generate Reconfigure Work Order popup window appears.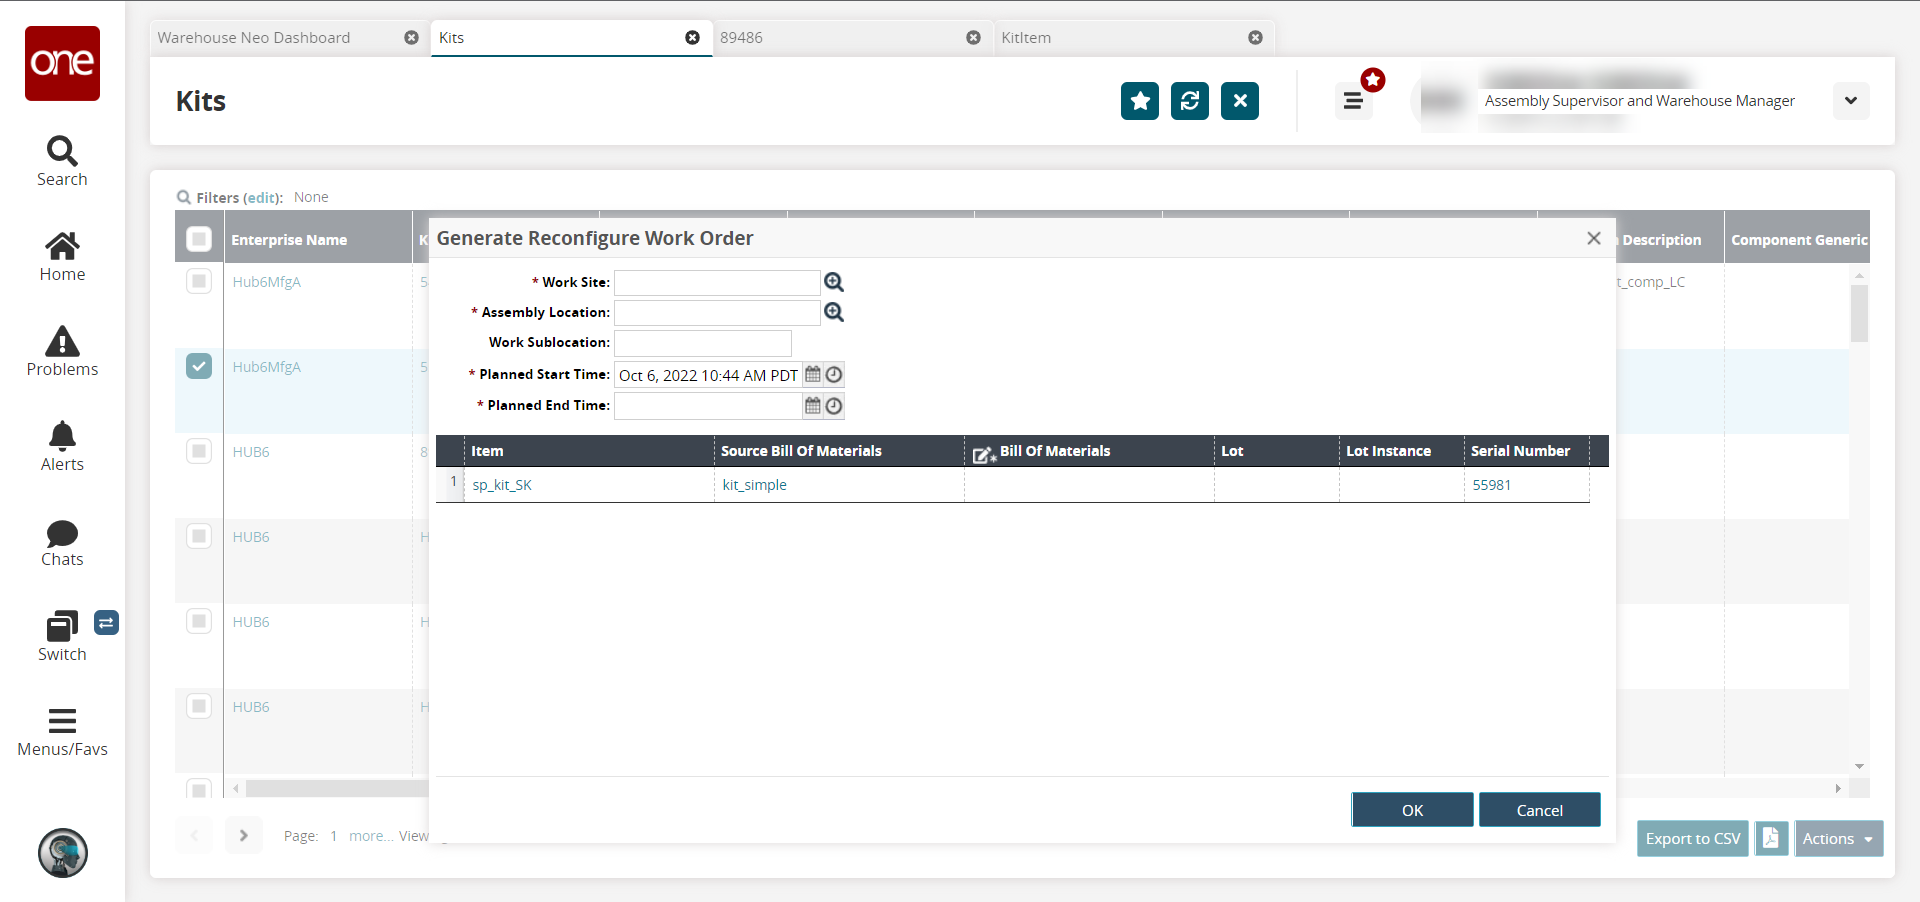
Fill out the following fields. Fields with an asterisk ( * ) are required.
Field
Description
* Work Site
Use the picker tool to select a work site.
* Assembly Location
Use the picker tool to select an assembly location.
Work Sublocation
Enter a work sublocation.
* Planned Start Time
Click the calendar and clock icons to select a planned start time.
* Planned End Time
Click the calendar and clock icons to select a planned end time.
In the *Bill of Materials column, click in the cell to edit it if desired. This field is required.
Click OK.
The page updates, and the work order for the kit is reconfigured.