Updating Partner Sites
You can update details of a partner site, as well as activate or deactivate the site for your enterprise.
Complete the following steps to update partner sites:
L og in to the ONE system.
Select Menu/Favs > Administration > Partner > Search Partner Site.
The Search Partner Sites screen appears.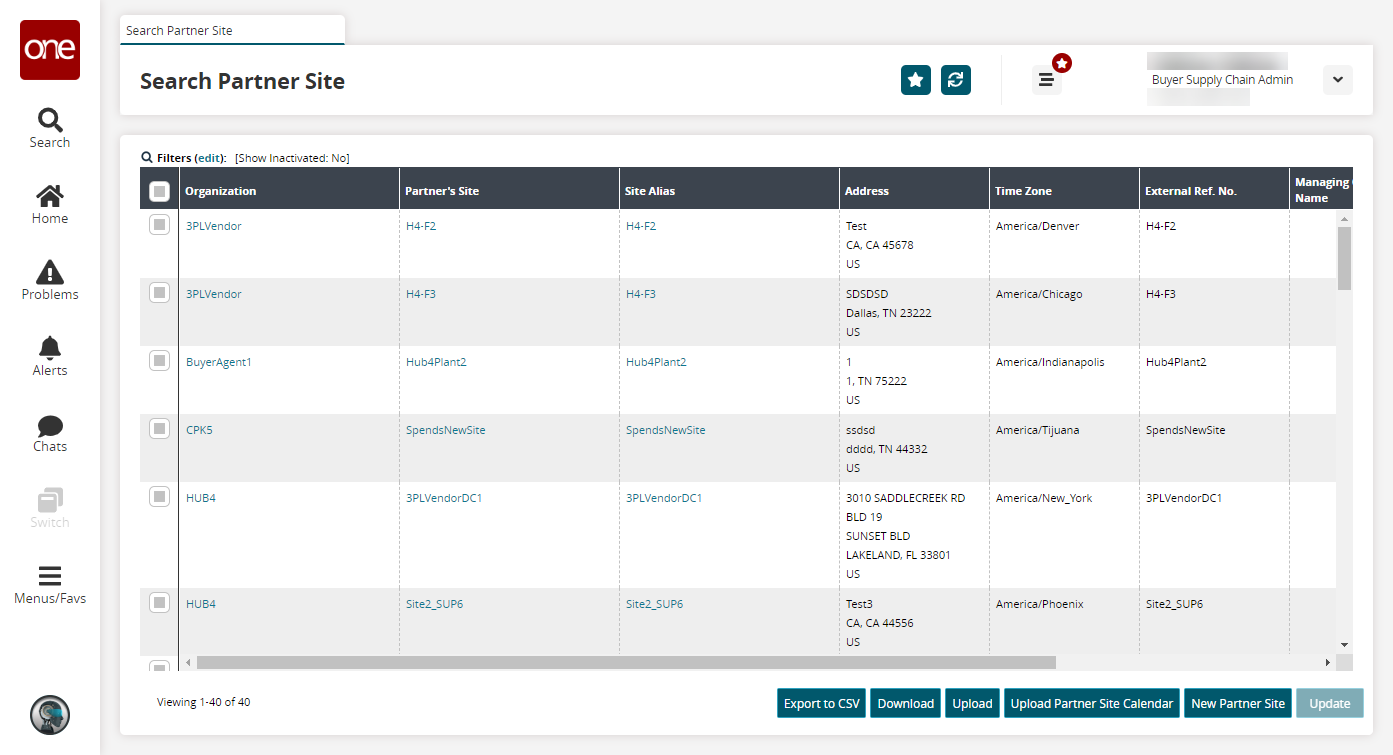
Click a Partner's Site link.
The partner site details screen appears.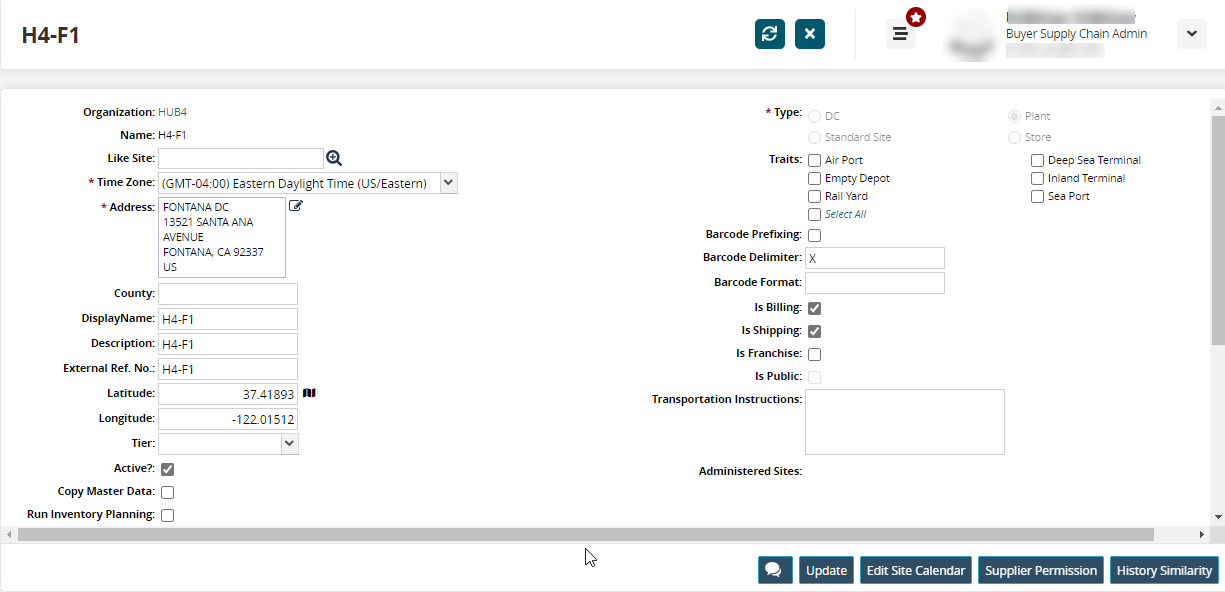
Update partner site details as desired. See the "Creating Partner Sites" section for more information on these fields.
On the Life-cycle tab, provide information for the Forecast Begin Date, Forecast End Date, and Phase In Duration fields.
On the Attributes tab, provide information for the fields provided. Attribute fields are customizable.
On the Documents tab, drag and drop relevant documents. At least one document type must be defined in the system before uploading documents.
On the Inventory Policy tab, select all relevant options for the Auto Receipt and Auto Pick/Consume fields.
On the Customs tab, specify Schedule K and Schedule D ports, if applicable. Start typing to see relevant options and select one from the suggestions.
Click Update.
A success message appears.
You can update multiple partner sites simultaneously by downloading and updating the list of partner sites as a spreadsheet.
Complete the following steps to bulk update partner sites:
L og in to the ONE system.
Select Menu/Favs > Administration > Partner > Search Partner Site.
The Search Partner Site screen appears.Select one or more partner site rows.
Click the Update button.
The selected partner site details become editable. You can update any field mark with an edit icon.
icon.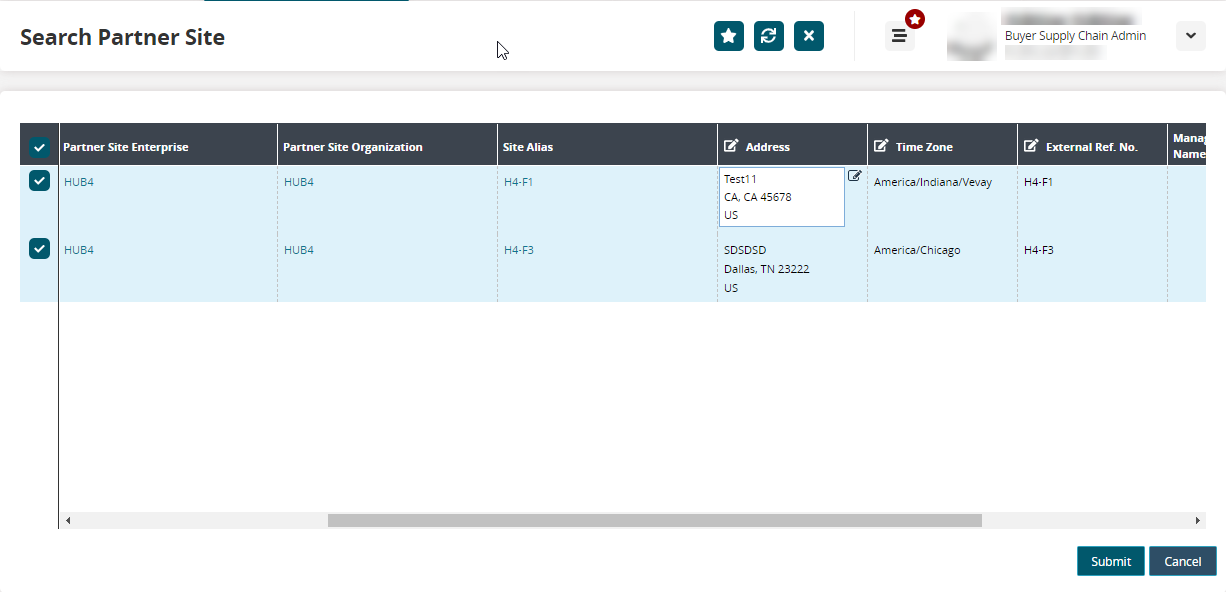
Click Submit.
A success message appears.