Viewing Document Types
Admin users can manage the types of documents available to an enterprise, and create new document types as needed. From the screen, users can view and edit document types.
Complete the following steps to view and update document types:
L og in to the ONE system.
Select Menus/Favs > Tools > Manage Document Types. In the NEO UI, users can click on the Menus/Favs icon on the left sidebar and type in the name of the screen in the menu search bar. For more information, see "Using the Menu Search Bar."
The Manage Document Types screen appears.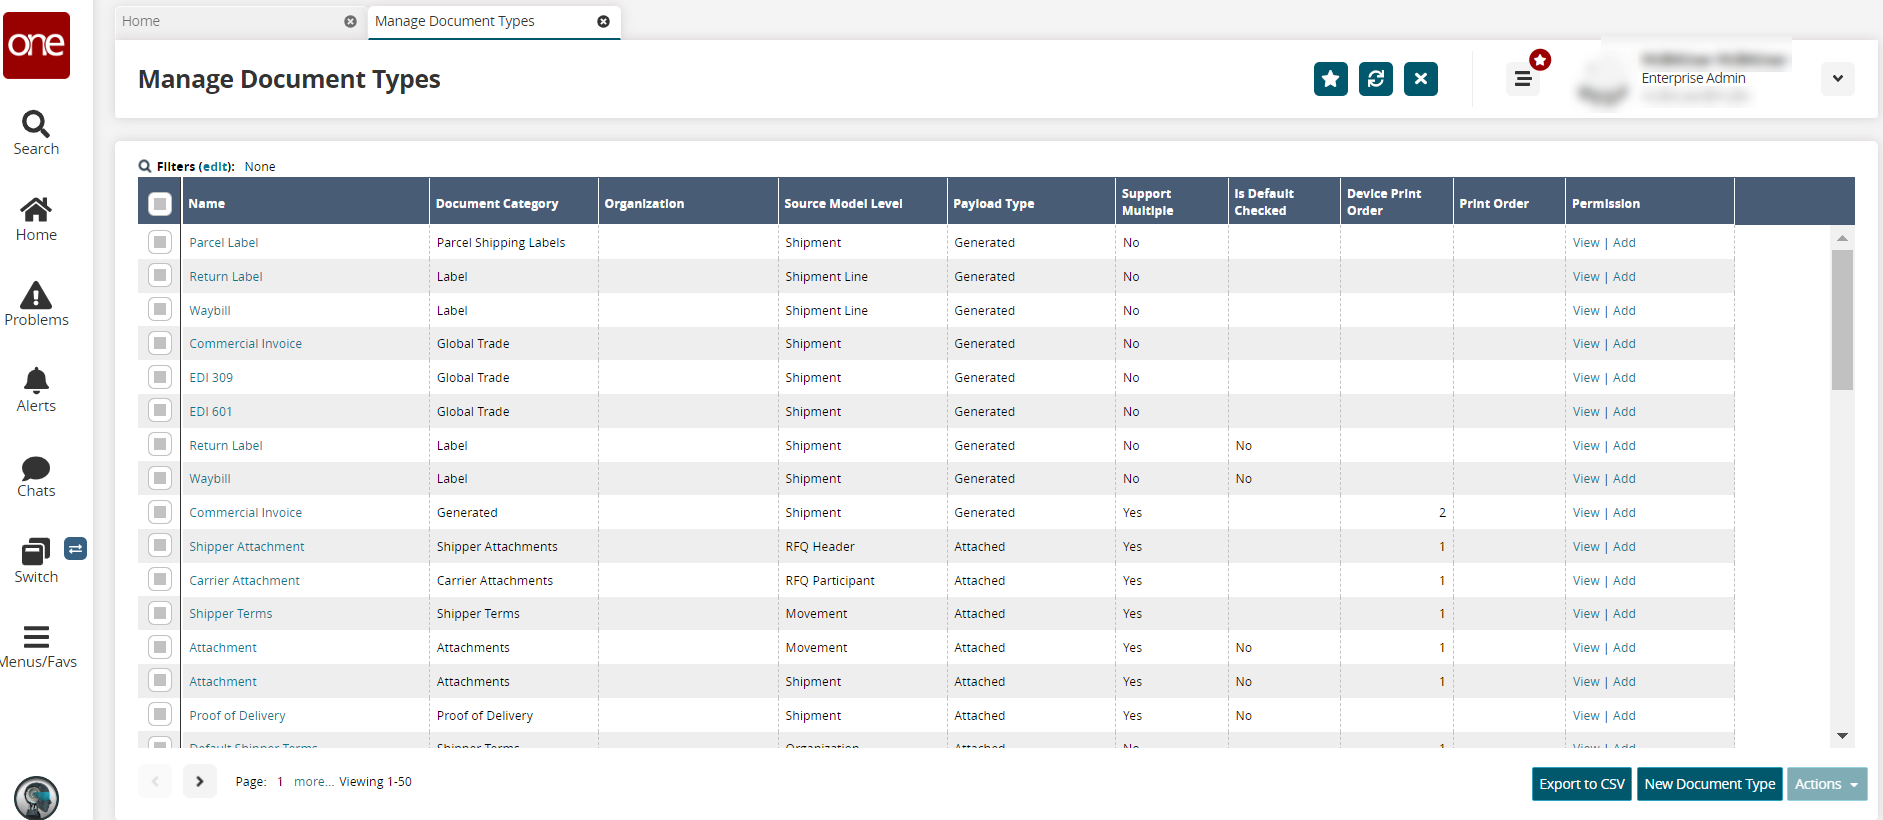
Click the Filters (edit) button to search the document type.
The Filters header displays.
Complete the fields described in the table below.
Field
Description
Name
Enter a name for the document type.
Document Category
Enter a document category.
Organization
Enter or use the picker tool to select the organization.
Source Model Level
Select the source model level from the dropdown list.
Payload Type
Select the payload type from the dropdown list.
Support Multiple
Select Yes or No from the dropdown list if this document type should support multiple documents.
Click the Search link.
The results display.To update one or more document types, select the checkbox at the beginning of the lines, then click the Actions button at the bottom of the screen.
Select Update Document Type to update the document.
The Update Document Type popup displays. Fields with an asterisk (*) are required, and fields with the edit icon (pencil) are editable.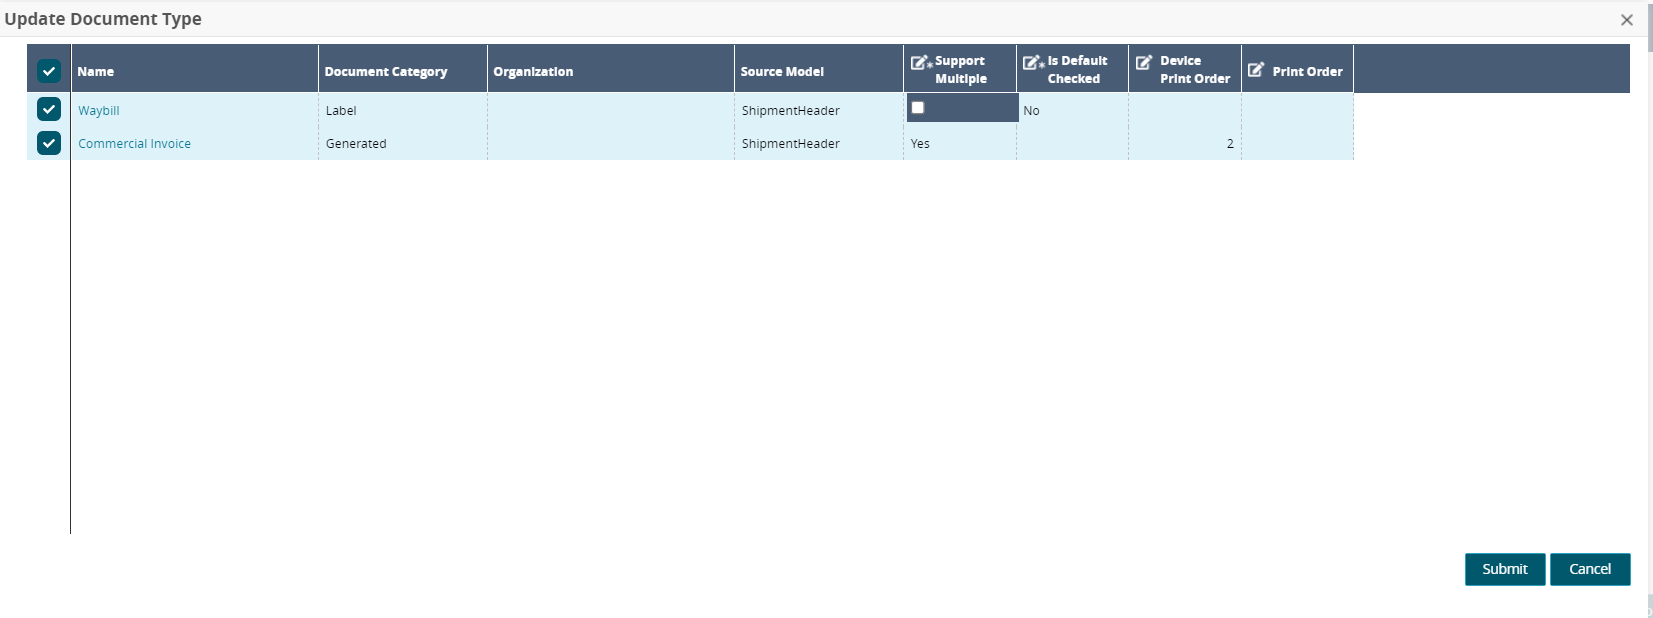
Check the box for *Support Multiple and *Is Default Checked.
The value will display as Yes (checked) or No (unchecked).Enter a numerical value for Device Print Order and Print Order.
Click the Submit button.
A green success message displays.In the Name column, the link to view the details of the document type.
The document type details screen displays. All document types will have the same fields.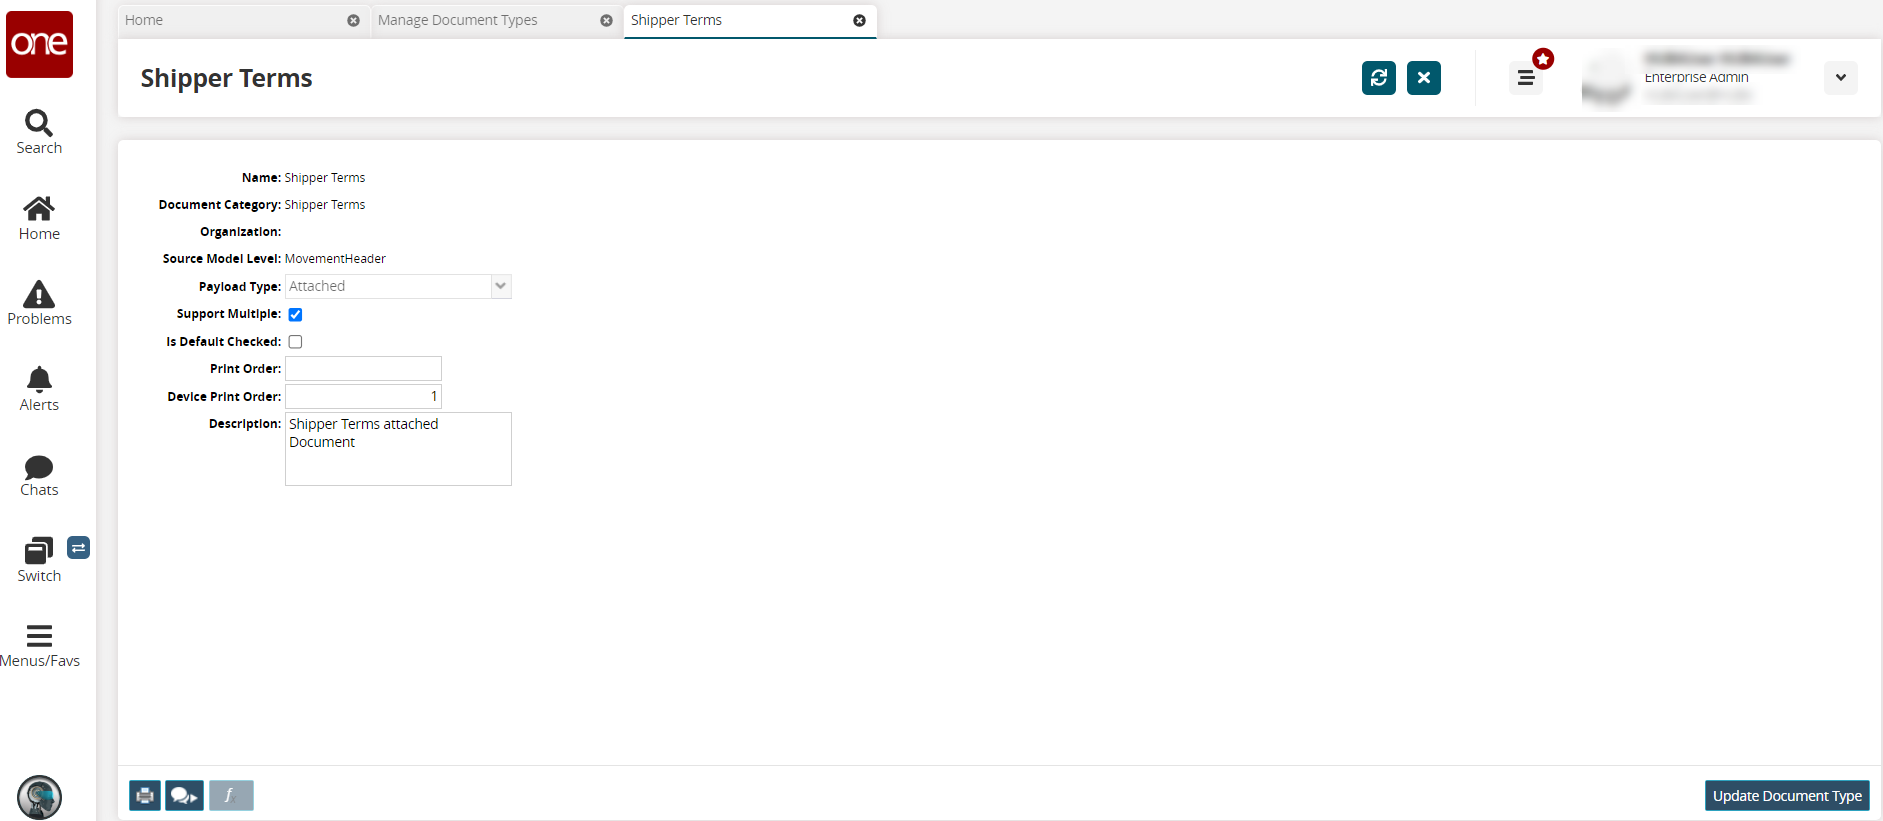
Update the following fields.
Field
Description
Payload Type
Select the payload type from the dropdown list.
Support Multiple
Check the box if this will support multiple documents.
Is Default Checked
Check the box to enable this as a default.
Print Order
Enter a numerical value for the print order.
Device Print Order
Enter a numerical value for the device print order.
Description
Enter a description for the document type.
Click the Update Document Type button.
A green success message displays.On the Manage Document Types tab, click the Export to CSV button to export the data to a file on your computer.