Warehouse Planner Workbench
The Warehouse Planner Workbench allows warehouse users to choose how to work with demand orders. The workbench gives users a guided process to decide how they want to work with demand orders: by inventory reservation, by creating new crossdocks, or by marking the order as back-ordered. The workbench makes the warehouse management experience more consistent with NEO design, improves visibility in warehouse operations, and enhances the fulfillment process.
Complete the following steps to use the Warehouse Planner Workbench:
L og in to the ONE system.
Click Menus/Favs > Warehouse Mgmt > Warehouse Planner Workbench.
The Warehouse Planner Workbench screen displays with filter options open.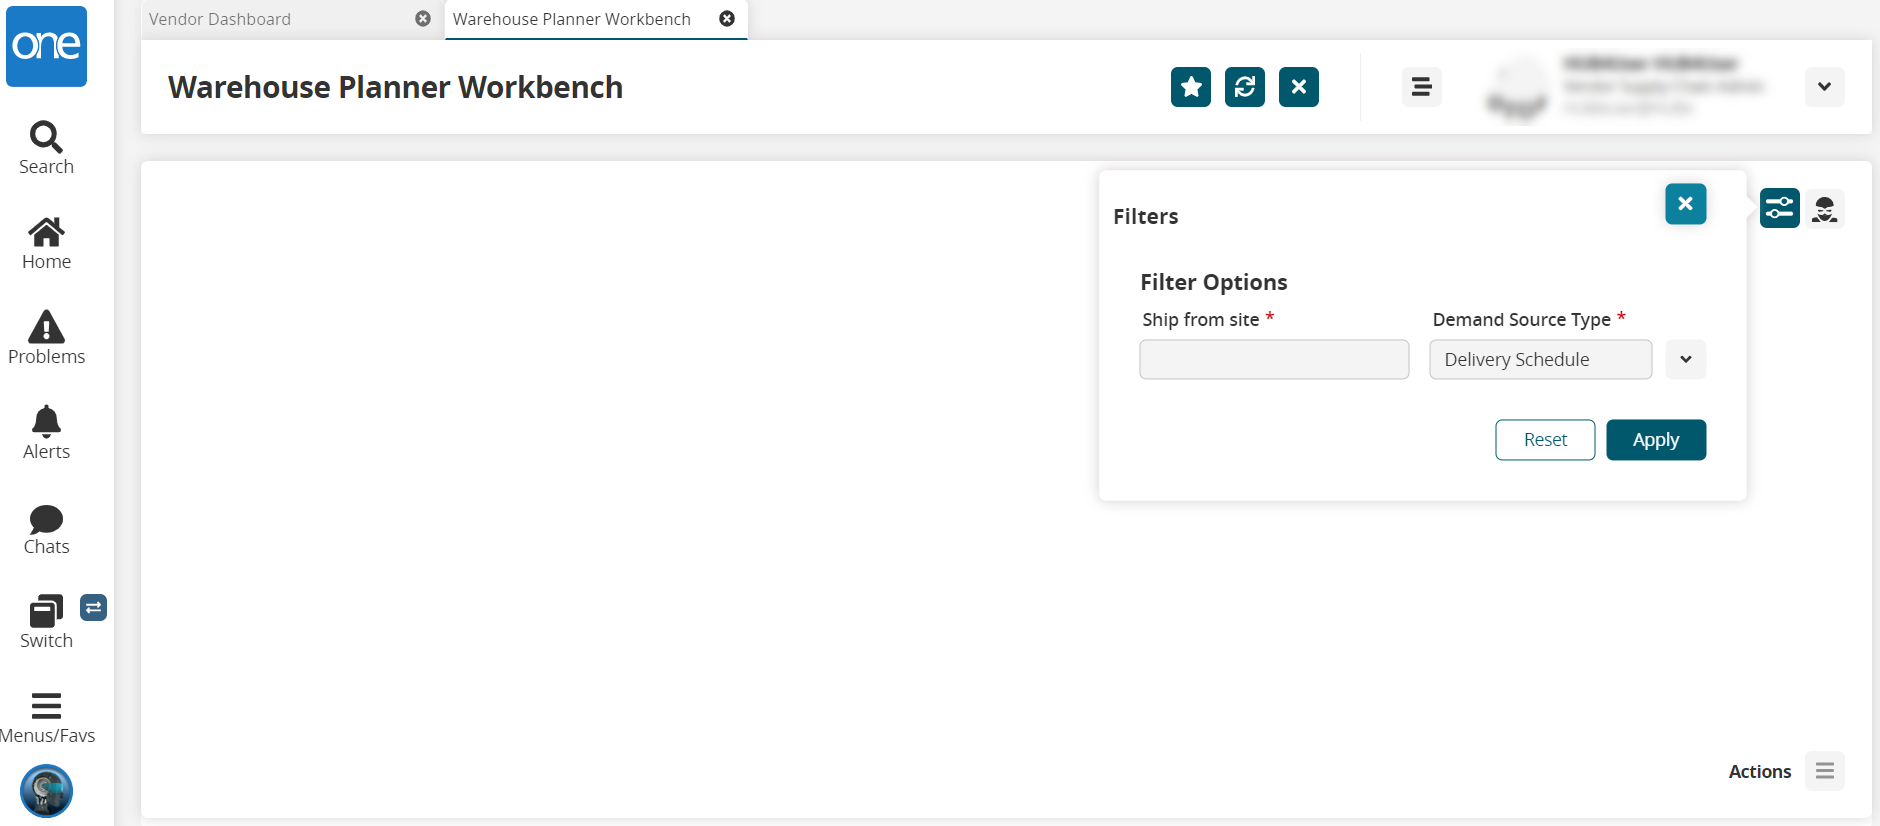
In the Ship from Site * field under Filter Options, enter and select (site list is context sensitive) a site name. Fields with an asterisk ( * ) are required.
In the Demand Source Type * field, select a source from the dropdown list.
Click the Apply button.
Orders display in the main workbench, and the slideout filter displays on the left for the source type selected from the filters popup. The following screenshots and instructions display both the Delivery Schedule (for outbound orders) and the Work Order Tasks from the Demand Source Type.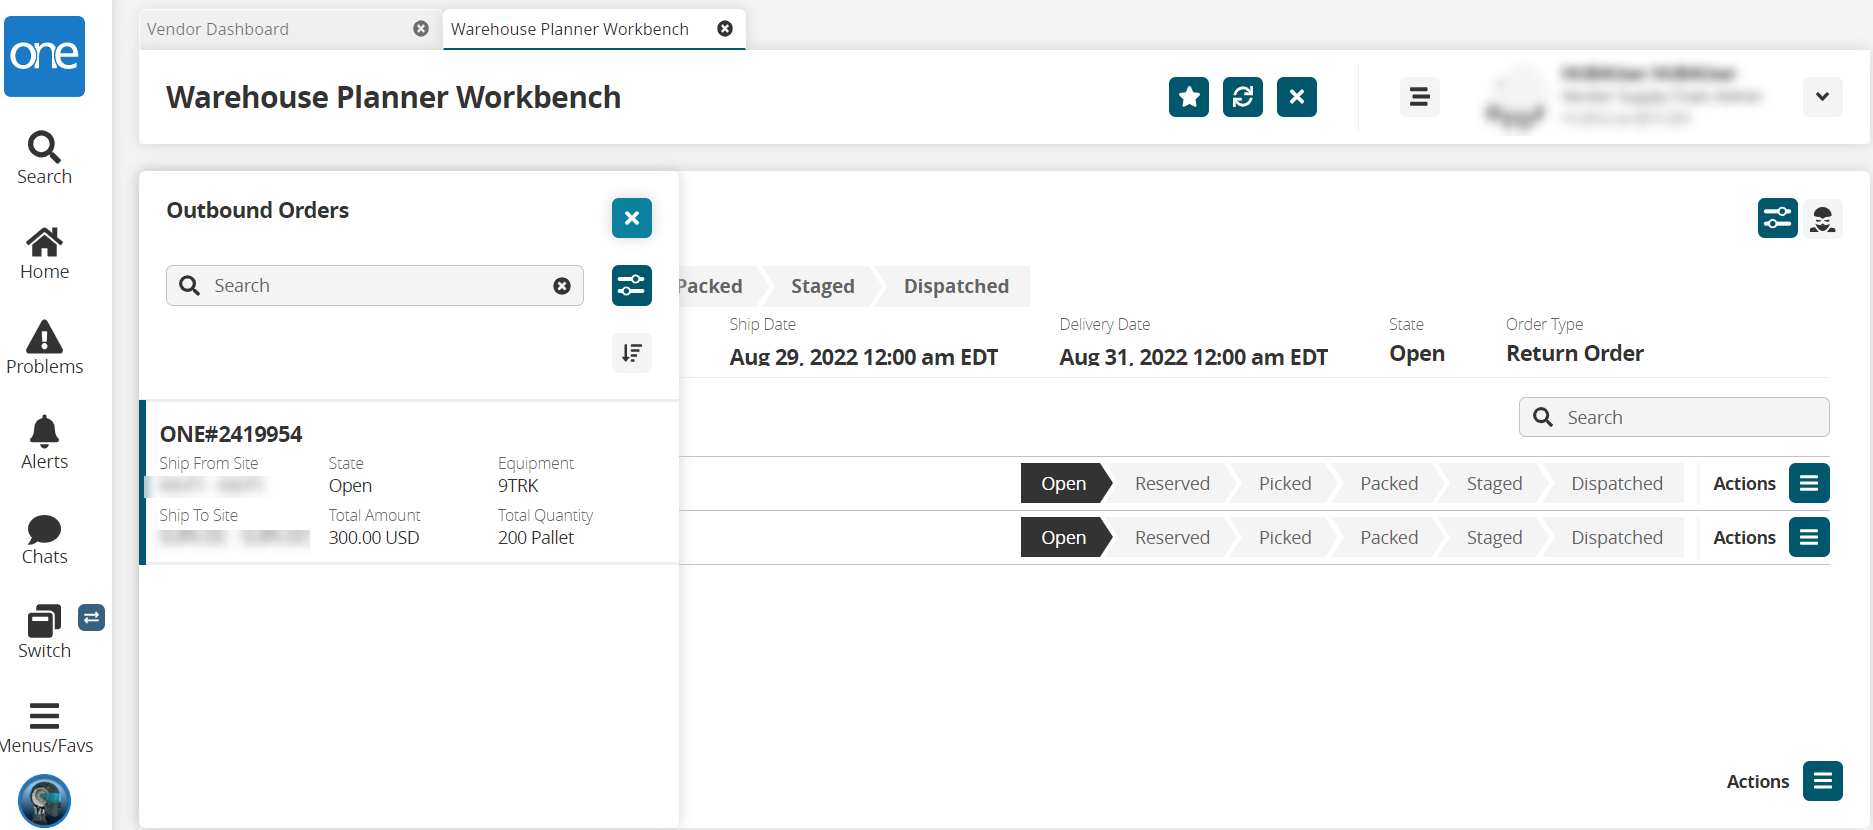
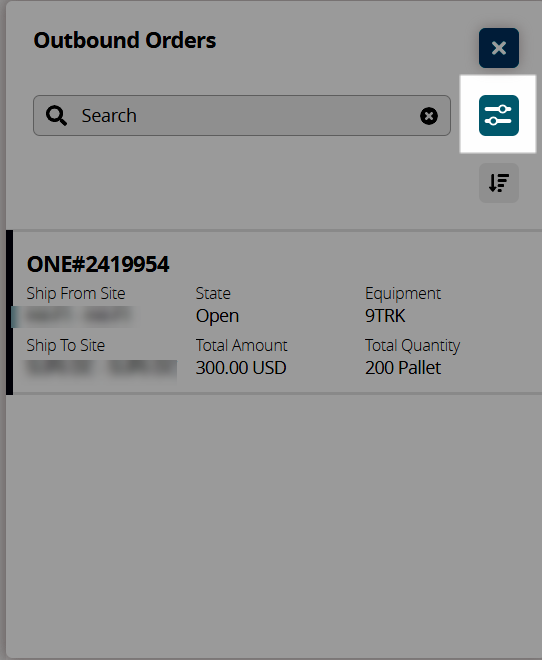
Click the Filter icon to open the filters popup.
The Filters popup displays. The screenshot below shows the filters for outbound orders as shown when Delivery Schedule is selected as the Demand Source type.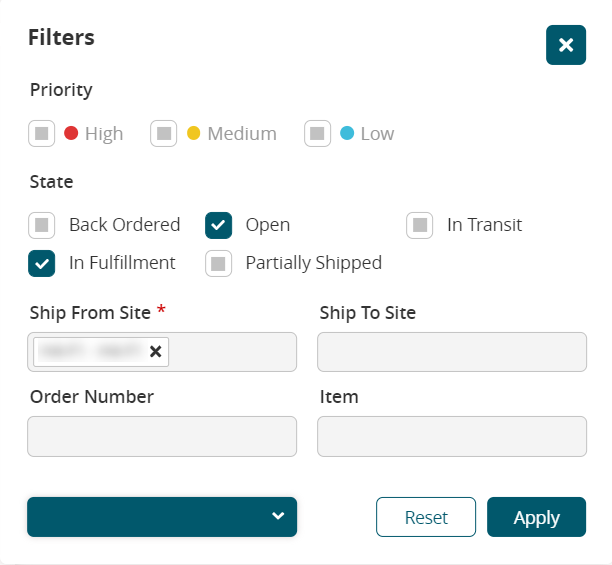
Fill out the following fields. Fields with an asterisk ( * ) are required.
Fields
Description
Priority
Check the box(es) to filter for High, Medium, and/or Low states.
State
Check the box(es) to filter the order state.
Ship From Site *
This field shows the Ship From site as selected in the Filters popup. The site can be changed.
Order Number
Enter the order number.
Date (not labeled)
Select the type of date from the dropdown list.
Ship To Site
Enter and select (site list is context sensitive) a Ship To site name.
Item
Enter the item.
When Work Order Task is selected as the demand source type, the following Filters popup displays.
Field
Description
Priority
Select the checkbox(es) for the priority status of the work order task.
Work Site *
This site auto-populates with the Ship from Site field on the original filters popup. The site can be changed.
Order Number
Enter the order number.
State
Select the checkbox(es) for the work order task's state.
Date (not labeled)
Select the type of date from the dropdown list.
Work Location
Enter or use the picker tool to select the location for the work.
Work Type
Select the work type from the dropdown list.
Click the Apply button.
The orders are filtered based on selections. The orders display in the slideout and in the workbench page.Click the Sort icon.
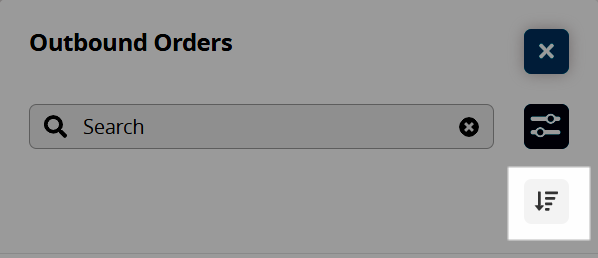
The orders sort in ascending or descending order.Click the X icon to close the slideout for the order type.
Order lines display on the main workbench page with details about the order, order lines, and items.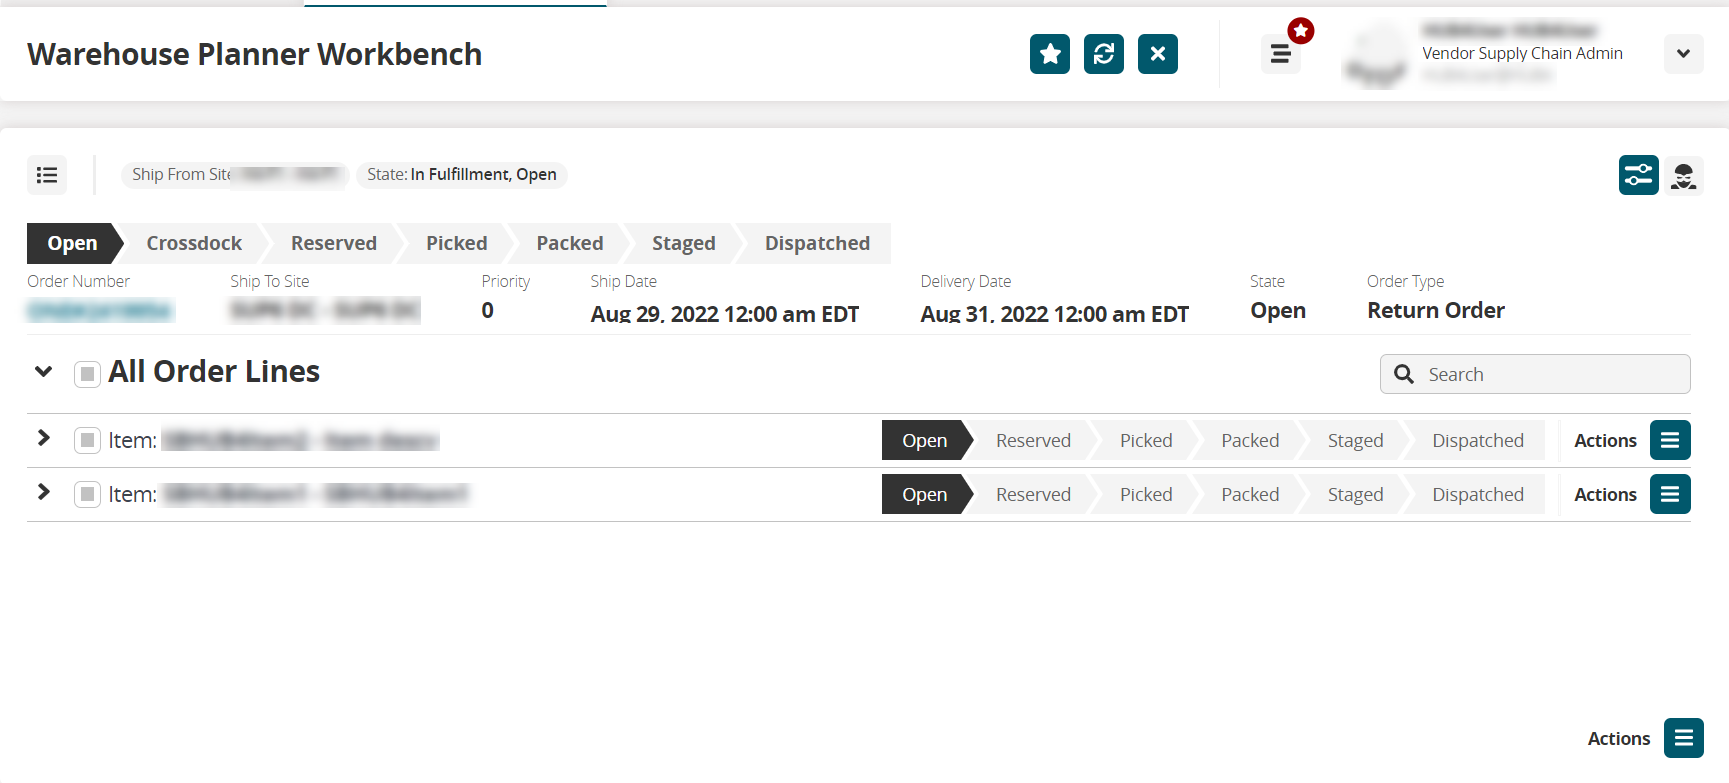
Click the arrow to expand line items.

Click the live links (order number and shipment number) to open detail pages for those items.
Click the Toggle Prescriptions button (in the upper right corner).
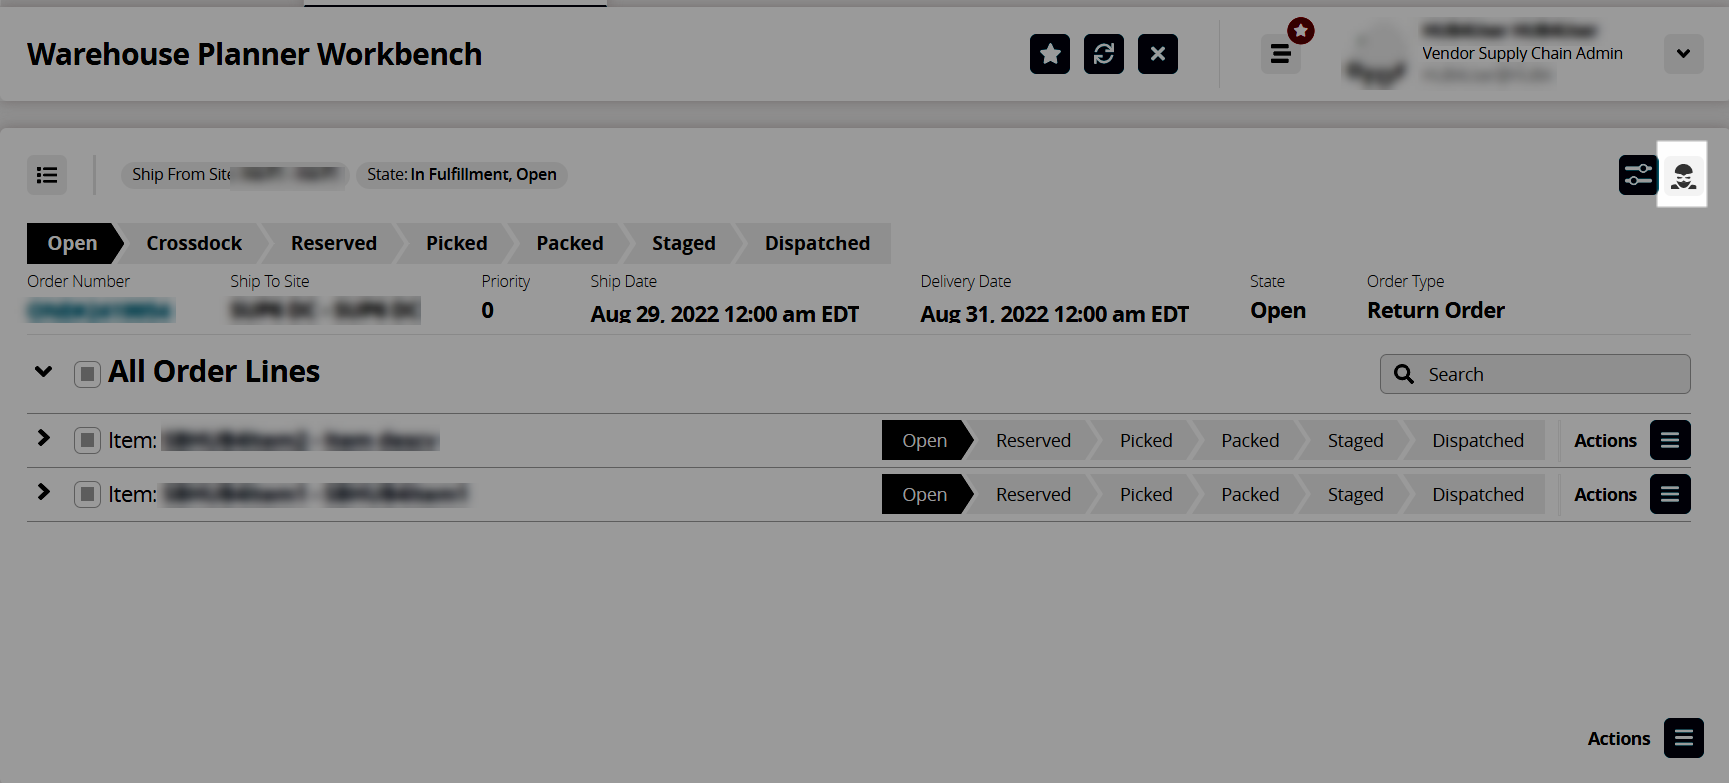
Any NEO suggestions for optimization display.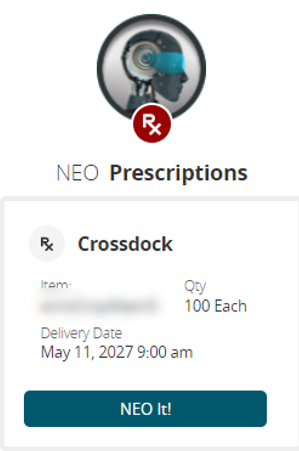
Click the NEO It! button.
A new popup displays with specific instructions for that action. In the case of the screenshot above, crossdocking suggestions display.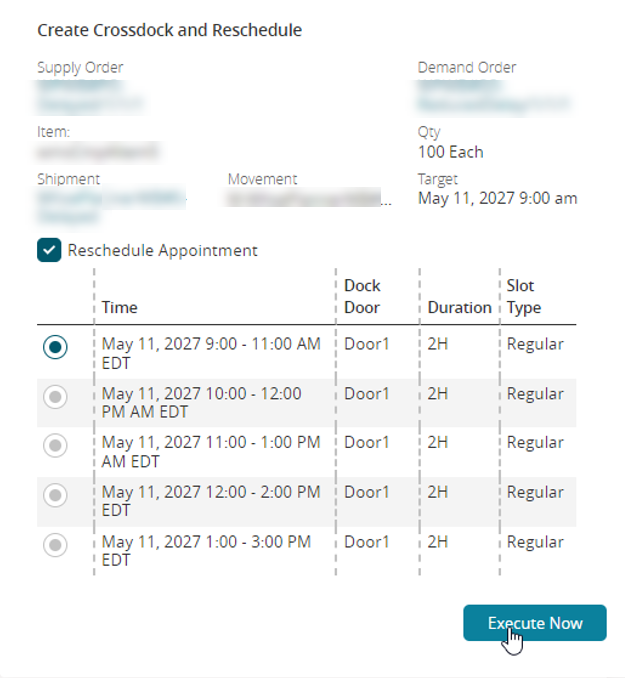
Click a radio button to select an appointment time.
Click the Execute Now button.
A Refresh button displays for the order line and blinks for several seconds.Click the Refresh button for the order line when it is no longer blinking.
The workbench updates the top execution status for Crossdock as active with additional information for created outbound shipments, crossdocking, and any linked supply orders. As the orders are processed via the warehouse workflow, the chevrons for the order and the order line continue to change color.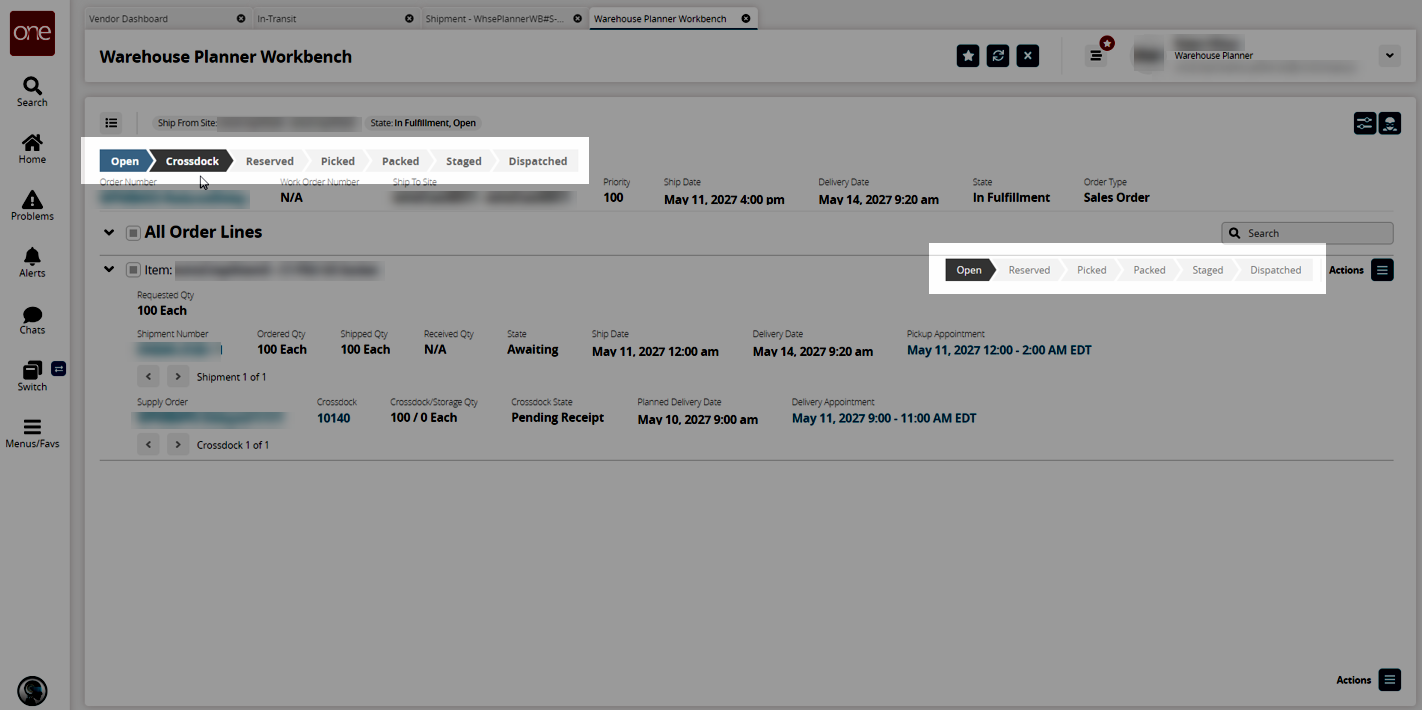
The Warehouse Planner Workbench also supports kitting prescriptions and tracking.
Complete the following steps to use NEO prescriptions and the workbench for kits:
From the workbench with a kit order, click the Toggle Prescriptions button.
NEO Prescriptions display if available.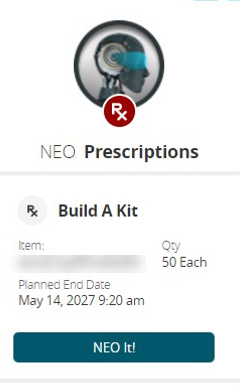
Click the NEO It! button.
The Build a Kit popup displays.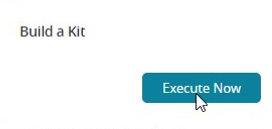
Click the Execute Now button.
The Refresh button displays and blinks several times.Click the Refresh button when it has stopped blinking.
The workbench updates. As the kit is processed via the warehouse workflow, the chevrons continue to change color.