Working with Appointments
Users can perform various actions when working with appointments, including rescheduling, updating the status, and canceling.
Complete the following steps to update appointment details:
L og in to the ONE system.
Search for an appointment. See the "Searching Appointments" section in the Online Help for more information.
The View (Live/Drop) (Pickup/Delivery) Appointment screen displays.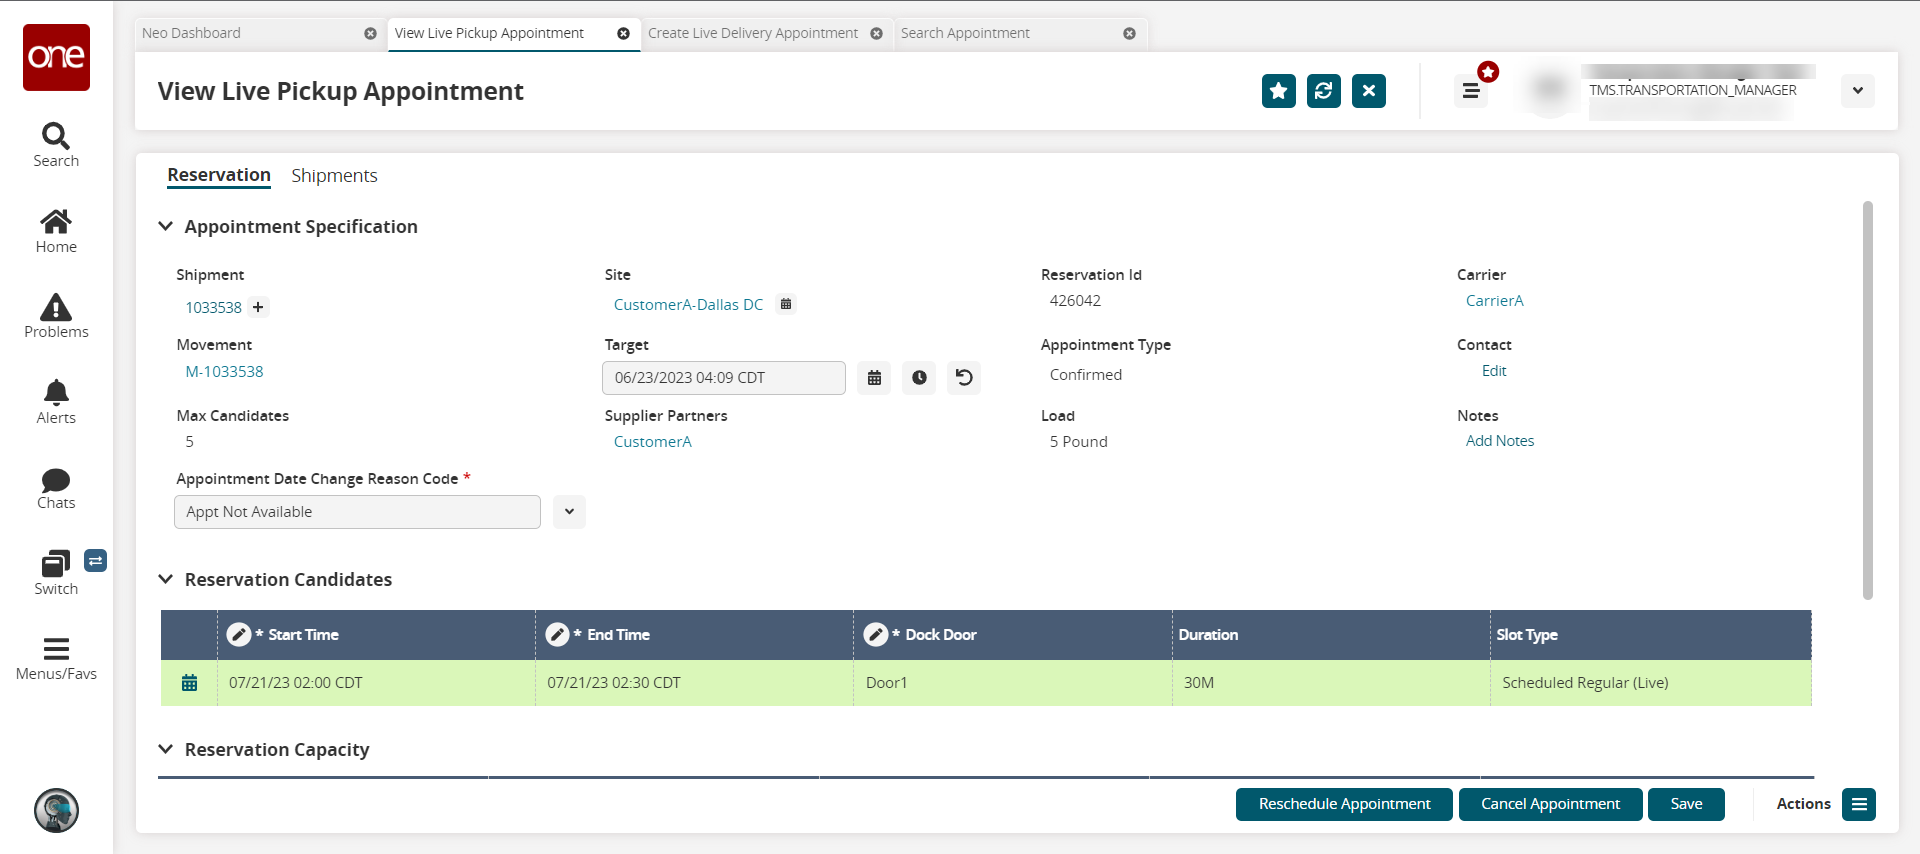
Update editable fields as required. See the "Appointment Scheduling in the NEO Workbench UI" section in the Online Help for more information.
Click the Save button.
A green success message displays.
Rescheduling an Appointment
Users can reschedule or cancel appointments using the same process. In the example below, we outline the steps to reschedule an appointment, but the steps for canceling are the same.
Complete the following steps to reschedule or cancel an appointment:
From the appointment screen (see above), click the Reschedule Appointment button.
The Reason for Rescheduling popup displays.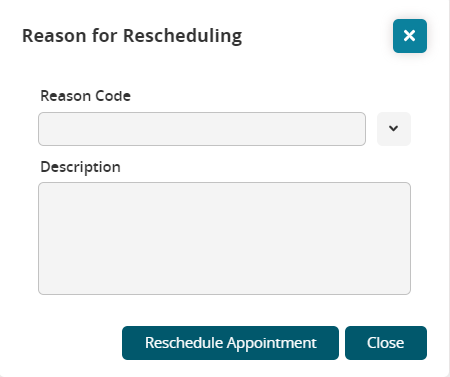
Select the Reason Code f rom the dropdown list. (This field is required if you are canceling the appointment.)
Enter further information in the Description field.
Click the Reschedule Appointment or Cancel Appointment button.
A green success messageClick the Save button.
A green success message displays.
Actions for Appointments
Complete the following steps to perform more actions on an appointment:
From the appointment screen (see above), click the Actions button.
Select the Print option.
A PDF downloads to your computer with the appointment detailsSelect the Email option.
An email template displays the appointment information.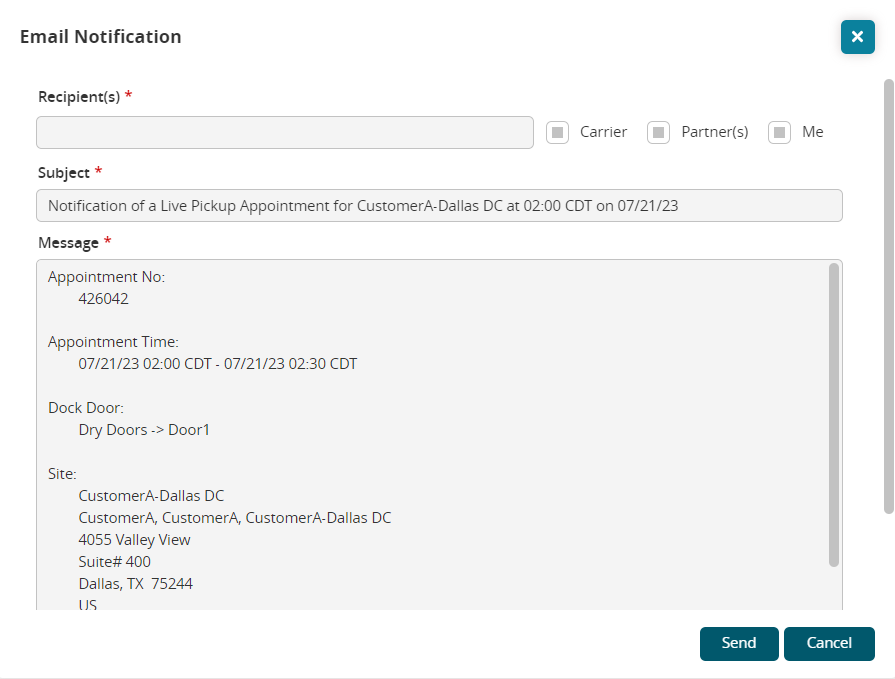
Enter email addresses in the Recipient * field.
Click one or more of the checkboxes to auto-populate carrier, partner, or the user's email.
The Subject * and Message * fields contain auto-populated appointment data but are editable.
Click the Send button.
A success popup displays.Click the OK button.
Select the Arrived option.
A green success message displays.Select the Departed option.
A green success message displays.Select the In Progress option.
A green success message displays.Select the Completed option. (Visible once other actions have been performed on the appointment.)
A green success message displays.