Working with Approval Routing
Complete the following steps to use the Approval Routing UI:
L og in to the ONE system.
Click Menus/Favs, and in the search bar, enter "Approval Routing."
The Approval Routing screen appears.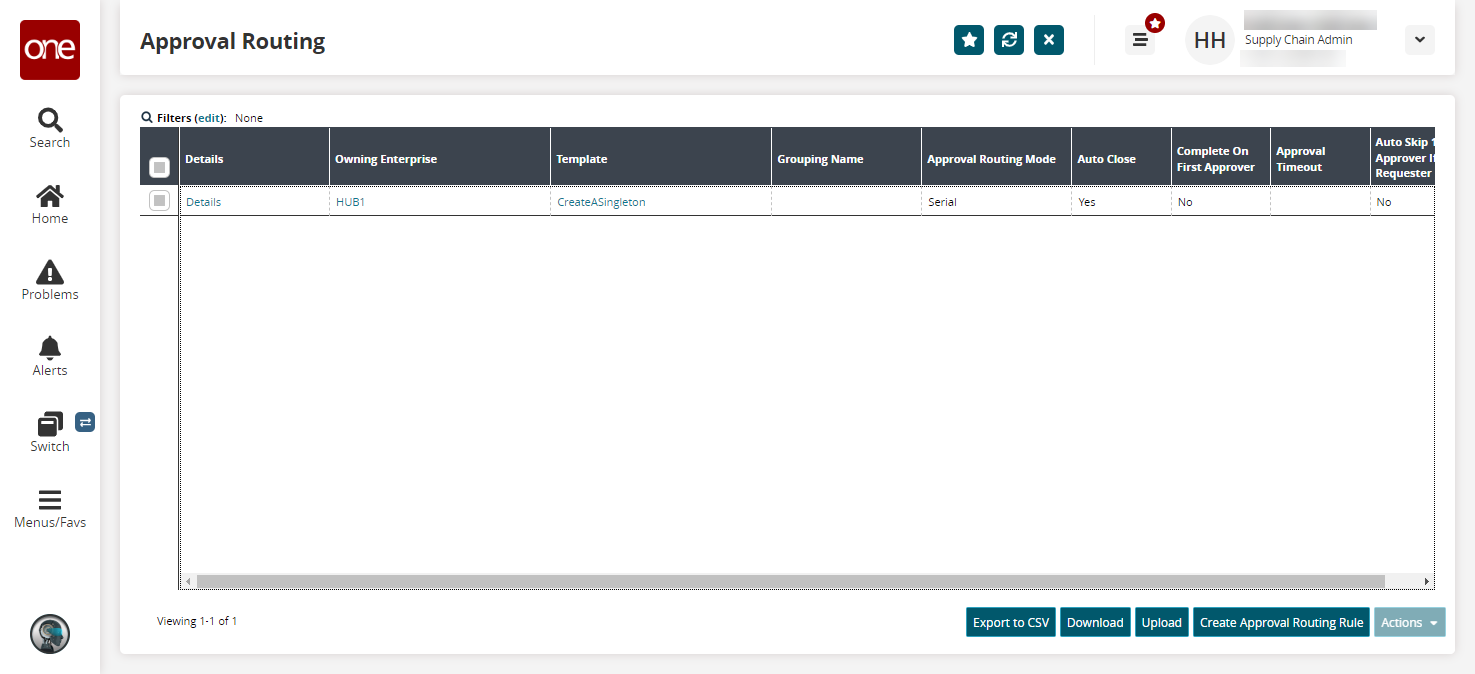
Click the Export to CSV button to export the report to a CSV file.
Click the Download button to download the report results to a spreadsheet.
Click the Upload button to upload information. See the "Uploading Files" section in the Online Help for more information.
Click the Create Approval Routing Rule to create new approval routing rules. See the section below for more information.
Select a checkbox and click the Actions button to perform various actions, such as deleting an approval routing rule.
Click a Details link in the Details column to view approval routing rule details.
The approval routing rule details screen appears.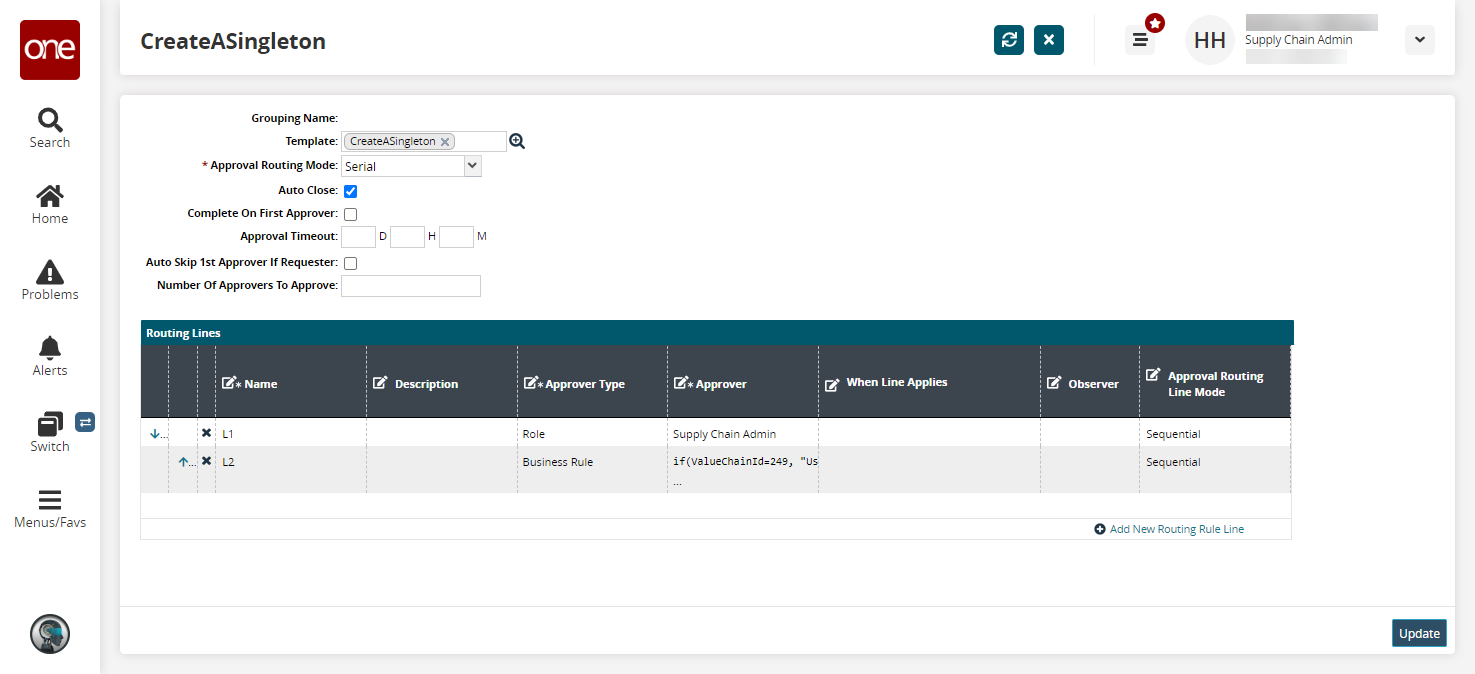
Edit fields as desired and click Update to save your changes. See the next section for more information on fields.
Complete the following steps to create approval routing rules:
Click the Create Approval Routing Rule button to create new approval routing rules.
The Create Approval Routing Rule screen appears.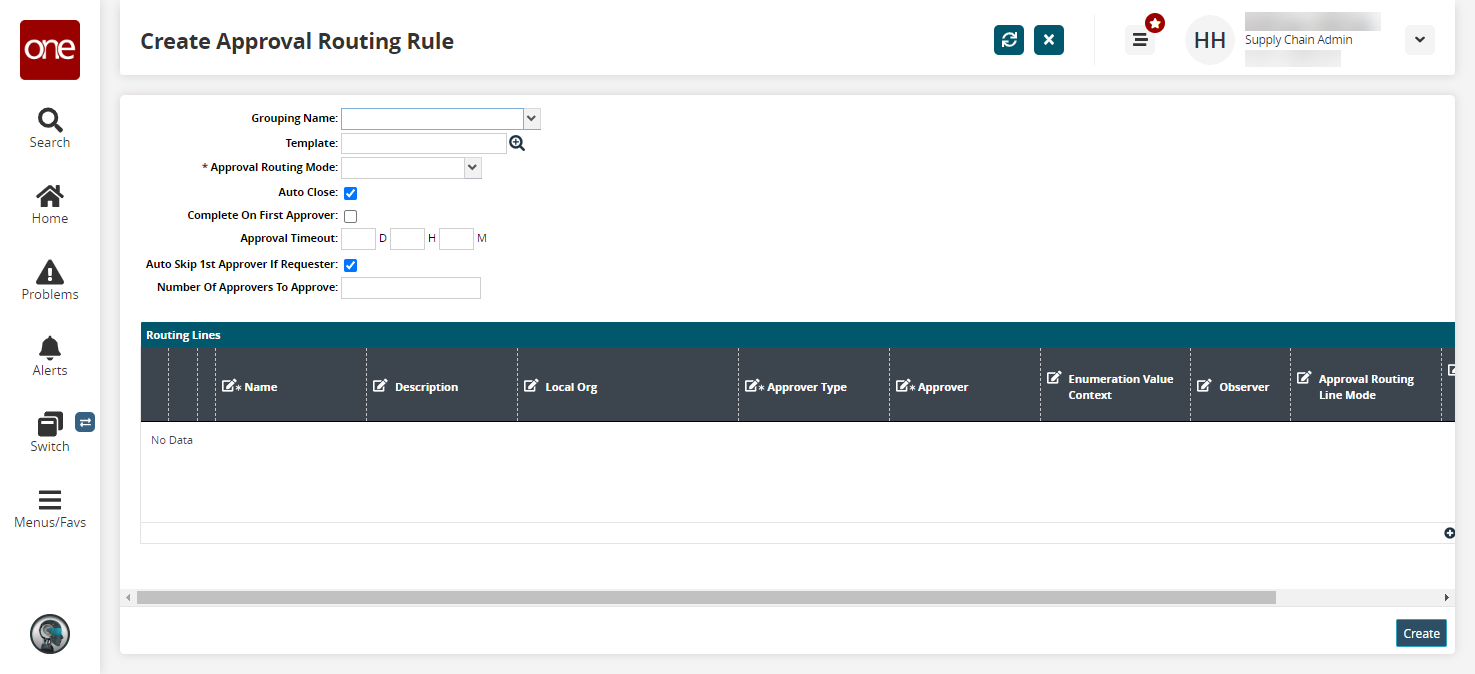
Enter values for fields described in the table below. Fields with an asterisk ( * ) are required.
Field
Description
Grouping Name
Select a grouping name from the dropdown menu.
Template
Select a template using the picker tool.
* Approval Routing Mode
Select an approval routing mode from the dropdown menu.
Auto-Close
Select this checkbox to auto-close the approval routing rule.
Complete On First Approver
Select this checkbox to complete the approval routing rule after the first approver.
Approval Timeout
Enter a time frame in days, hours, and minutes the approval is valid.
Auto-Skip 1st Approver If Requester
If this checkbox is selected and the first approver is the requester, the first approval line is skipped and automatically approved. If this checkbox is not selected, then even if the requester is the first approver, the requester must explicitly provide their approval. This field is enabled by default.
Number of Approvers to Approve
Enter the number of approvers.
Click the Add New Routing Rule Line.
A new row appears in the Routing Lines table.Enter values in each field for each row.
Click the Create button to create a new approval routing rule.