Working with Crossdocks
Complete the following steps to view, create, and edit crossdocks:
L og in to the ONE system.
Click Menus/Favs > Warehouse Mgmt > Crossdock.
In the NEO UI, users can click on the Menus/Favs icon on the left sidebar and type in the name of the screen in the menu search bar. For more information, see "Using the Menu Search Bar."
The Crossdock screen appears.
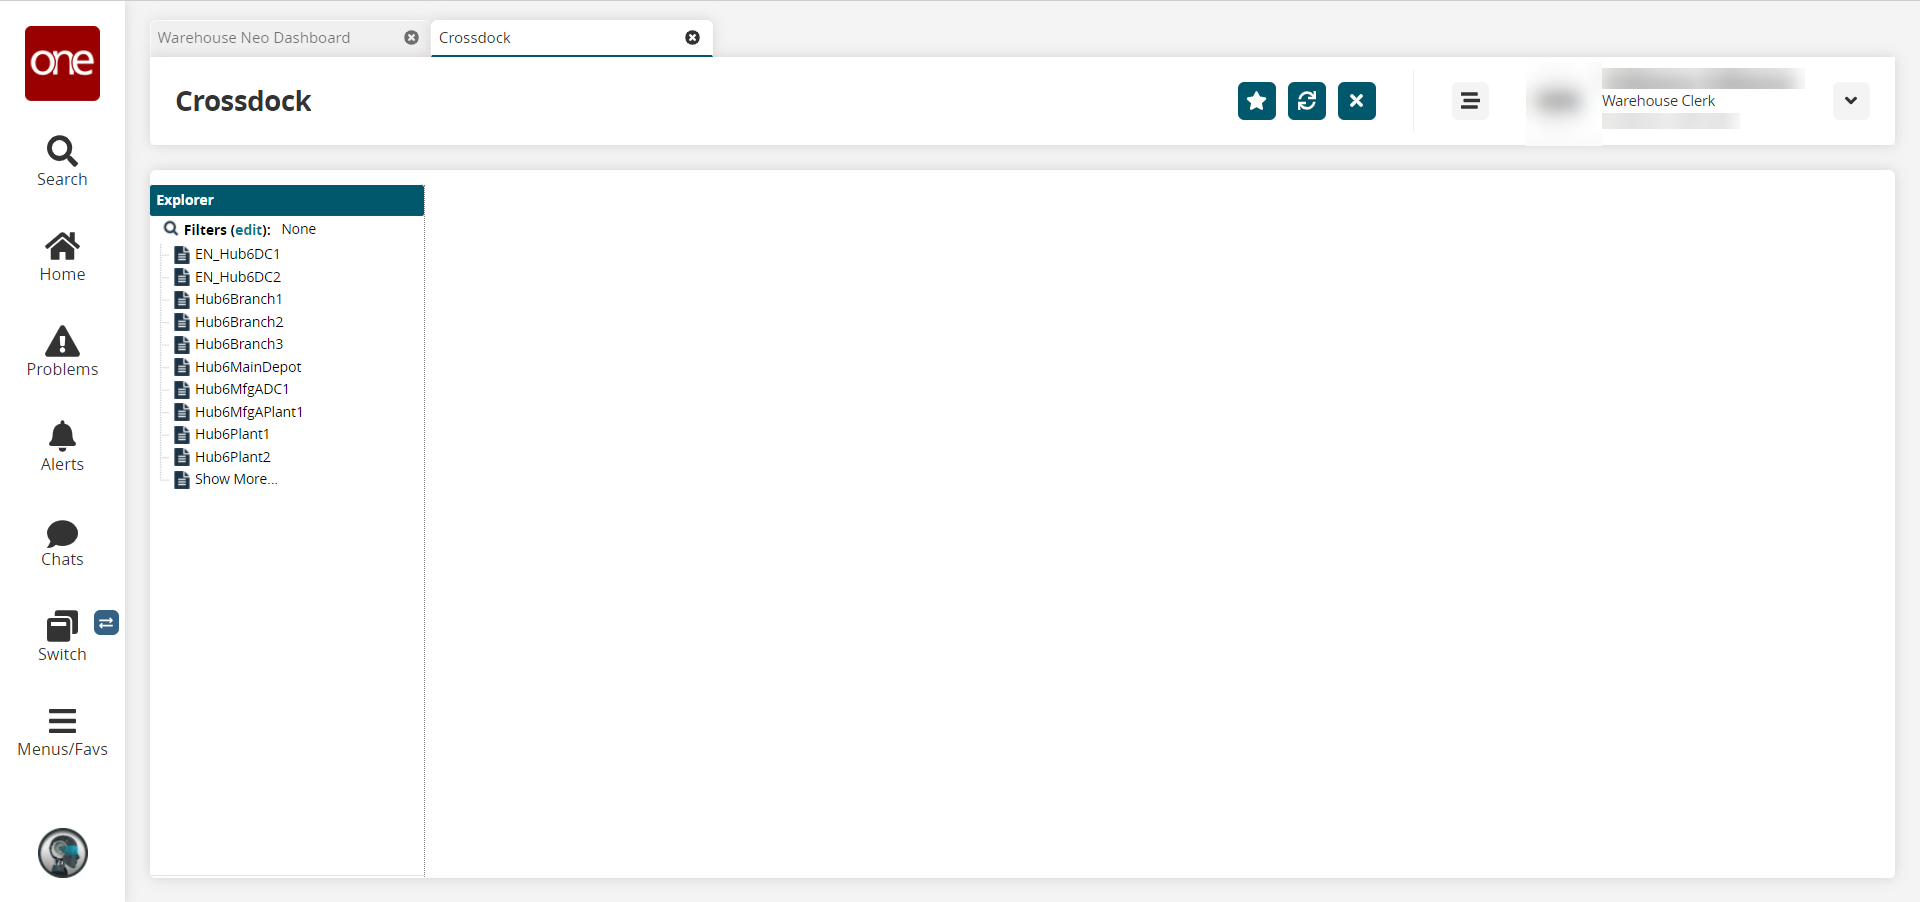
In the Explorer pane on the left, select the site you want to view, or click the Filters (edit) link to search for a site.
The Crossdock Report pane displays.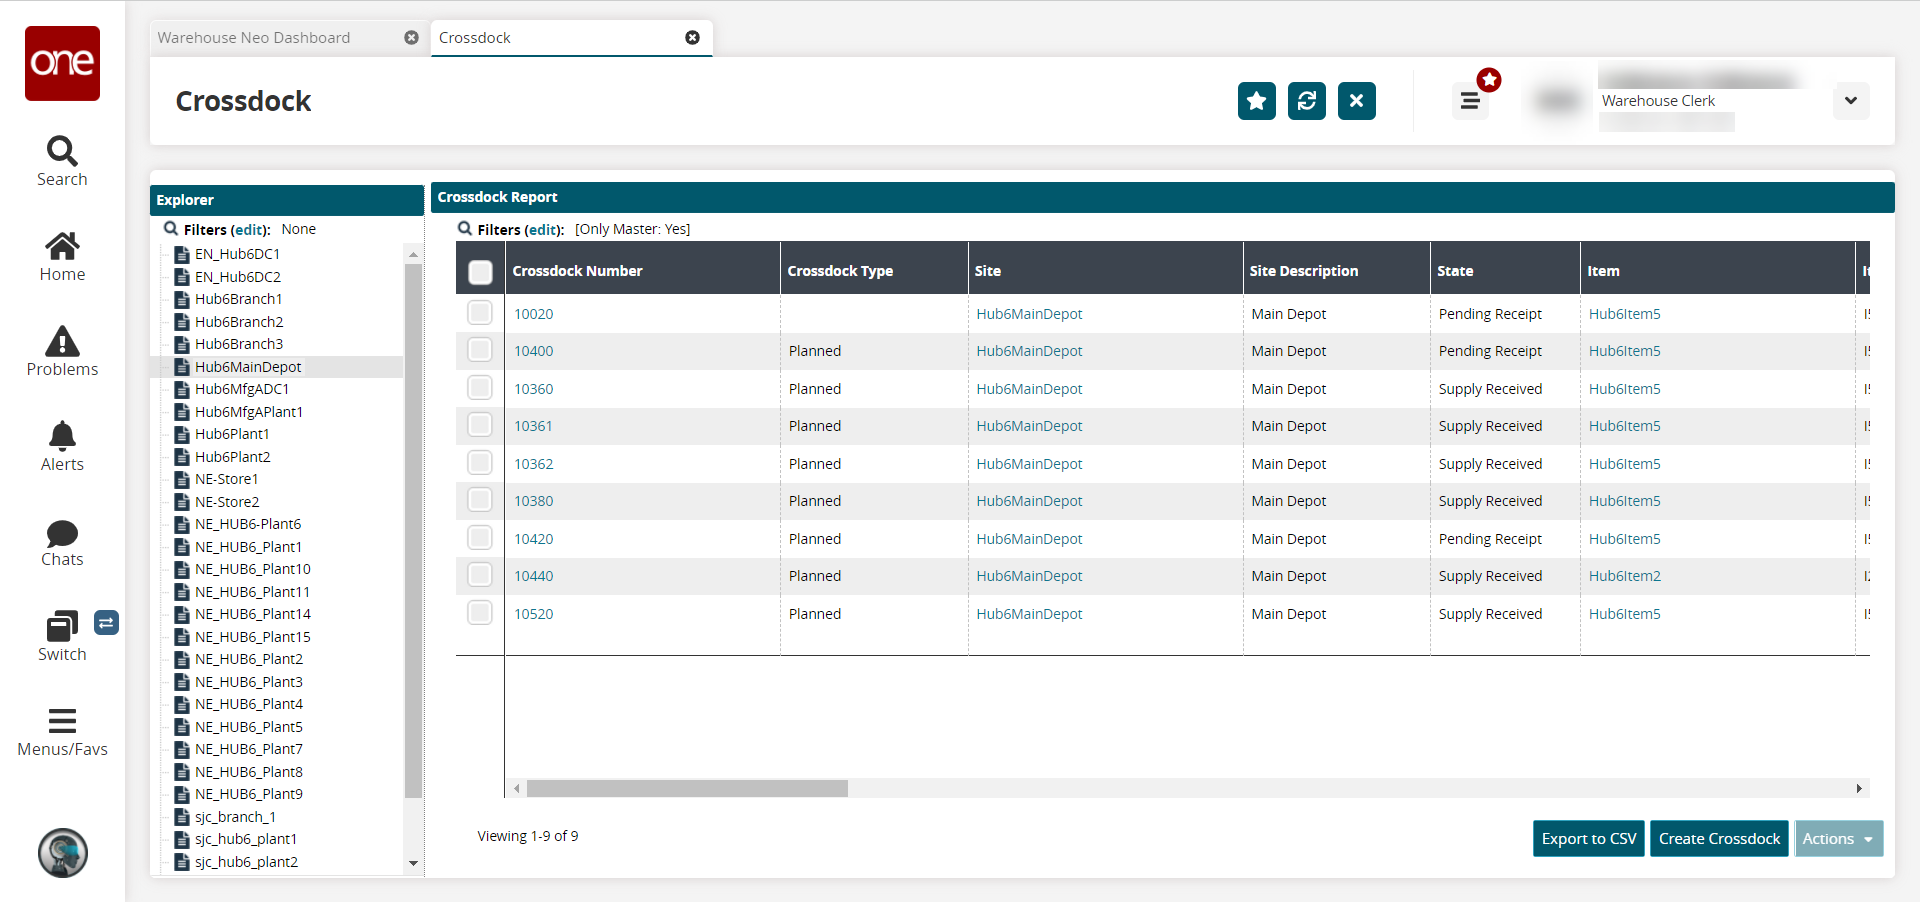
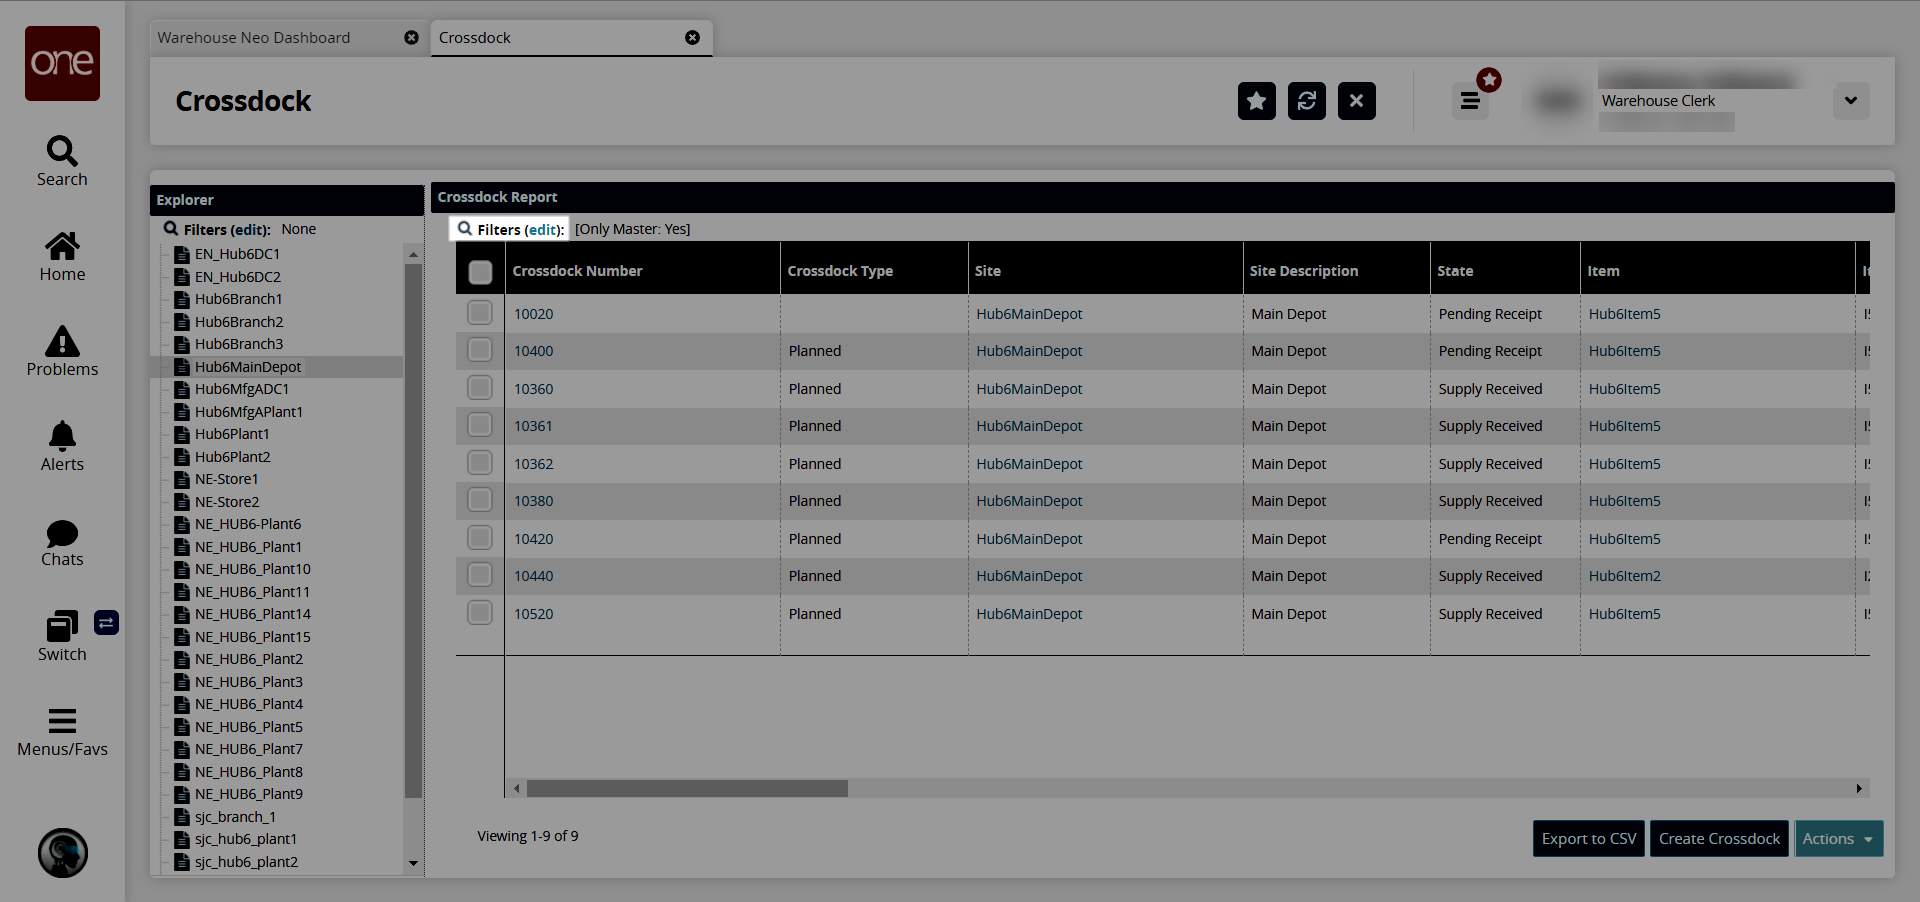
In the Crossdock Report pane, you can also click the Filters (edit) link to use search filters to locate the desired crossdock(s).
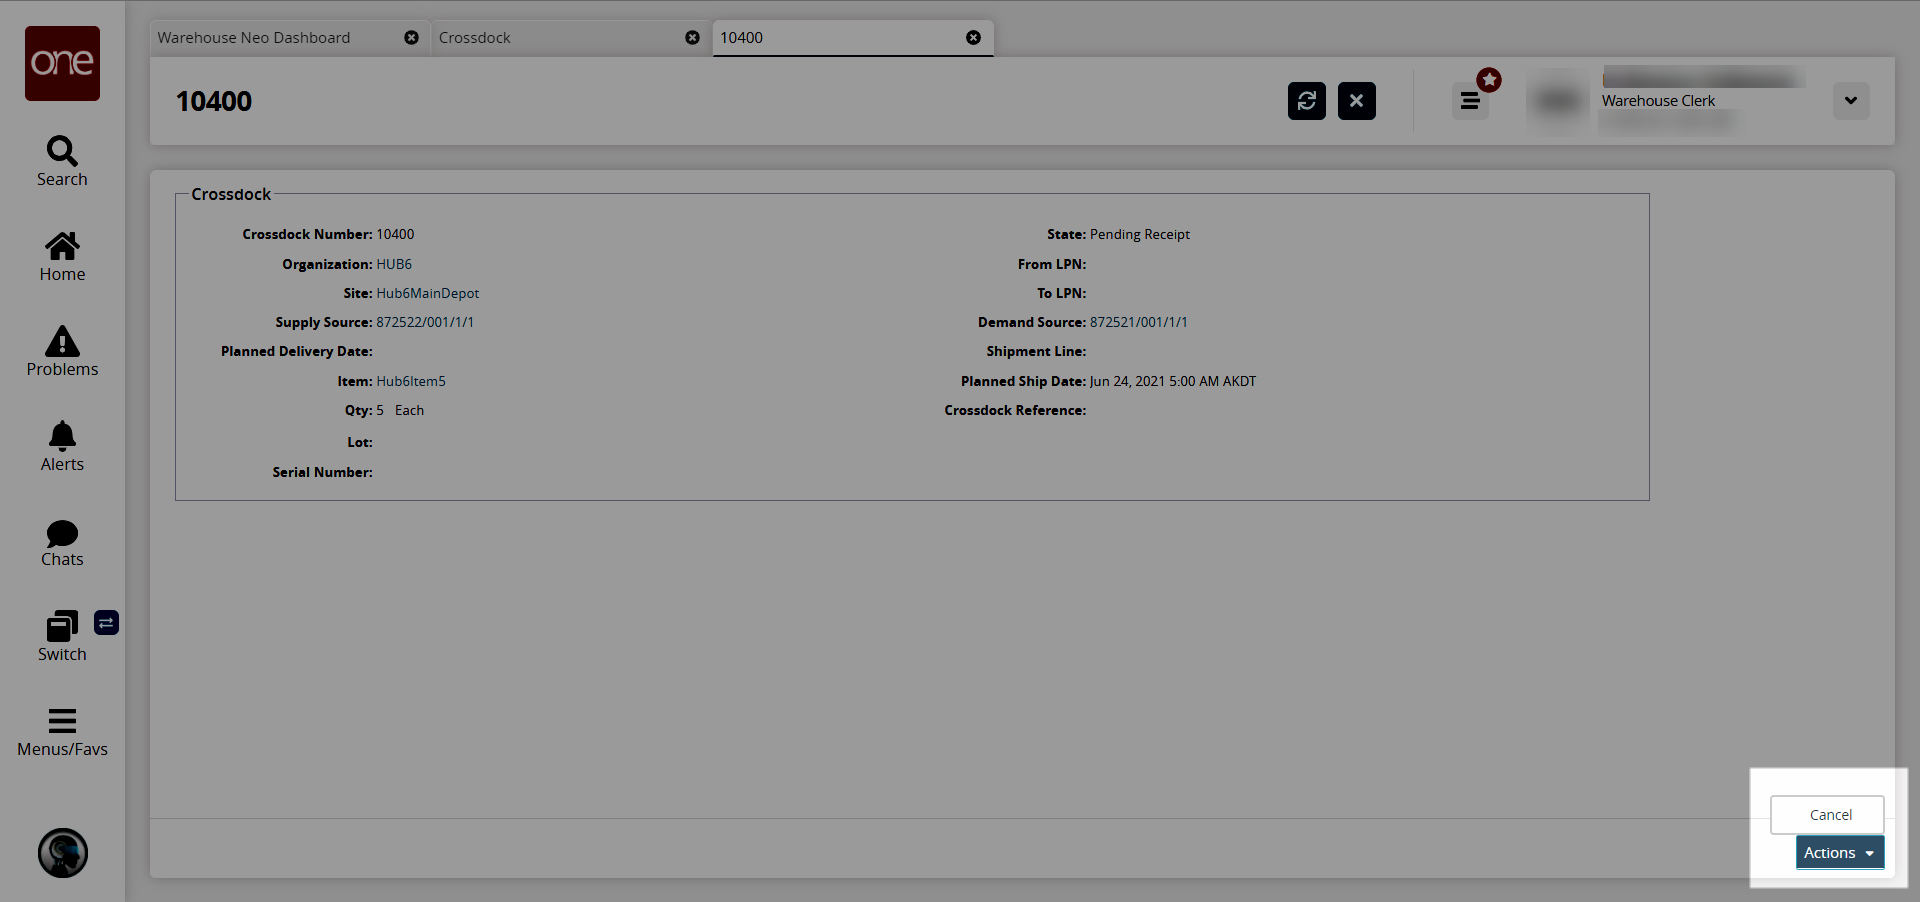
In the Crossdock Number column, click the number for a crossdock to view the details.

The crossdock details display in a new tab.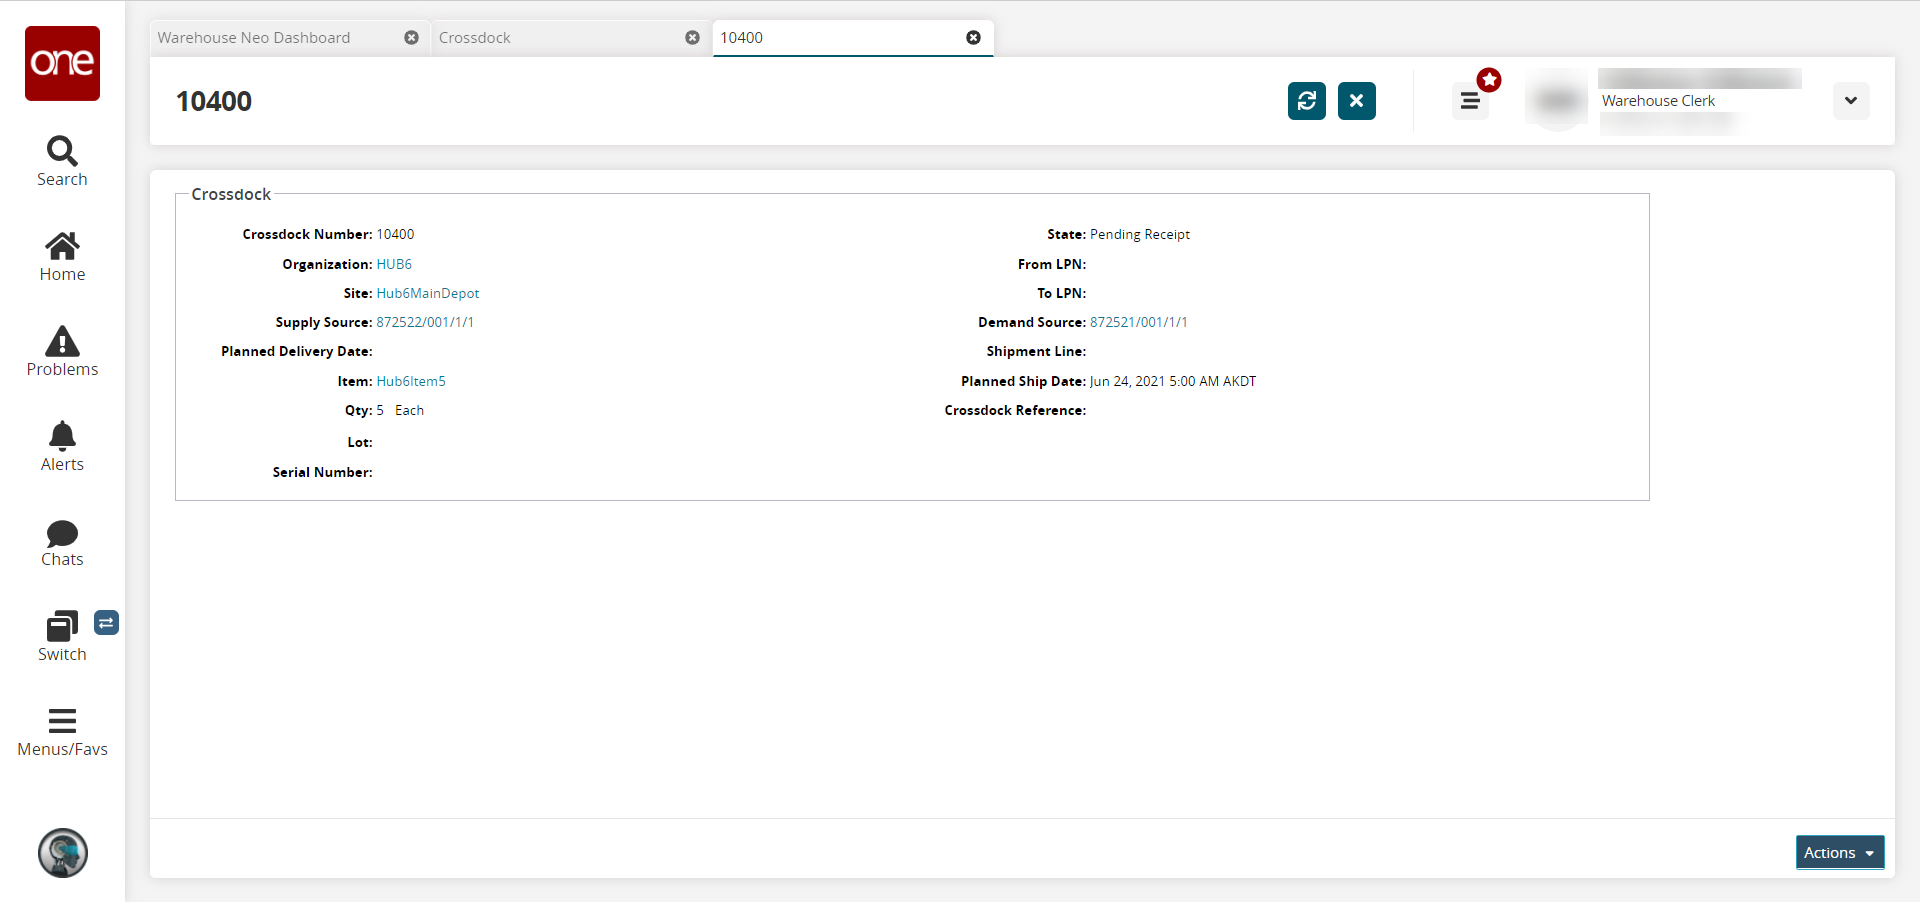
Click the Actions button and select Cancel to cancel the crossdock.
Returning to the Crossdock Report, select the checkbox for a crossdock and click the Actions button to perform available actions on the selected crossdock.
Click the Export to CSV button to export the Crossdock Report to a spreadsheet.
Click the Create Crossdock button to create a new crossdock.
The Create Crossdock screen appears.
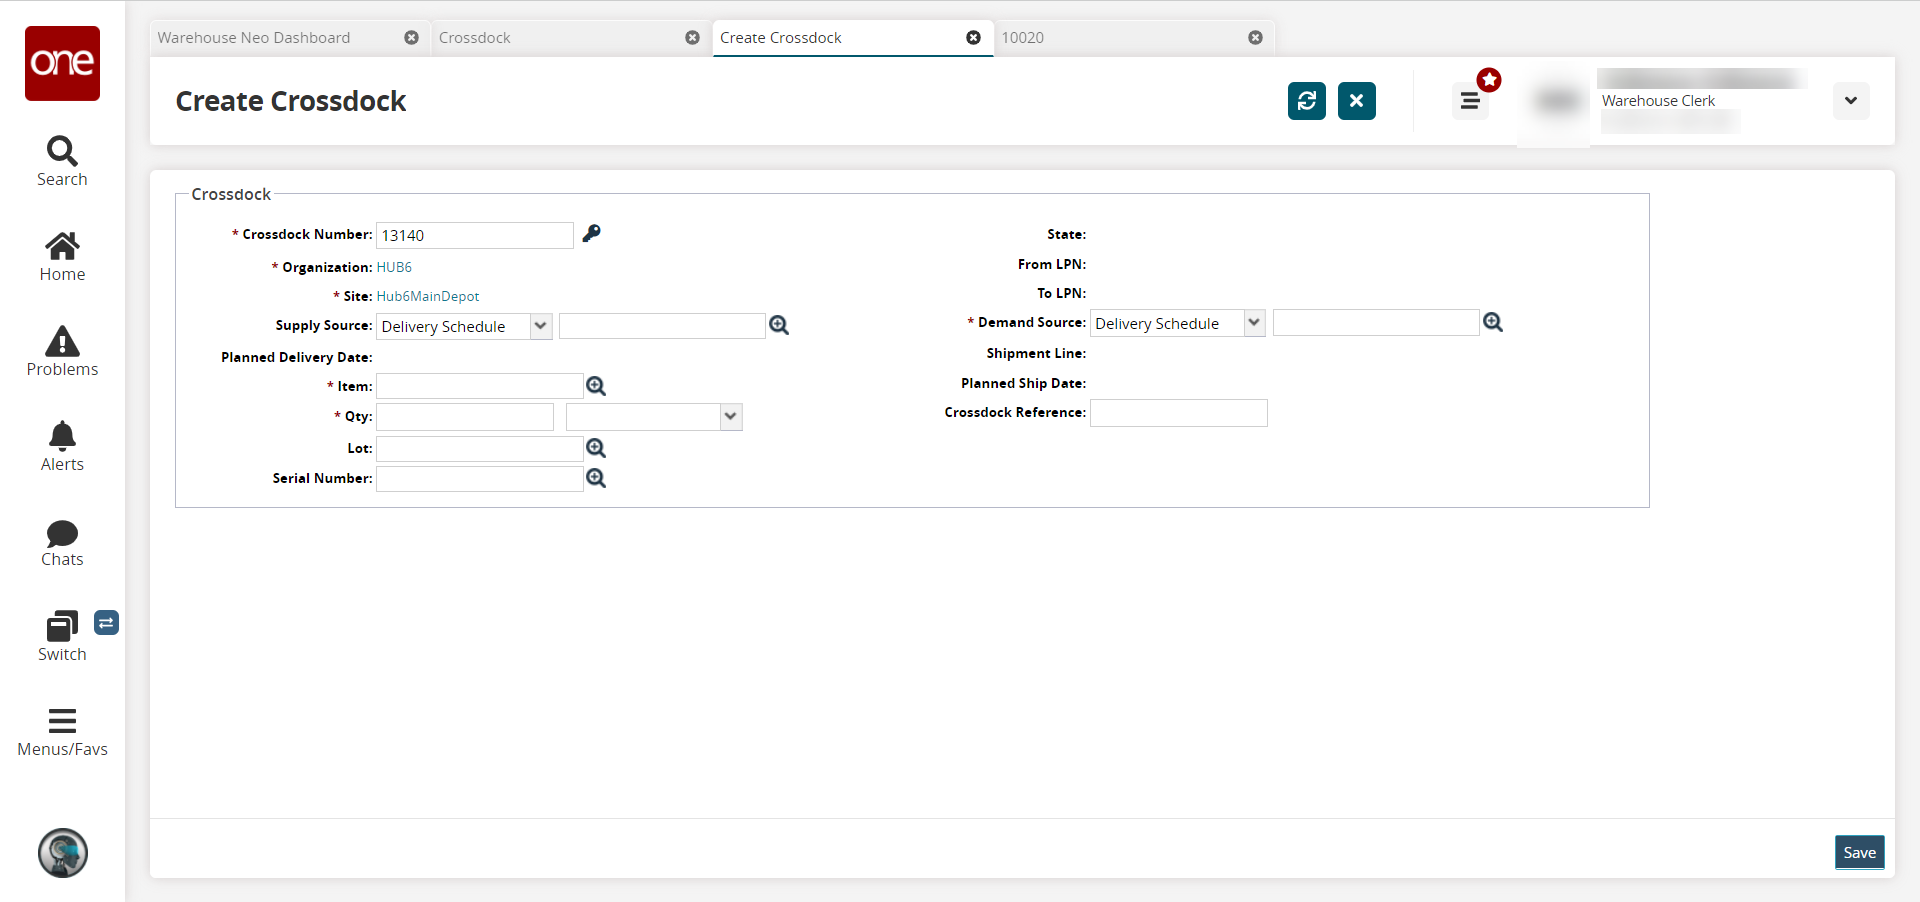
Fill out the following fields. Fields with an asterisk ( * ) are required.
Field
Description
* Crossdock Number
This field auto-populates, or you can click the key icon to generate a new crossdock number.
* Organization
This field auto-populates.
* Site
This field auto-populates.
Supply Source
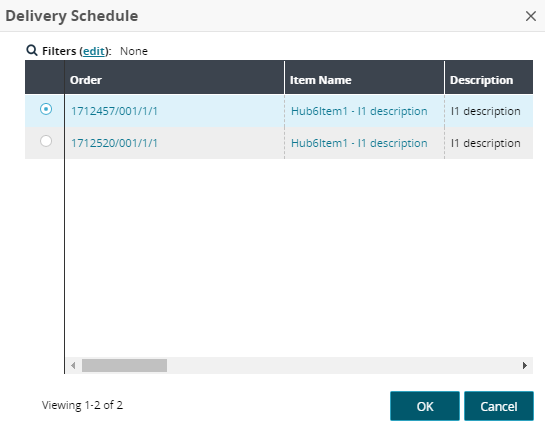
Select a Delivery Schedule, Work Order Task, or Shipment Line (used for shipments not linked to an order) from the dropdown list, and click the picker tool to select the supply source for the crossdock. In the Delivery Schedule popup window, order links can be clicked to view the enhanced order details view in a read-only state.
* Item
Click the picker tool to select the item for the crossdock.
Qty
Enter the quantity, then select the unit of measurement from the dropdown list.
Lot
Click the picker tool to select the lot.
Serial Number
Click the picker tool to select the serial number.
* Demand Source
Select a Delivery Schedule, Work Order Task, or Shipment Line (used for shipments not linked to an order) from the dropdown list, and click the picker tool to select the demand source for the crossdock. In the Delivery Schedule popup window, order links can be clicked to view the enhanced order details view in a read-only state.
Crossdock Reference
Enter the crossdock reference.
Click the Save button to save the crossdock.
The new crossdock displays with a success message.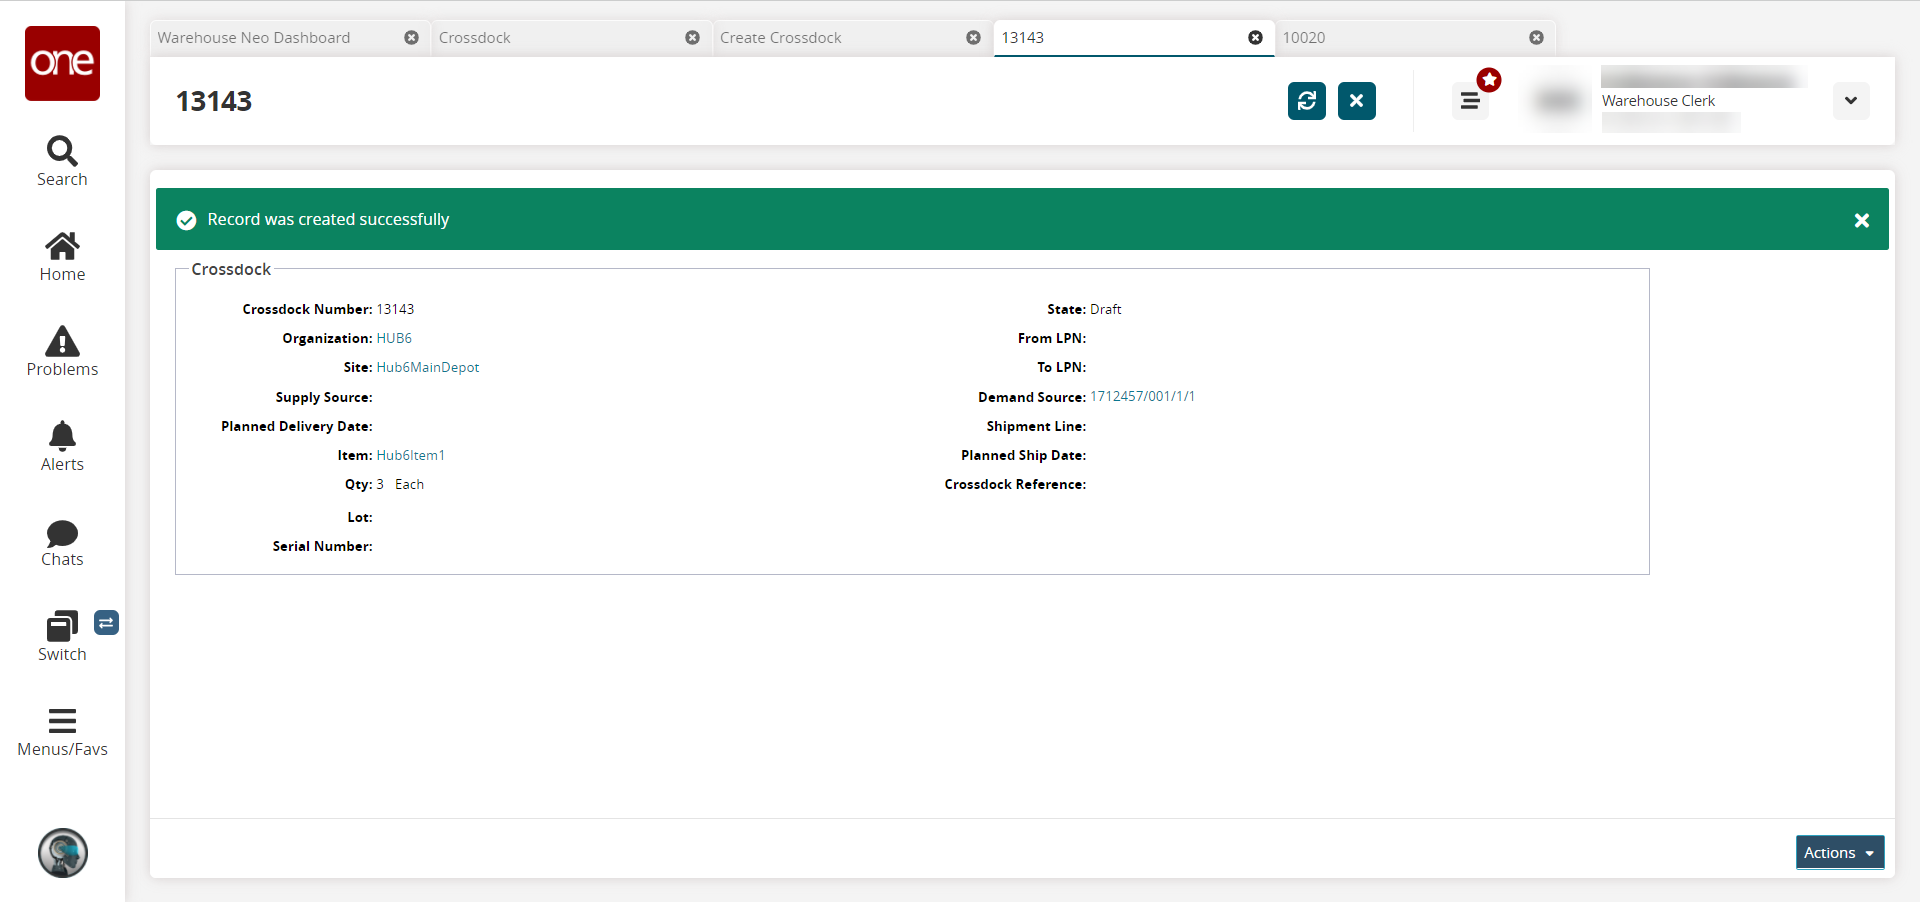
Click the Actions button to view the actions available for the crossdock. The following actions are available:
Cancel the crossdock.
Submit the crossdock.
Update the crossdock.