Working with Foot Traffic
This page covers the following topics:
Searching Traffic History
Searching Traffic Forecast
Working with Foot Traffic Configurations (Configs)
Searching Traffic History
You can search foot traffic history in the system.
Complete the following steps to search foot traffic history:
Log in to the ONE system.
Click Menus/Favs > Demand Planning > Foot Traffic > Search Traffic History.
The Search Traffic History screen appears.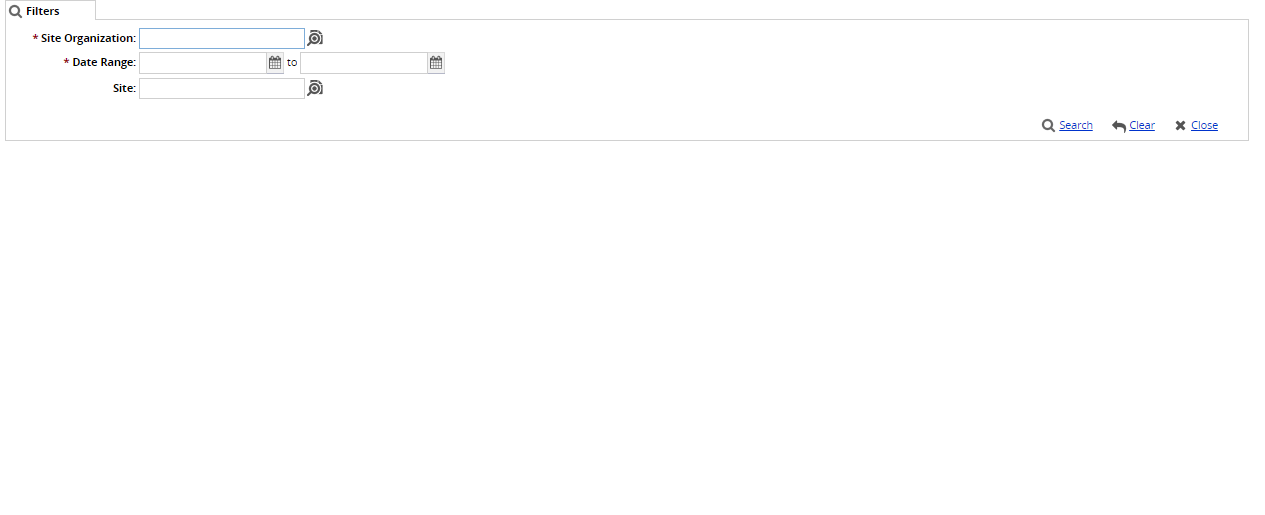
In the * Site Organization field, click the picker tool icon to select an organization. Fields with an asterisk ( * ) are required.
In the * Date Range field, click the calendar icons to select a date range for the search.
In the Site field, click the picker tool icon to select a site.
Click the Search link.
A list of results appears. Foot traffic historical data is listed for each day.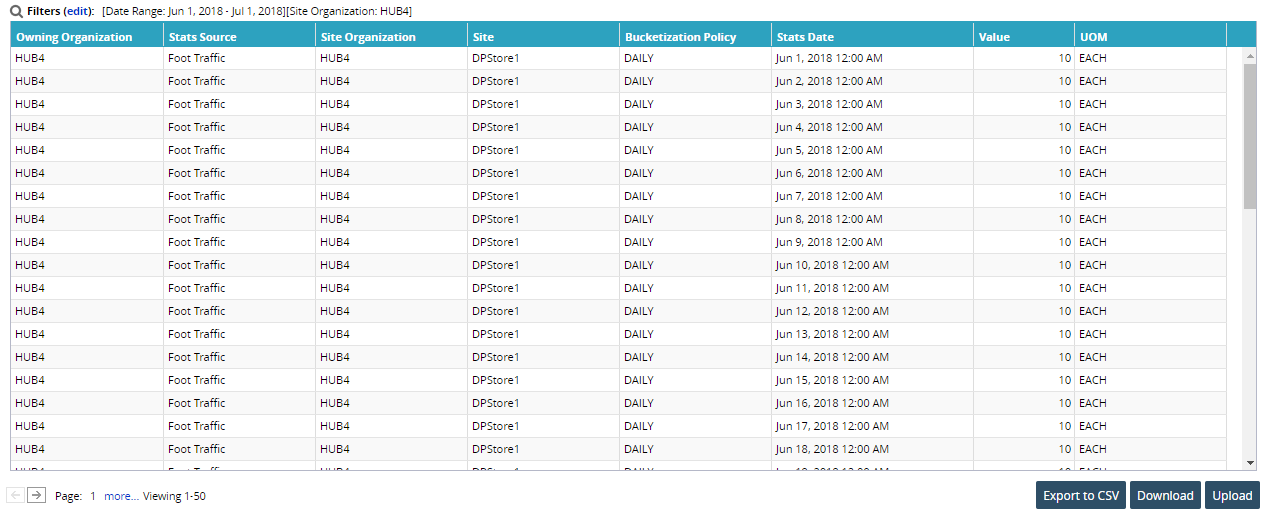
To export the results of the search to a spreadsheet, click the Export to CSV button at the bottom of the screen.
Search Traffic Forecast
Complete the following steps to search foot traffic forecasts:
Log in to the ONE system.
Click Menus/Favs > Demand Planning > Foot Traffic > Search Traffic Forecast.
The Search Traffic Forecast screen appears.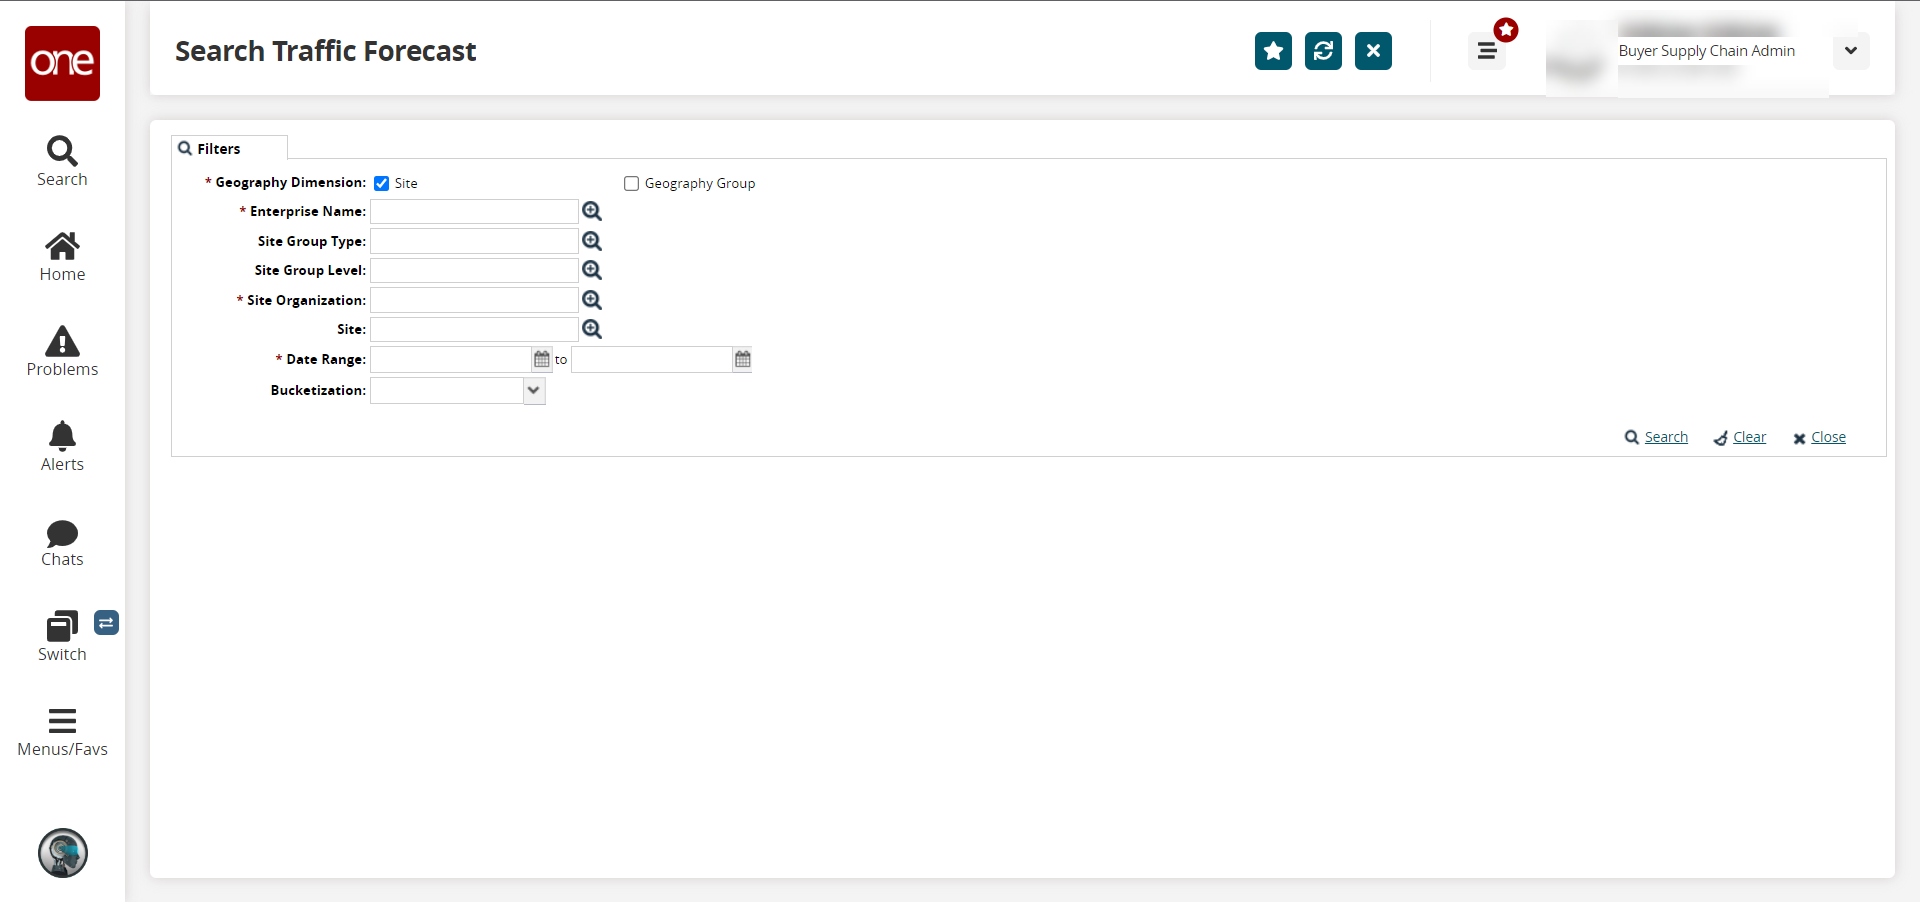
Fill out the following fields. Fields with an asterisk ( * ) are required.
Field
Description
* Geography Dimension
Select the geography dimension: Site or Geography Group.
* Enterprise Name
Click the picker tool icon to select an enterprise.
Site Group Type
Click the picker tool icon to select the site group type.
Site Group Level
Click the picker tool icon to select the site group level.
* Site Organization
Click the picker tool to select the site organization.
Site
Click the picker tool to select the site.
* Date Range
Click the calendar icons to select the date range.
Bucketization
Select the bucketization period from the dropdown list. The options are DAILY or WEEKLY.
Click the Search link.
A list of results appears. Forecasted foot traffic is listed for each forecast date/date range.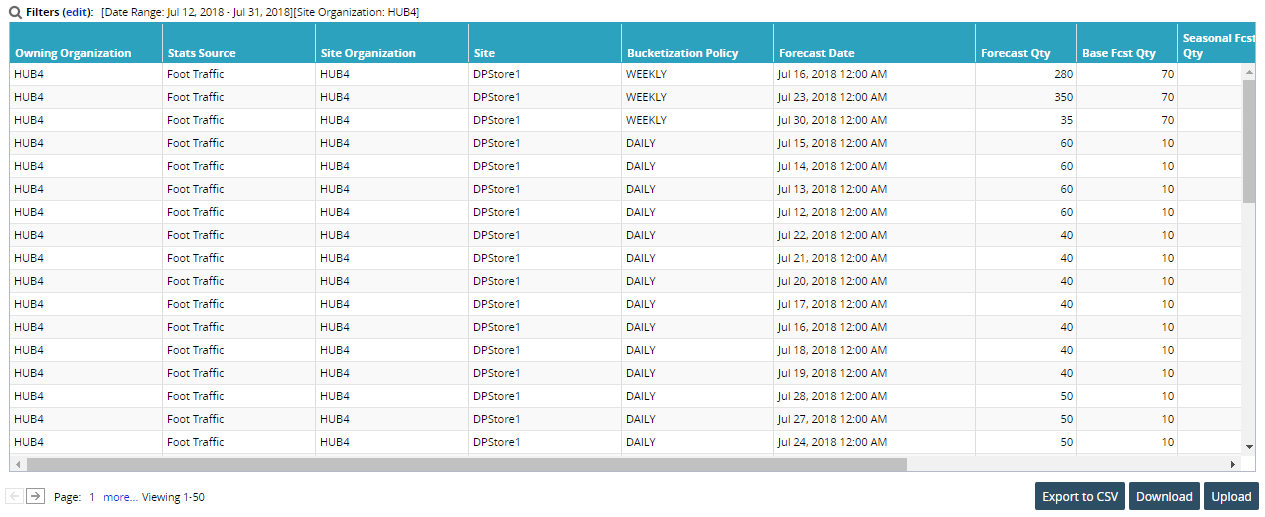
To export the results of the search to a spreadsheet, click the Export to CSV button at the bottom of the screen.
Working with Foot Traffic Configurations (Configs)
Users can view traffic by item and then create PMIX scenarios, save them, and export the data to a spreadsheet, as desired.
Complete the following steps to view traffic by item:
Log in to the ONE system.
Click Menus/Favs > Demand Planning > Foot Traffic > Review Traffic by Items.
The Review Traffic by Items screen appears.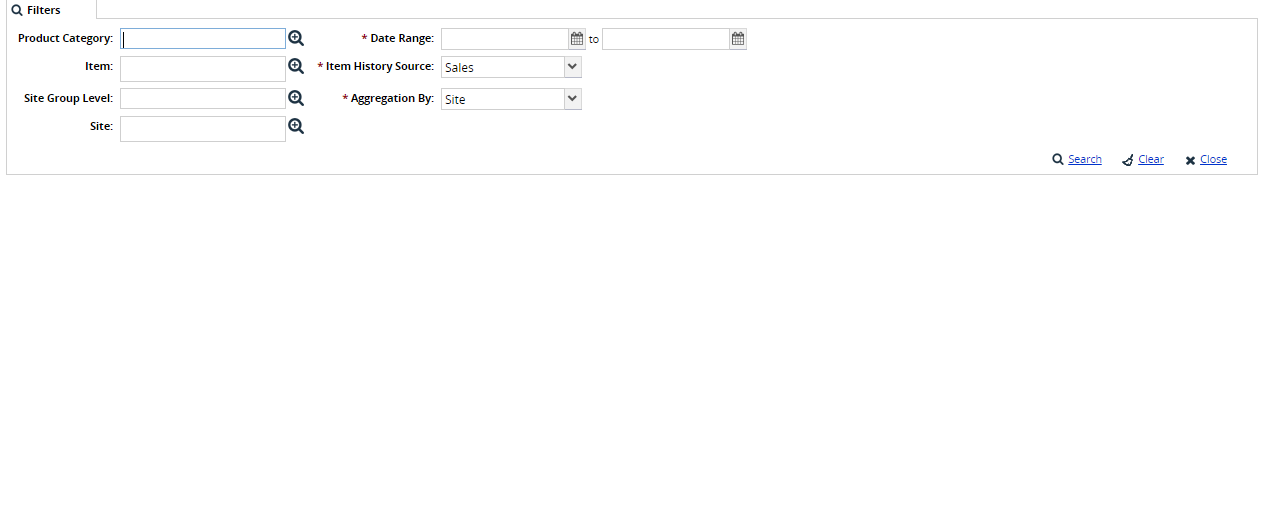
Fill out the following fields. Fields with an asterisk ( * ) are required.
Field
Description
Product Category
Click the picker tool icon to select a product category.
Item
Click the picker tool icon to select an item.
Site Group Level
Click the picker tool icon to select the site group level.
Site
Click the picker tool to select the site.
* Date Range
Click the calendar icons to select the date range.
* Item History Source
Select the item history source from the dropdown list. The options are Sales or Orders.
* Aggregation By
Select whether you want to aggregate the results by site or the total.
Click the Search link.
A list of results appears.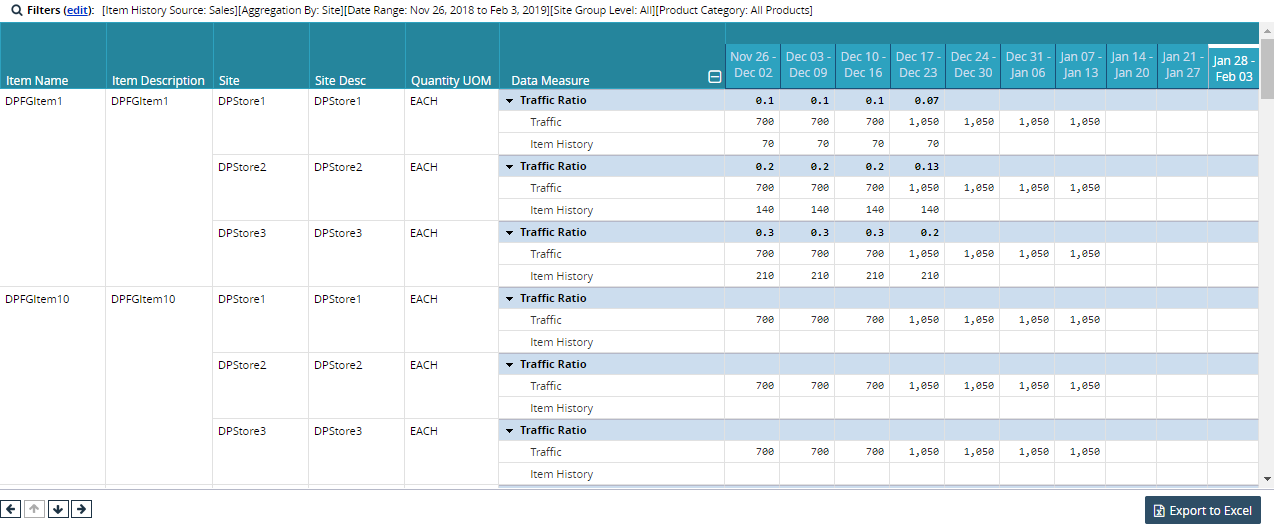
Users can now utilize this information when creating a foot traffic scenario.
Complete the following steps to create foot traffic configurations (configs):
Log in to the ONE system.
Click Menus/Favs > Demand Planning > Foot Traffic > Traffic Based Forecasting > New Traffic Config.
The New Traffic Config screen opens.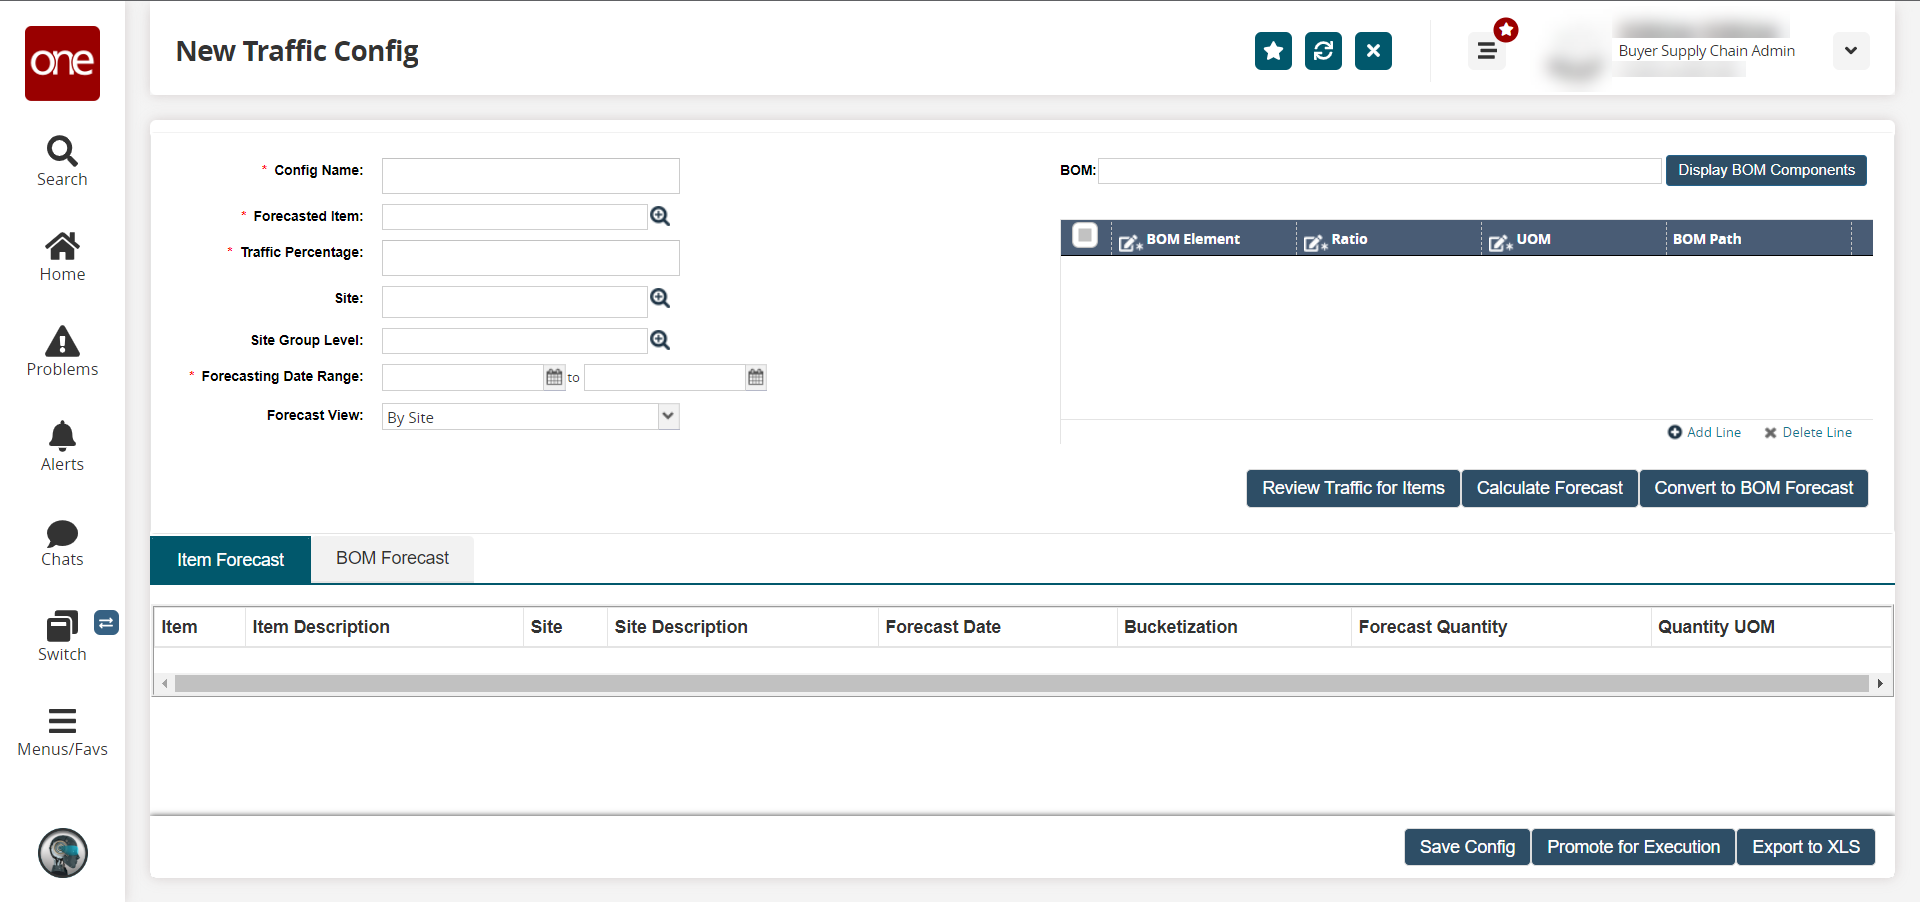
Fill out the following fields. Fields with an asterisk ( * ) are required.
Field
Description
*Config Name
Enter a name for the configuration.
*Forecast Item
Click the picker tool icon to select the item.
*Traffic Percentage
Enter a numerical value for the traffic percentage.
Site
Click the picker tool icon to select a site.
Site Group Level
Click the picker tool icon to select a site group level.
*Forecasting Date Range
Click the calendar icons to select a date range for the configuration.
Forecast View
Select a forecast view from the dropdown list.
Click the Save Config button.