Adding Dimensions to Events
This topic explains how dimensions are added to events.
Complete the following steps to add dimensions to an event:
Log in to the ONE system.
Click Menus/Favs > Demand Planning > Events > Search Events.
The Search Events screen displays.
See the "Searching Events" section in the Online Help for more information.
Enter the search criteria to search for a specific event or events, or click the Search link to display all events.
In the Event Name column, click an event name link to display event details.
The event details screen displays.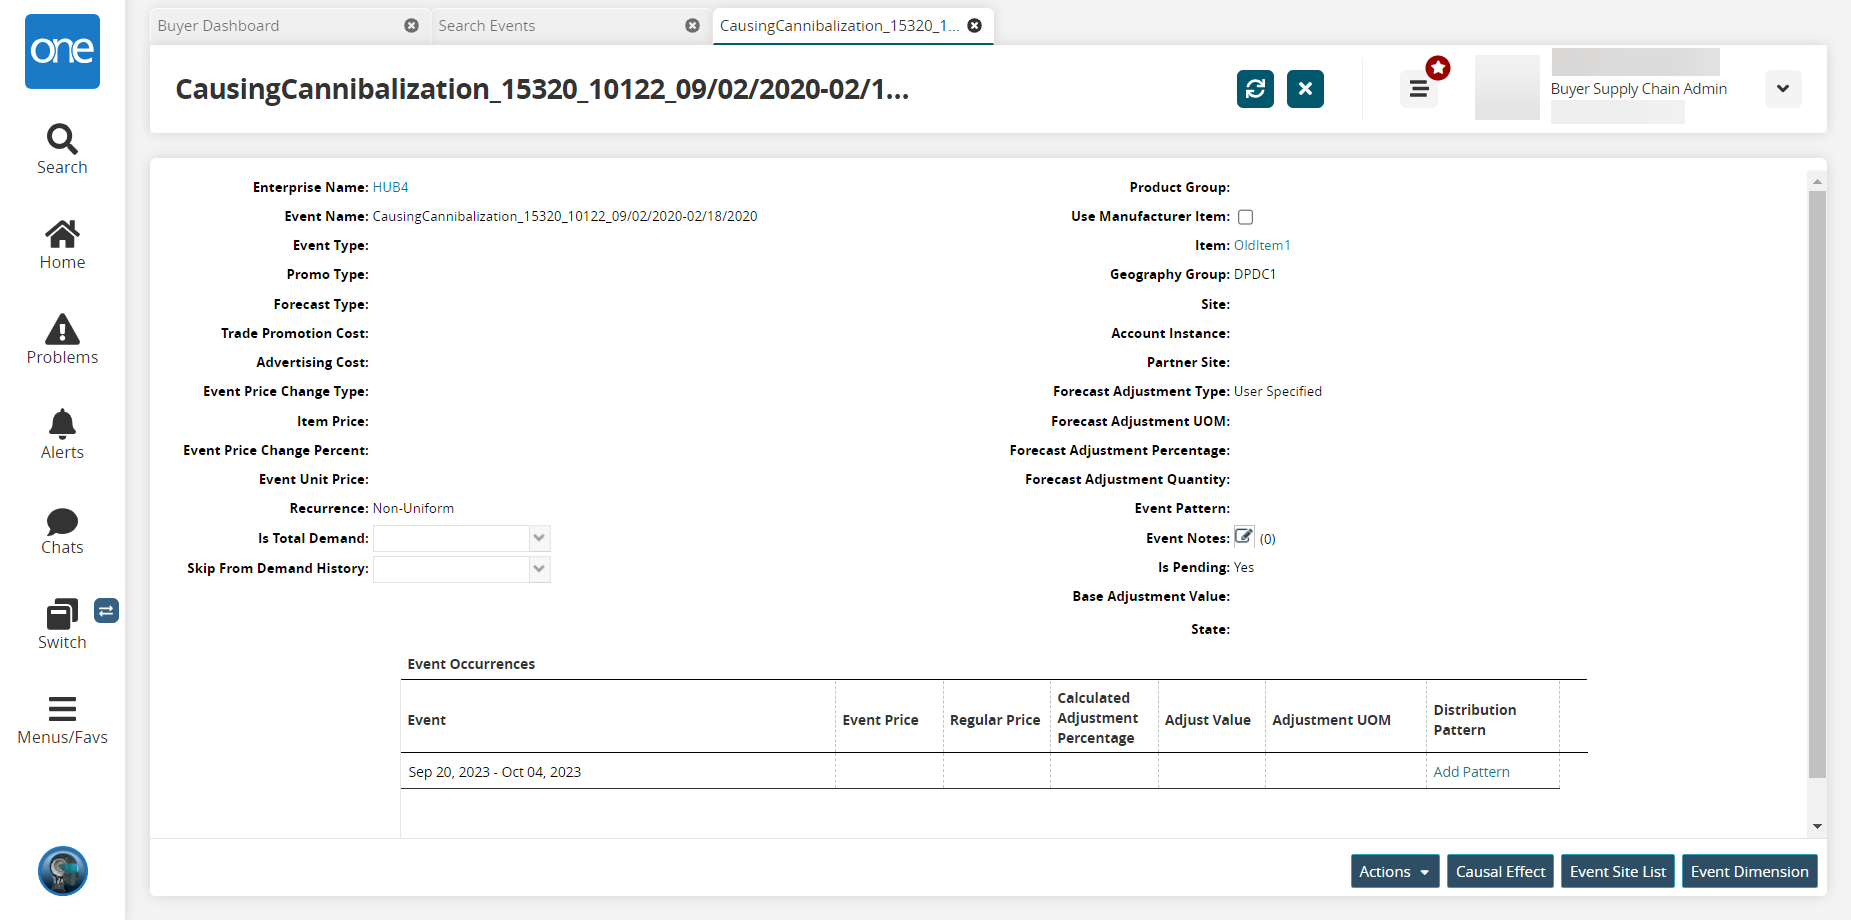
Click the Event Dimension button.
The Event Dimension screen displays.Click the Add Event Dimension button.
The Add Event Dimension screen displays: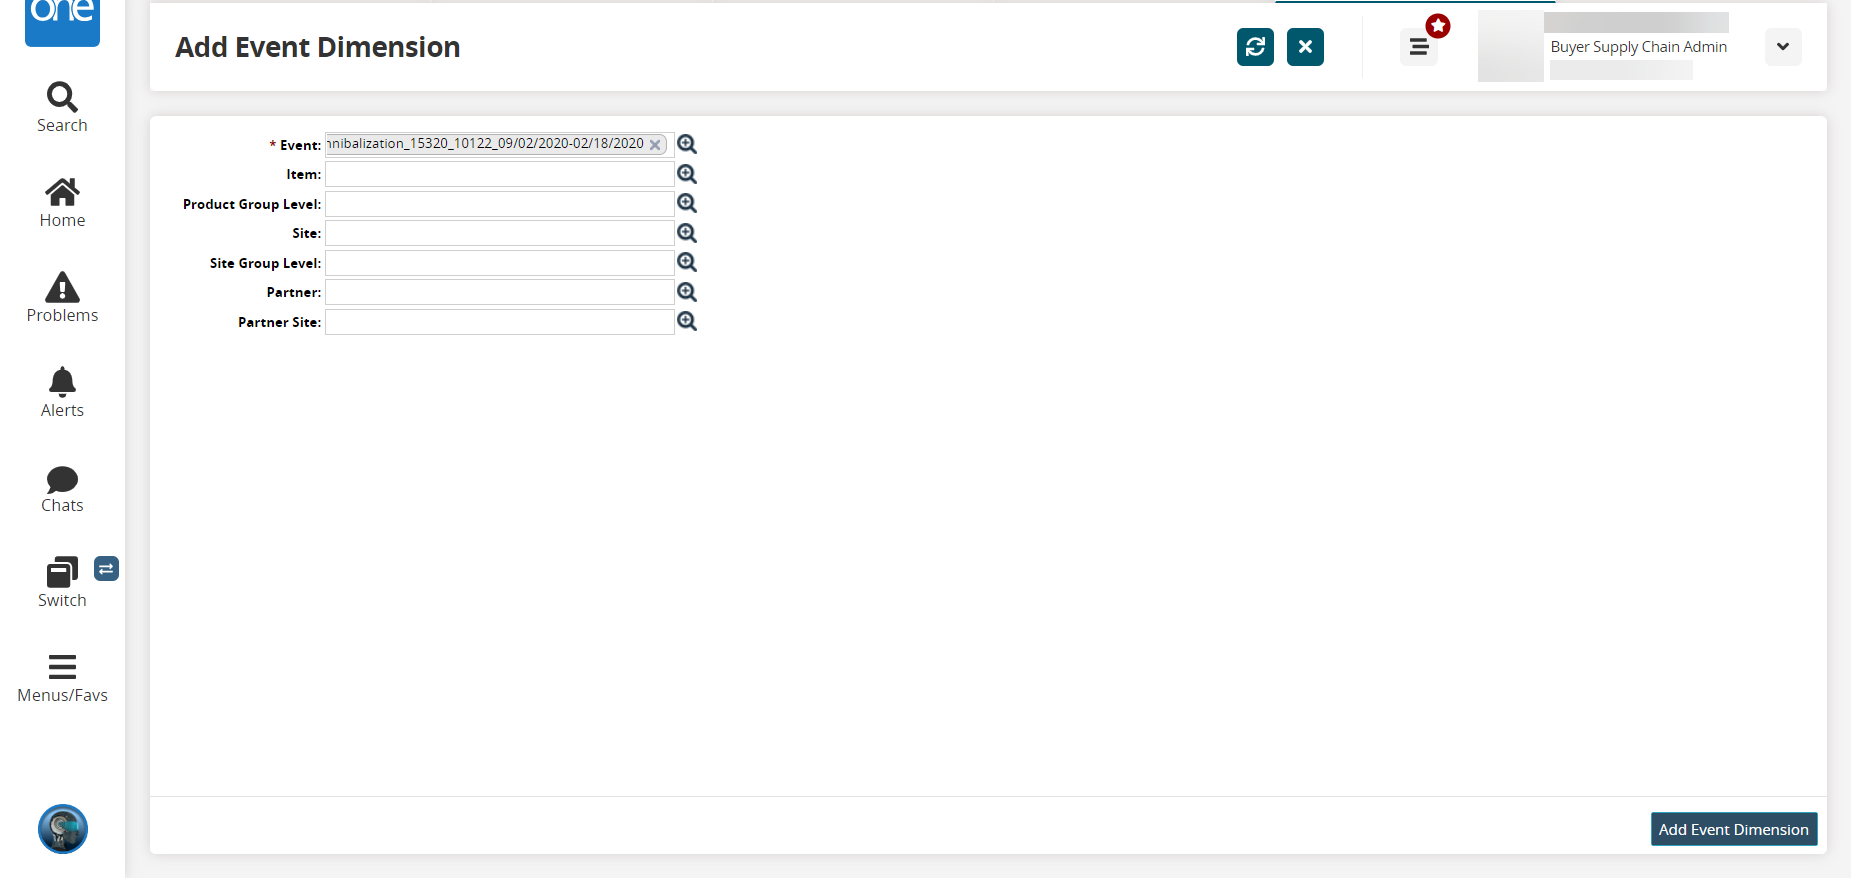
Add the desired dimension details and click the Add Event Dimension button.
Return to the Event Dimension screen and click the Refresh icon to see the newly added dimensions.