Adding Widgets
Widgets provide a view of data within the system. Widgets may be available based on user/
role permissions. Some widgets are available on columnar layouts; other widgets are
available on fixed layouts. A few widgets can be used in either layout.
Complete the following steps to add widgets to the NEO dashboard:
Log in to the ONE system.
Click the Edit Dashboard button at the top right of the NEO dashboard.

The Add a widget button appears at the top of the dashboard and below widgets,
depending on if the widgets are configured for columnar or fixed layout.Click the Add a widget button.

The Add a Fixed Widget popup screen appears. Widgets are available (the Add
Widget button is active) depending on if the layout of the section is columnar or
fixed.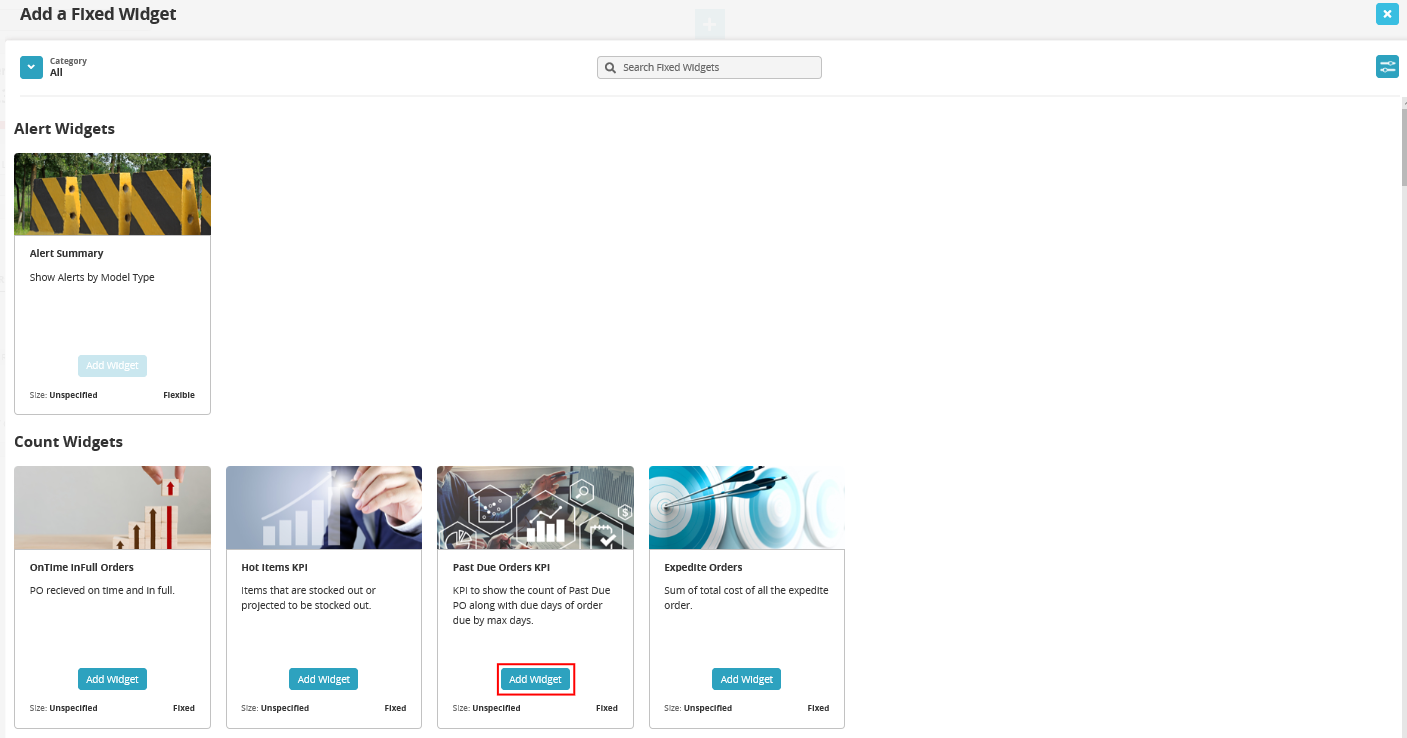
Click the arrow next to Category in the top left of the screen to navigate to the widget
categories.Click on the Add Widget button on the widget display. The widget will appear on
the NEO dashboard.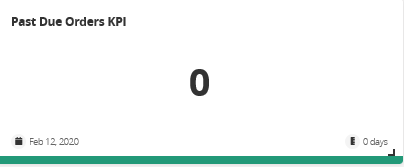
Drag the widget to the desired location on the NEO dashboard by hovering over
the crossed arrows on the header and using the move item cursor.Click on the Save the Dashboard button to save the widget to the dashboard.

The widget is saved to the dashboard.