Advanced Filters On Custom Analytical Widgets
Users can set up advanced filters on custom analytical widgets, such as specifying the start
date as "5 days from today" and the end date as "20 days from today".
Complete the following steps to set up advanced date filters on custom analytical widgets:
Log in to ONE system.
From the starting dashboard, click the Edit the Dashboard button.
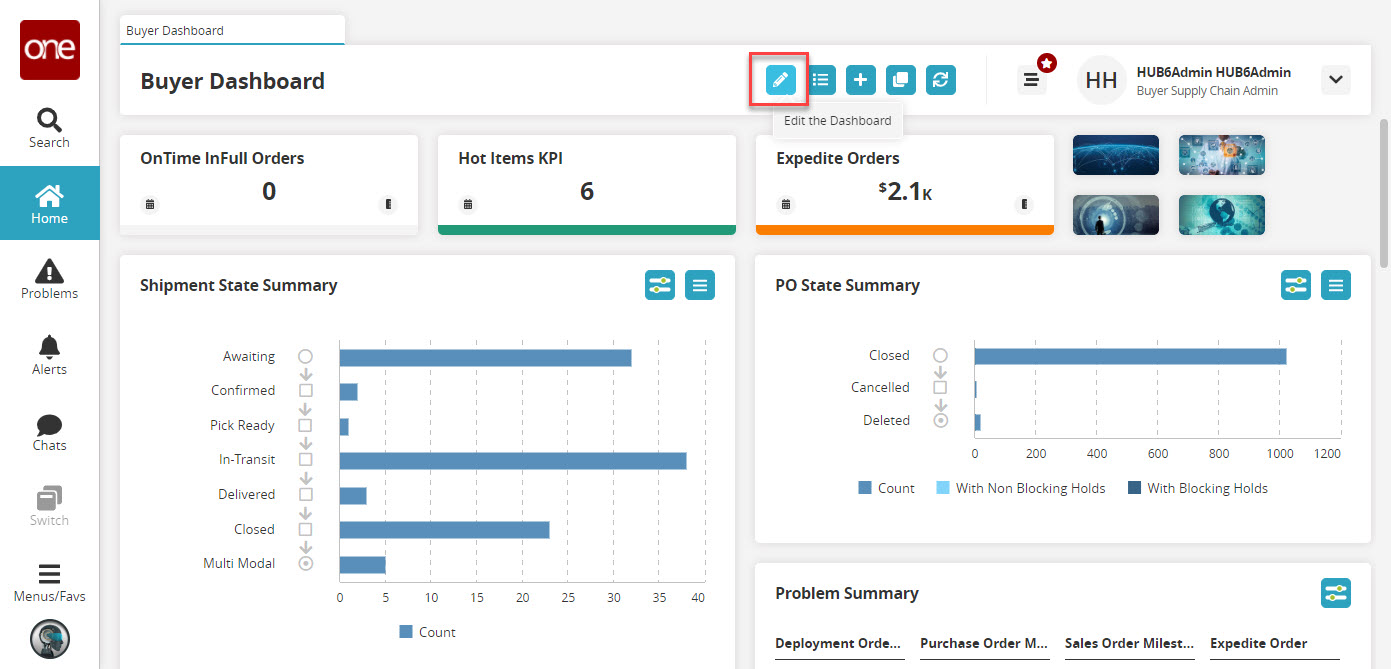
The dashboard becomes editable.Click the Add a Widget button.
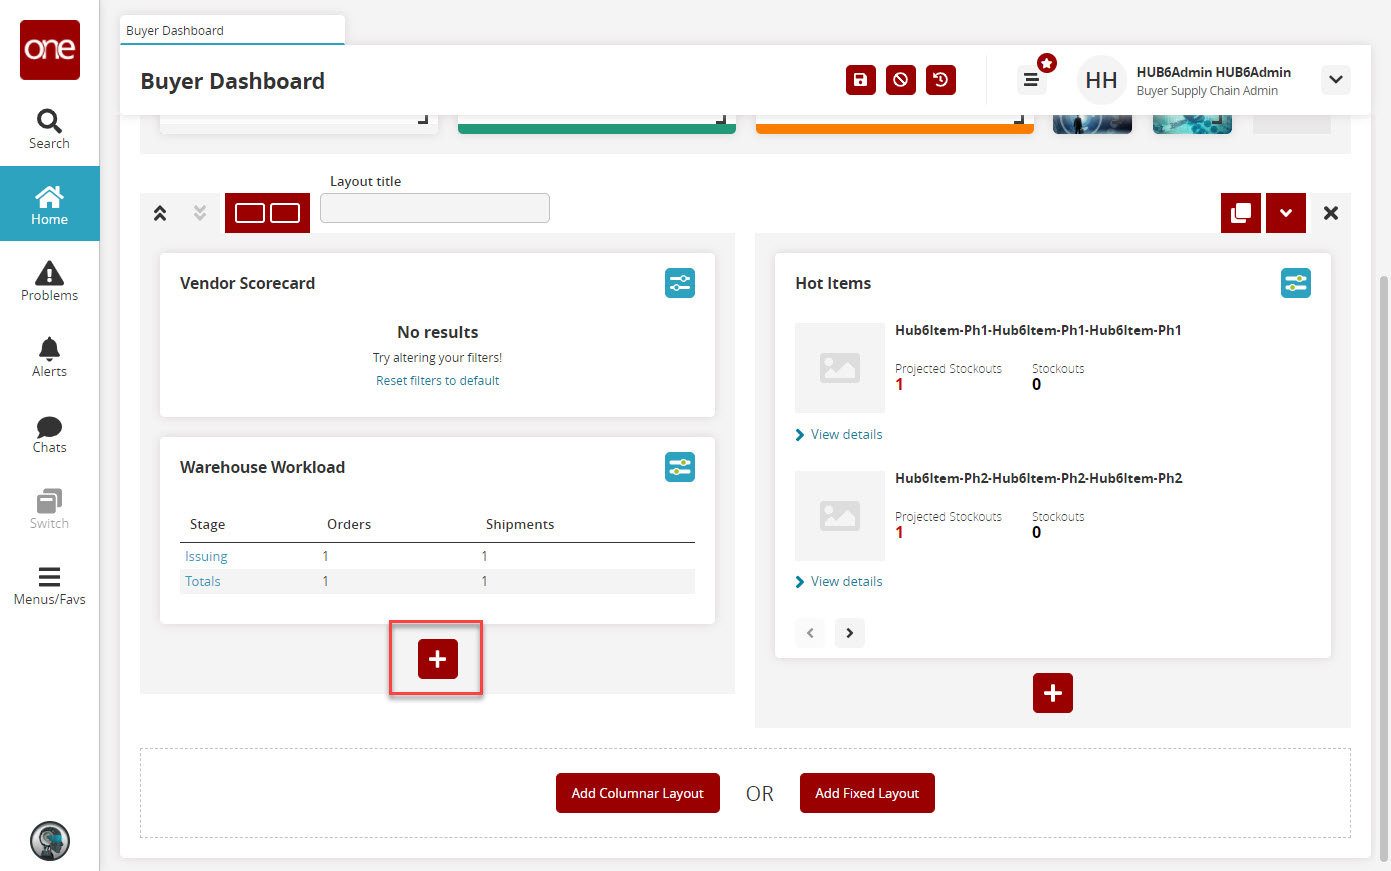
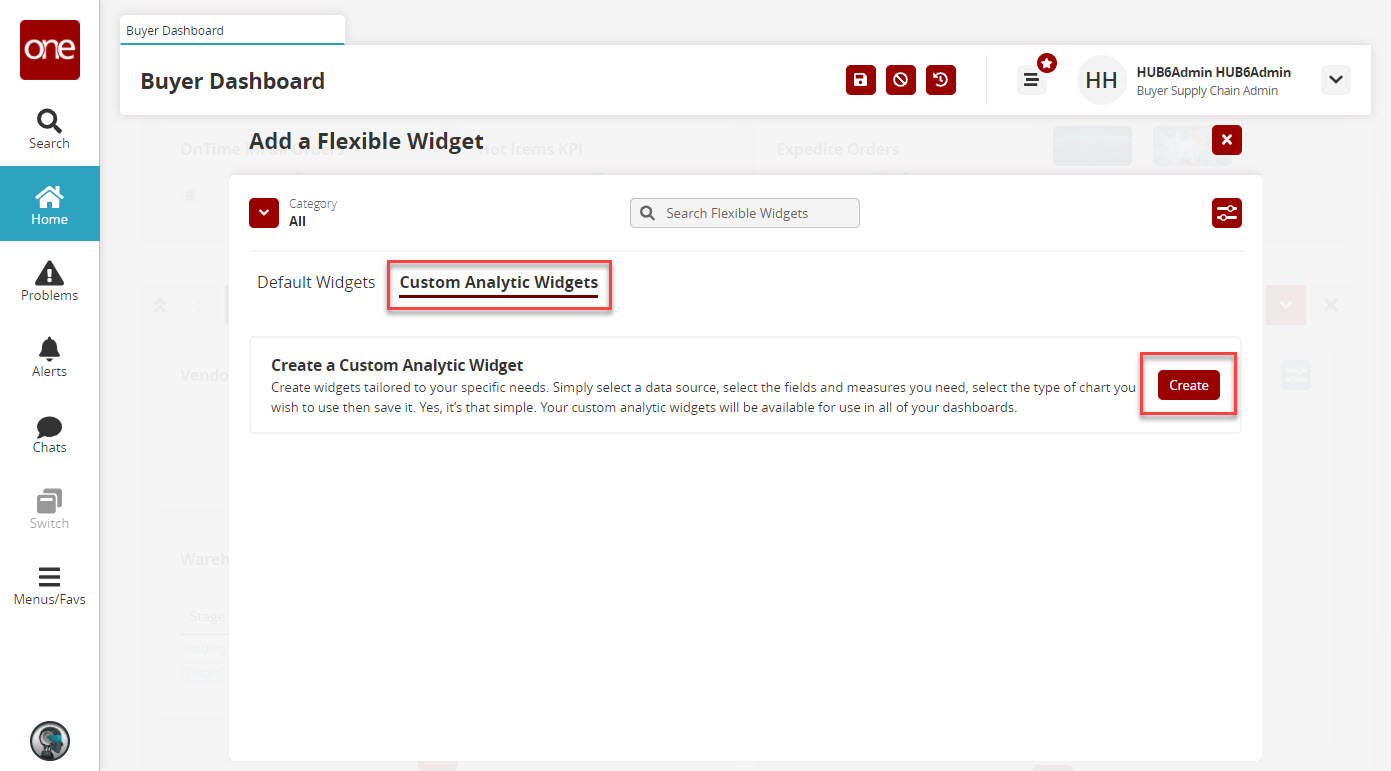
The Add a Flexible Widget popup appears.Click the Custom Analytic Widgets tab, and then click the Create button.
The Create a Widget screen appears.Select a data source fact from the left-hand pane.
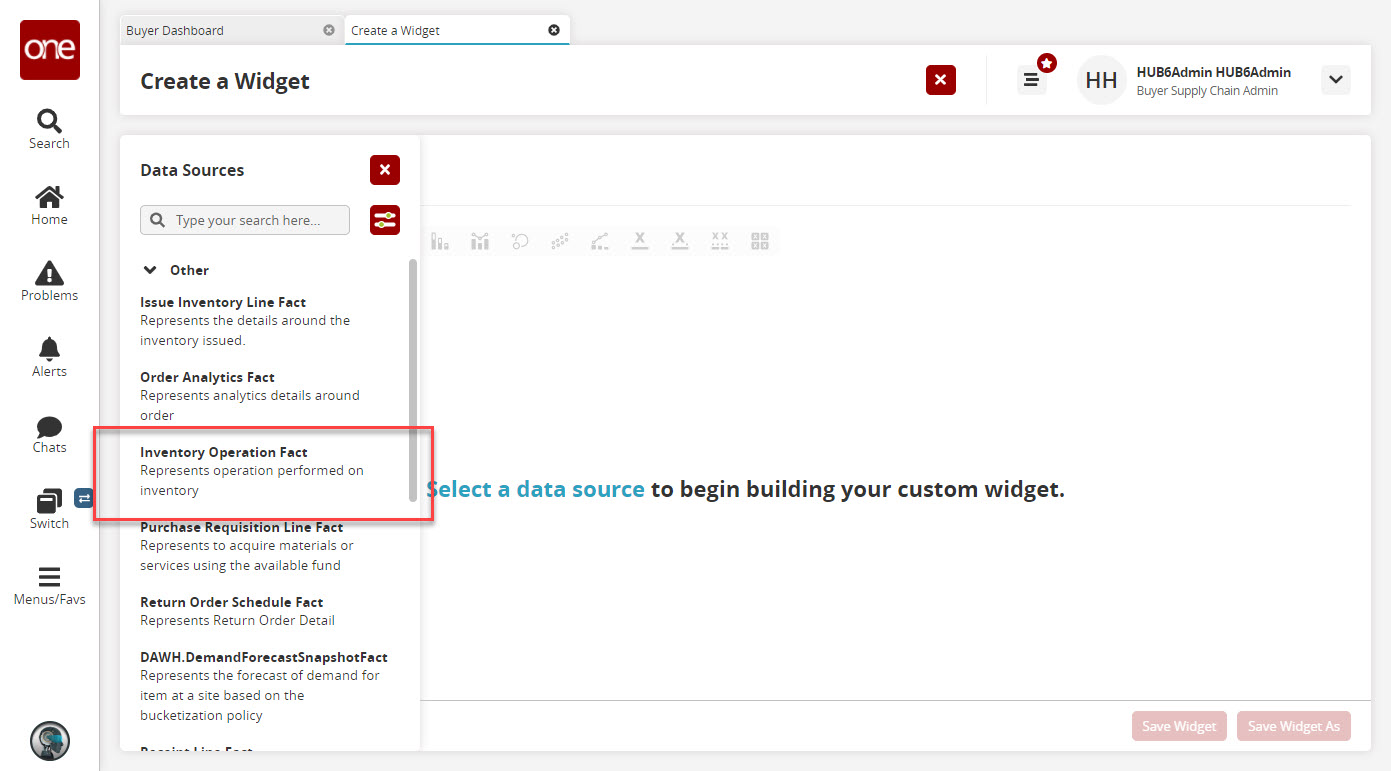
The widget configuration popup appears.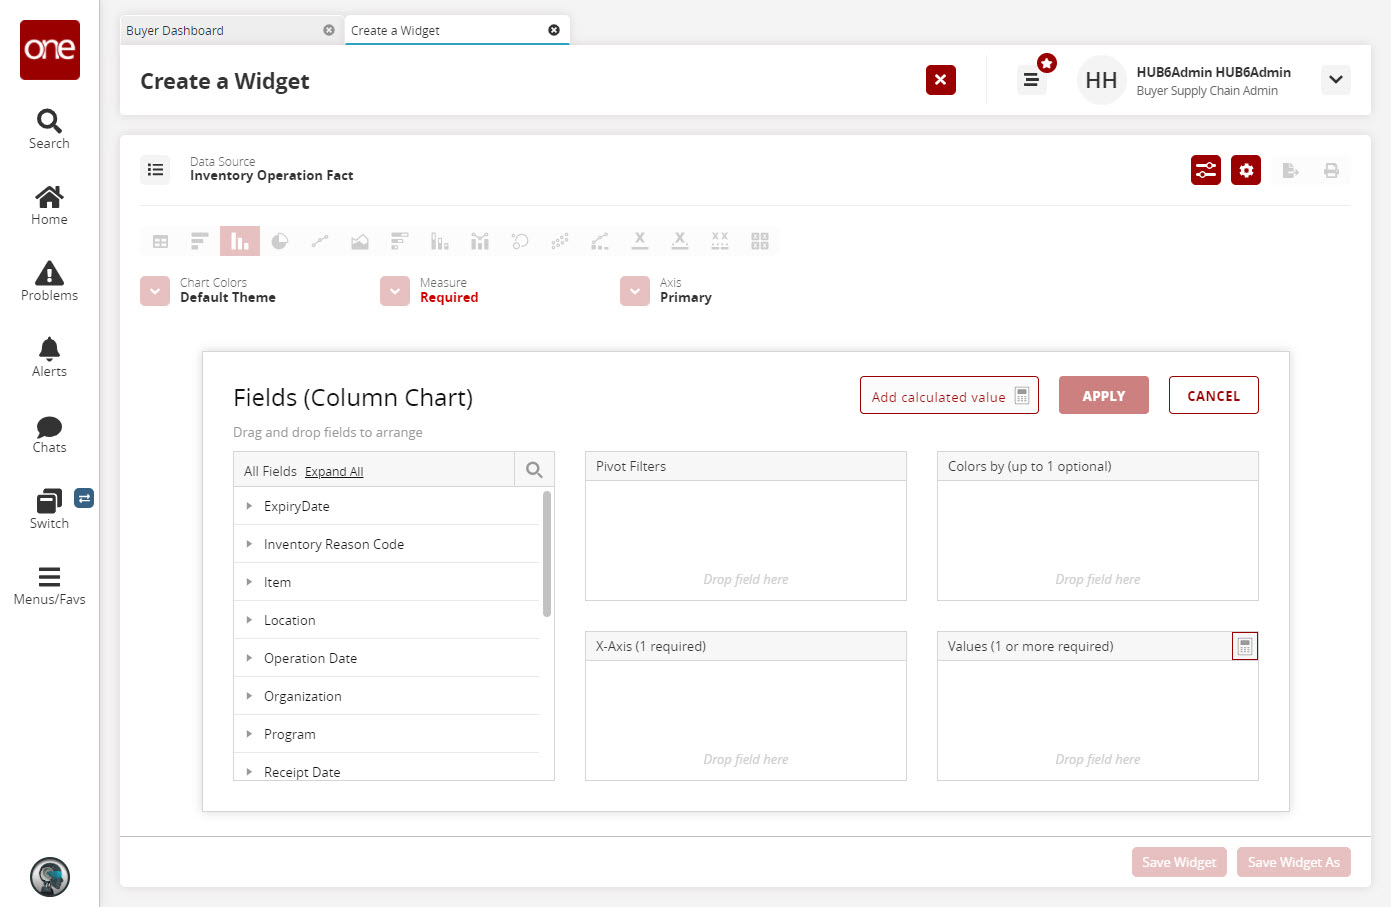
Navigate through the All Fields pane and select various facts to populate the
widget with. For this example, we are specifically selecting date fields.
The selections appear in the four right panes.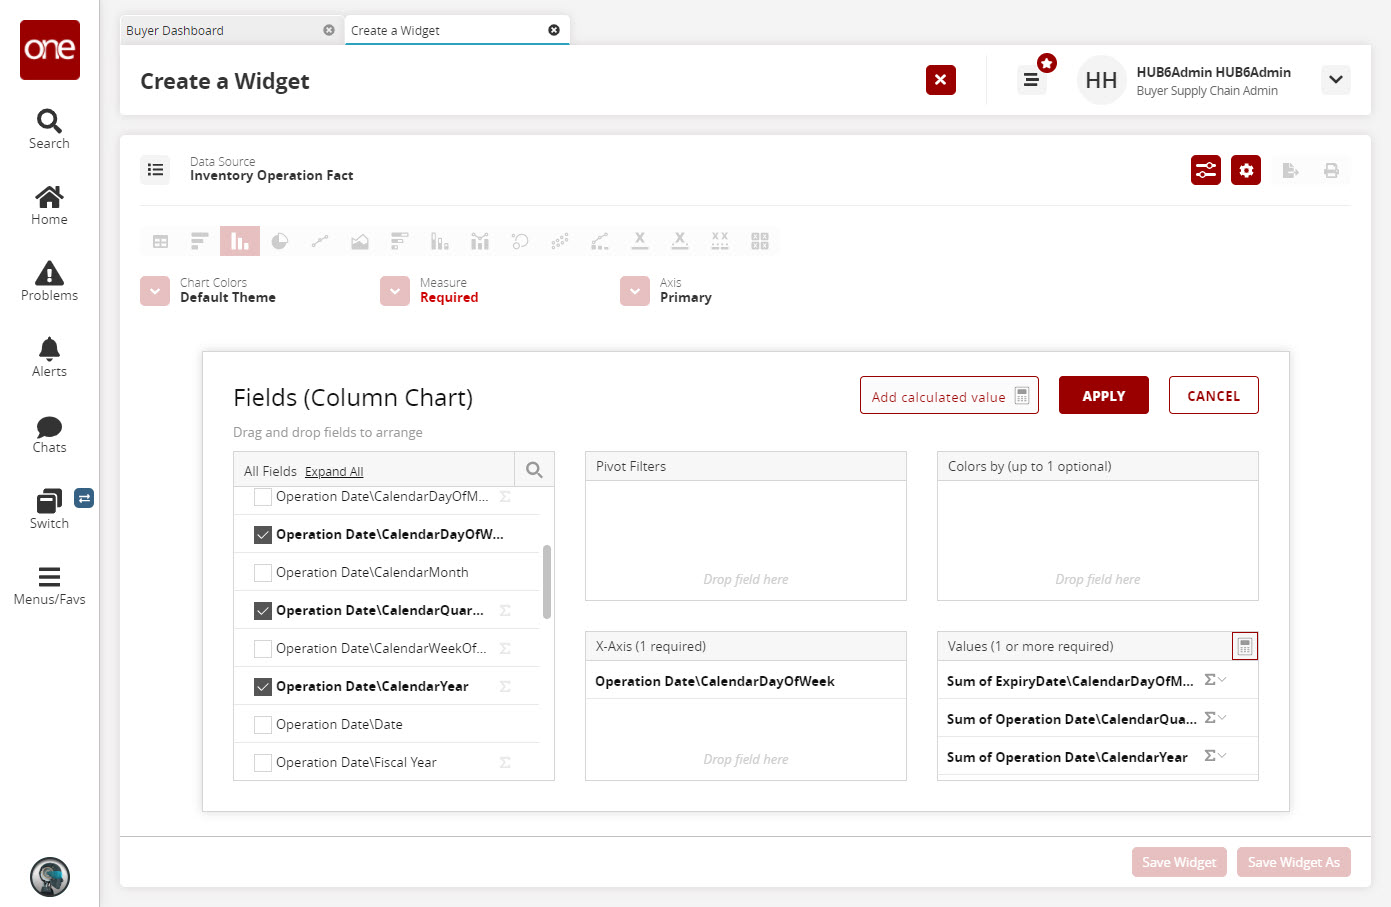
Click Apply.
The chart loads.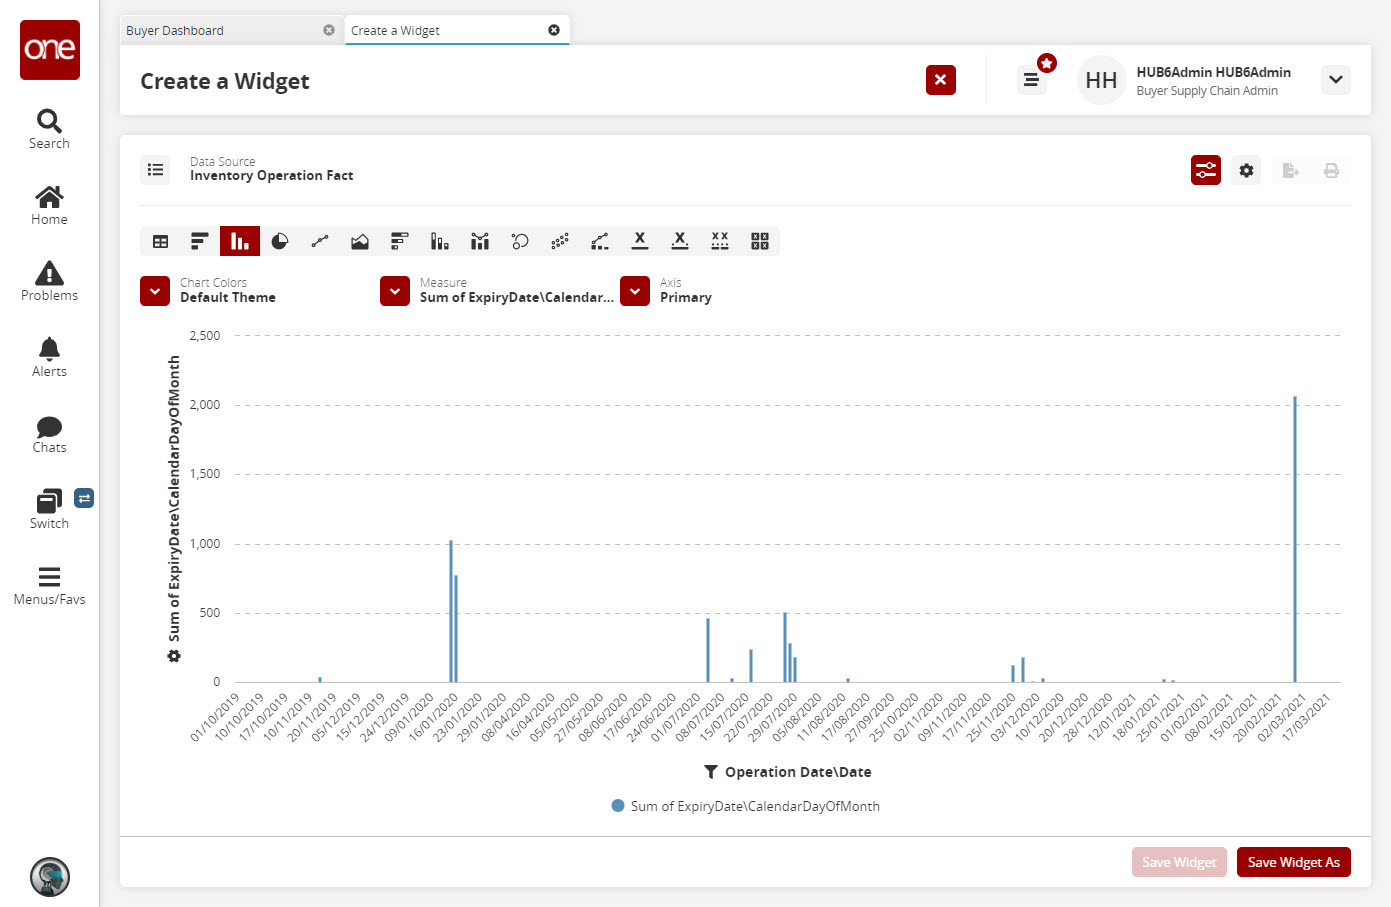
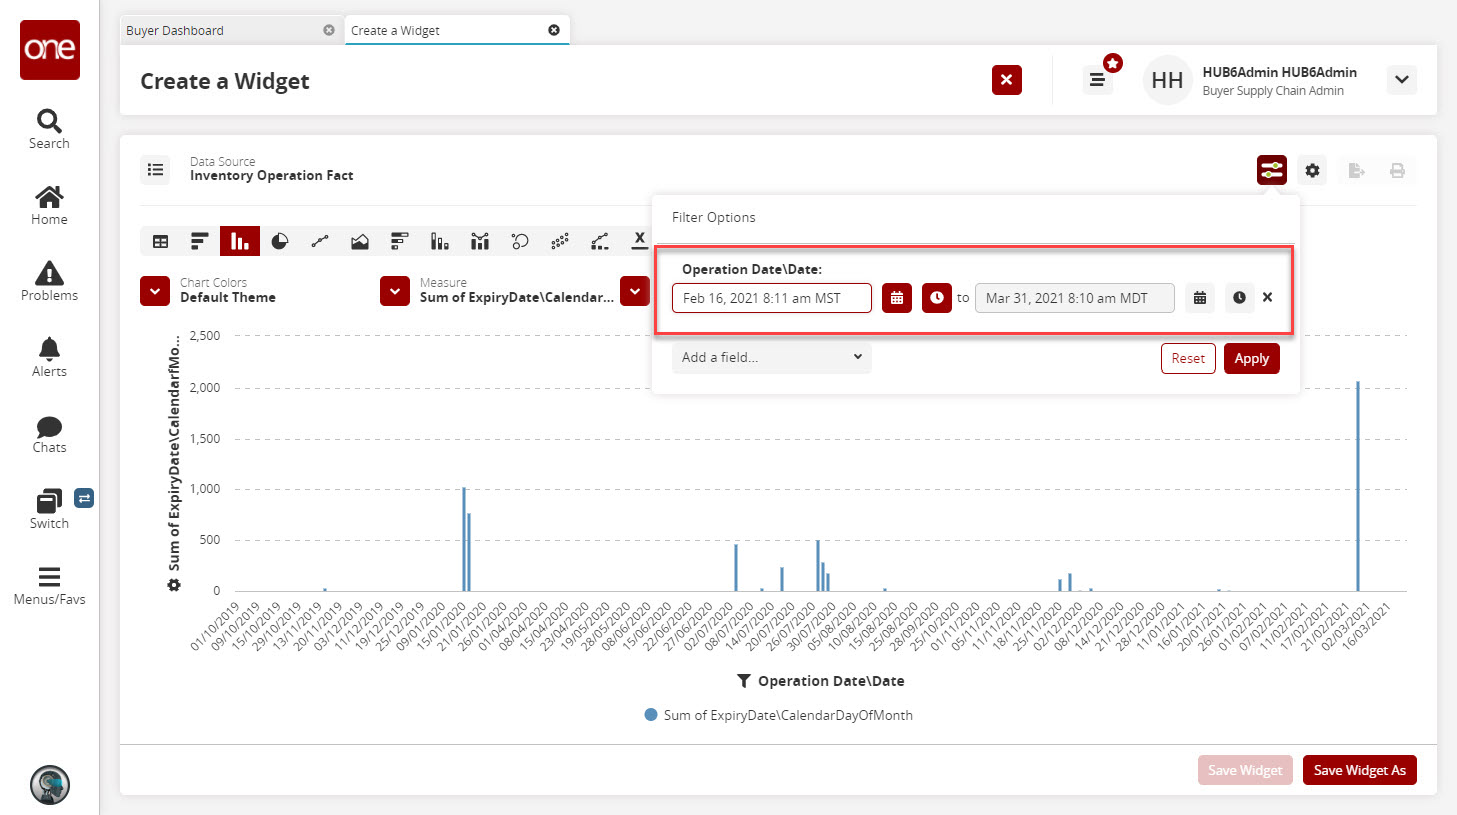
Click the Filter Options button in the top right, then open the Add a field
dropdown menu and select a field.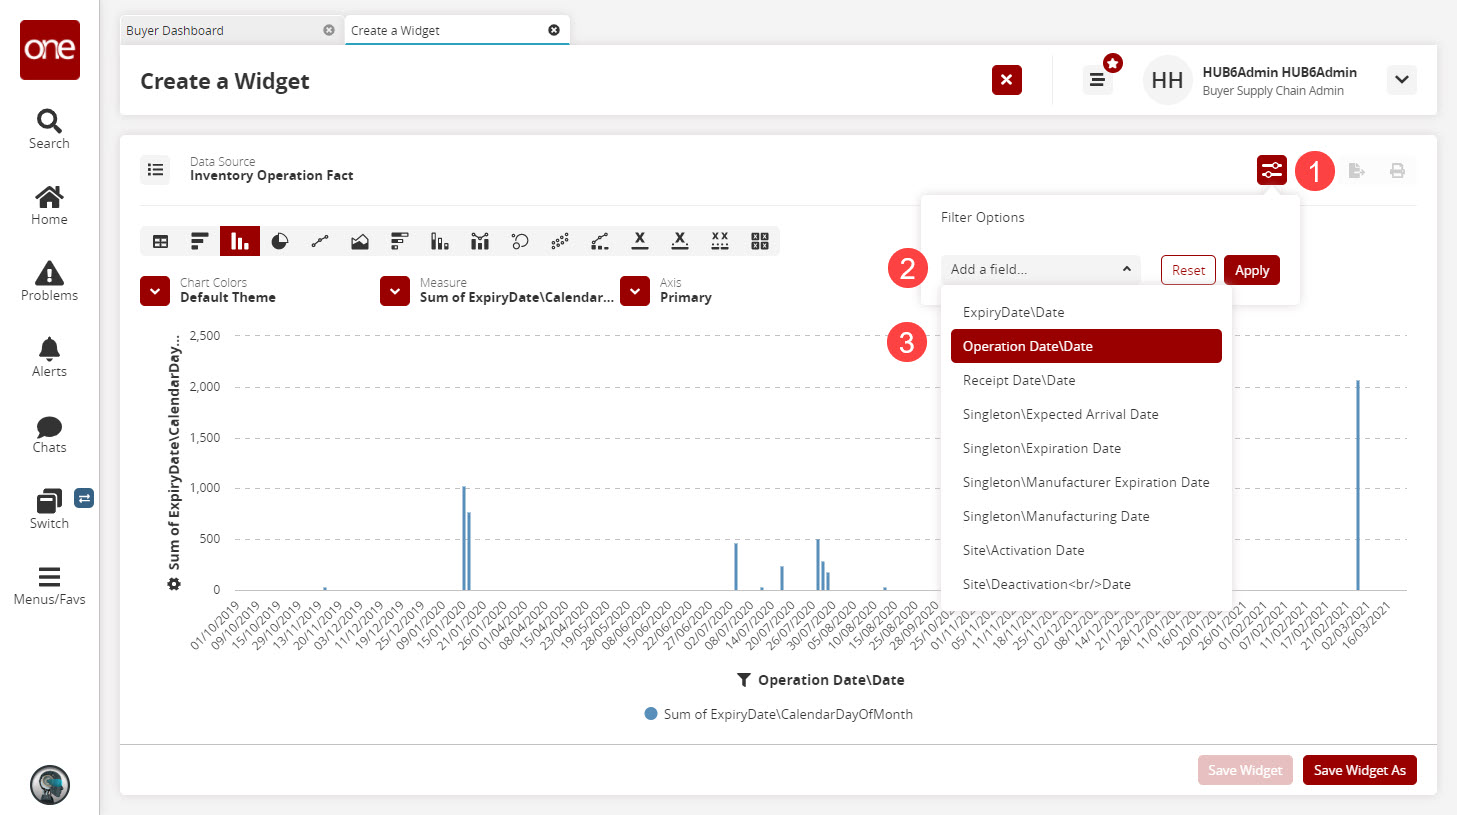
The Filter Options popup updates.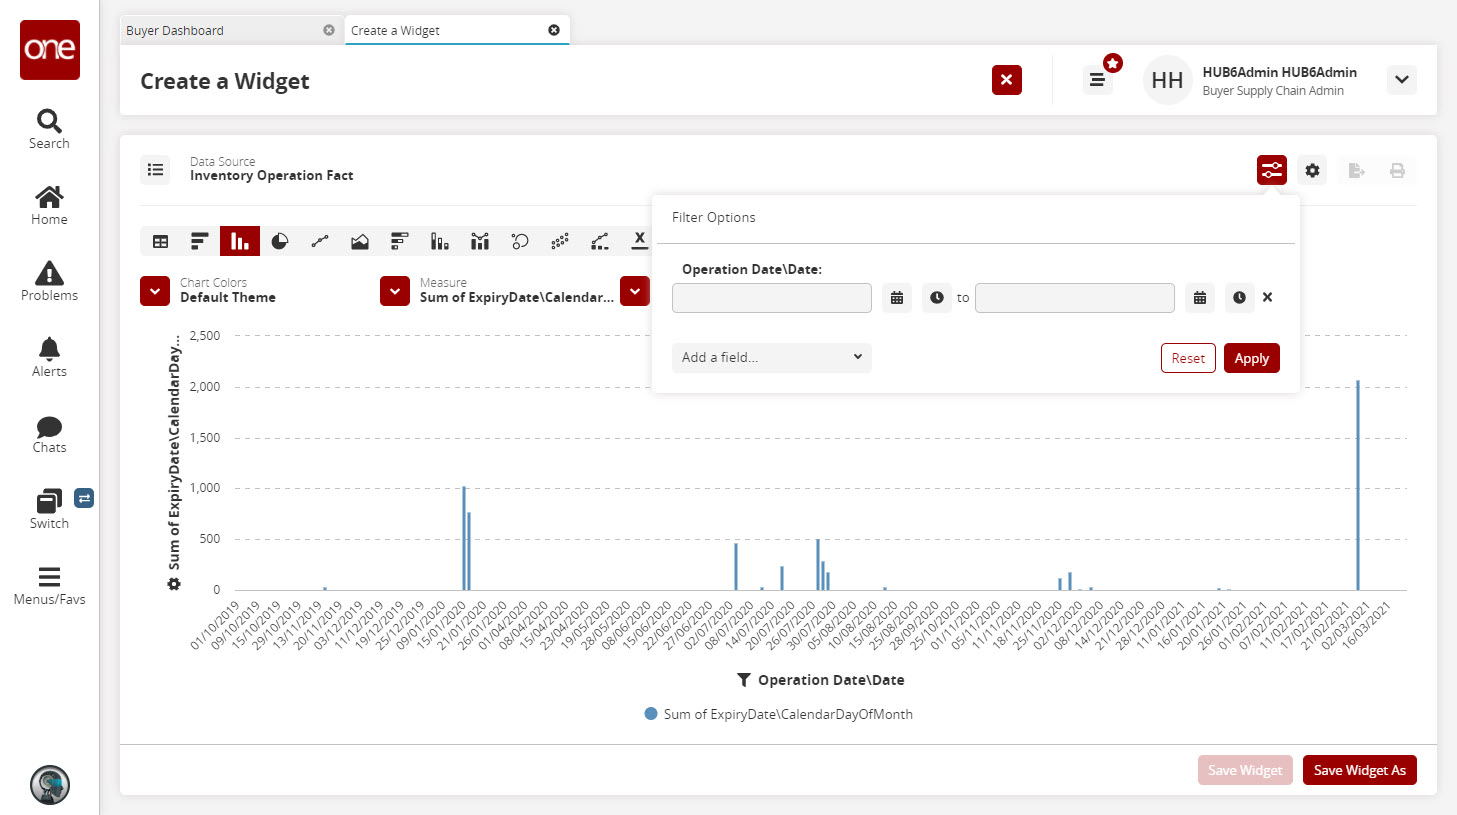
Click the Calendar icon
 and then click the Ellipses
  icon.
icon.
The Pattern Select popup appears.
From the Pattern Select popup select a date pattern, such as "3 days ago", "1 week
ago", and so on. The following table describes the various options. The selected date is dynamic and is not static. For example, if you select a
date range from "2 week ago" to "2 weeks from now", the date range will
be a rolling four week period centered on whatever the current date is.Tab
Image
Description
Pattern
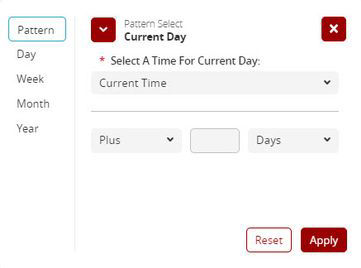
The Pattern tab allows you to specify your
own pattern.In the Select A Time For Current Day
dropdown, select either Midnight or
Current Time.Select either Plus or Minus in the
text field.Enter a number in the next text field.
From the final dropdown menu,
select a frequency. The available
options are Minutes, Hours, Days,
Weeks, Months, Years, Fiscal Week,
Fiscal Month, Fiscal Quarter, and Fiscal Year.
Day
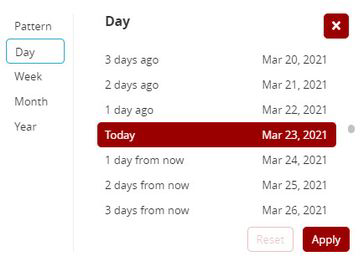
The Day tab allows you to select "Today" as a
date or any day in the past or future relative to
today in increments of one day. The options
are:...
2 days ago
1 day ago
Today
1 day from now
2 days from now
...
Week
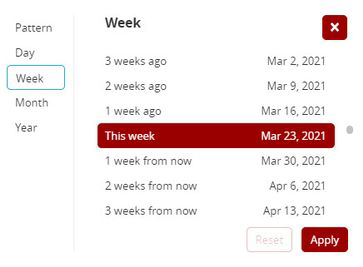
The Week tab allows you to select "This week"
as a date or any week in the past or future
relative to this week in increments of one
week. The options are:...
2 weeks ago
1 week ago
This week
1 week from now
2 weeks from now
...
Month

The Month tab allows you to select "This
month" as a date or any month in the past or
future relative to this month in increments of
one month. The options are:...
2 months ago
1 month ago
This month
1 month from now
2 months from now
...
Year
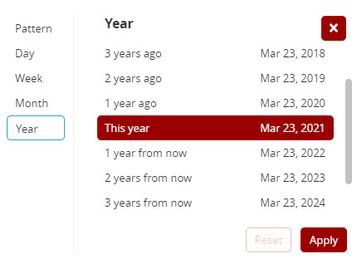
The Year tab allows you to select "This year" as
a date or any year in the past or future relative
to this year in increments of one year. The
options are:...
2 years ago
1 year ago
This year
1 year from now
2 years from now
...
Click Apply.
Repeat steps 9, 10, and 11 for the second date field in the Filter Options popup.
Click Apply in the Filter Options popup.
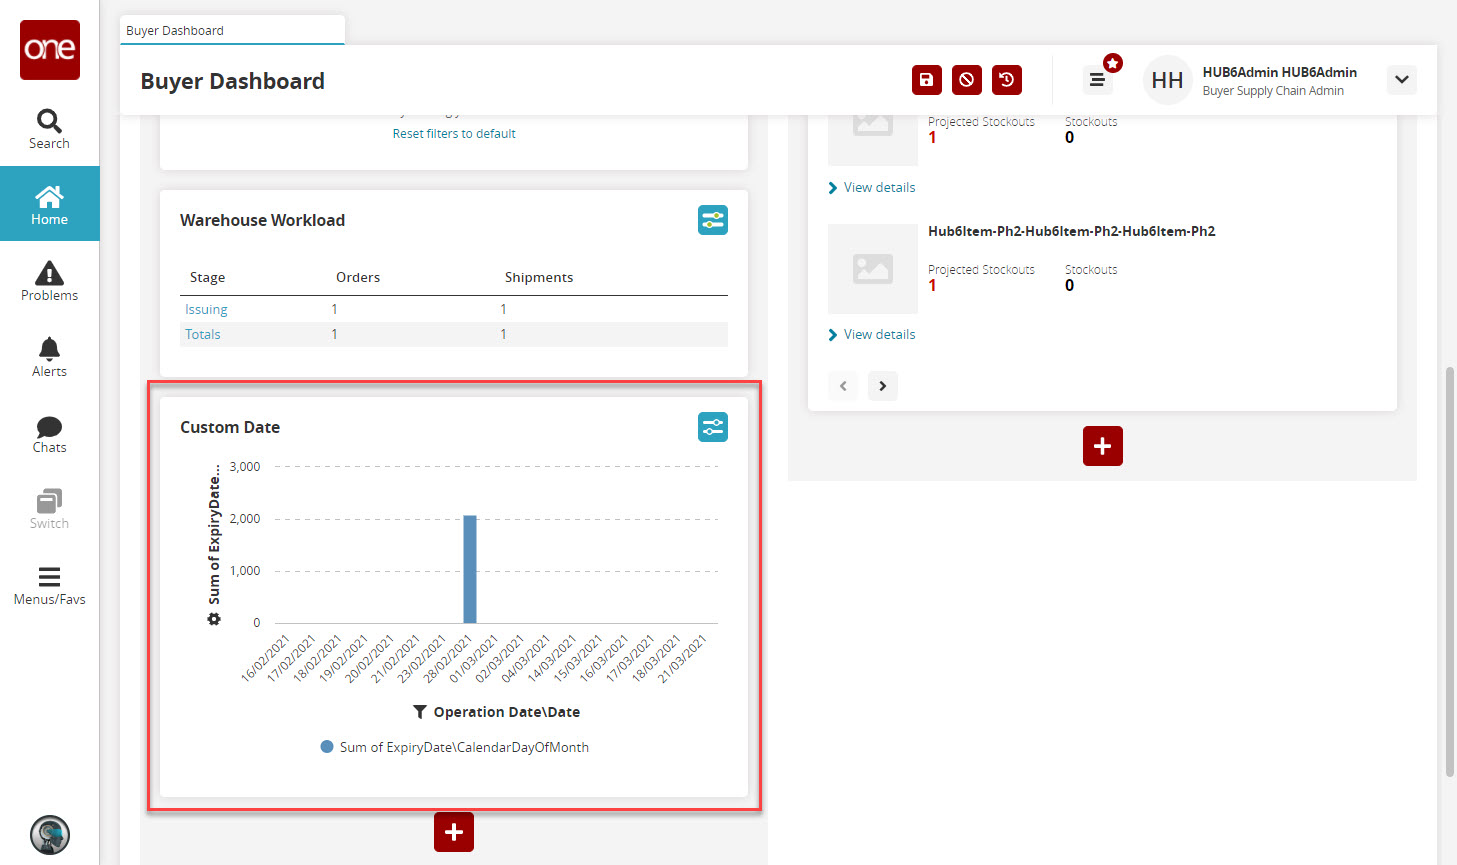
The chart updates.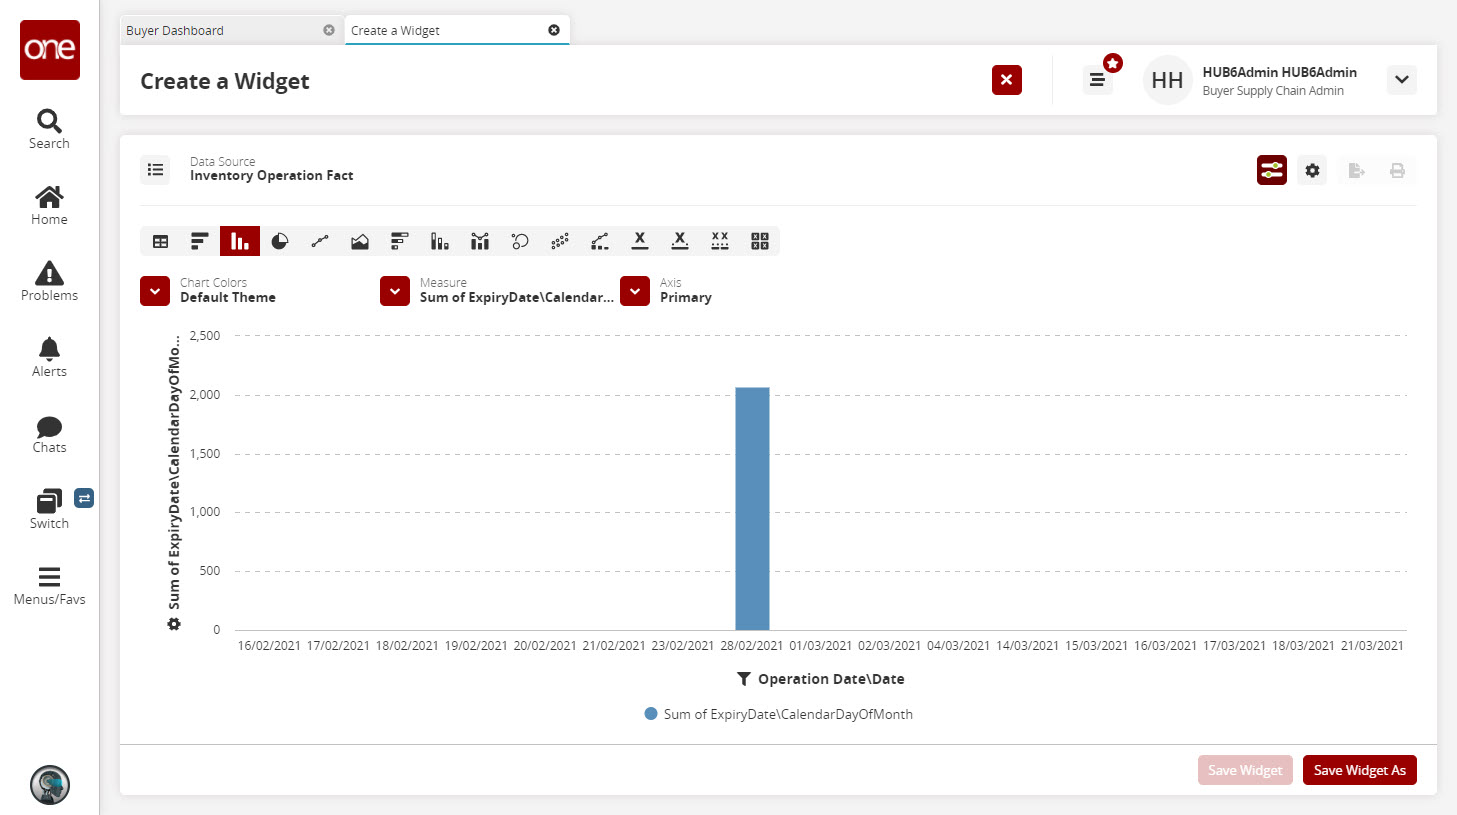
Click Save Widget As.
The screen updates.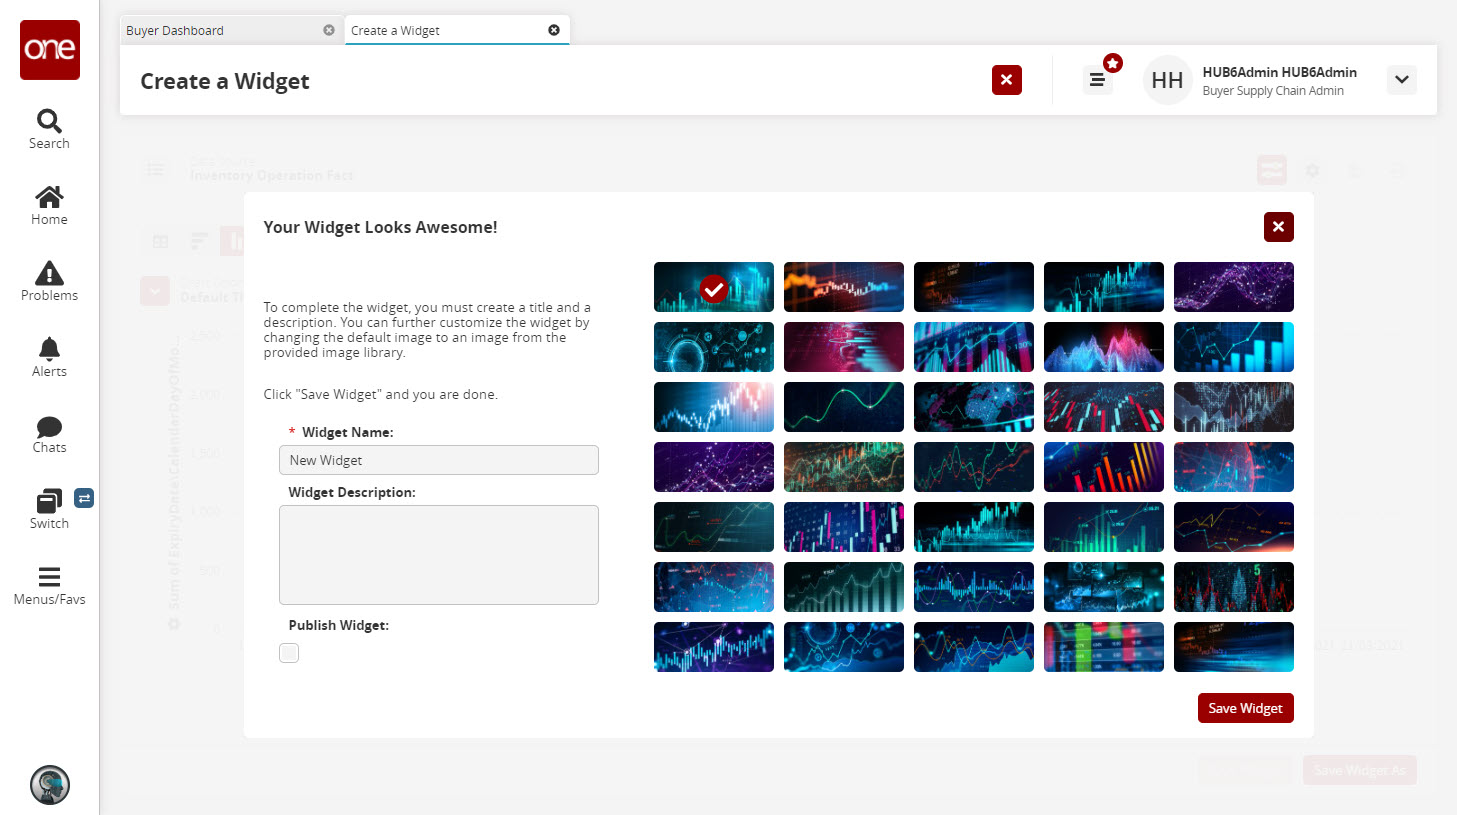
Enter a Widget Name and a Widget Description.
Click Save Widget.
You are returned to the Add a Flexible Widget page.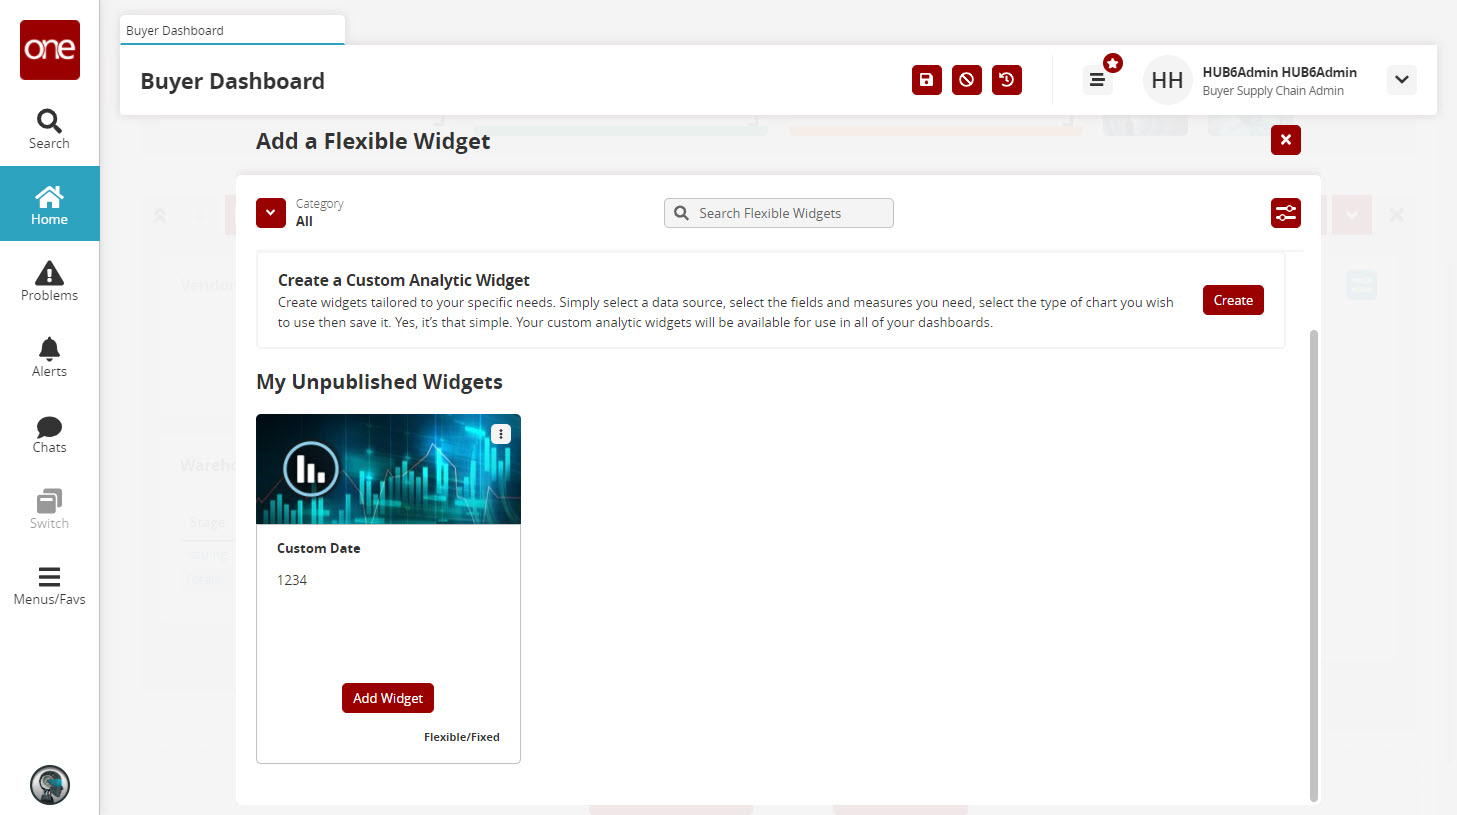 Recently worked on
Click Add Widget.
The custom widget with a rolling date range is added to the dashboard.