Configuring the JDBC Driver
SQL Explorer relies on the Oracle JDBC driver for its database operations. Studio does not ship with all the normal drivers you would find with a normal third-party installation of the SQL Explorer plug-in, since we only support Oracle. As such, you need to set the preferences to point to the Oracle JDBC drivers. We'll use the thin driver here, but you can use the OCI driver if you prefer.
Procedure 3.11. To set the JDBC preferences for SQL Explorer:
Select Window | Preferences. Locate and open the SQL Explorer entry, then select the JDBC Drivers entry.
Figure 3.14. Adding the Oracle Driver to SQL Explorer's Class Path
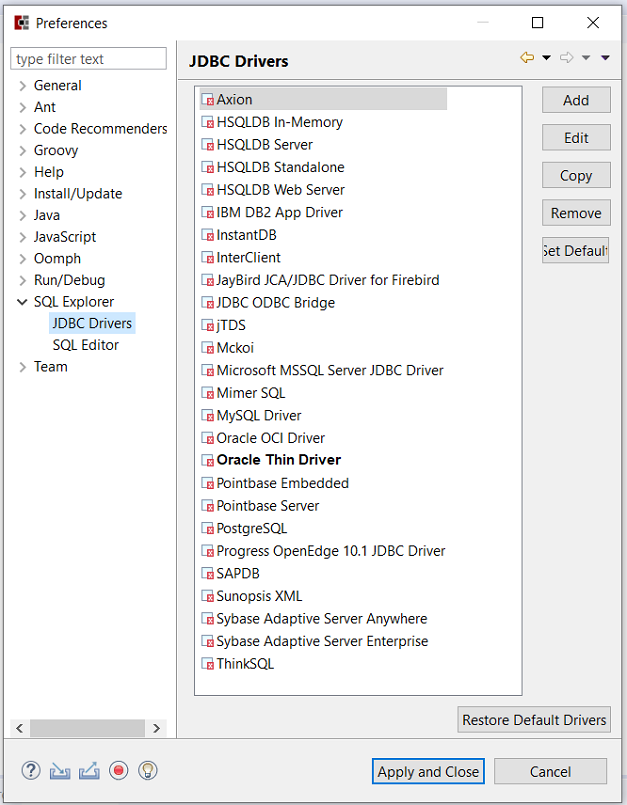
Note all the red X's. We need to locate the Oracle drivers. Select the Oracle Thin Client entry and click Edit.
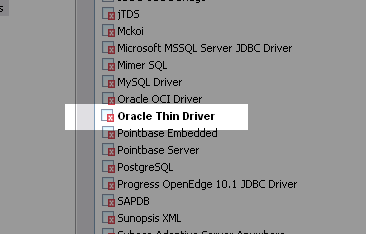
Figure 3.15. Locate the Oracle driver in the list.
Select the Extra Class Path tab. Click the Add button.
Figure 3.16. Add the JDBC driver as shown. These are different as per corresponding Oracle versions.
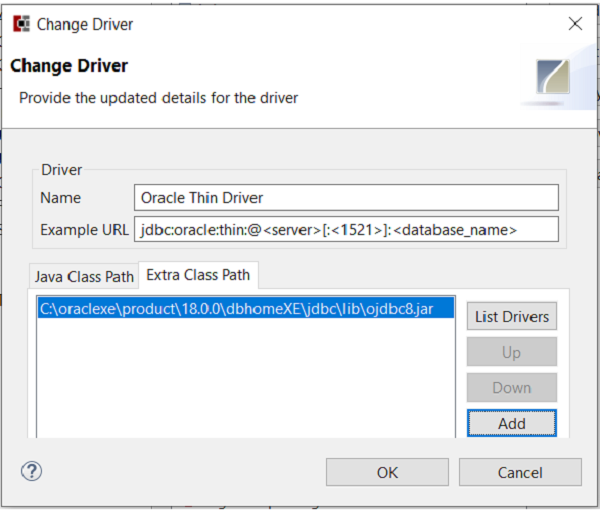
Navigate to your Oracle installation and locate the JDBC folder. For example, for Oracle 10 installed under c:\oracle, the drivers can be found via the path C:\oracle\product\10.2.0\db_1\jdbc\lib.
If you're using Oracle 10 or Oracle XE, select classes12.jar. If you're using Oracle 11, select ojdbc6.jar. If you're using Oracle 18c XE, select ojdbc8.jar. Close the dialog box. The red X should disappear next to the Oracle Thin Driver entry. Close out the remaining dialogs.
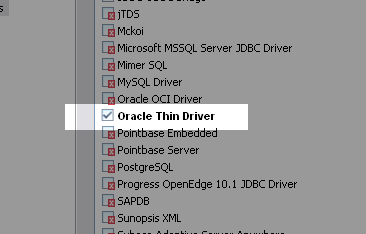
Figure 3.17. Successfully configured drivers appear with a checkmark.