Working With The To Do Widget
Users can create a To-Do widget in their dashboards to help manage tasks. Users have
customization privileges for the widget and for the task items added to the widget.
Complete the following steps to add and customize the To-Do widget.
Log in to the ONE system.
The home dashboard displays. You may choose another dashboard by clicking on
the My Dashboard button.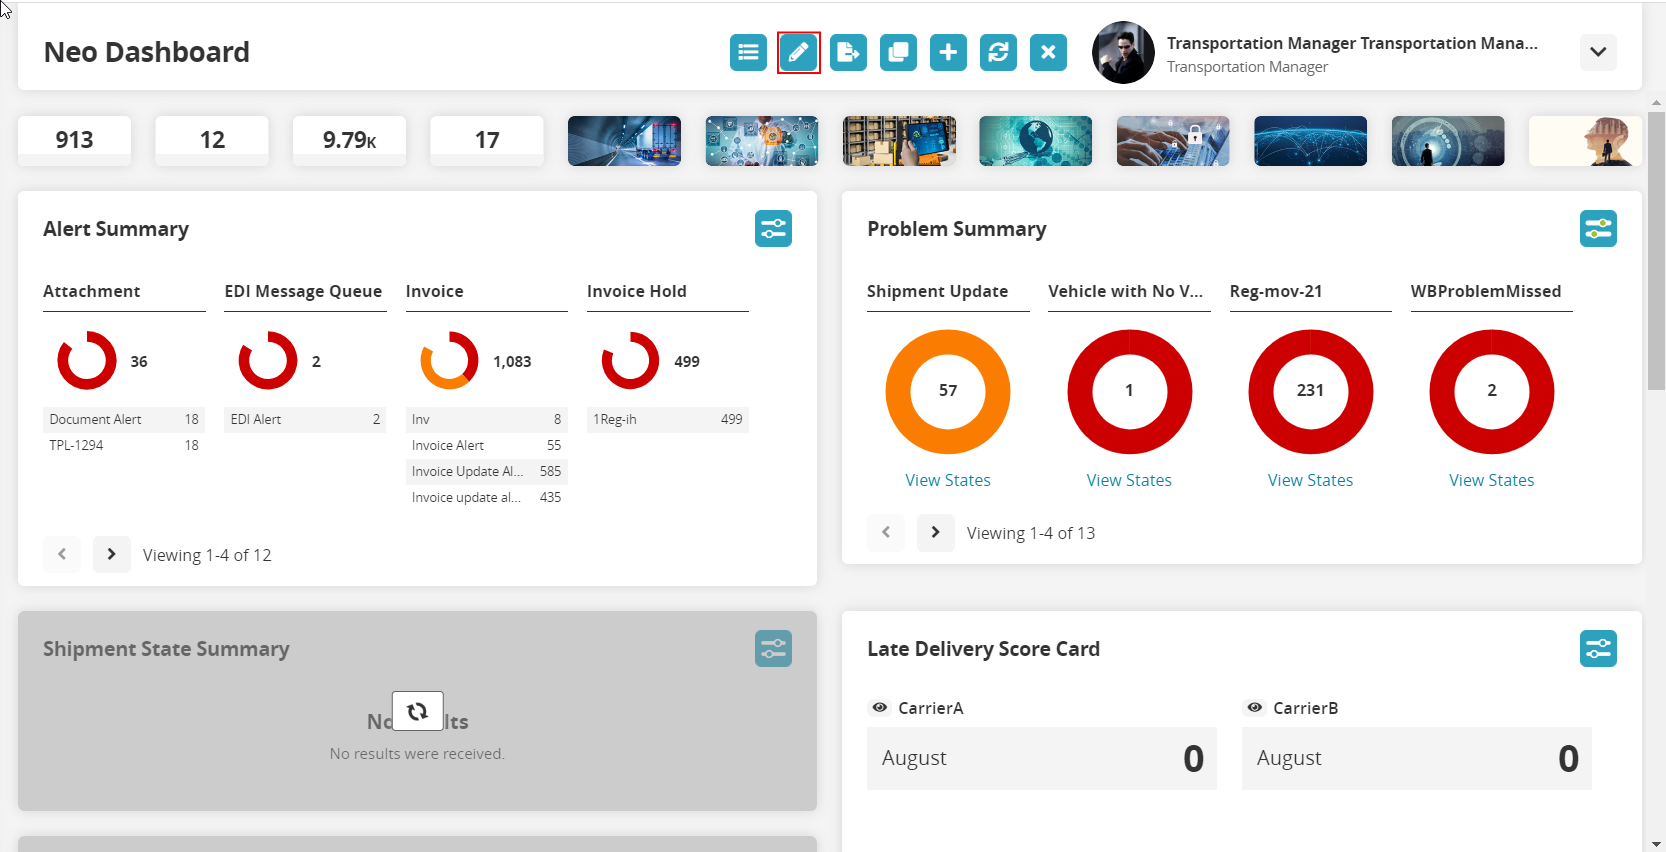
Click on the Edit the Dashboard button at the top of the screen.
The screen displays options to add columnar or fixed layout, which determines the type of active widgets available in the layout.
Click on the Add Columnar Layout button.
A columnar layout section displays.
Click on the + to add a widget.
The Add a Flexible Widget window displays.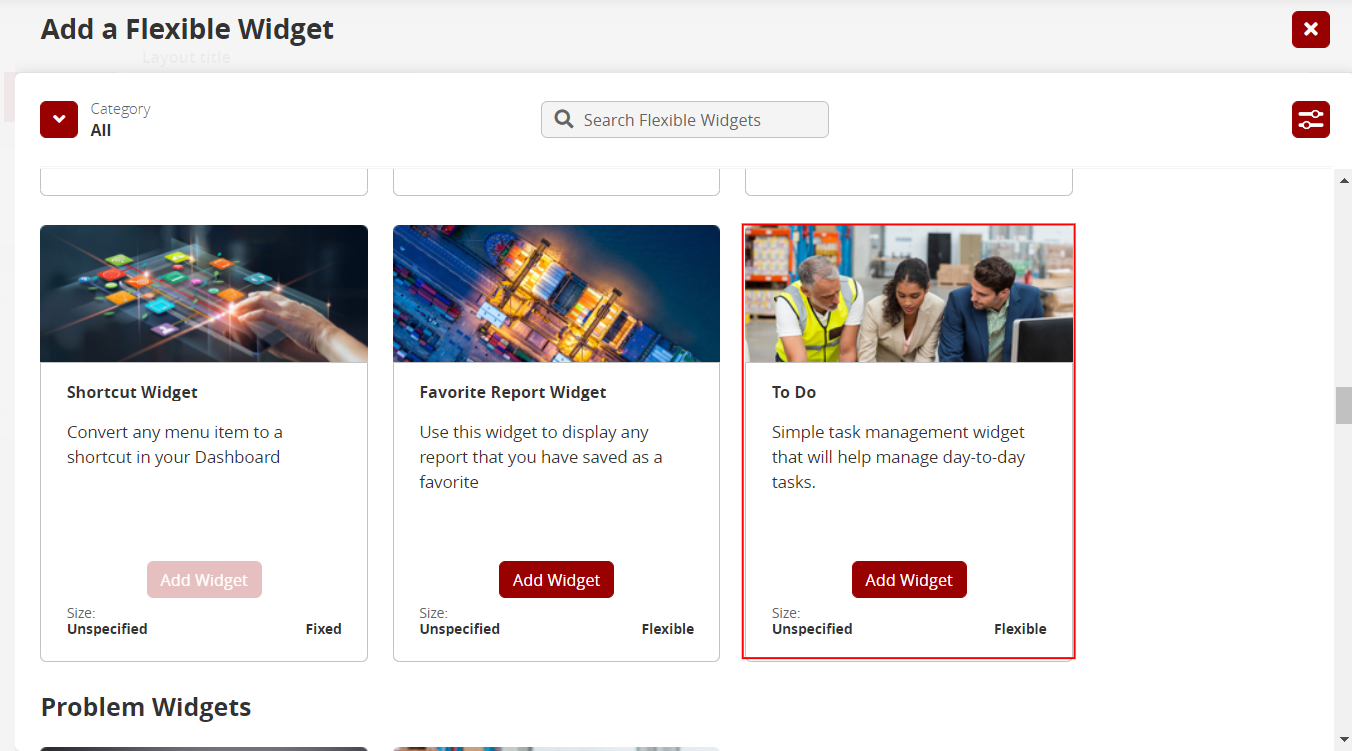
Scroll to find the To Do widget.
Click on the Add Widget button.
The widget displays on the layout and can be customized.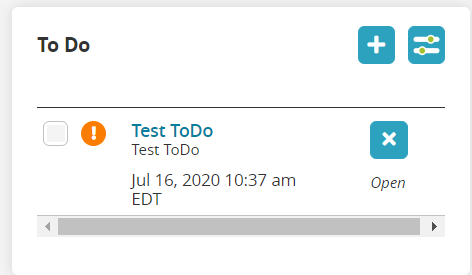
Hover over the widget with the cursor.
An editing toolbar displays.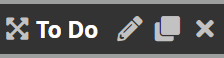
Click on the pencil icon to edit the To-Do widget.
The To-Do customization popup window displays.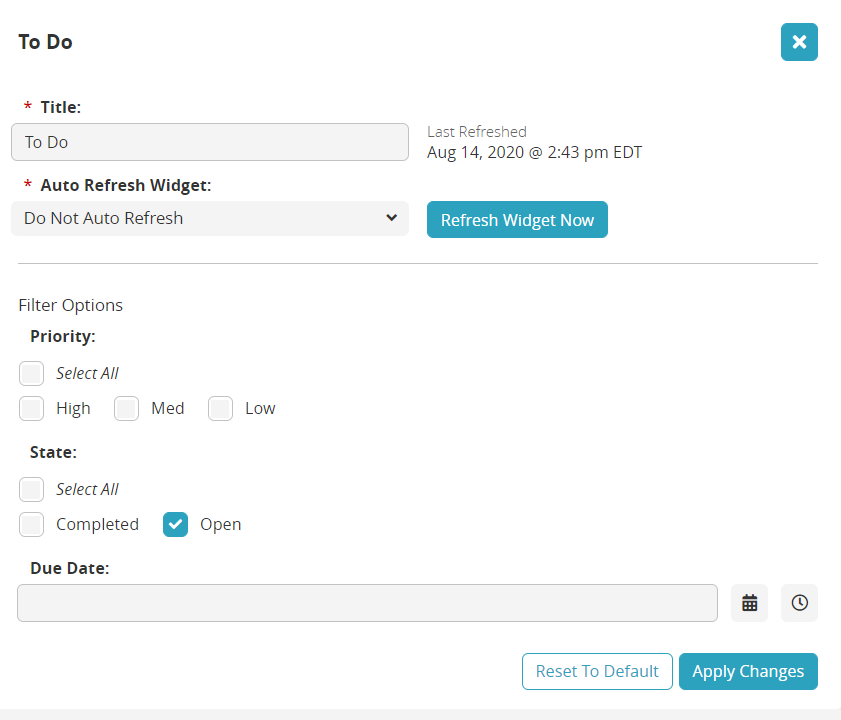
Complete the fields to customize the widget. Fields with an asterisk (*) are
required.Type in a title in the *Title field.
Select a value from the dropdown menu for the *Auto Refresh Widget field.
Check the appropriate box for the Priority.
Check the appropriate box for the State.
Use the calendar and clock tools for the Due Date field.
Click on the Apply Changes button.
The changes are updated in the To-Do widget.Click on the Save button at the top of the dashboard screen.
The widget refreshes and is available for more customization.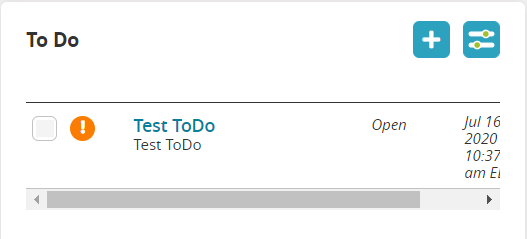
Click on the + button to add a task (Add To-Do).
The Update To-Do slide-out displays.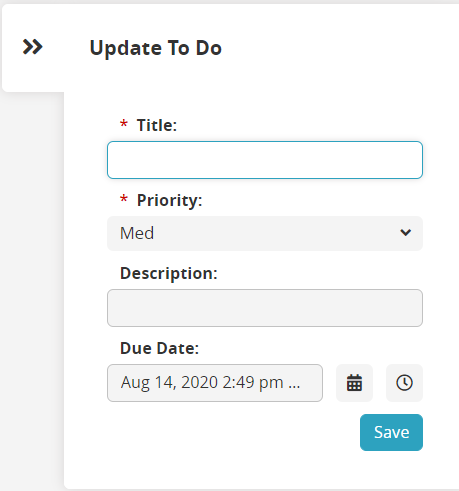
Complete the fields to create a new To-Do item. Fields with an asterisk are
required (*).Type in a name for the *Title field.
Select a value from the dropdown menu for the *Priority field.
Type in a description in the Description field.
Use the calendar and clock tools to complete the Due Date field.
Click on the Save button.
A green success bar displays and the task is added to the widget.Click on the Refresh button to refresh the dashboard and widget.
Click on the title of the To-Do item to open the Update To-Do slide out for any changes or updates.
Click on the checkbox next to the item once you have completed the task.
The item disappears from the widget.