Working with Write Masks
Write masks are used to define a fine-grained control over what data fields your action is allowed to use. The write mask is defined by selecting the action you wish to manipulate from the actions list. A set of tabs will appear below the actions list.
Figure 4.10. The Write Mask Tab is used to control which fields your action may access and whether or not the action is allowed to create new records.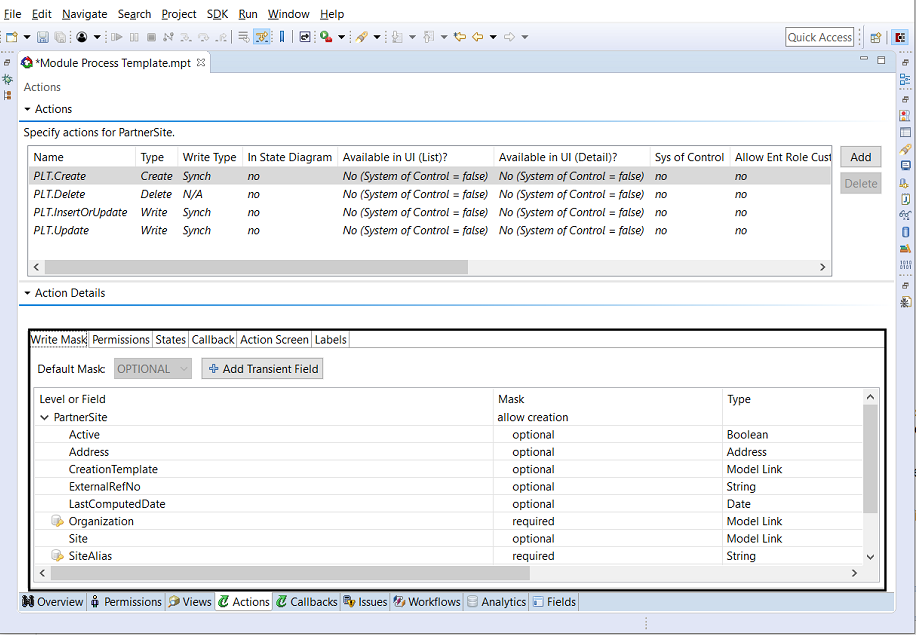
Each field can be configured as optional, required, or ignores. Optional fields are used if they are present on the model. This is really only important if you are invoking an action programmatically. Required fields must be present on the model and must not be null in value. If they are not, the action will fail and generate an error message. Fields set to ignore are not used in processing at all.
A number of fields are set to required (intrinsic). You may not change the mask on these fields as they define the natural and logical keys used to make the model's record unique.
The easiest way to make your settings is to make a selection from the Default Mask combo box. All fields that are not intrinsic will be changed to the selection. After, you can tweak individual fields.
The write mask also allows you to specify whether or not the creation of new model records is allowed.
Procedure 4.9. To Set the "Allow Creation" Setting
Click the cell that says &"allow creation&".
Click the small button that appears in the cell.
Figure 4.11. The write mask allows the configuration of the allow creation setting.
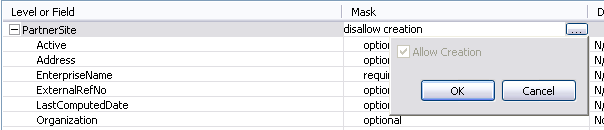
Check or deselect the Allow Creation check box according to your needs, then click the OK button. If you disallow creation and you attempt to write a model that doesn't currently exist in the database, a run-time error will occur.