Adding New Equipment Settings
You can create new equipment settings and associate the new settings with an equipment-type model. Settings can be created for both default equipment types and custom equipment types. Custom equipment types must be added to the system before you can associate equipment settings with them.
Complete the following steps to add new equipment settings:
L og in to the ONE system.
Click Menus/Favs > Administration > Equipment Settings.
In the NEO UI, users can click on the Menus/Favs icon on the left sidebar and type in the name of the screen in the menu search bar. For more information, see "Using the Menu Search Bar."
The Equipment Settings screen displays.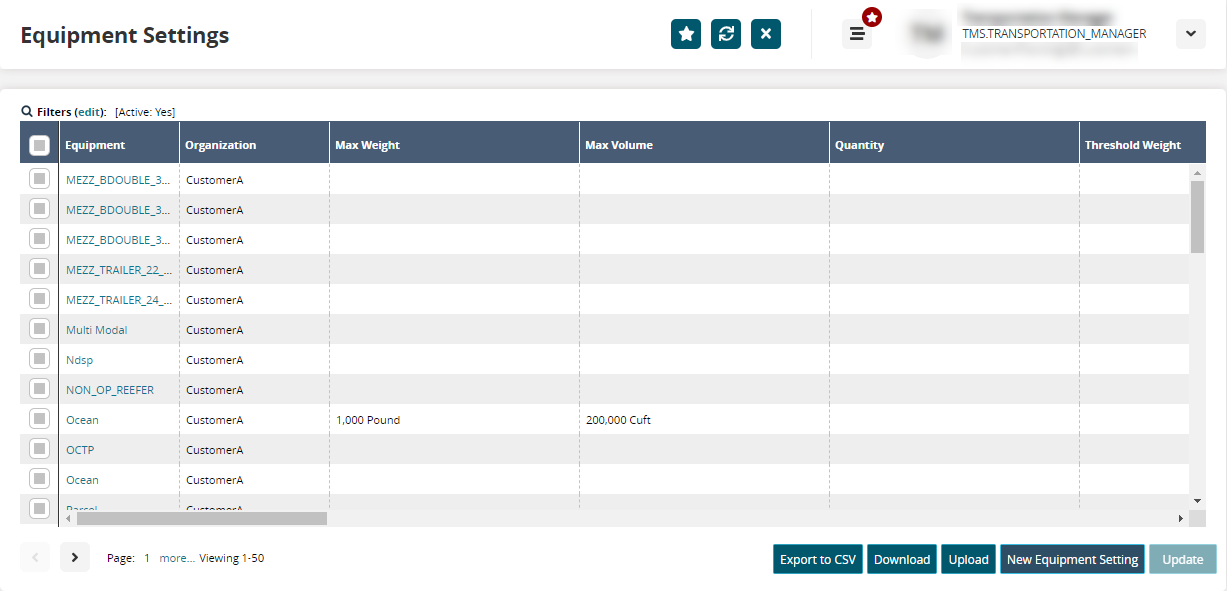
Click the New Equipment Setting button.
The New Equipment Setting screen displays.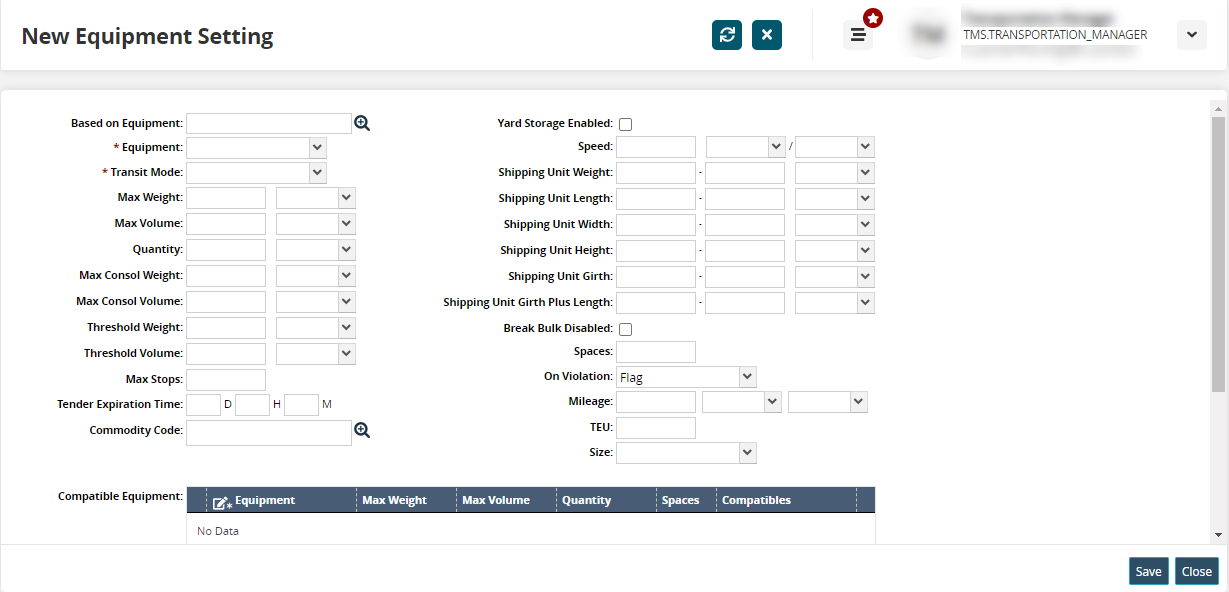
Enter values for fields described in the table below. Fields with an asterisk ( * ) are required.
Field
Description
Based on Equipment
Use the picker tool to select a value from the list of existing equipment. Settings from existing equipment will populate the fields.
* Equipment
Select an equipment type from the dropdown menu.
* Transit Mode
Select a mode of transit from the dropdown menu.
Max Weight
Enter a value for the maximum weight. Select the unit of measure from the dropdown menu.
Max Volume
Enter a value for the maximum volume. Select the unit of measure from the dropdown menu.
Quantity
Enter a value for the quantity. Select the unit of measure from the dropdown menu.
Max Consol Weight
Enter a value for the maximum consolidated weight. Select the unit of measure from the dropdown menu.
Max Consol Volume
Enter a value for the maximum consolidated volume. Select the unit of measure from the dropdown menu.
Threshold Weight
Enter a value for the threshold weight. Select the unit of measure from the dropdown menu.
Threshold Volume
Enter a value for the threshold volume. Select the unit of measure from the dropdown menu.
Max Stops
Enter a value for the maximum number of stops allowed for the equipment.
Tender Expiration Time
Enter values for days, hours, and minutes until a tender for this equipment expires.
Commodity Code
Enter or select the commodity code using the picker tool. Users can select multiple values for the Commodity Code field.
Yard Storage Enabled
Check the box to enable yard storage.
Speed
Input a numerical value, unit of measure, and unit of time.
Shipping Unit Weight
Select the unit of measure from the dropdown menu.
Shipping Unit Length
Select the unit of measure from the dropdown menu.
Shipping Unit Width
Select the unit of measure from the dropdown menu.
Shipping Unit Height
Select the unit of measure from the dropdown menu.
Shipping Unit Girth
Select the unit of measure from the dropdown menu.
Shipping Unit Girth Plus Length
Select the unit of measure from the dropdown menu.
Break Bulk Disabled
Check the box if the ability to break down bulk items is disabled.
Spaces
Enter a value for the spaces that are configured for this piece of equipment.
On Violation
Select the action performed from the dropdown menu if a violation occurs.
Mileage
Enter a mileage and select a unit of measure.
TEU
Enter the number of Twenty-foot Equivalent Units (TEU) to indicate the container size.
Size
Select an equipment size from the dropdown menu. This equipment size auto-populates the Size field on the Shipment Header tab while creating or updating a shipment.
Click the Add link in the Compatible Equipment section.
A new row appears in the table.
In the *Equipment column, select a value from the dropdown menu. All other columns auto-populate depending on the value selected in the Equipment column.
Click the Add link in the Equipment Unavailability section.
A new row appears in the table.
Fill out the following fields. Fields with an asterisk ( * ) are required.Field
Description
Repeat
Select an option to set how frequently the equipment unavailability repeats.
Days of Month
Select a number from the dropdown menu. This field becomes editable only when the Repeat option is set to Monthly.
Days of Week
Enter the desired days to mark the equipment unavailability. This field becomes editable only when the Repeat option is set to Weekly.
Start Time
Enter the start time for equipment unavailability.
End Hours
Enter the duration of unavailability in hours and minutes.
Click the Save button.
A green success bar displays.