Adding Notes and Attachments
Buyer and vendor roles can both add notes to purchase orders. Buyer notes are visible to vendors of the same enterprise and vice-versa.
Complete the following steps to add notes and attachments to orders:
The following workflow is from the perspective of a buyer role, but the steps are identical for vendor roles.
L og in to the ONE system.
Navigate to your desired purchase order. See the "Searching Purchase Orders" section in the Online Help for more information.
In the NEO UI, users can click on the Menus/Favs icon on the left sidebar and type in the name of the screen in the menu search bar. For more information, see "Using the Menu Search Bar."Select the Notes And Attachments tab.
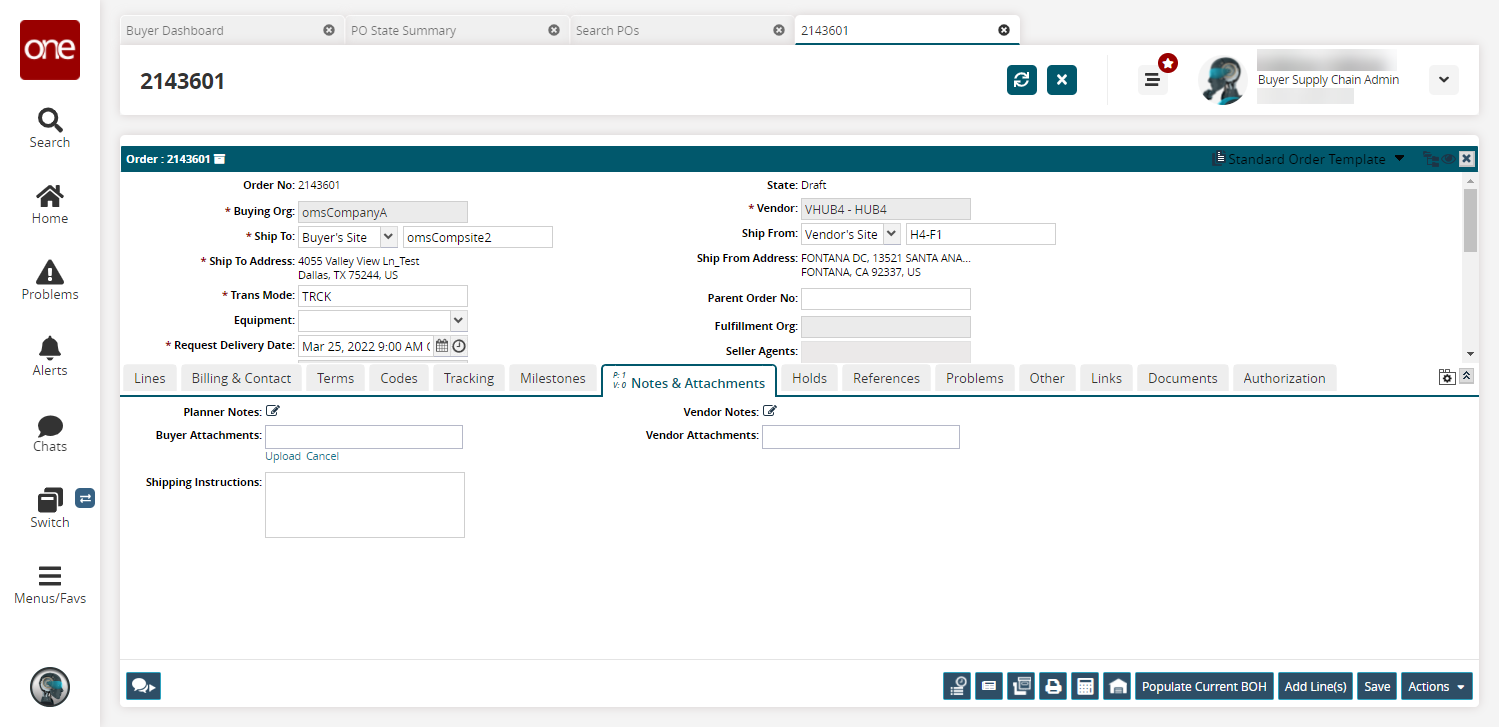
Click the
 icon in the Planner Notes field to add notes (as a buyer role) or view planner notes (as a vendor role).
The Planner Notes popup appears.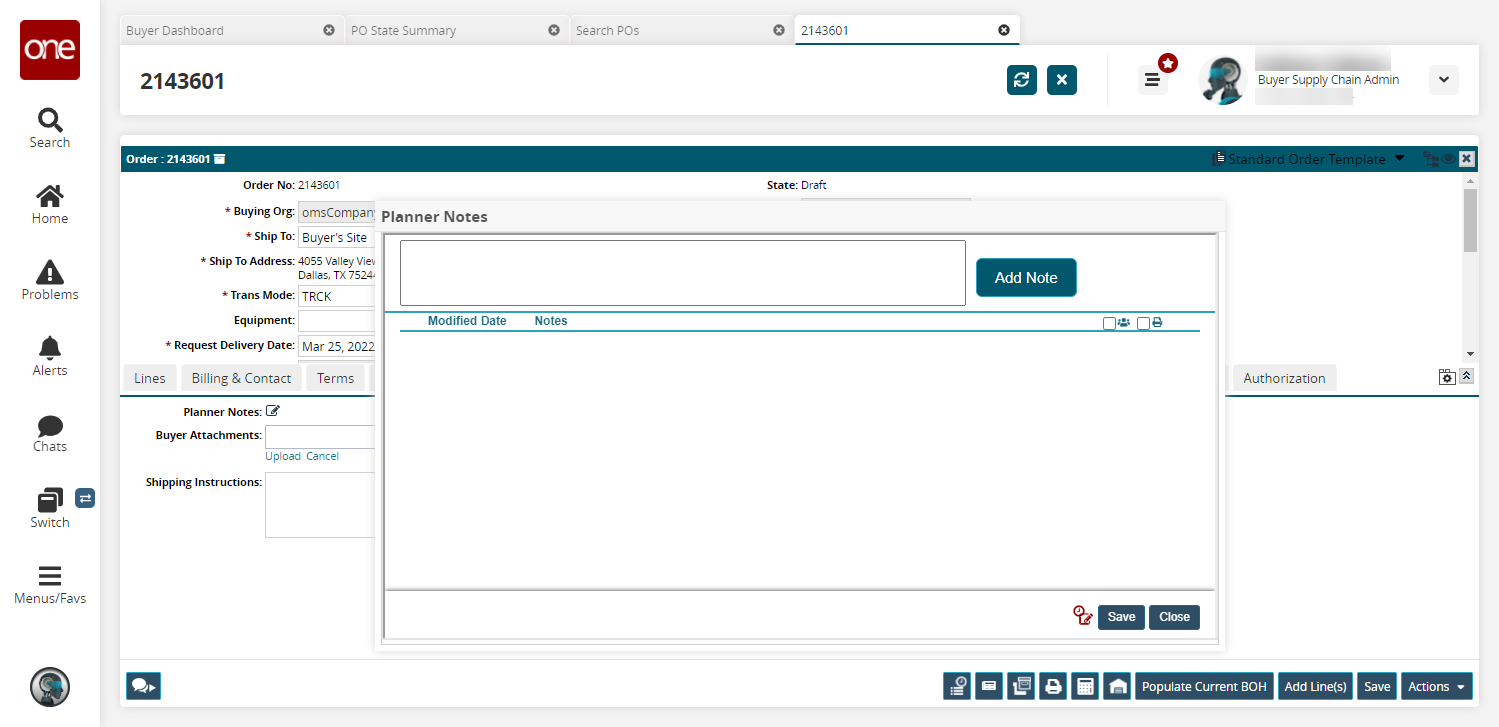
Click inside the text box and type the details of the note.
Click Add Note.
The note is added to the lower section of the window.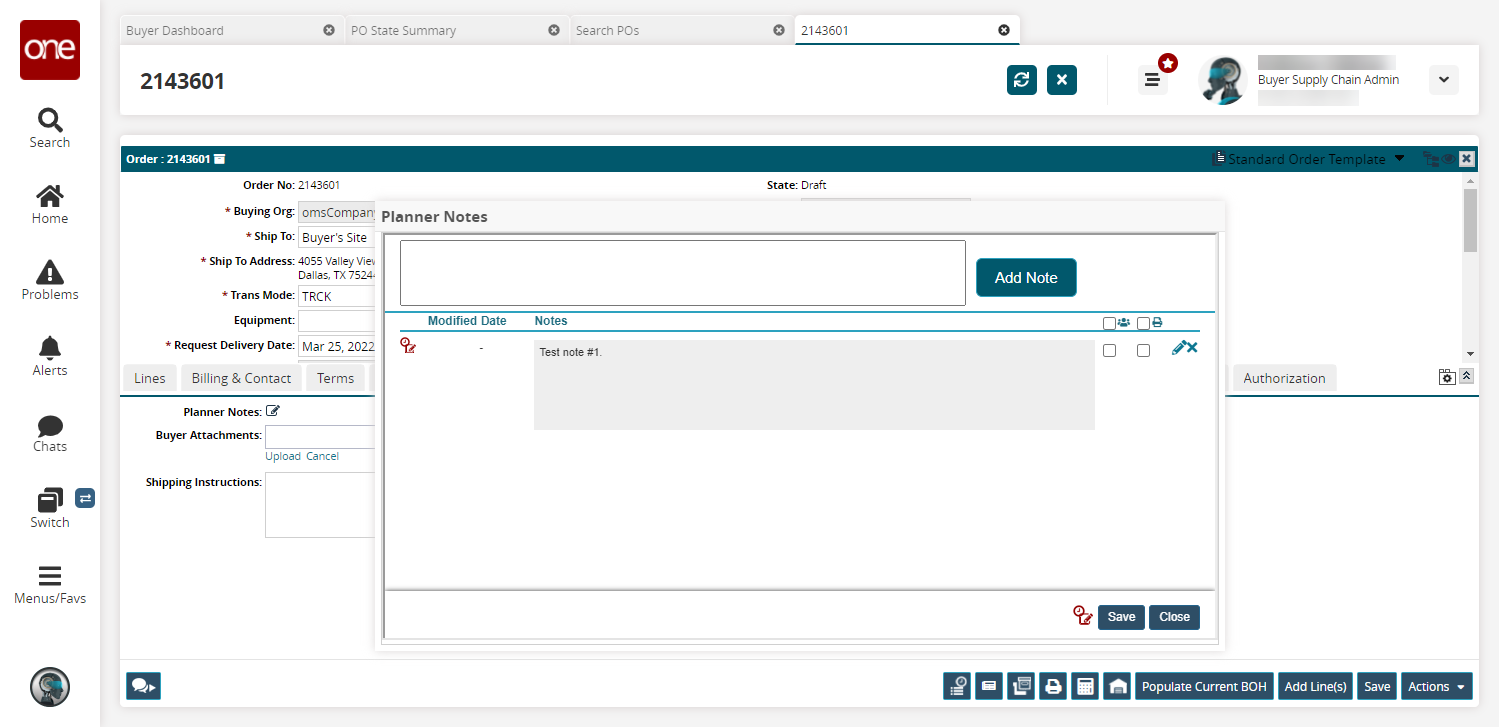
Various actions are available in the popup:
Click the checkbox next to the
 public icon to allow the note to be viewed by other enterprises.
Click the checkbox next to the
 print icon to print the note on the purchase order.
Click the
 pencil icon to edit an existing note.
Click the
 X icon to delete an existing note.
Click the Save button to save your notes.
A success message appears and the Modified Date field is populated.Click the Close button.
Click the
icon in the Vendor Notes field to add notes (as a vendor role) or view planner notes (as a buyer role).
The Vendor Notes popup appears.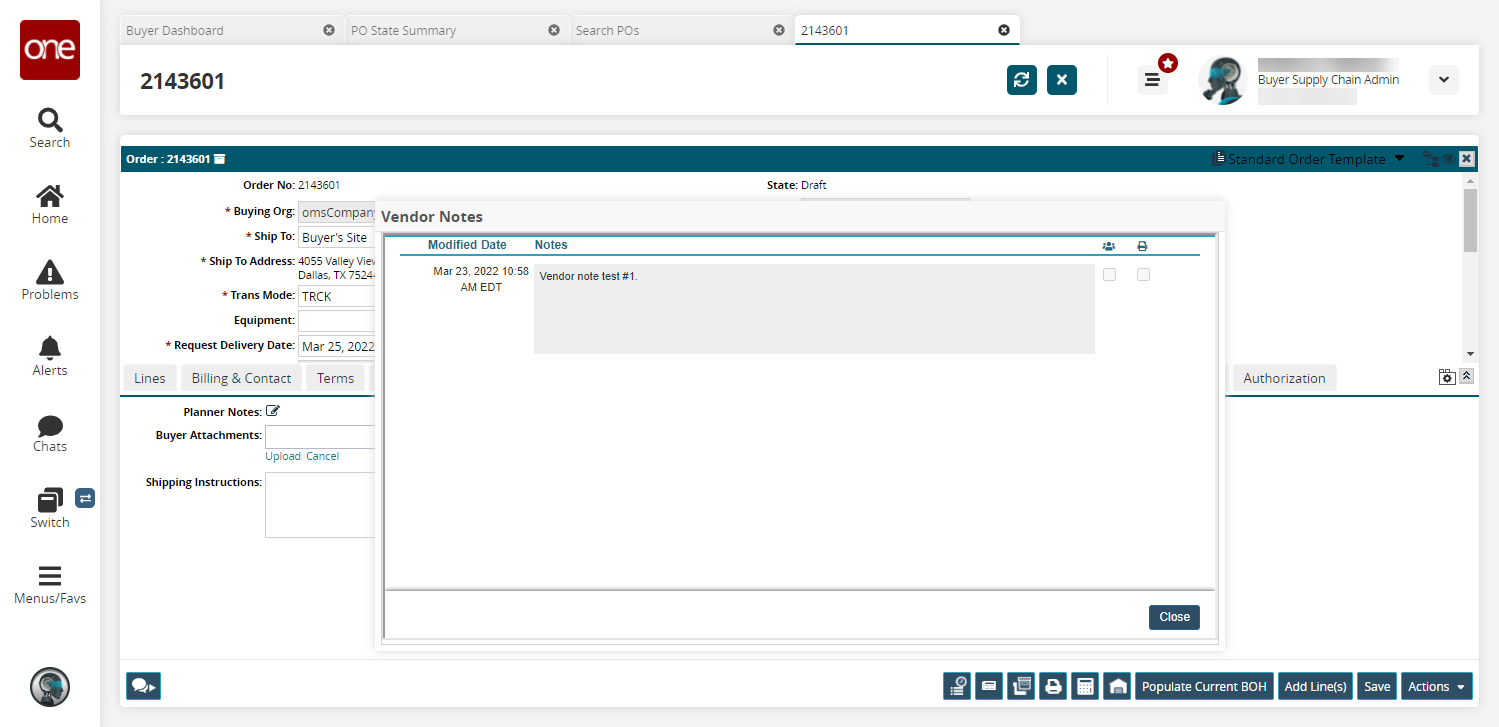
Note that as a buyer role, the vendor notes are visible but not editable.