Adding a Prefix to Invoices via the User Interface
Users can set a new policy to create custom invoice prefixes. The policy will auto-generate invoice numbers for carrier and client invoices and can be set at the following policy levels:
Global Invoice Policy Level
Carrier Invoice Policy Level
Carrier Contract Invoice Policy Level
Complete the following steps to create a custom prefix for invoice numbers.
Log into the ONE system. In the NEO UI, users can click on the Menus/Favs icon on the left sidebar and type in the name of the screen in the menu search bar. For more information, see "Using the Menu Search Bar."
Click Menus/Favs > Contract Mgmt > Carrier Contracts.
The Carrier Contracts screen displays.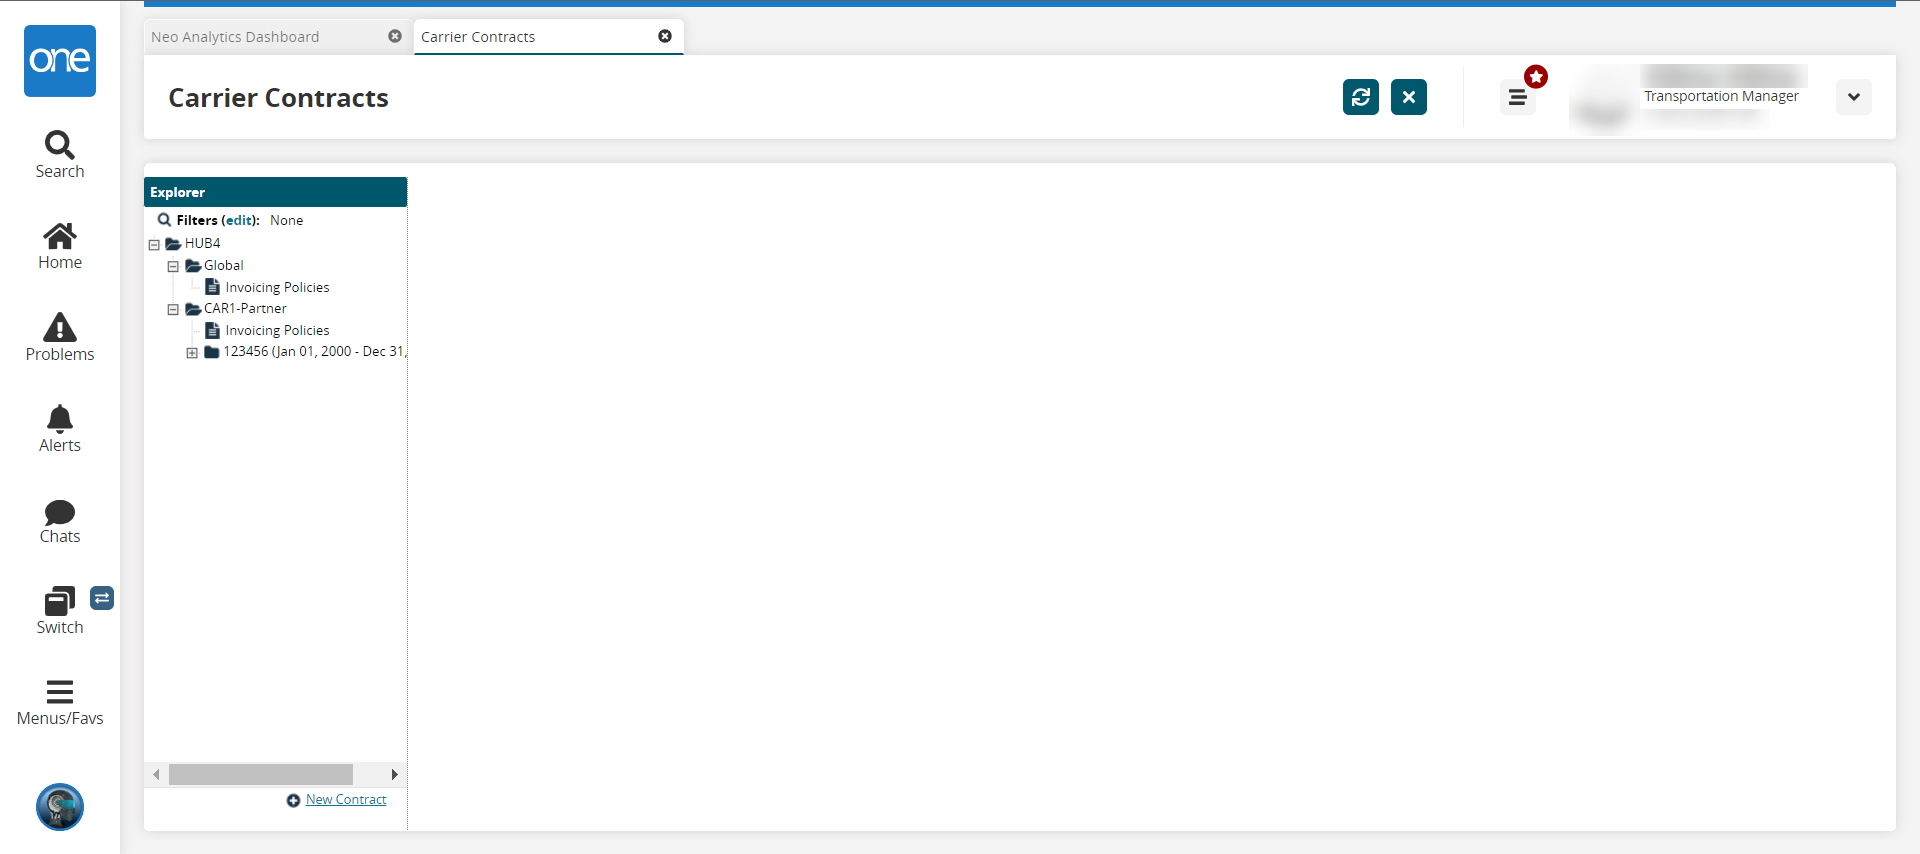
Click the + next to the carrier's name in the Explorer panel on the left of the menu.
A list of menu items displays.Click on Invoicing Policies.
The invoicing policy details display in the right frame of the Carrier Contracts screen.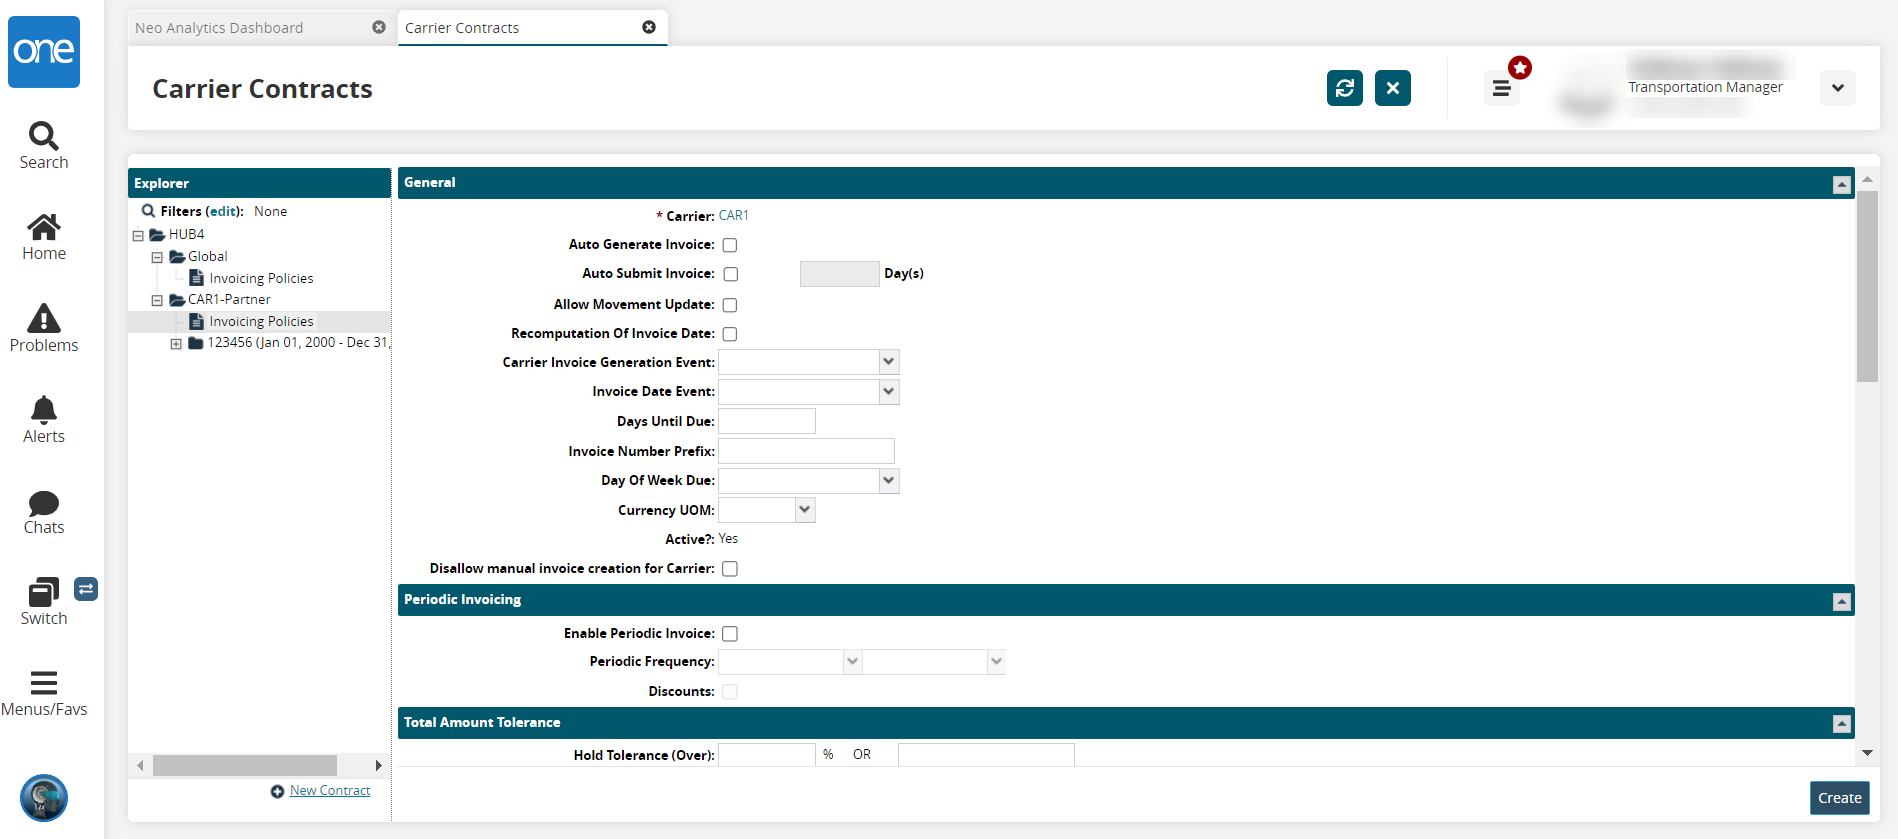
Type in an alphanumeric value for the Invoice Number Prefix field.
The prefix will be added automatically for all invoices for this carrier.Click the Create button if this is a new invoice policy. Click the Update button if this is an update to an existing inventory policy.
A green success bar displays.