Adding the Inventory Distinguishable Extra Attribute Configuration at Enterprise Level
Users with the Enterprise Admin role can add the Inventory Distinguishable Extra attribute configuration.
Complete the following steps to add the Extra Attribute configuration:
Log in to the ONE system as Enterprise Admin.
Click Menus/Favs > Tools > Dyna Fields > Inventory Extra Attributes.
In the NEO UI, users can click on the Menus/Favs icon on the left sidebar and type in the name of the screen in the menu search bar. For more information, see "Using the Menu Search Bar."
The Inventory Extra Attributes screen appears.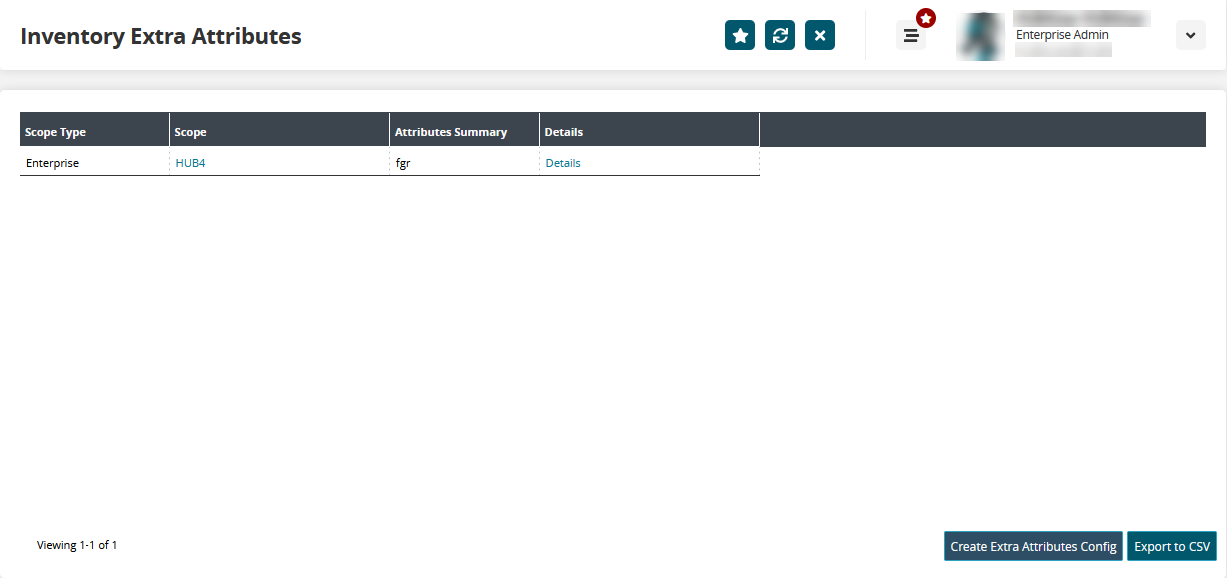
Click the Create Extra Attributes Config button to add extra attributes configuration.
The Create Extra Attributes Config screen displays.
Click the Add link.
A pop-up screen for adding extra attributes details appears.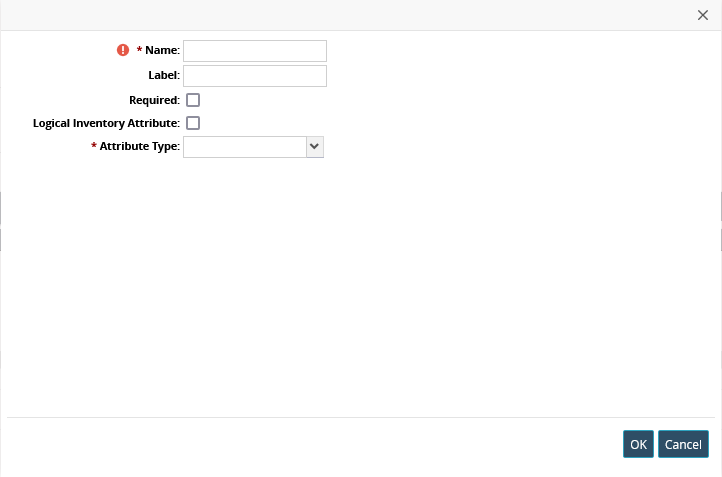
Enter attribute details as shown in the following table. Fields marked with a ( * ) are required.
Field
Description
* Name
Enter a name for the new attribute.
Label
Enter a label for the new attribute.
Required
Select the checkbox to mark the attribute as mandatory.
Logical Inventory Attribute
Select the checkbox to mark the attribute for logical inventory.
* Attribute Type
Select from the dropdown an attribute type. The available options are Date, Enumeration, Float, Integer, and String.
Click OK and then click Create to the extra attribute configuration.
A success message appears.