Bulk Resource Assignment
Users are able to assign or unassign resources in bulk.
Complete the following steps to assign resources in bulk:
L og in to the ONE system.
Click Menus/Favs > Fleet Mgmt > Bulk Resource Assignment. In the NEO UI, users can click on the Menus/Favs icon on the left sidebar and type in the name of the screen in the menu search bar. For more information, see "Using the Menu Search Bar."
The Bulk Resource Assignment screen displays.In the Explorer pane, click the plus icon to expand the site, and select the required template.
The template details appear in the right pane.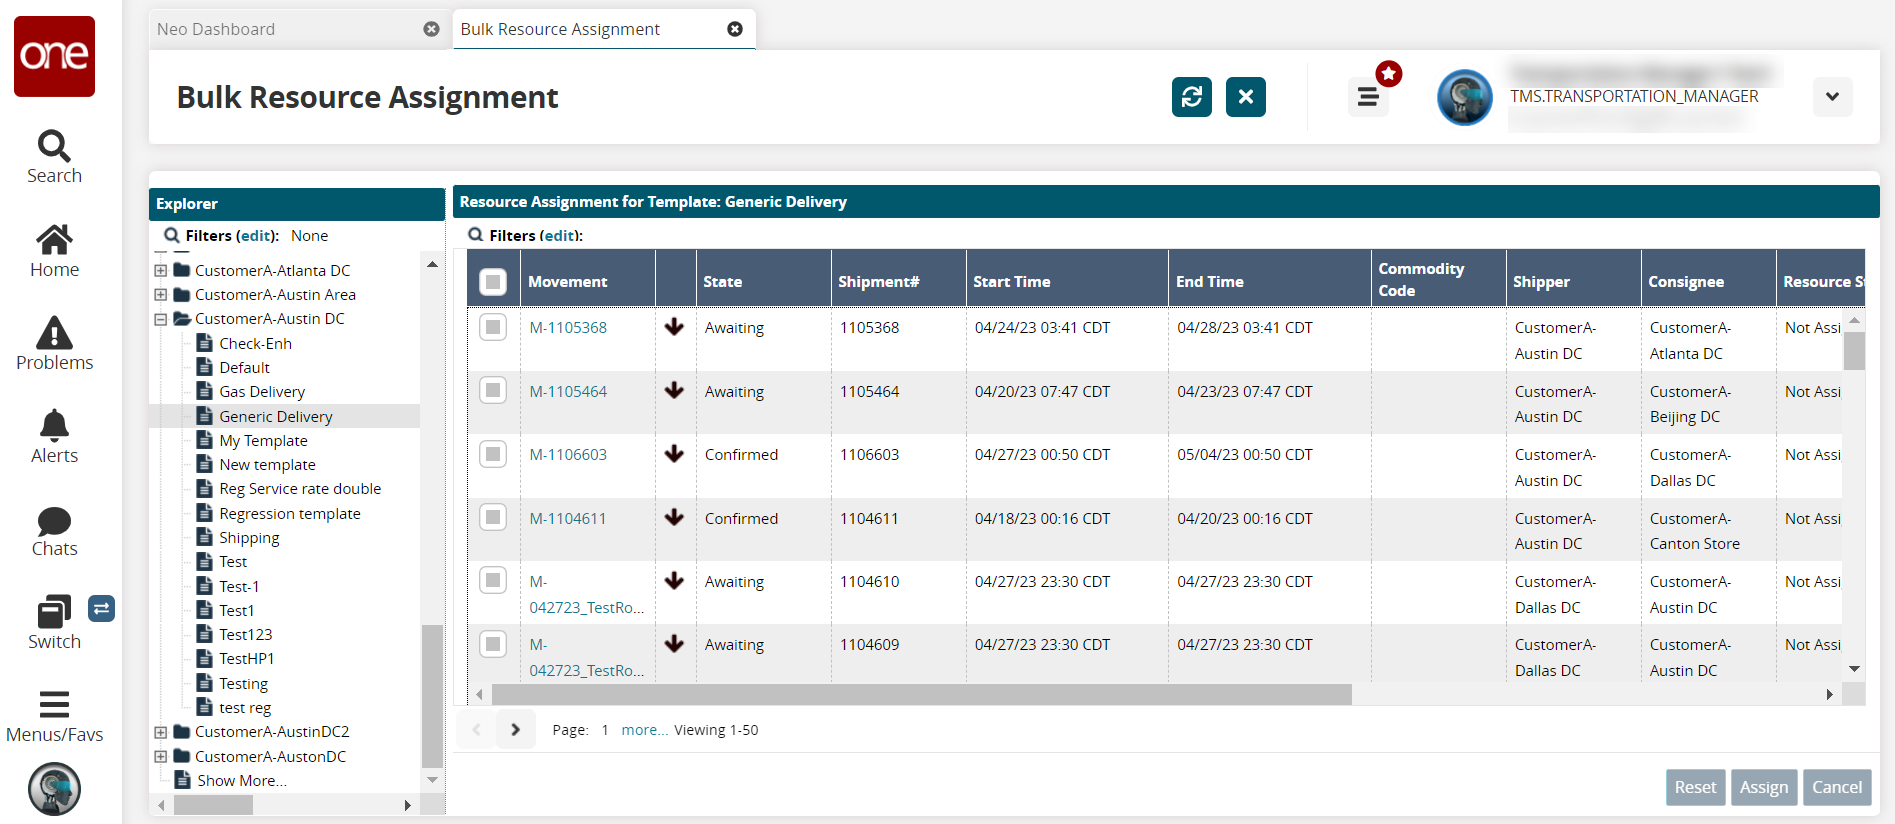
Click the table icon in a column header.
A submenu displays.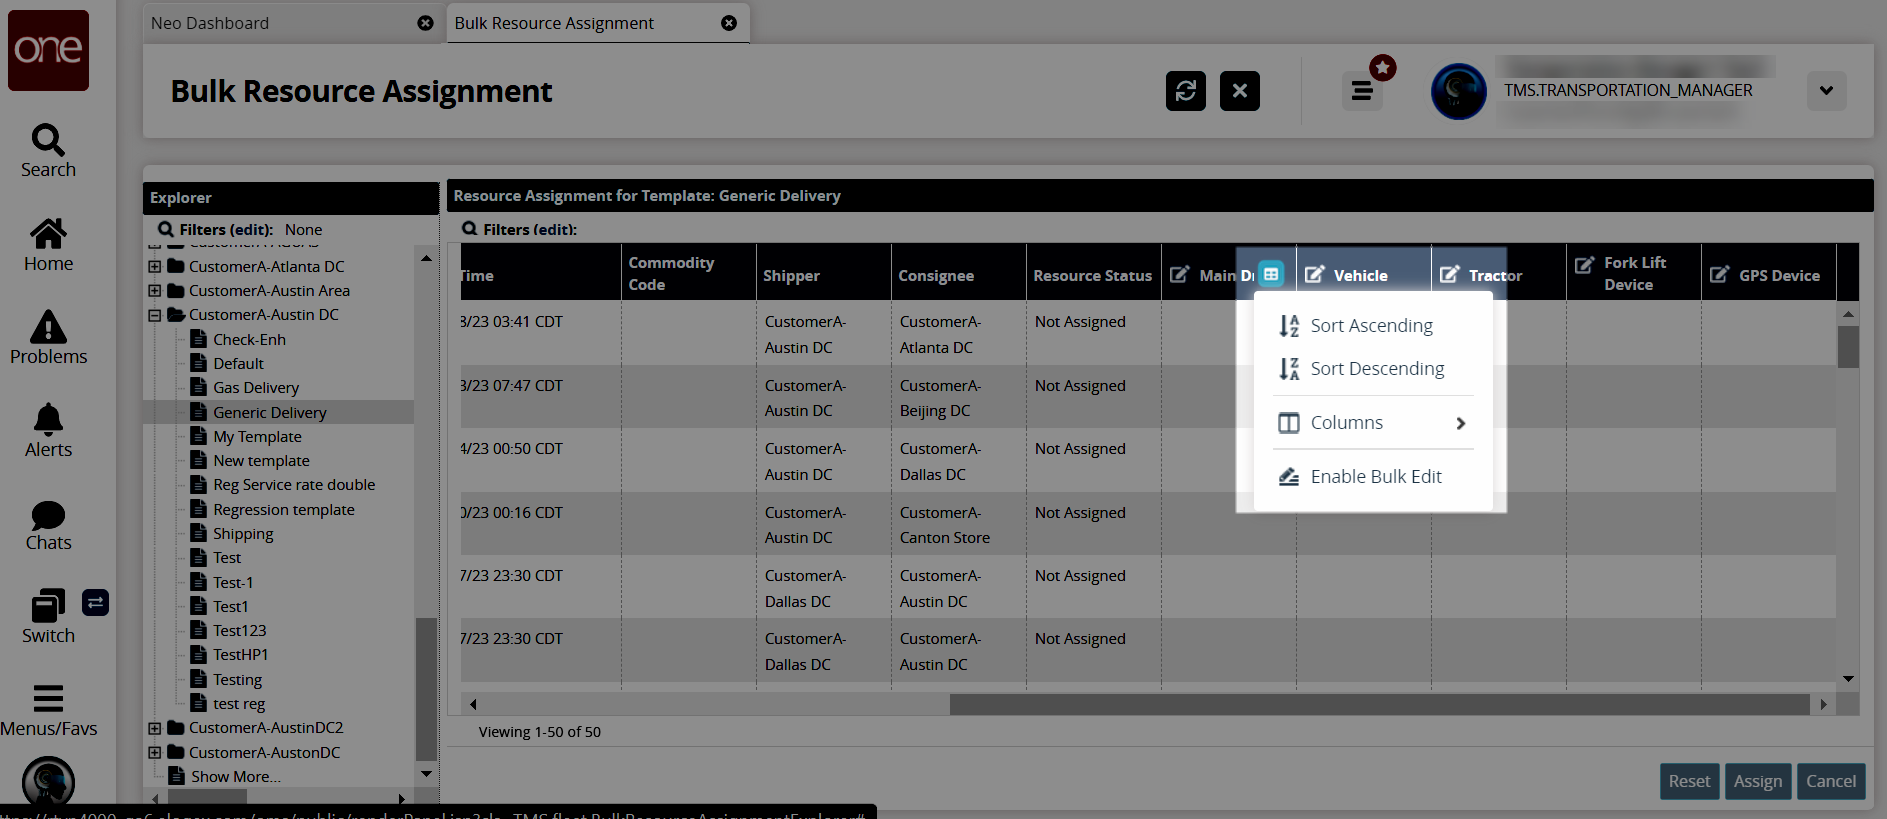
Click the Enable Bulk Edit option.
A new column displays at the right end of the rows with a copy and a paste icon.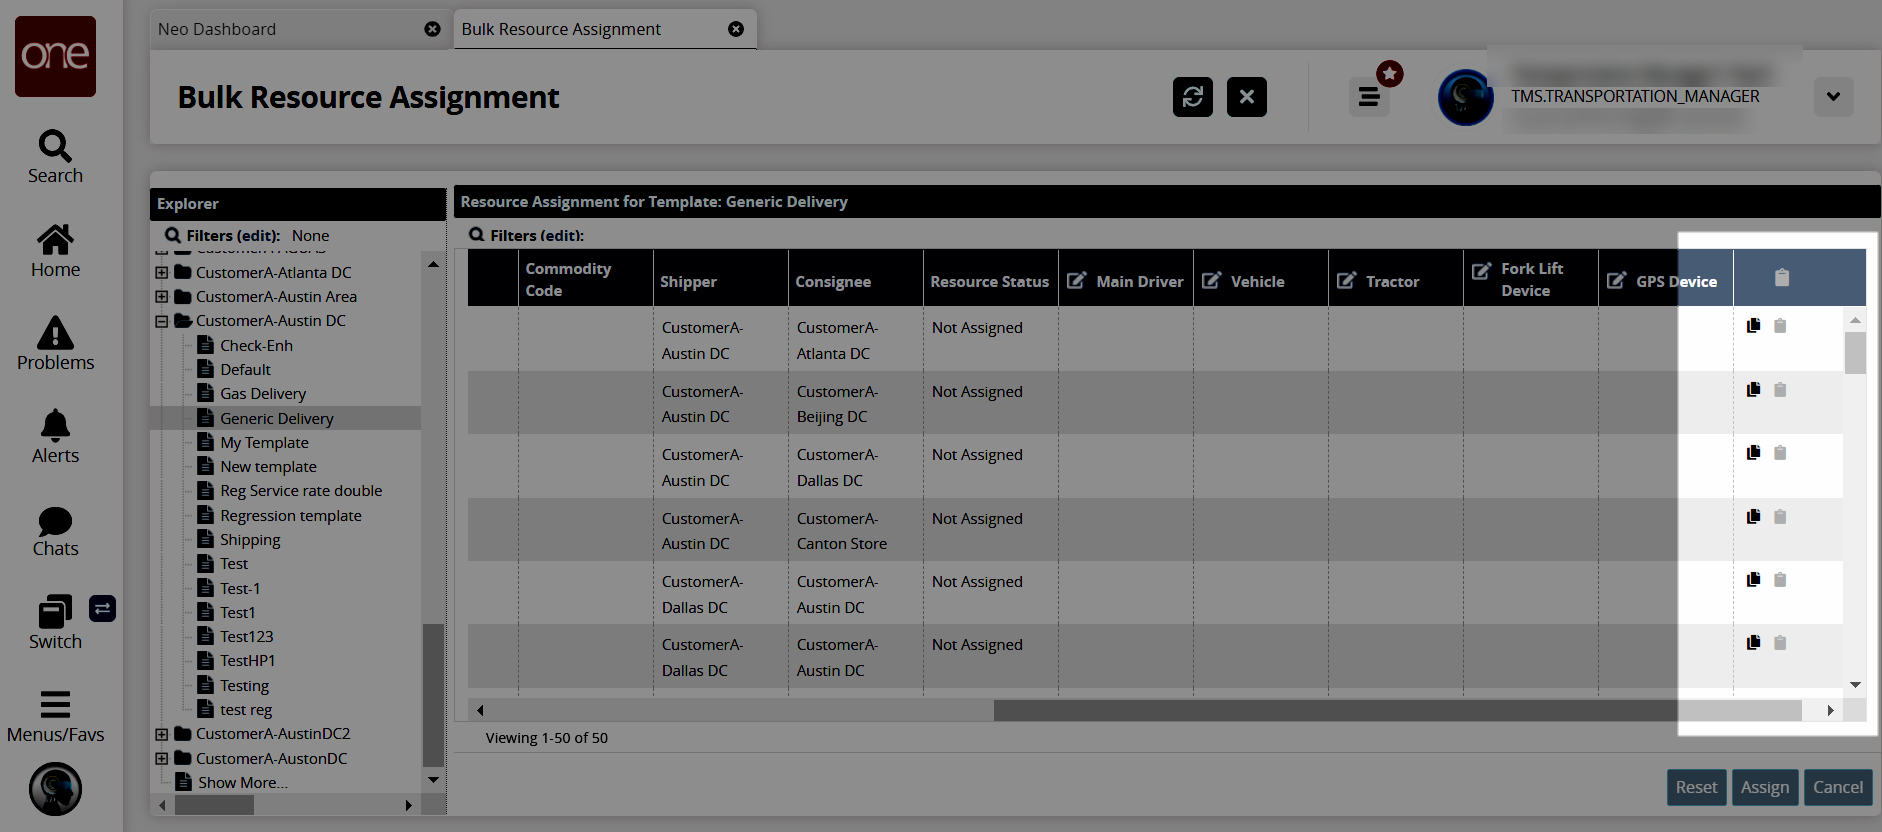
Click in an editable cell (pencil icon), and use the picker tool to select a value. You can also use any already existing values.
Click the copy icon.
A submenu displays.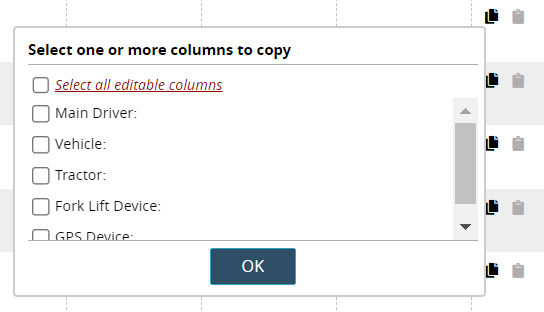
Check the box for one or more editable columns.
Click the OK button.
Click in the cell under the column to copy, and use the picker tool to select a value.
Click the paste icon for each row to copy the values.
Cells for any new values that are not yet assigned are orange. The Assign button is active.Click the Assign button to assign and accept all of the changes made.
A success message displays.Click the checkbox for a row and then Reset to reset to the previous values.