Chain of Custody Workflow
Complete the following steps to perform the Chain of Custody workflow:
Log in to the ONE system as CustomerATransMgr and switch to the Transportation Manager role.
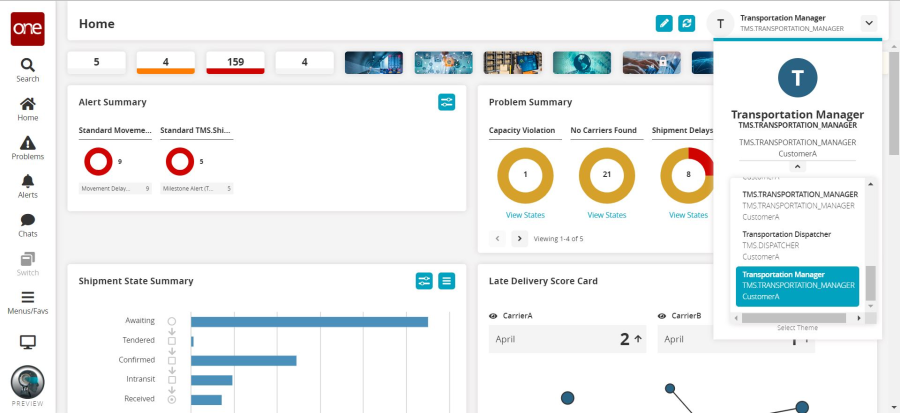
Select Menu/Favs > Tools > Interactive Simulator.
A new, top-level browser window launches. If your browser blocks this popup, you will have to configure it to allow the popup.Choose the Chain of Custody – LOT1-VendorA-ITEM1-1 (Flu Vaccine) scenario.
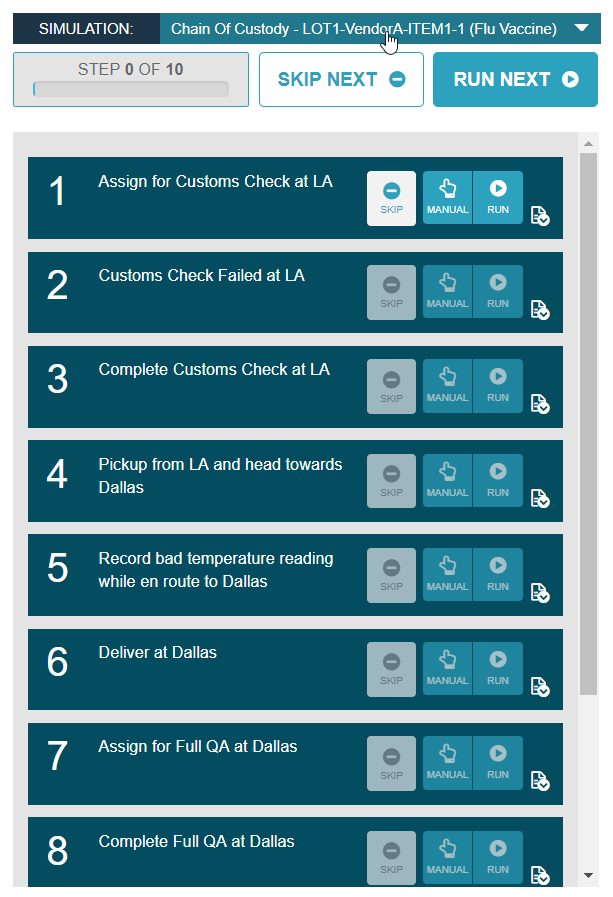
You will leave the Interactive Simulator window open through the entirety of the demo.
Select Menu/Favs > Transportation > Chain of Custody.
The Chain of Custody screen appears.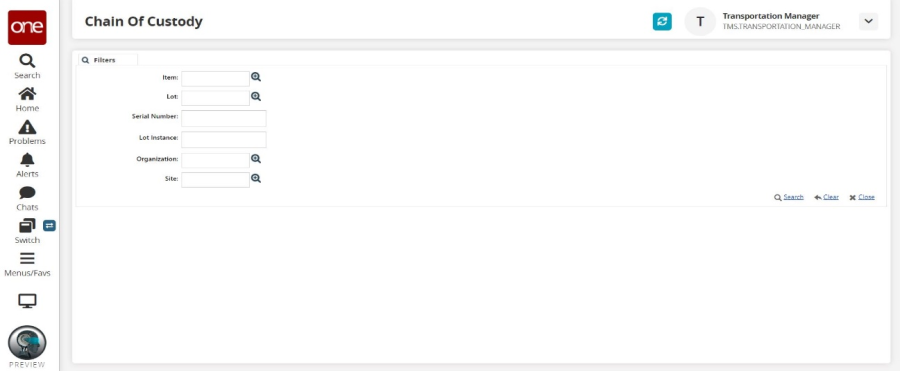
Leave all filter fields blank and click the Search link.
The search results appear.In the Lot Instance dropdown menu, select LOT1-VendorA-ITEM1-1. This is the default lot instance (a tracked quantity of lot-controlled inventory) used in this demo.
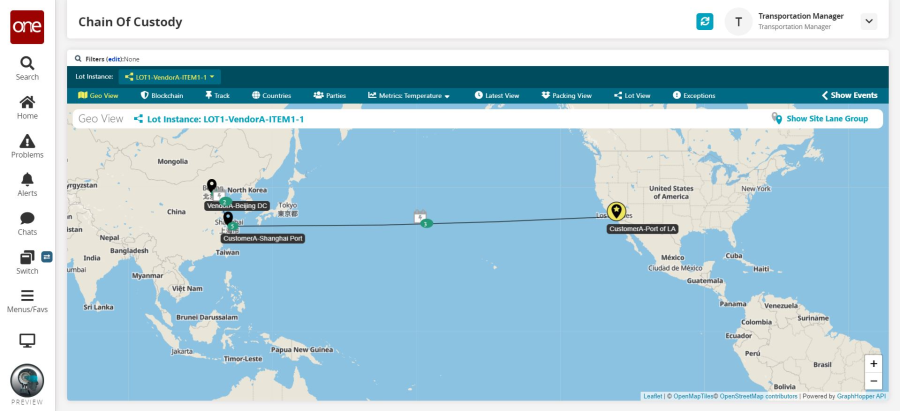
From this point on, you will not need this demo document. The Interactive Simulator provides a "narrative" for each step that explains what you should be demonstrating at each step.
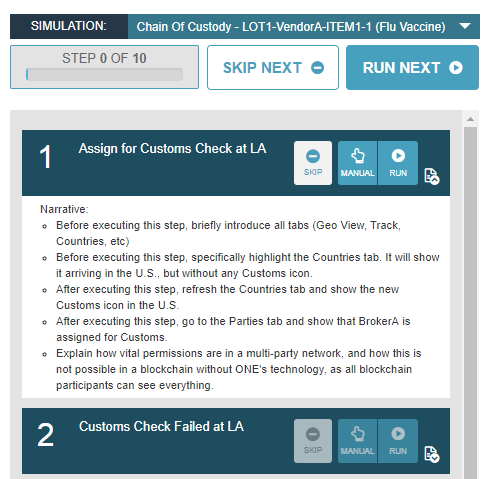
Execute all steps one by one.
Each of the various steps in the Interactive Simulator contains one action which is relevant to tracking the chain of custody of the assets. Rather than executing these actions manually from the UI (for example, adding a tracking event through the tracking event UI), these steps allow that to happen "behind the scenes" so we can focus on the end-to-end visibility rather than the minutia of the daily execution.
Please note that the Blockchain tab is only functional for instances with blockchain installed. All other functionality is available for any RTVN instance.