Configuring an Integration Message Alert Subscription
The Alerts Subscription feature allows users with certain role types to monitor integration messages, alerting them to potential integration issues.
Complete the following steps to create an integration message alert subscription:
L og in to the ONE system.
Click Menus/Favs > Tools > Alert Subscriptions.
The Alerts Subscriptions screen opens.Click the New Subscription button.
The New Subscription screen displays.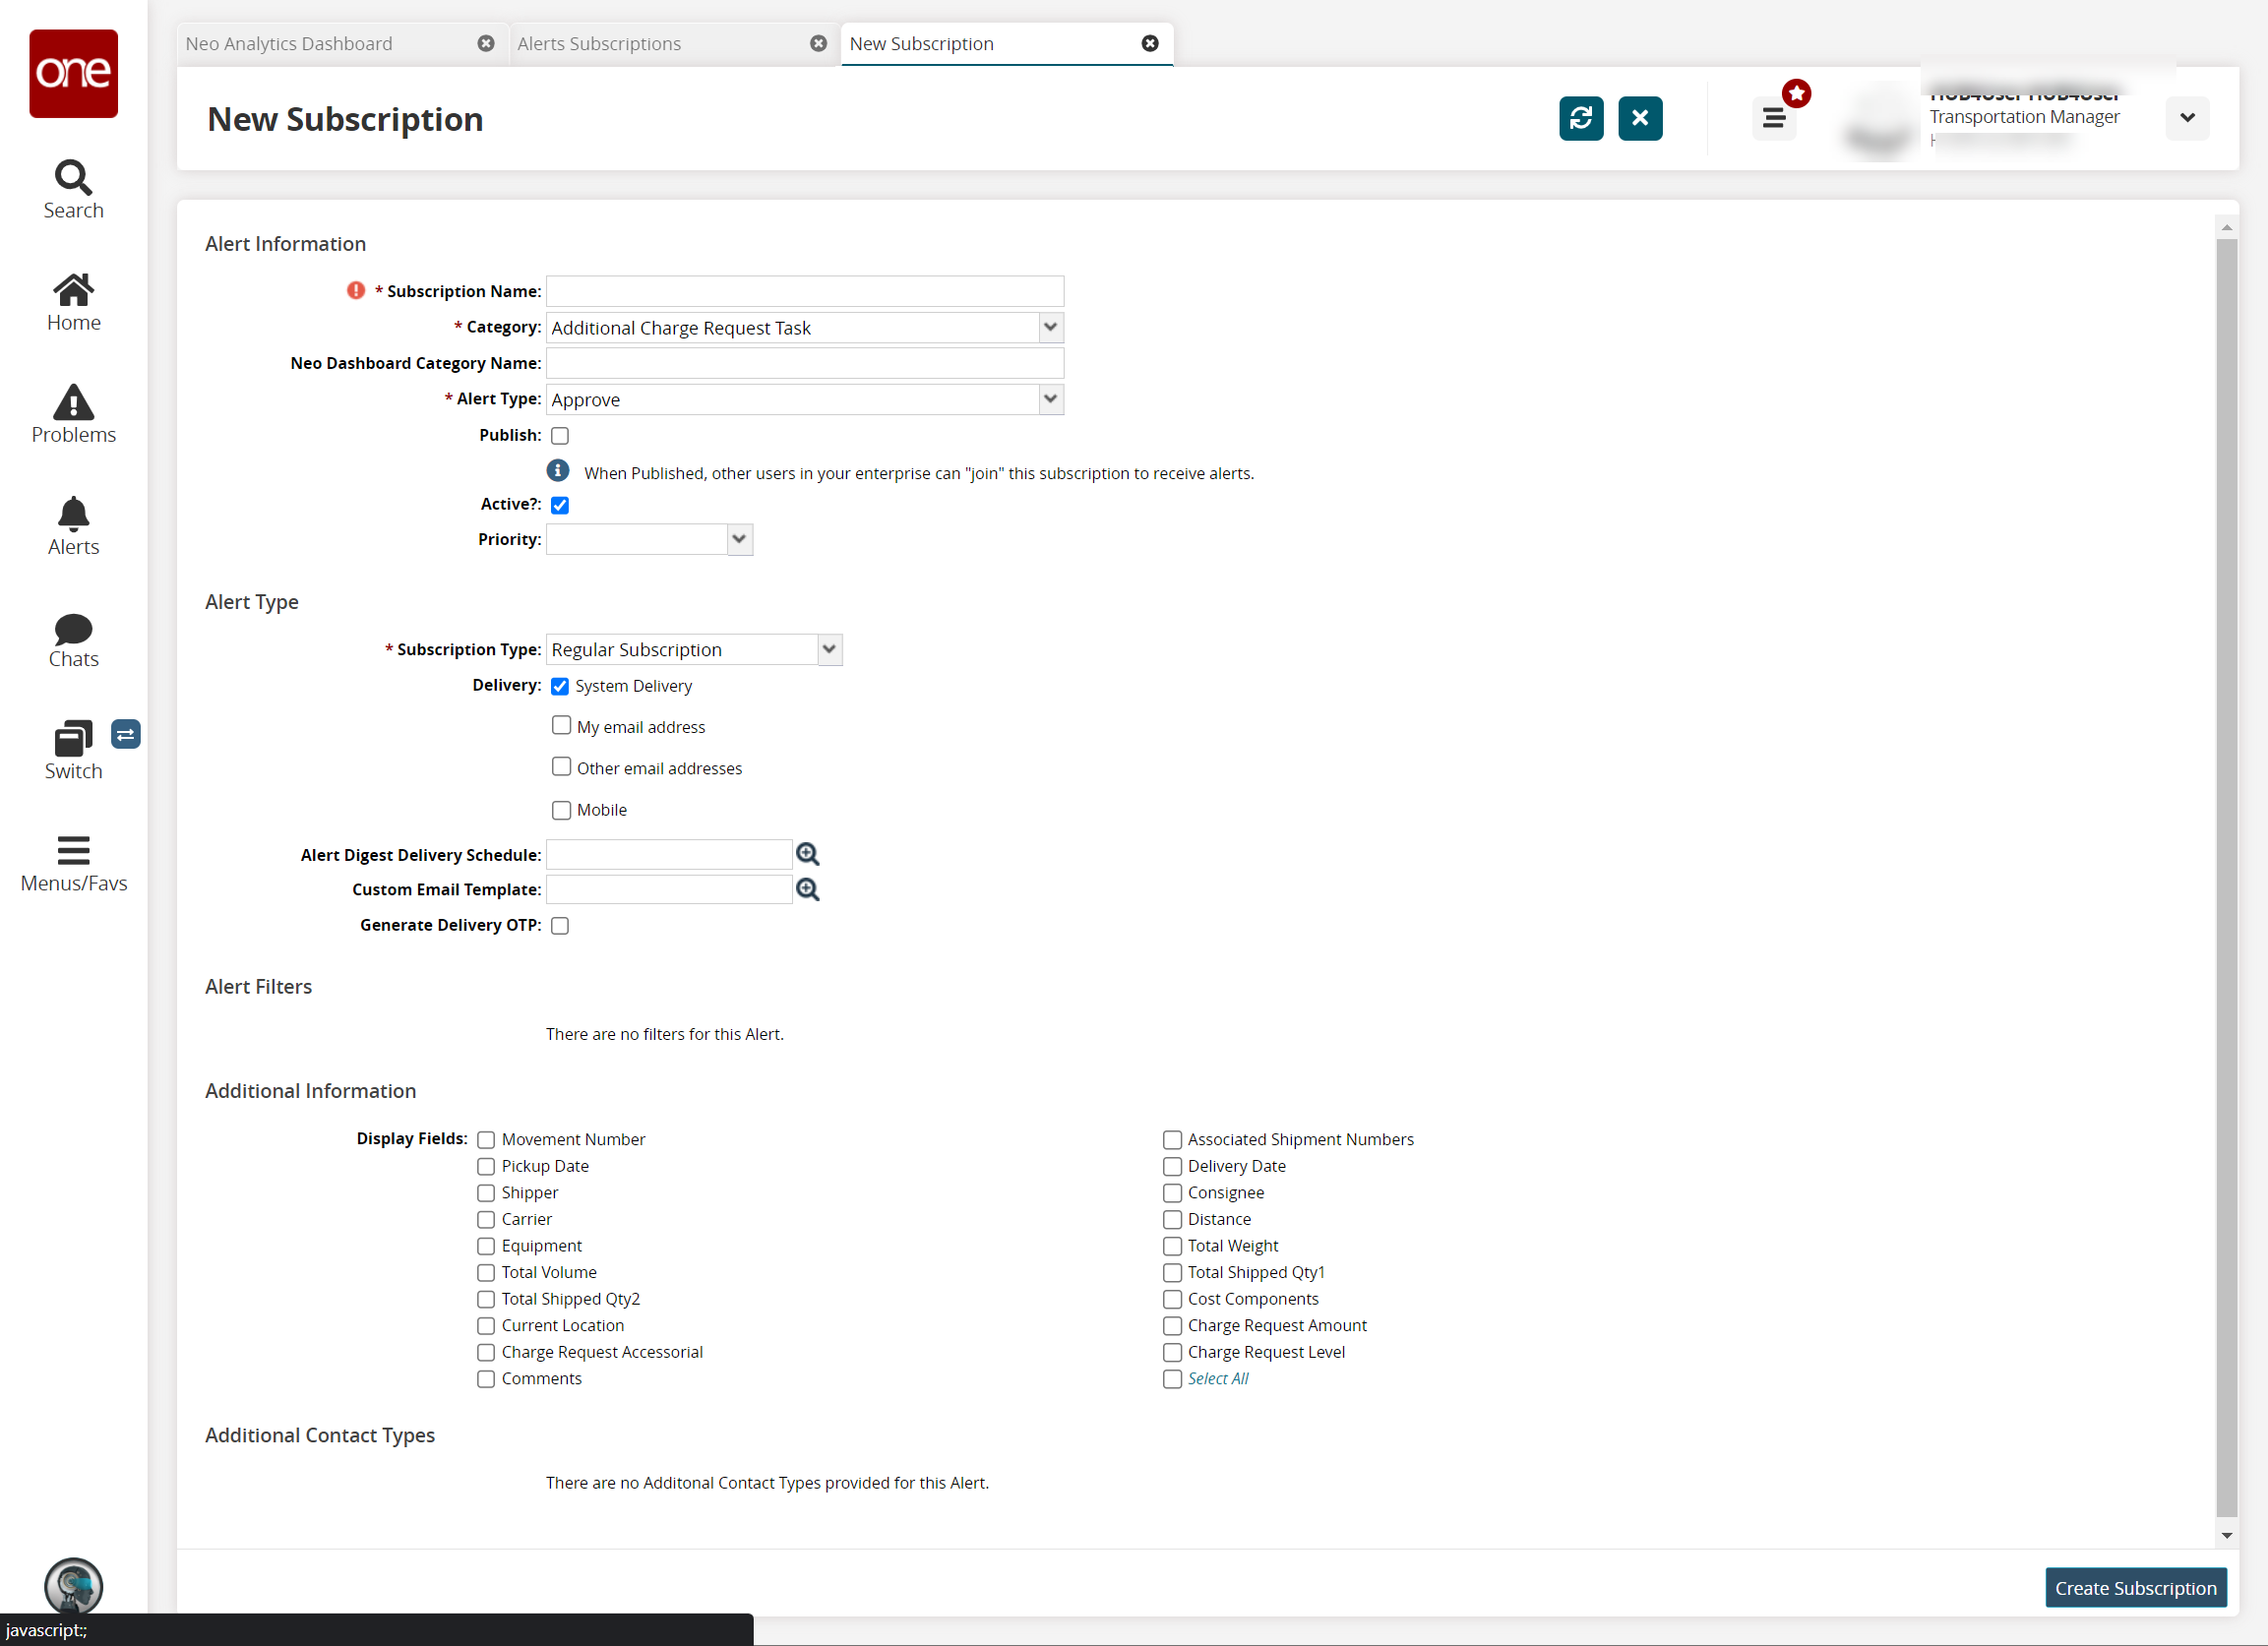
In the * Subscription Name field, enter a name for this alert subscription.
In the * Category field, select Value Chain from the dropdown list.
In the * Alert Type field, select Integration Message Monitor from the dropdown list.
Fill in the remaining fields in the Alert Information section as desired. See the "Creating and Customizing Alert Subscriptions" section in the Online Help for information on the remaining fields.
Alert Type Section
See the "Creating and Customizing Alert Subscriptions" section in the Online Help for information on completing this section.
Alert Filters Section
The filters for the Integration Message Monitor allow you to choose the frequency of the message received. This can be as little as once a month to as often as every five minutes.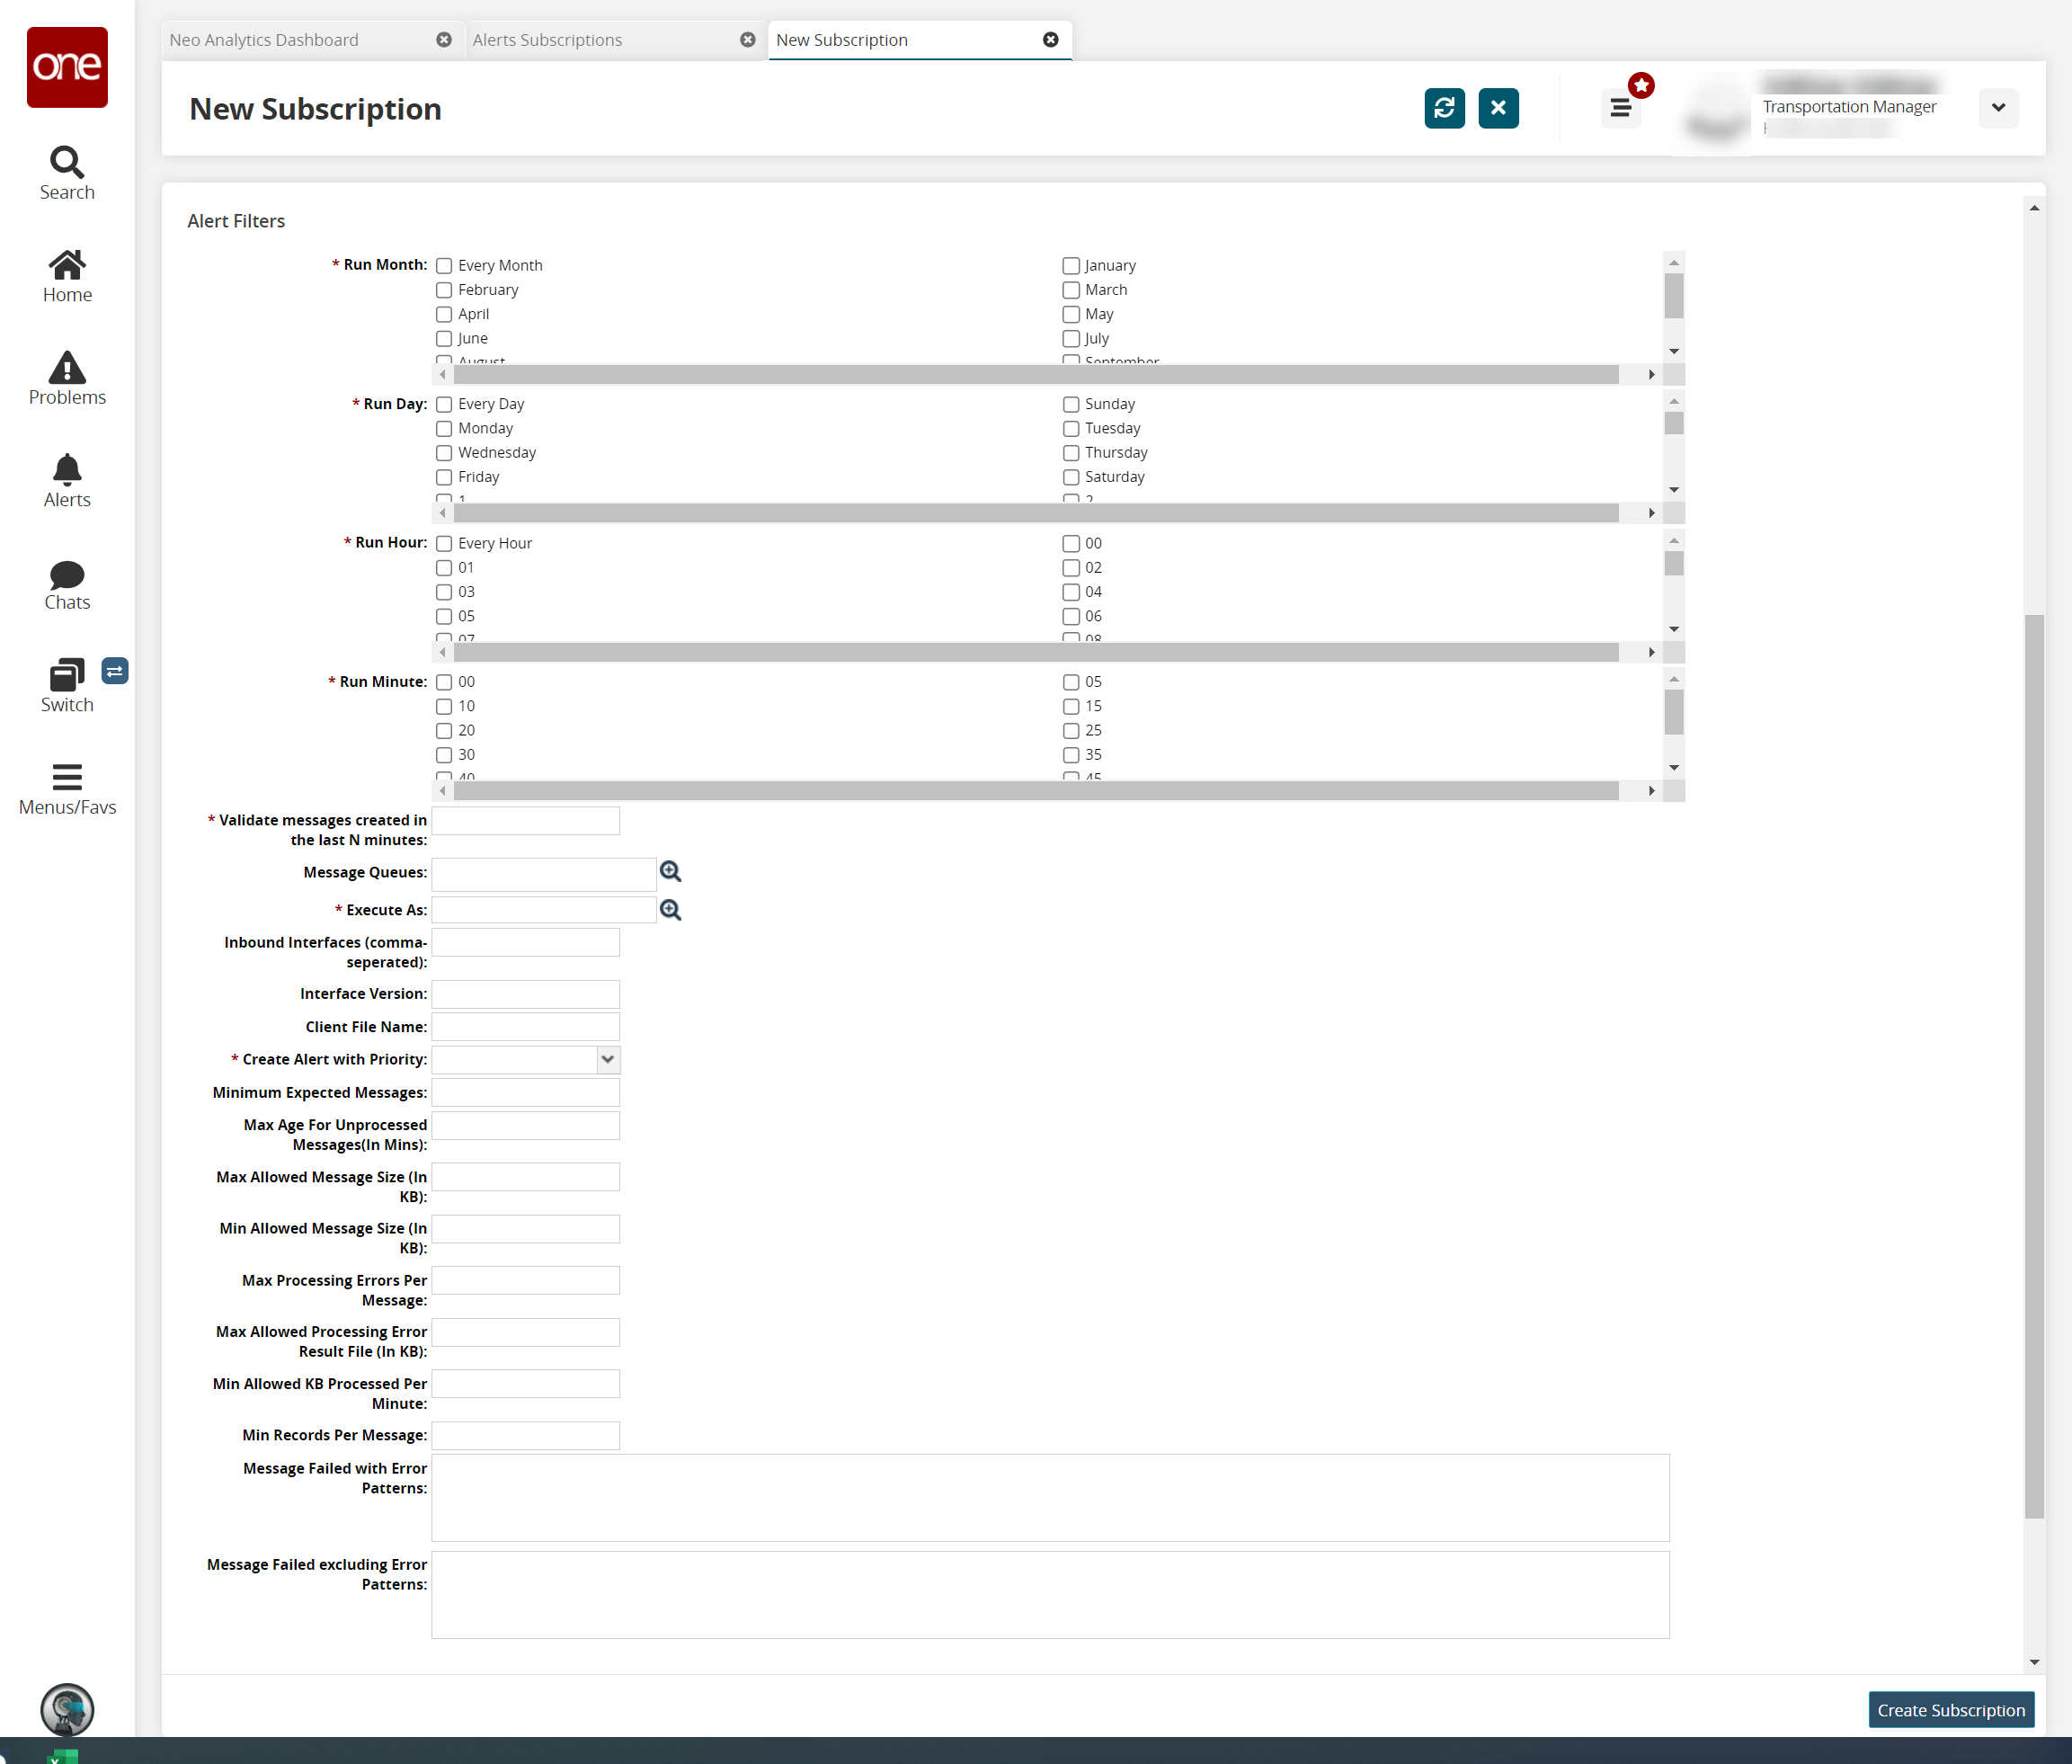
Fill out the following fields. Fields with an asterisk ( * ) are required.
Field
Description
* Run Month
Select the months when the alert should be sent.
* Run Day
Select the days when the alert should be sent.
* Run Hour
Select the hour when the alert should be sent.
* Run Minute
Select the minute when the alert should be sent.
Validate messages created in the last N minutes
Enter a value for the number of minutes.
Message Queues
Click the picker tool to select the message queues.
* Execute As
Click the picker tool to select a user.
Inbound Interfaces (comma-separated)
Enter the inbound interfaces, separated by a comma.
Interface Version
Enter the interface version.
Client File Name
Enter a client file name.
* Create Alert with Priority
Select the priority level for the alert from the dropdown list. The options are NONE, LOW, MEDIUM, and HIGH.
Minimum Expected Messages
Enter the minimum number of expected messages.
Max Age For Unprocessed Messages (In Mins)
Enter the maximum age for unprocessed messages in minutes.
Max Allowed Message Size (In KB)
Enter the maximum allowed message size in kilobytes (KB).
Min Allowed Message Size (In KB)
Enter the minimum allowed message size in KB.
Max Processing Errors Per Message
Enter the maximum number of processing errors per message.
Max Allowed Processing Error Result File (In KB)
Enter the maximum allowed processing error result file size in KB.
Min Allowed KB Processed Per Minute
Enter the minimum allowed kilobytes processed per minute.
Min Records Per Message
Enter the minimum number of records per message.
Message Failed with Error Patterns
Enter a message for failures with error patterns.
Message Failed excluding Error Patterns
Enter a message for failures excluding error patterns.
Click Create Subscription.
The screen refreshes, and the new subscription name displays at the top of the screen with a success message.