Creating BOM Site Associations
You can create a BOM site association for the sites that produce the same item using different products or components.
For example, consider two restaurants; restaurant A and restaurant B, serving an omelet. Restaurant A uses the default component for all restaurants, fresh eggs. Restaurant B uses liquid eggs as a component. To support this use case, we can model two recipes for an omelet; recipe one with fresh egg as a component and recipe two with liquid eggs as a component. Restaurant A does not need a BOMSiteAssociation recipe because it uses fresh eggs set as the default. Restaurant B needs a BOMSiteAssociation recipe to associate their recipe with liquid eggs.
Complete the following steps to create BOM site associations:
Log in to the system using a Production Manager role type.
From the Manufacturing Policies menu, select Search BOM Site Association.
Click Create at the right bottom corner of the screen.
Enter the text in the BOM field using the auto-complete feature.
Enter the text in the Site field using the auto-complete feature.
Select the Active check box to activate the BOM Site Association feature.
Click Create.
A success message appears.If you wish to update, click on Update.
BOM Site Association Policy
The Bill of Materials (BOM) site association policy automatically maps the site associated with the BOM at the time that the BOM is created. Users set the policy, EnforceBOMSiteAssociation, on the enterprise hierarchy under the Bill of Materials policy group. In addition, users add or remove site associations in the UI on the BOM-Site Mapping tab on the BOM details page.
Complete the following steps to create a BOM site association policy:
Log in to the ONE system.
Click Menus/Favs > Administration > Search Policies.
The Search Policies page displays.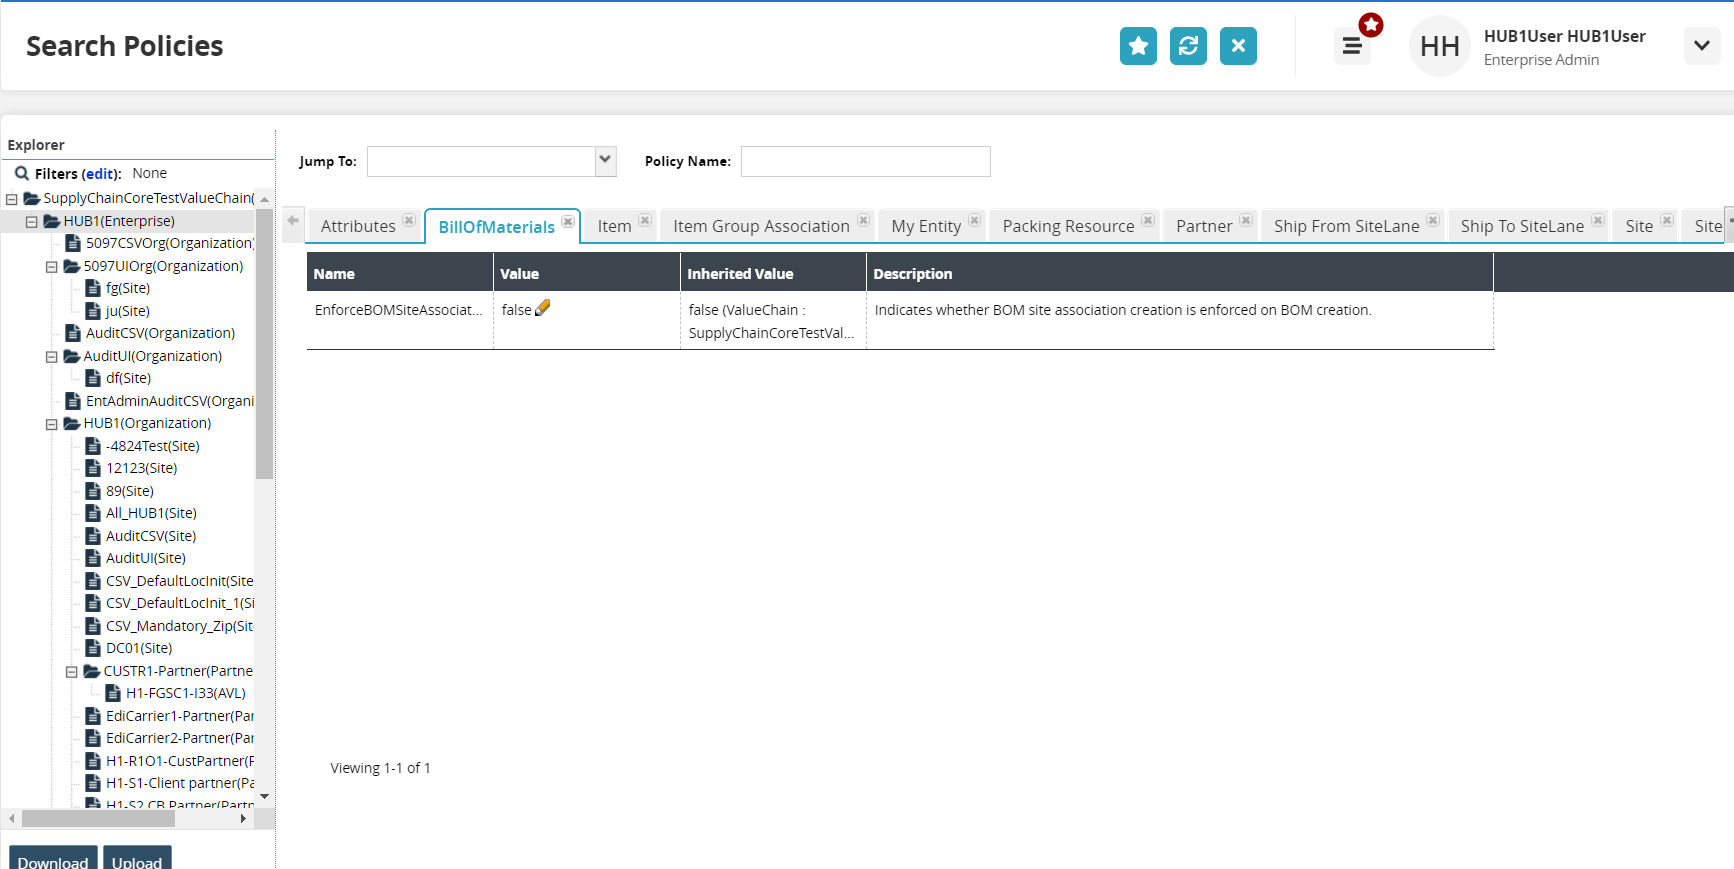
Click the desired site in the left Explorer pane.
The site's policies display.Click the Bill of Materials tab.
The BOM policies display. A pencil icon indicates that the field is editable.
A false value does not force the user to associate a BOM with a site upon creation. A true value will force a site association when a BOM is created.Click the pencil icon.
A popup displays.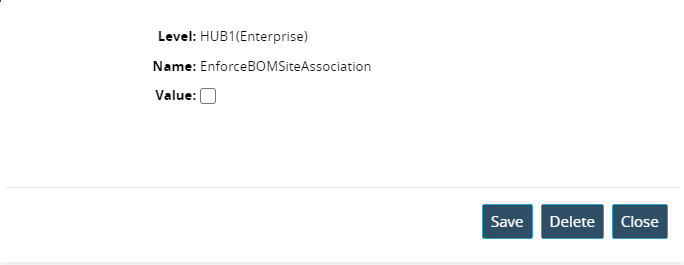
Click the checkbox for the Value field to select a true or false value.
Click the Save button.
The policy value is saved.
Complete the following steps to add or remove site associations for a BOM through the UI:
Log in to the ONE system.
Click Menus/Favs > Administration > Bill of Materials > Search Bill of Materials.
The Search Bill of Materials screen displays current BOMs. Users can associate sites or change associated sites for a new or existing BOM. This example uses an existing BOM.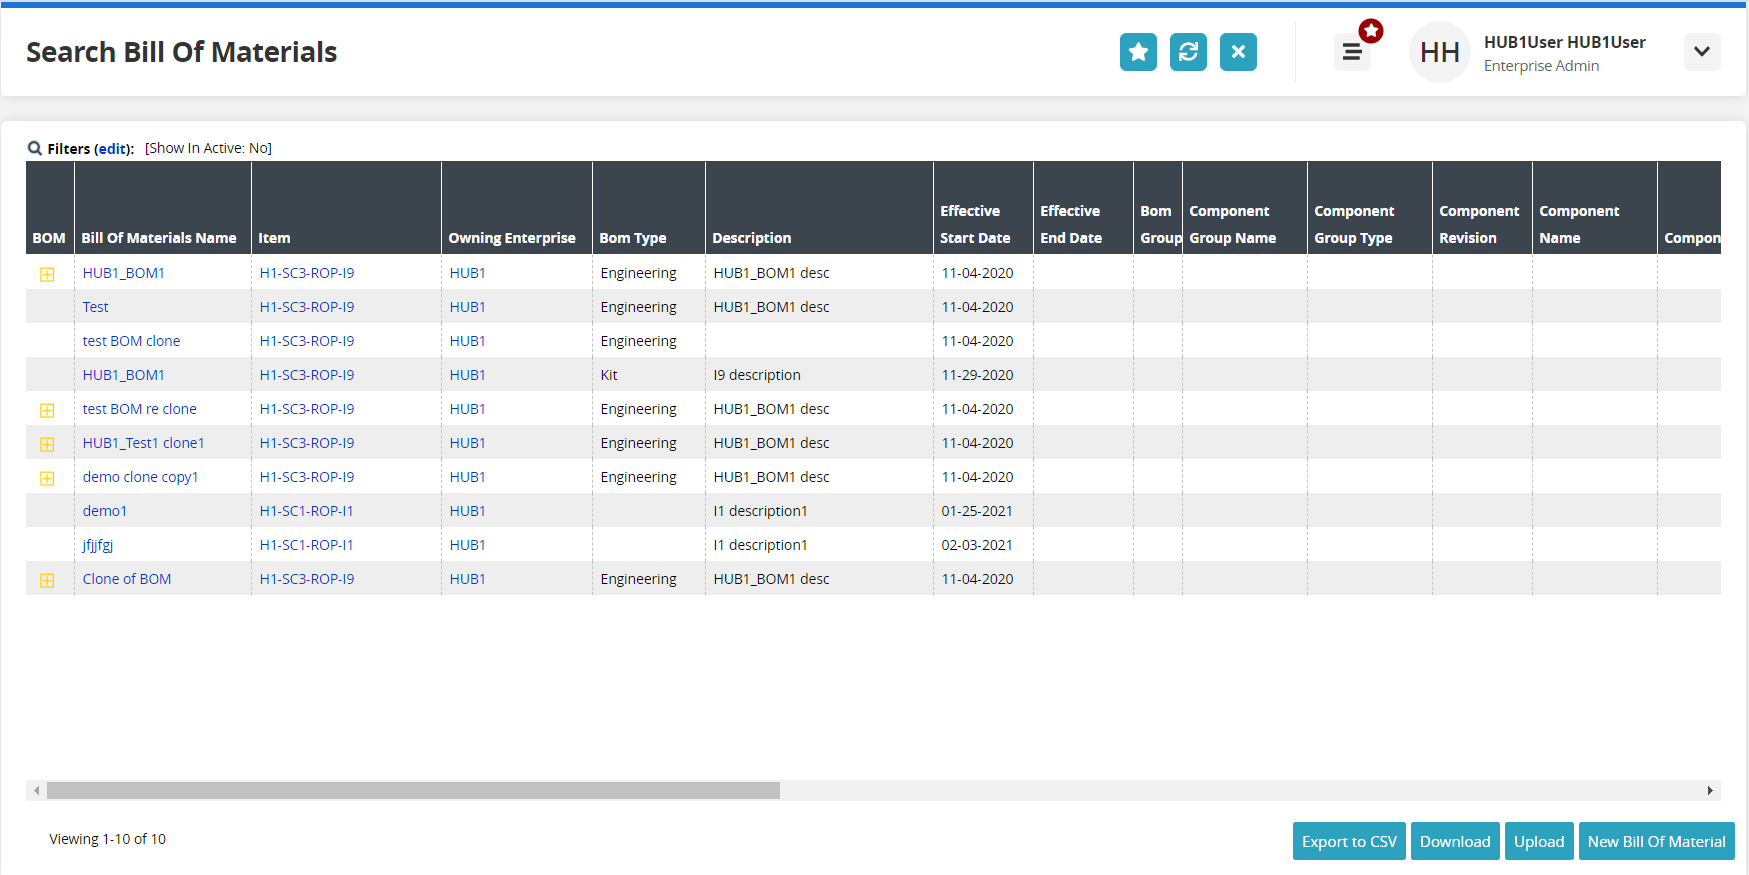
Click a BOM name from the Bill of Materials Name column.
The BOM details screen displays.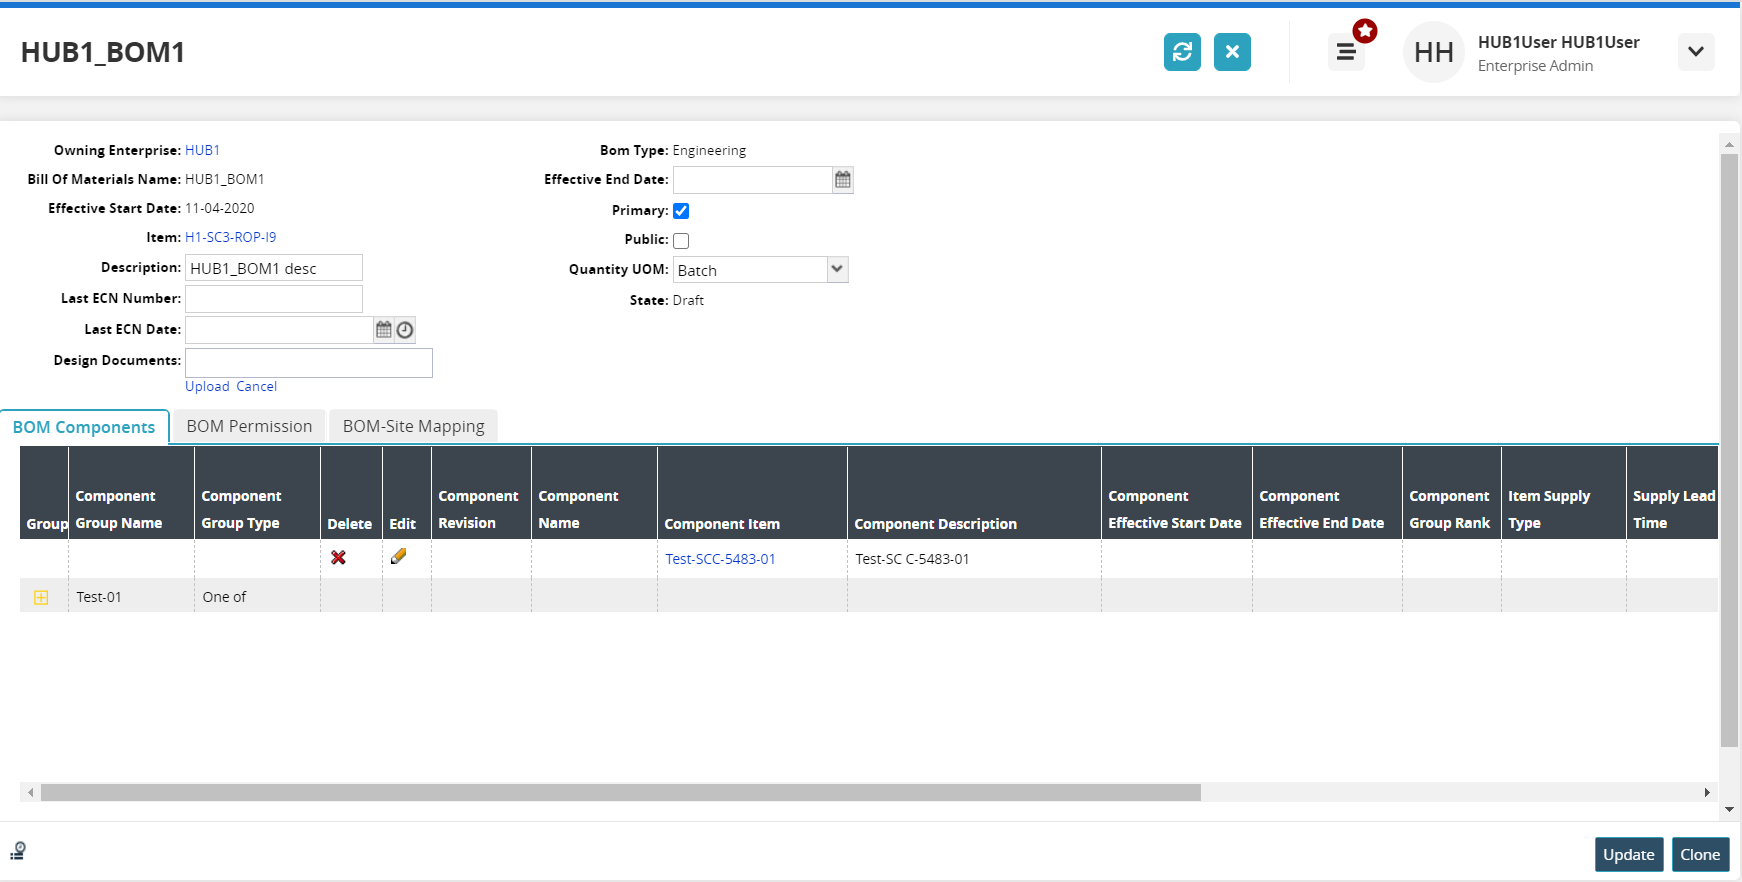
Click the BOM-Site Mapping tab.
The site mapping tab displays.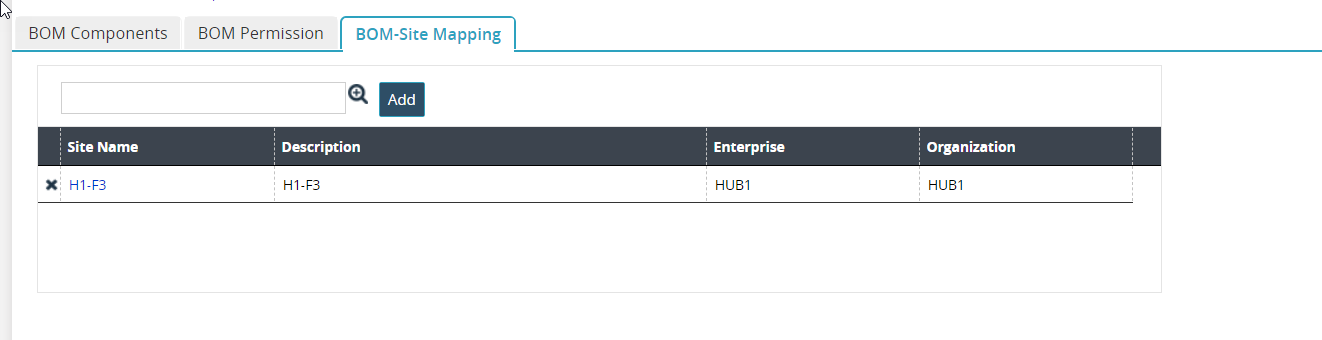
To add a site association to the BOM, click the picker tool.
The Site popup displays.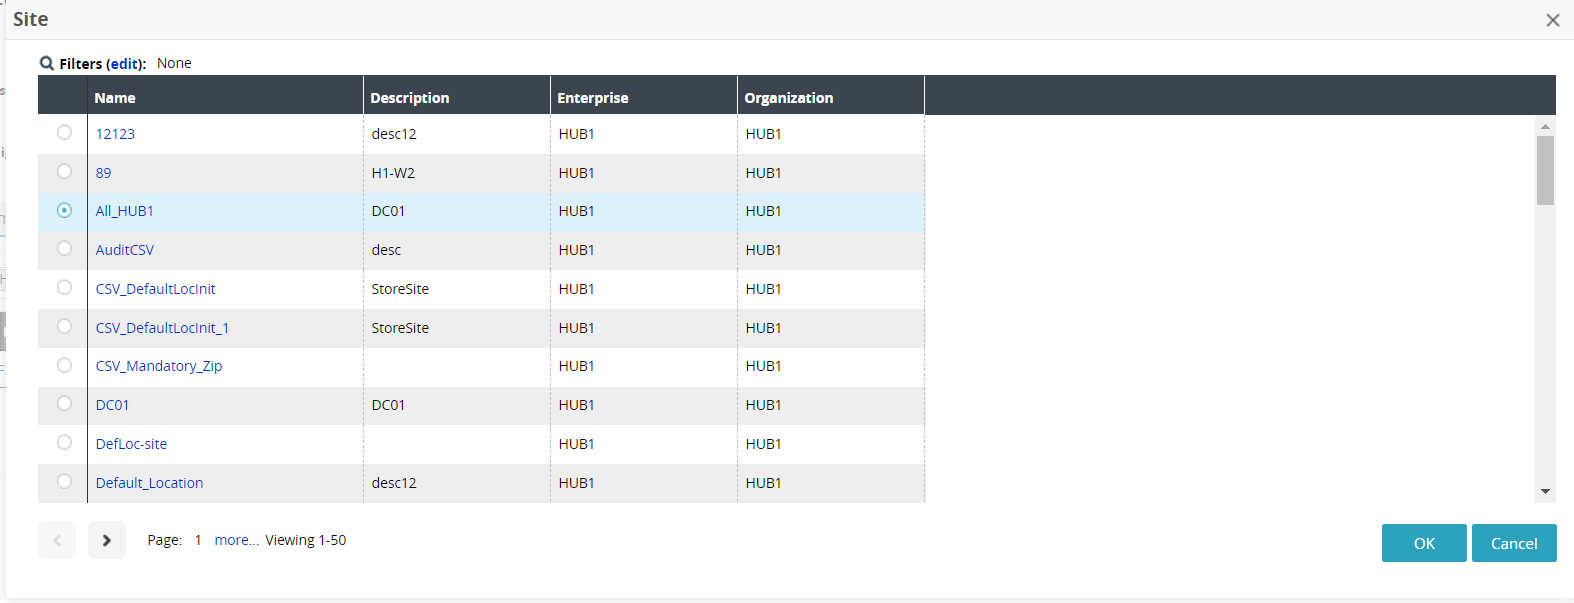
Click the radio in front of a site name to select it.
Click OK.
The site name displays in the field.Click the Add button.
The site is added to the table for mapped sites.To remove an associated site, click the X in front of the site row on the site mapping table.
A confirmation popup box displays.Click the Yes button.
The site is removed.Click the Update button.
A green success message displays. If there is only one site associated with the BOM and the BOM site association policy has been set to true (forcing a site association), the BOM cannot be updated without an associated site.