Creating Base Rates for Allowances
Complete the following steps to create base rates:
L og in to the ONE system.
Click Menus/Favs > Contract Mgmt > Allowances.
In the NEO UI, users can click on the Menus/Favs icon on the left sidebar and type in the name of the screen in the menu search bar. For more information, see "Using the Menu Search Bar."
The Allowances screen appears.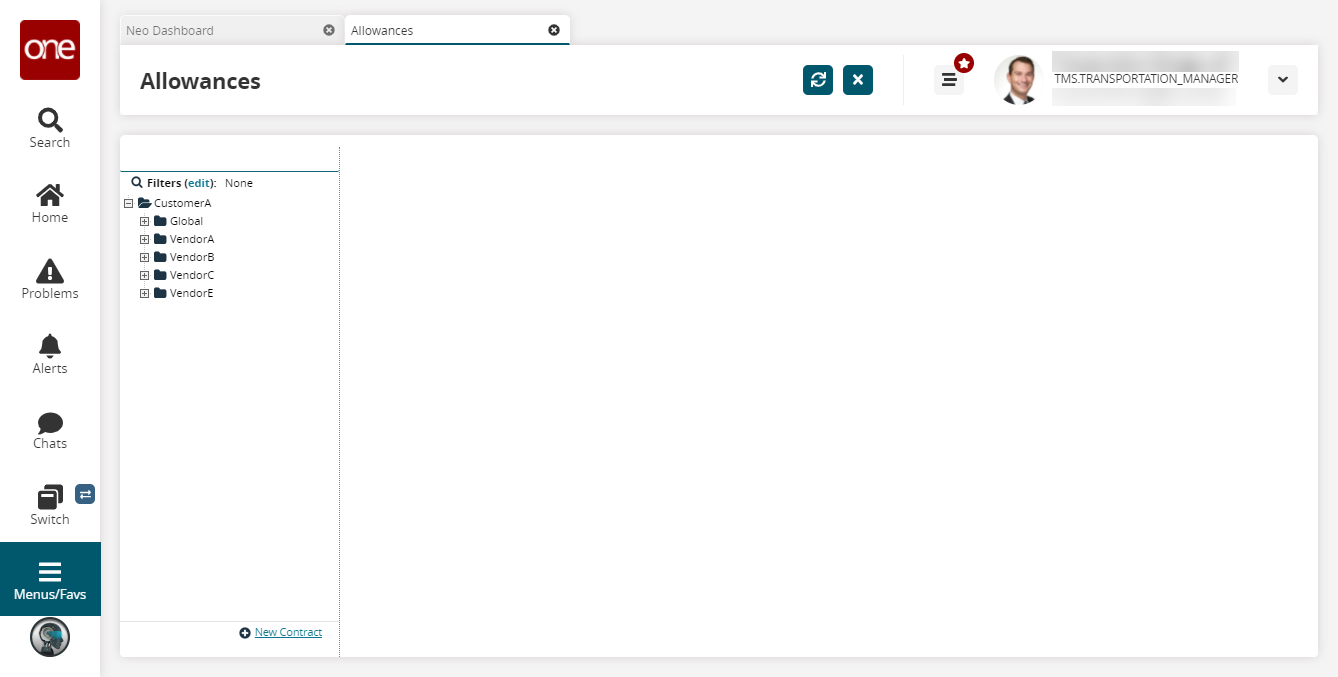
To view existing base rates, select the base rate for an allowances contract.
The Base Rate pane appears.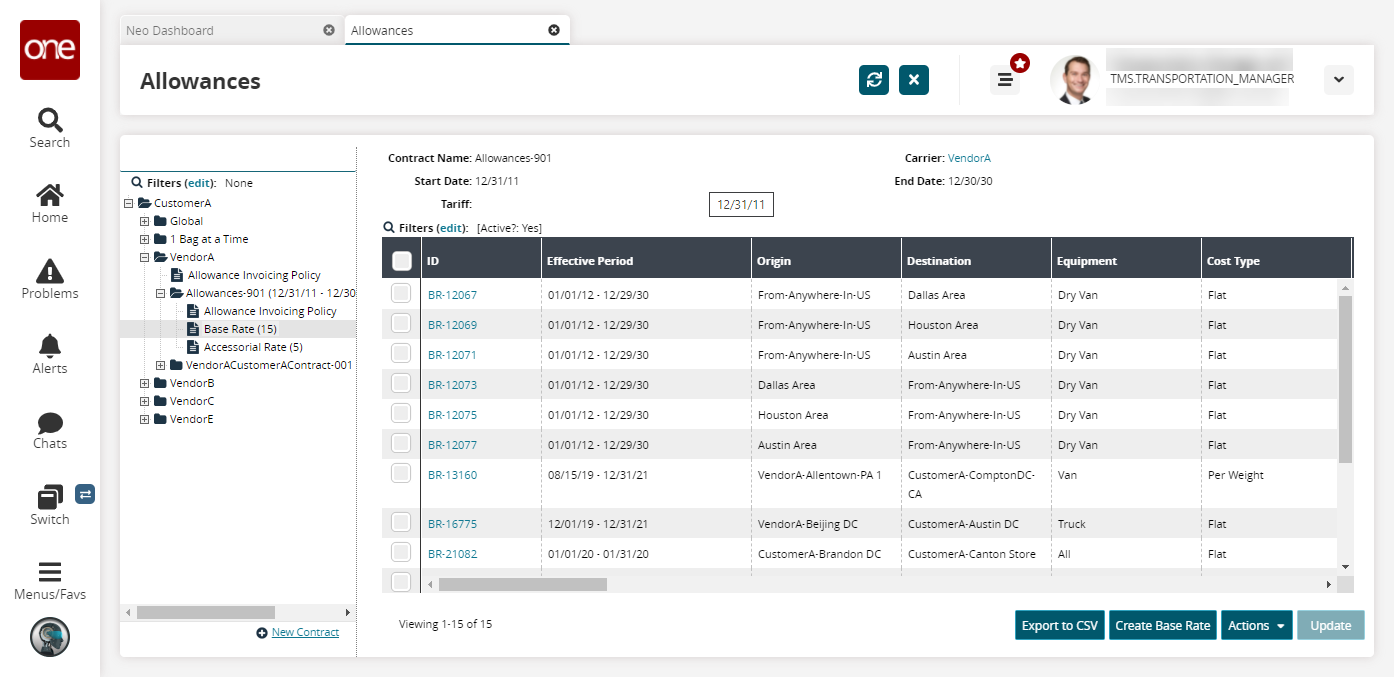
To add a base rate, click Create Base Rate.
The Create Base Rate screen appears.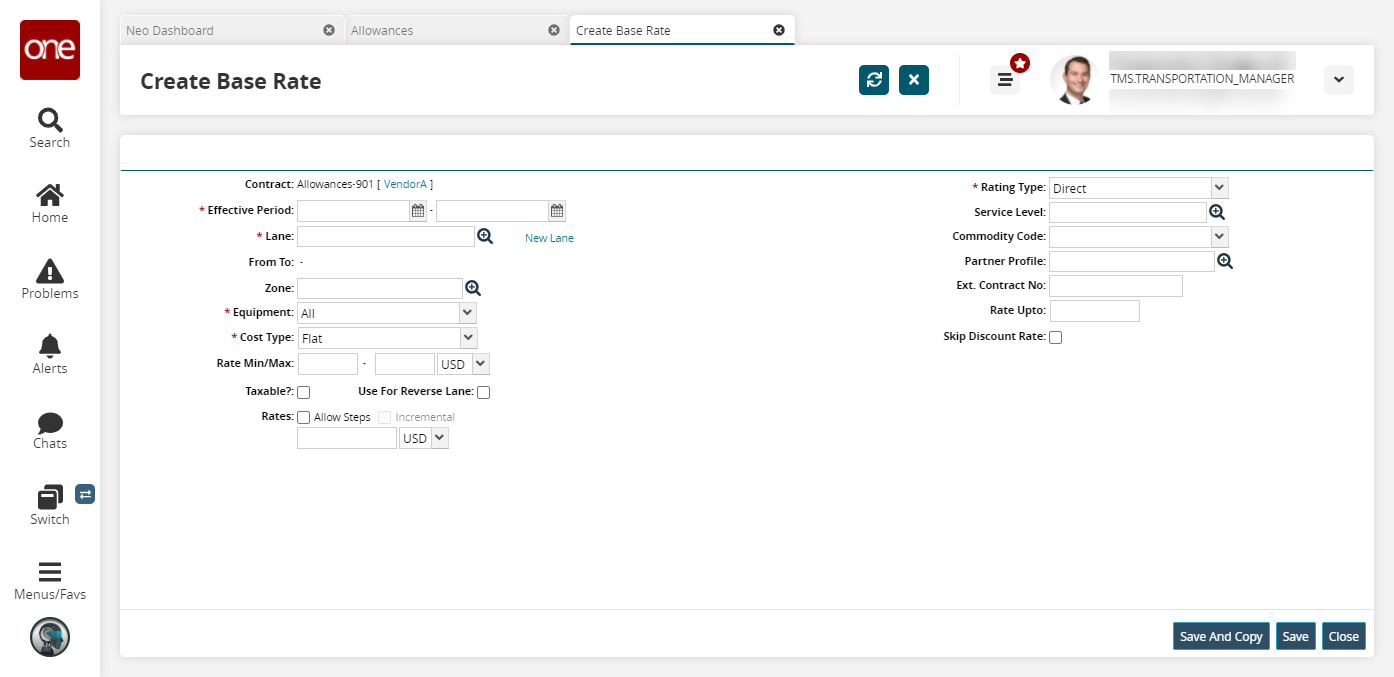
Fill out the following fields. Fields with an asterisk ( * ) are required.
Field
Description
* Effective Period
Select an effective period using the calendar tool.
* Lane
Use the picker tool to select an existing lane. If an existing lane does not exist, click the New Lane link and follow these steps:
Select the origin type from the dropdown menu and its specific name using the picker tool for * Lane From.
Select the destination type from the dropdown menu and its specific name using the picker tool for * To.
(New lane) For a new lane, click the New Lane link.
Additional fields appear for defining lane options.Select a Lane From option.
(Site) In Lane From: Site, select a site.
(Partner Site) In Lane From: Partner Site, select a partner site.
(Region) In Lane From: Region, select a region.
* Zone
Use the picker tool to select a zone, which is a distance measurement.
* Equipment
Select the equipment this rate will apply to from the dropdown menu.
* Cost Type
Select the cost type from the dropdown menu. Cost type values have unique parameters and will display additional fields. The Flat cost type is the default.
Note
Multiple cost types are supported for each base rate. The cost can be modeled as a single value or by steps. In case multi-leg shipments, the cost type selected for the final leg is used to calculate the movement cost.
Rate Min/Max
Enter a value for a minimum and maximum rate. Then select a currency country code from the dropdown list.
In Rate Min/Max, type a rate range, and then select a currency option from the Currency list.
Taxable
Check the box if this rate is taxable.
Use For Reverse Lane
Check the box if this rate can be used for a reverse lane shipment.
Rates
Enter a value and select the country from the dropdown menu. The Rates field may change based on the values set from other fields.
Check the Allow Steps box to establish steps for rates. Once checked, a table displays for the Rates field. Complete the following instructions to add steps for rates:
Click the Add link.
A row displays in the table.Enter the minimum and maximum values for the Distance Range field.
Enter a value and select a country from the dropdown menu for the *Rate field.
In the Rates box, type the value of the rate. In the Currency list, click a currency option.
If rates can be defined by steps, select the Allow Steps check box.
The Rate Step table appears.Double-click inside the Distance Range box to make the range boxes editable, and then type the values for the minimum and maximum of the new cost type rate range.
Double-click inside the Rate box, type the value of the rate. In the Currency list, click a currency option.
To add a step, click the New Step link.
A step row appears.Repeat the previous steps for each additional cost type rate detail.
* Rating Type
Select the rating type from the dropdown menu. In the Rating Type list, click a rating type option: Direct, Continuous Move, or Dedicated.
Service Level
Use the picker tool to select a service level.
Note
Base Rates have effective dates so that base rates can be defined for specific periods within the contract for any seasonal variations of rates.
Commodity Code
Select a commodity code from the dropdown menu.
Partner Profile
Select a partner profile using the picker tool.
Ext. Contract No
Enter the external contract number.
Rate Up To
Enter a value for the rate to apply up to a maximum limit of shipments. In the Rate Up To box, type a value for the maximum number of shipments for which the rate is available.
Skip Discount Rate
Check the box if this base rate should not apply a discount rate.
Click Save.
A success message appears.Click the Refresh button.
The new base rate appears in the Base Rates pane.