Creating Allowances
Complete the following steps to create an allowance contract:
L og in to the ONE system.
Click Menus/Favs > Contract Mgmt > Allowances.
In the NEO UI, users can click on the Menus/Favs icon on the left sidebar and type in the name of the screen in the menu search bar. For more information, see "Using the Menu Search Bar."
The Allowances screen appears.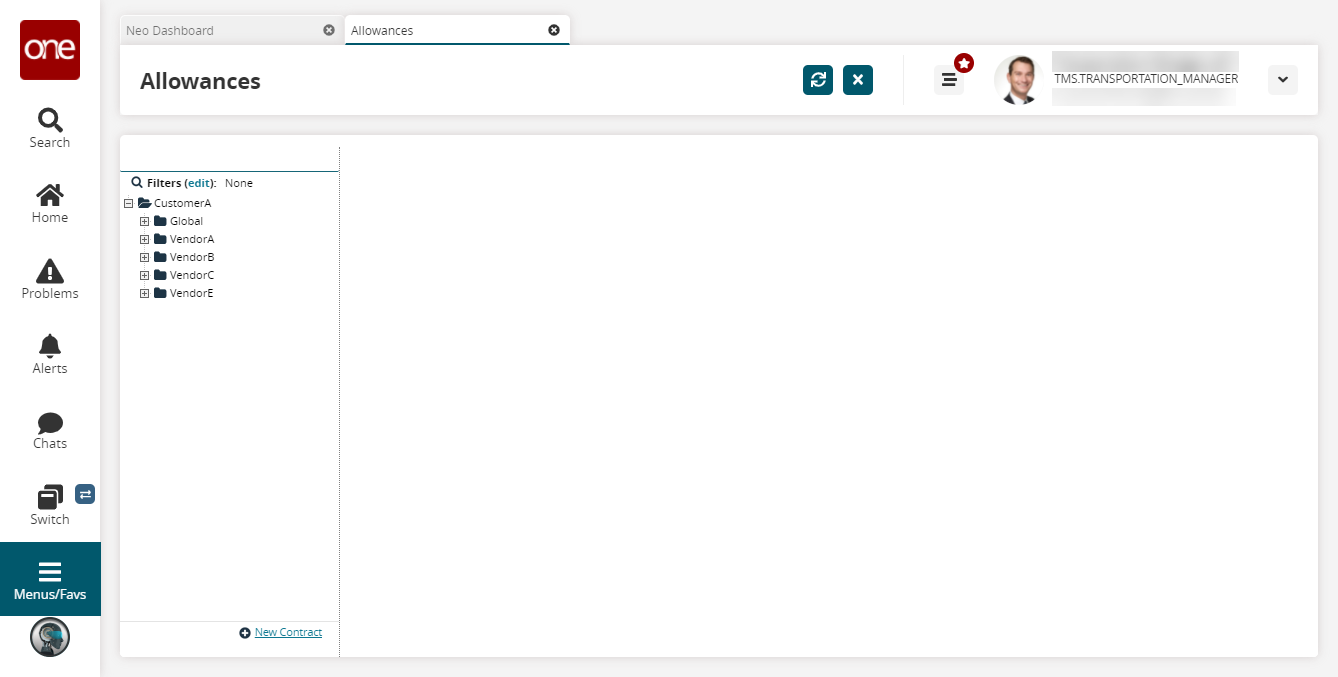
Click the New Contract link at the bottom of the screen.
The Create Vendor Contract pane appears.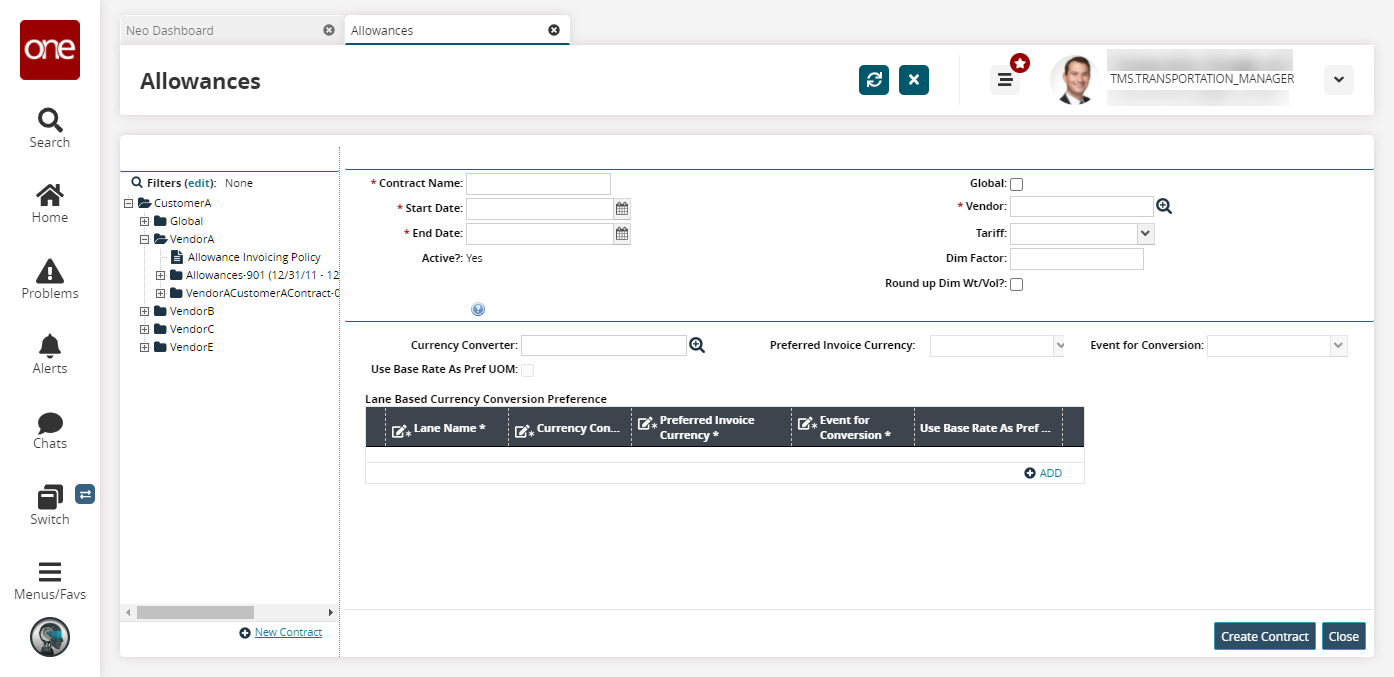
Fill out the following fields. Fields with an asterisk ( * ) are required.
Field
Description
* Contract Name
Enter a contract name.
* Start Date
Enter a start date using the date picker.
* End Date
Enter an end date using the date picker
Global
Select this checkbox if this is a global contract.
* Vendor
Select a vendor from the drop-down menu.
Tariff
Select a tariff from the drop-down menu.
Dim Factor
Select a dimension factor.
Round up Dim Wt/Vol?
Select this checkbox to round up the dimensional weight or volume.
Currency Converter
Select a currency converter using the picker tool.
Preferred Invoice Currency
Select a preferred invoice currency from the drop-down menu.
Event for Conversion
Select a conversion event from the drop-down menu.
Use Base Rate As Pref UOM
Select this checkbox to use the base rate as the preferred UOM.
Click Create Contract.
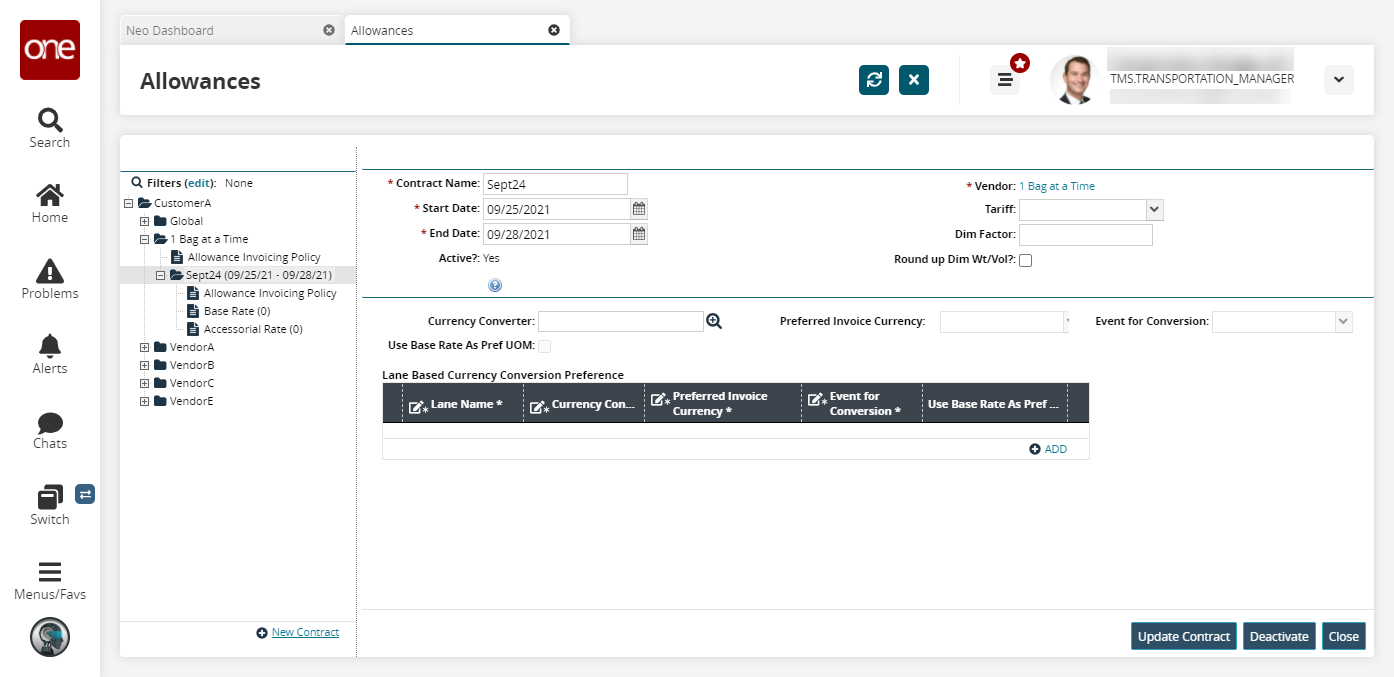
To see the new contract in the value add contract hierarchy, click the Refresh button.
The New Allowance Contract appears with no defined base or accessorial rates.