Creating Client Contract Discount Rates
Users with appropriate permissions can create client contract discount rates.
Complete the following steps to create a client contract discount rate:
Log in to the ONE system.
Click the Menus/Favs icon and navigate to Contract Mgmt > Client Contracts.
The Explorer pane shows the Client Contracts hierarchy in the collapsed state.Expand the collapsed Client Contracts and click the Client Contract Discount Rates from the expanded menu tree.
The list of rates appears .Click Create Discount Rate.
The Create Discount Rate tab appears.
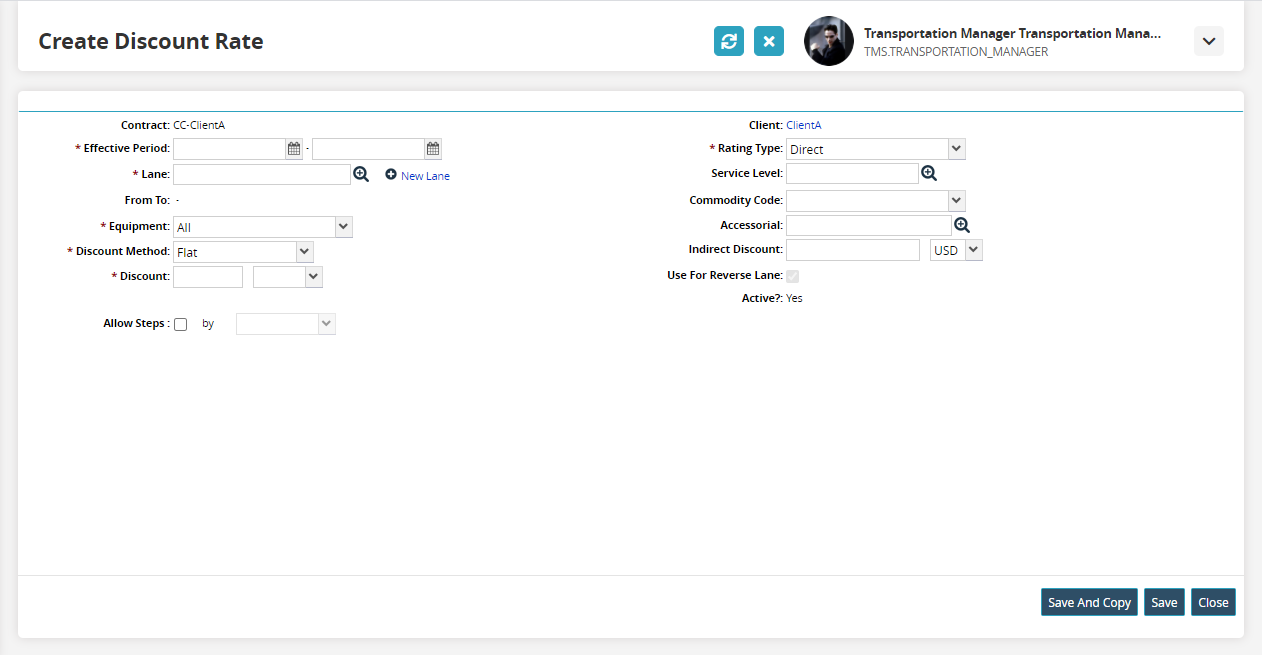
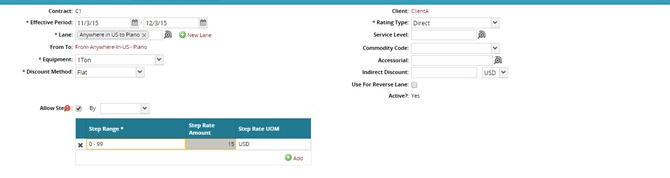
By default, the Discount Method is set to Flat.In the Equipment field, select an equipment type from the drop-down menu.
Select a discount method from the Discount Method field. Two options are available: Flat and Percent. Each option changes the available fields on the Create Discount Rate tab.
If Flat is selected, enter a discount quantity and currency type in the Discount field.
In the following example, a discount of 20.000 Australian Dollars is provided.

If Percentage is selected, the Rate(%) field appears. Enter a percentage discount rate in the field

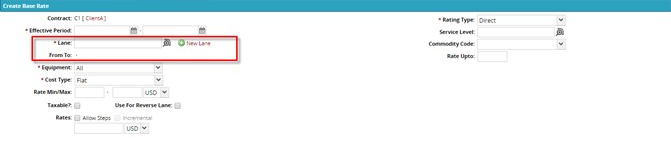
Select the lane to which the rate applies. You can select an existing lane, or create and select a new lane.
Existing Lanes
In Lane, select a lane option.
For a new lane, click the New Lane link.
Additional fields appear for defining lane options.
Select a Lane From option.
Select a Lane To option.
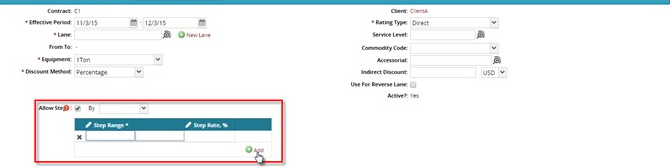
Complete the following steps to allow steps for discount rates:
Select Allow Steps.
The Steps window appears.
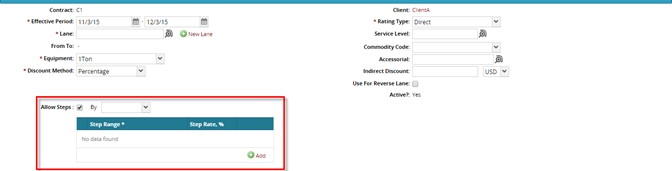
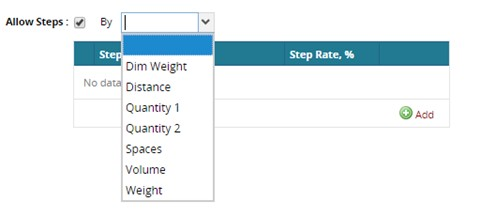
In the By field, select a method for applying the rates from the drop-down menu.
A new Step Range appears.
Click Add to add a Step Range.
Enter a range, the step rate amount, and the unit of measure (UOM) for the new Step Range.
Repeat the previous steps to add more step ranges.
For Service Level, select a service level option.
In the Rating Type list, click a rating type. The transportation manager role can add custom rating types as required
For Indirect Discount, enter a monitary value, then select the unit of measure from the drop-down menu.
In the Commodity Code list, click a commodity code option.
Select Use For Reverse Lane if this rate also applies to a shipment running in the opposite direction from the original lane.
When changes are complete, click Save.
A success message appears.