Creating Client Contracts
Complete the following steps to complete a new contract:
Log in to the ONE system.
Click the Menus/Favs icon and navigate to Contract Mgmt > Client Contracts.
The Client Contracts screen appears.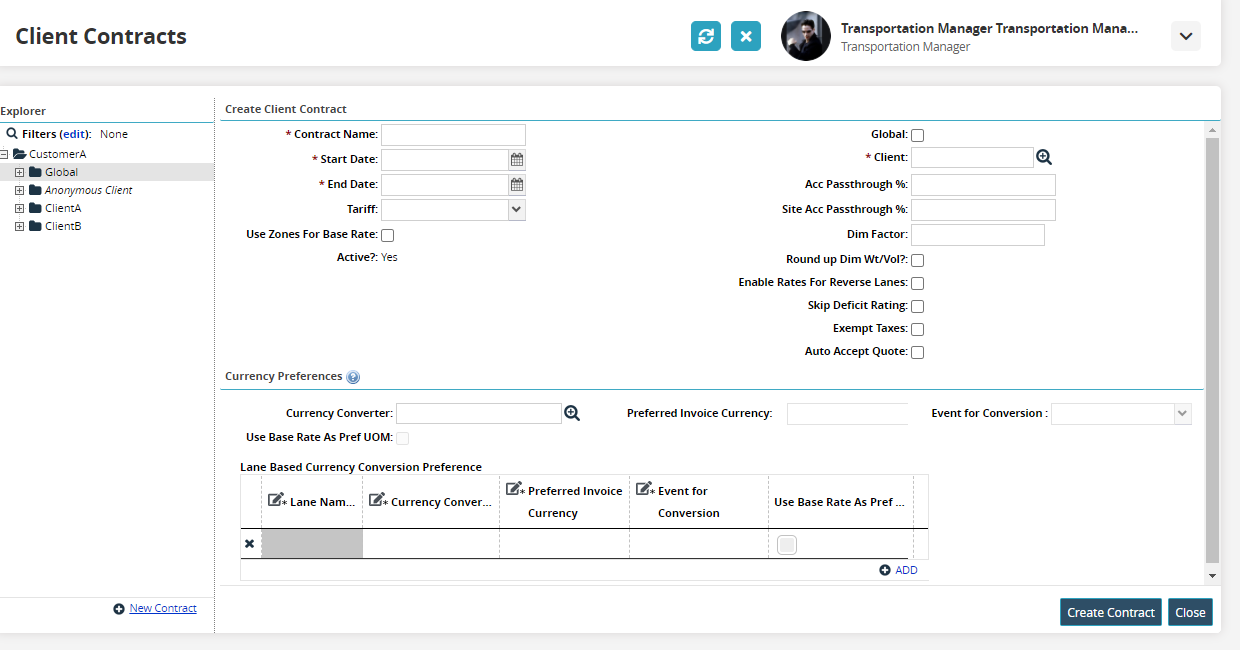
In the Explorer pane, select the desired site.
The Explorer pane shows the Client Contracts hierarchy in the collapsed state.Click the New Contract link.
The Create Client Contract pane appears.Type or select values for Contract Name, Start Date, and End Date.
Select the Client using the picker.
Click the ADD link to add the details like Lane Name, Currency Converter, Preferred Invoice Currency, and Event for Conversion in the Lane Based Currency Conversion Preference table.
Click Create Contract button. A success message appears and a new Client Contract is created.
Define base rates, discount rates, accessorial rates, and site accessorial rates as required.