Creating Cycle Count Plans
Complete the following steps to create a Cycle Count Plan:
Log in to the ONE system as a Warehouse Manager role.
Click Menus/Favs > Warehouse Mgmt > Inventory Audit > Cycle Count Plans.
The Cycle Count Plans screen displays.
Click the New Cycle Count Plan button.
The New Cycle Count Plan screen opens.
Fill out the following fields. Fields marked with an asterisk ( * ) are required.
Field
Description
* Organization
Use the picker tool to select an organization.
* Site
Use the picker tool to select a site.
* Plan Name
Enter a plan name.
Sampling Algorithm
Select a sampling algorithm from the dropdown menu. The available options are Full or Random Sample.
Sample Size
Enter a sample size.
Auto Generate Cycle Count
Select this checkbox if the cycle counts should auto-generate.
* Plan Date Variant
Select a plan date variant from the dropdown menu. The available options are
Plan Date Range: If selected, the Effective Date Range, Plan Period Type, and Schedule Base Day fields appear. If desired, enter appropriate values for these fields.
Fixed Rate: If selected, the Planned Date field appears. Use the date picker to select a planned date.
Schedule Offset
Enter a schedule offset.
Cycle Count Plan Requests Tab
Under the Cycle Count Plan Requests tab, click the Add link to add a Request line to the plan.
The first line can now be edited.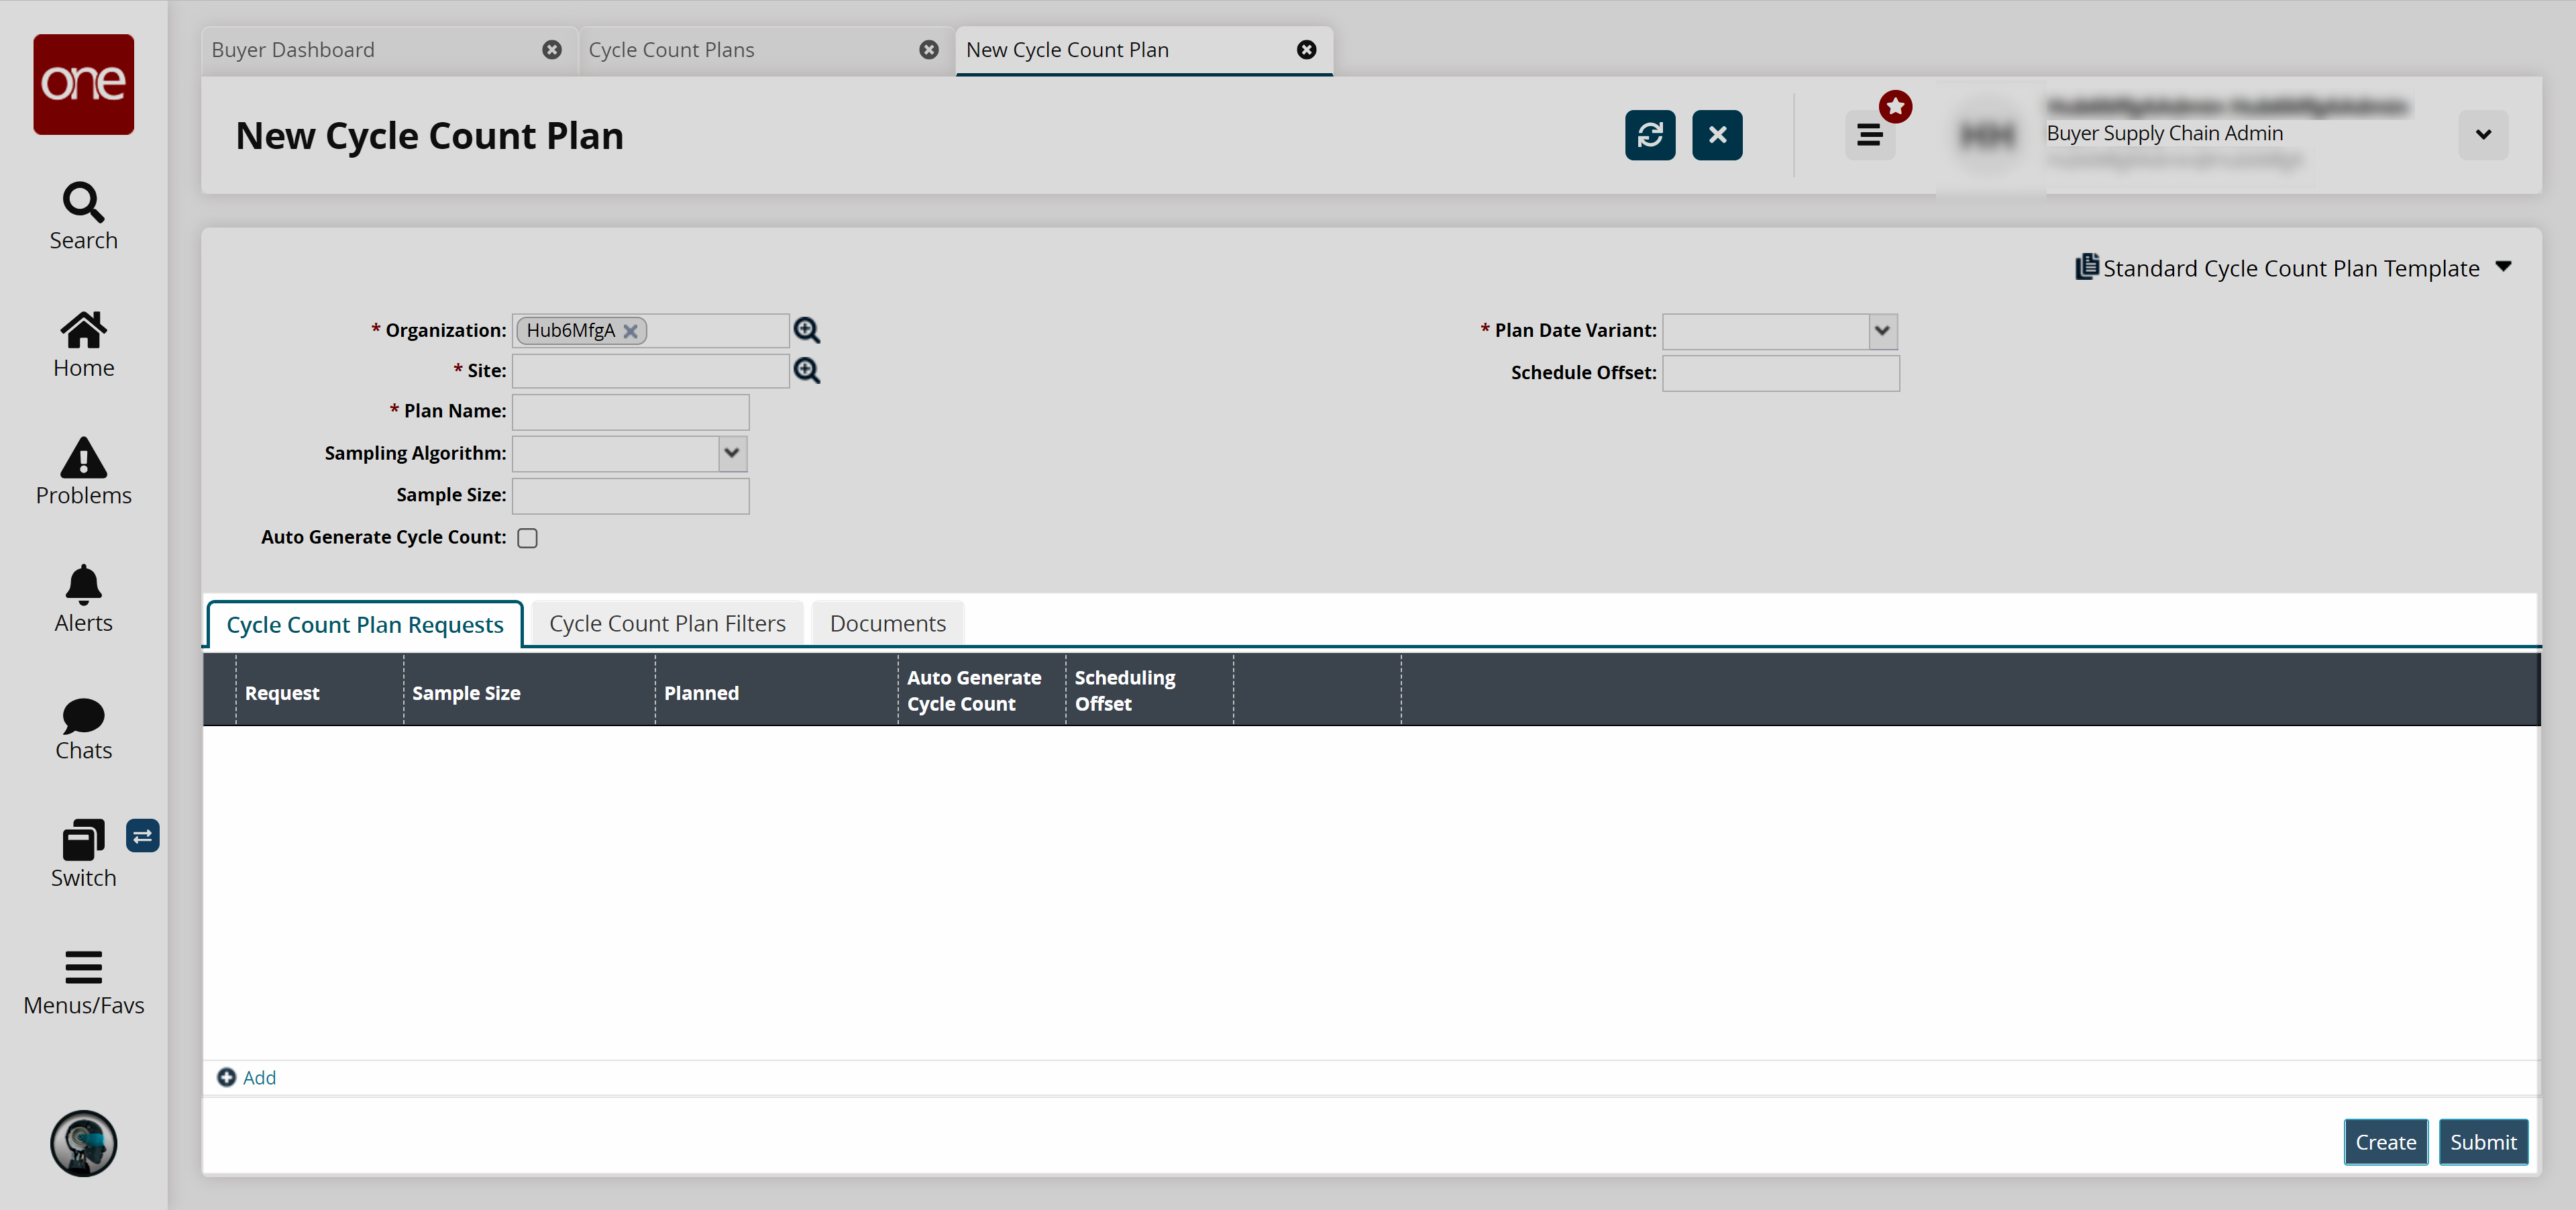
Enter a Planned date for the request line.
As required, choose a value for Sample Size and Auto-Generate Cycle Count.
To save the line, click the Create button at the bottom of the screen.
A success message appears.
Cycle Count Plan Filters Tab
Under the Cycle Count Plan Filters tab, select a Request from the dropdown menu.
Click the Add link to add include or exclude filters to the plan.
Filters can now be added.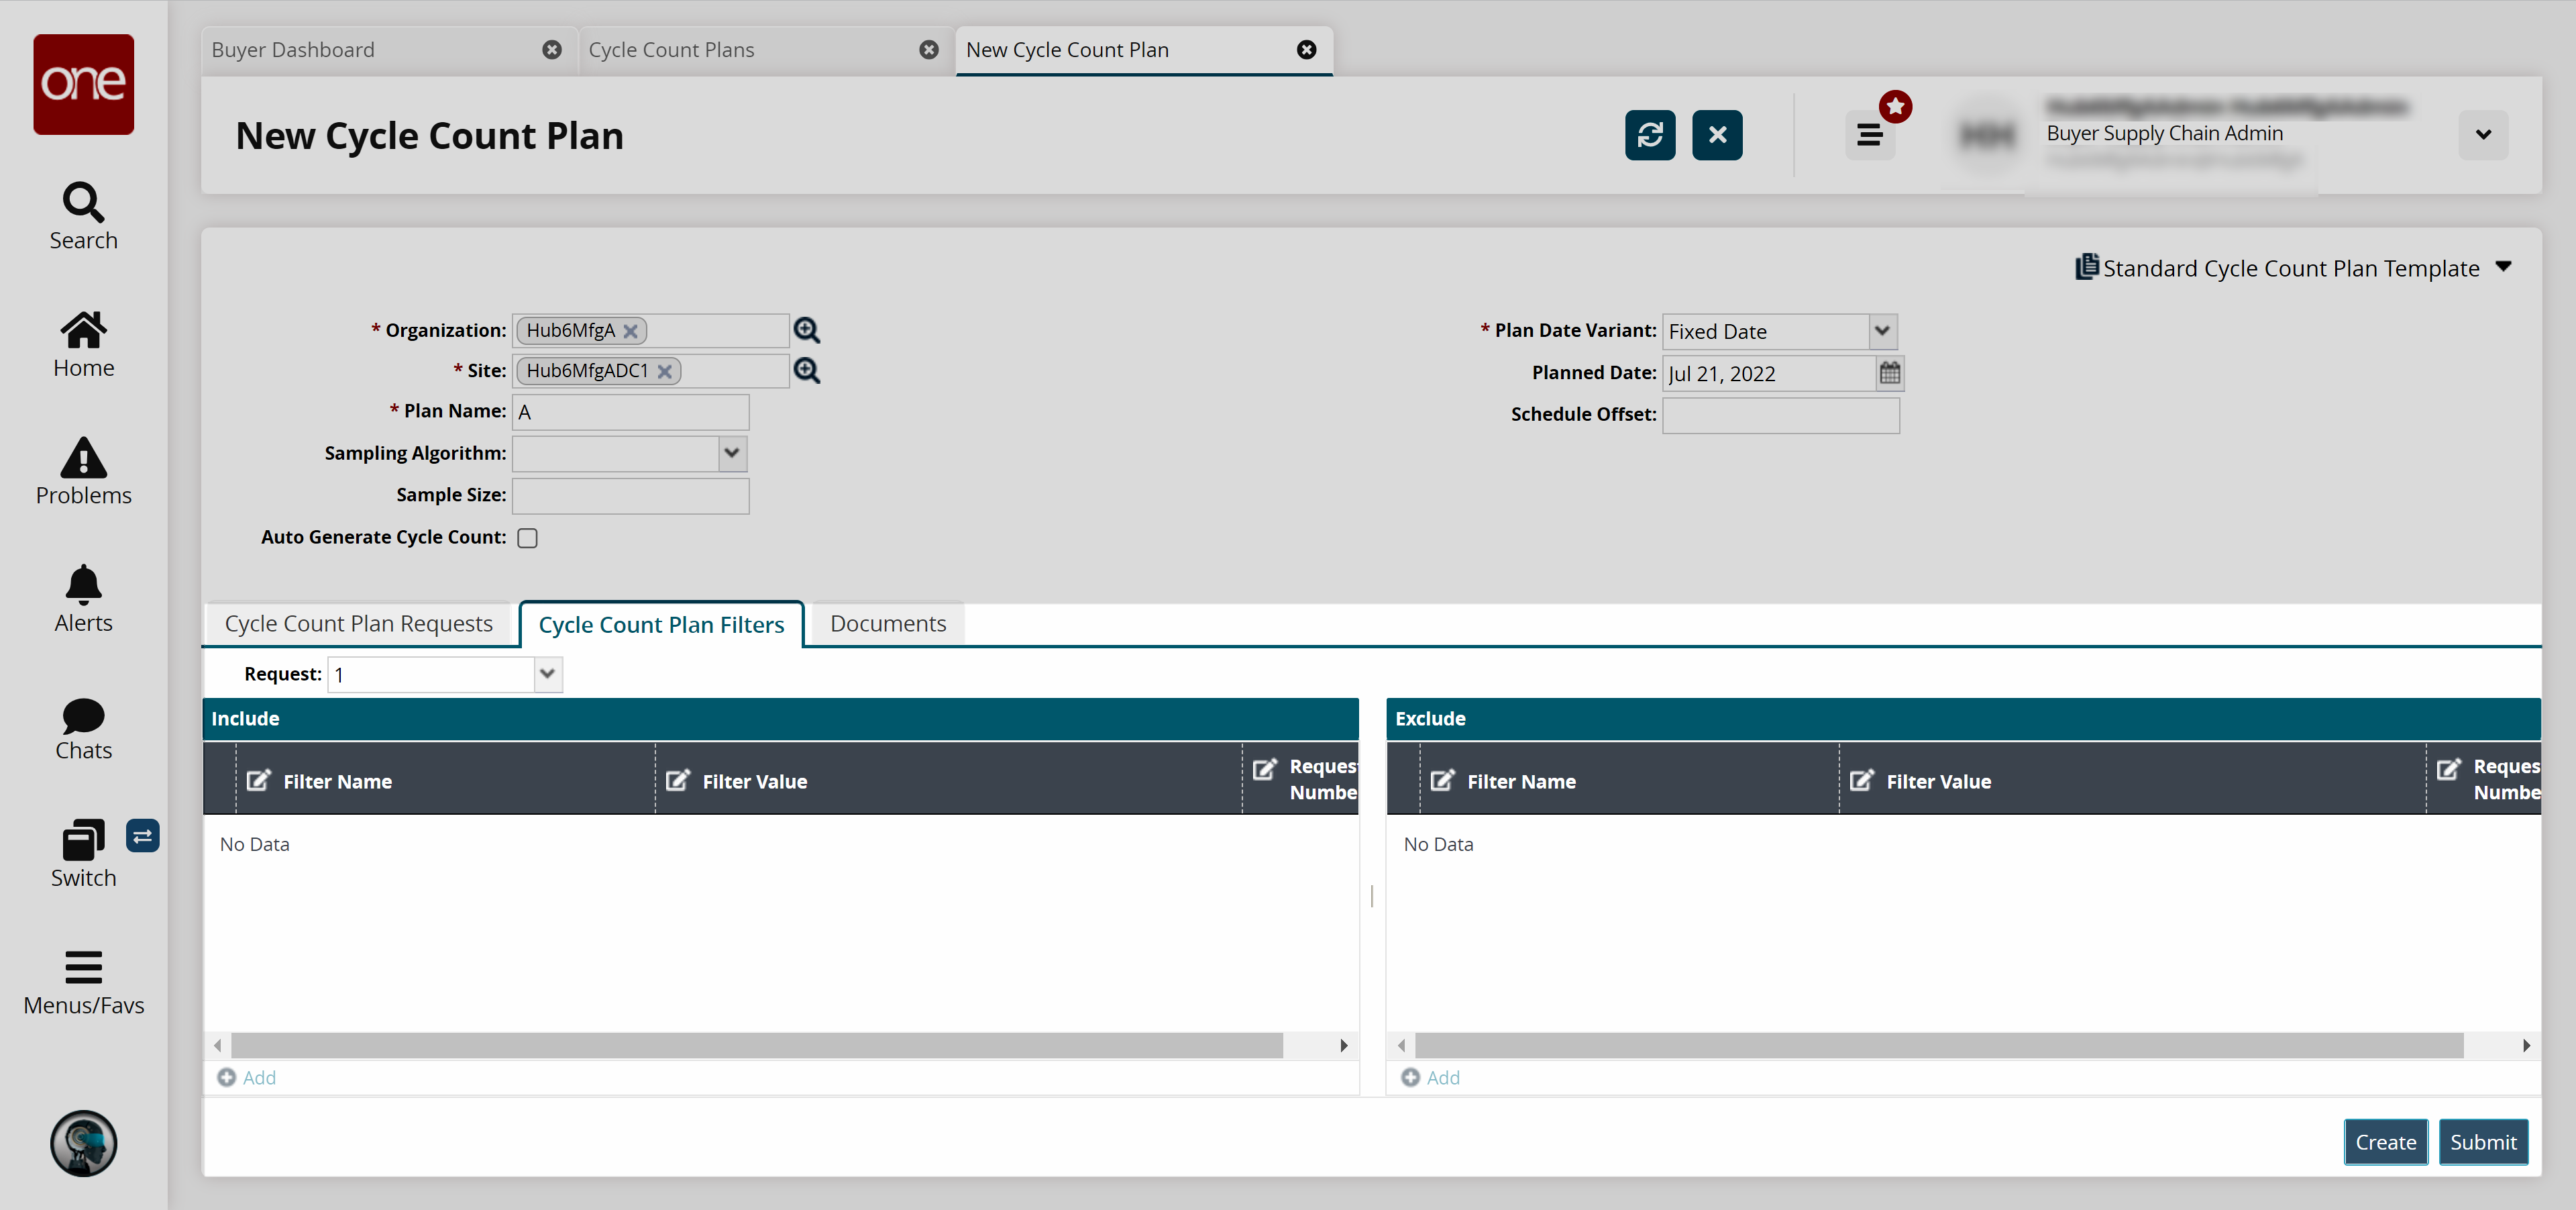
Enter a Filter Value.
To save the filters, click the Create button at the bottom of the screen.
A success message appears.
Documents Tab
From the Document tab, users can upload, download, and email related documents.
Under the Documents tab, click the Upload link to upload a document.

To save the attached documents, click the Create button at the bottom of the screen.
A success message appears.To submit the Cycle Count Plan, click the Submit button.
A success message appears.