Creating Deployment Orders
The process for creating a deployment order consists of these primary steps:
Creating Deployment Orders
Complete the following steps to create a new deployment order:
L og in to the ONE system.
Click Menus/Favs > Order Mgmt > New Deployment Order .
In the NEO UI, users can click on the Menus/Favs icon on the left sidebar and type in the name of the screen in the menu search bar. For more information, see "Using the Menu Search Bar."
The New Deployment Order screen displays.
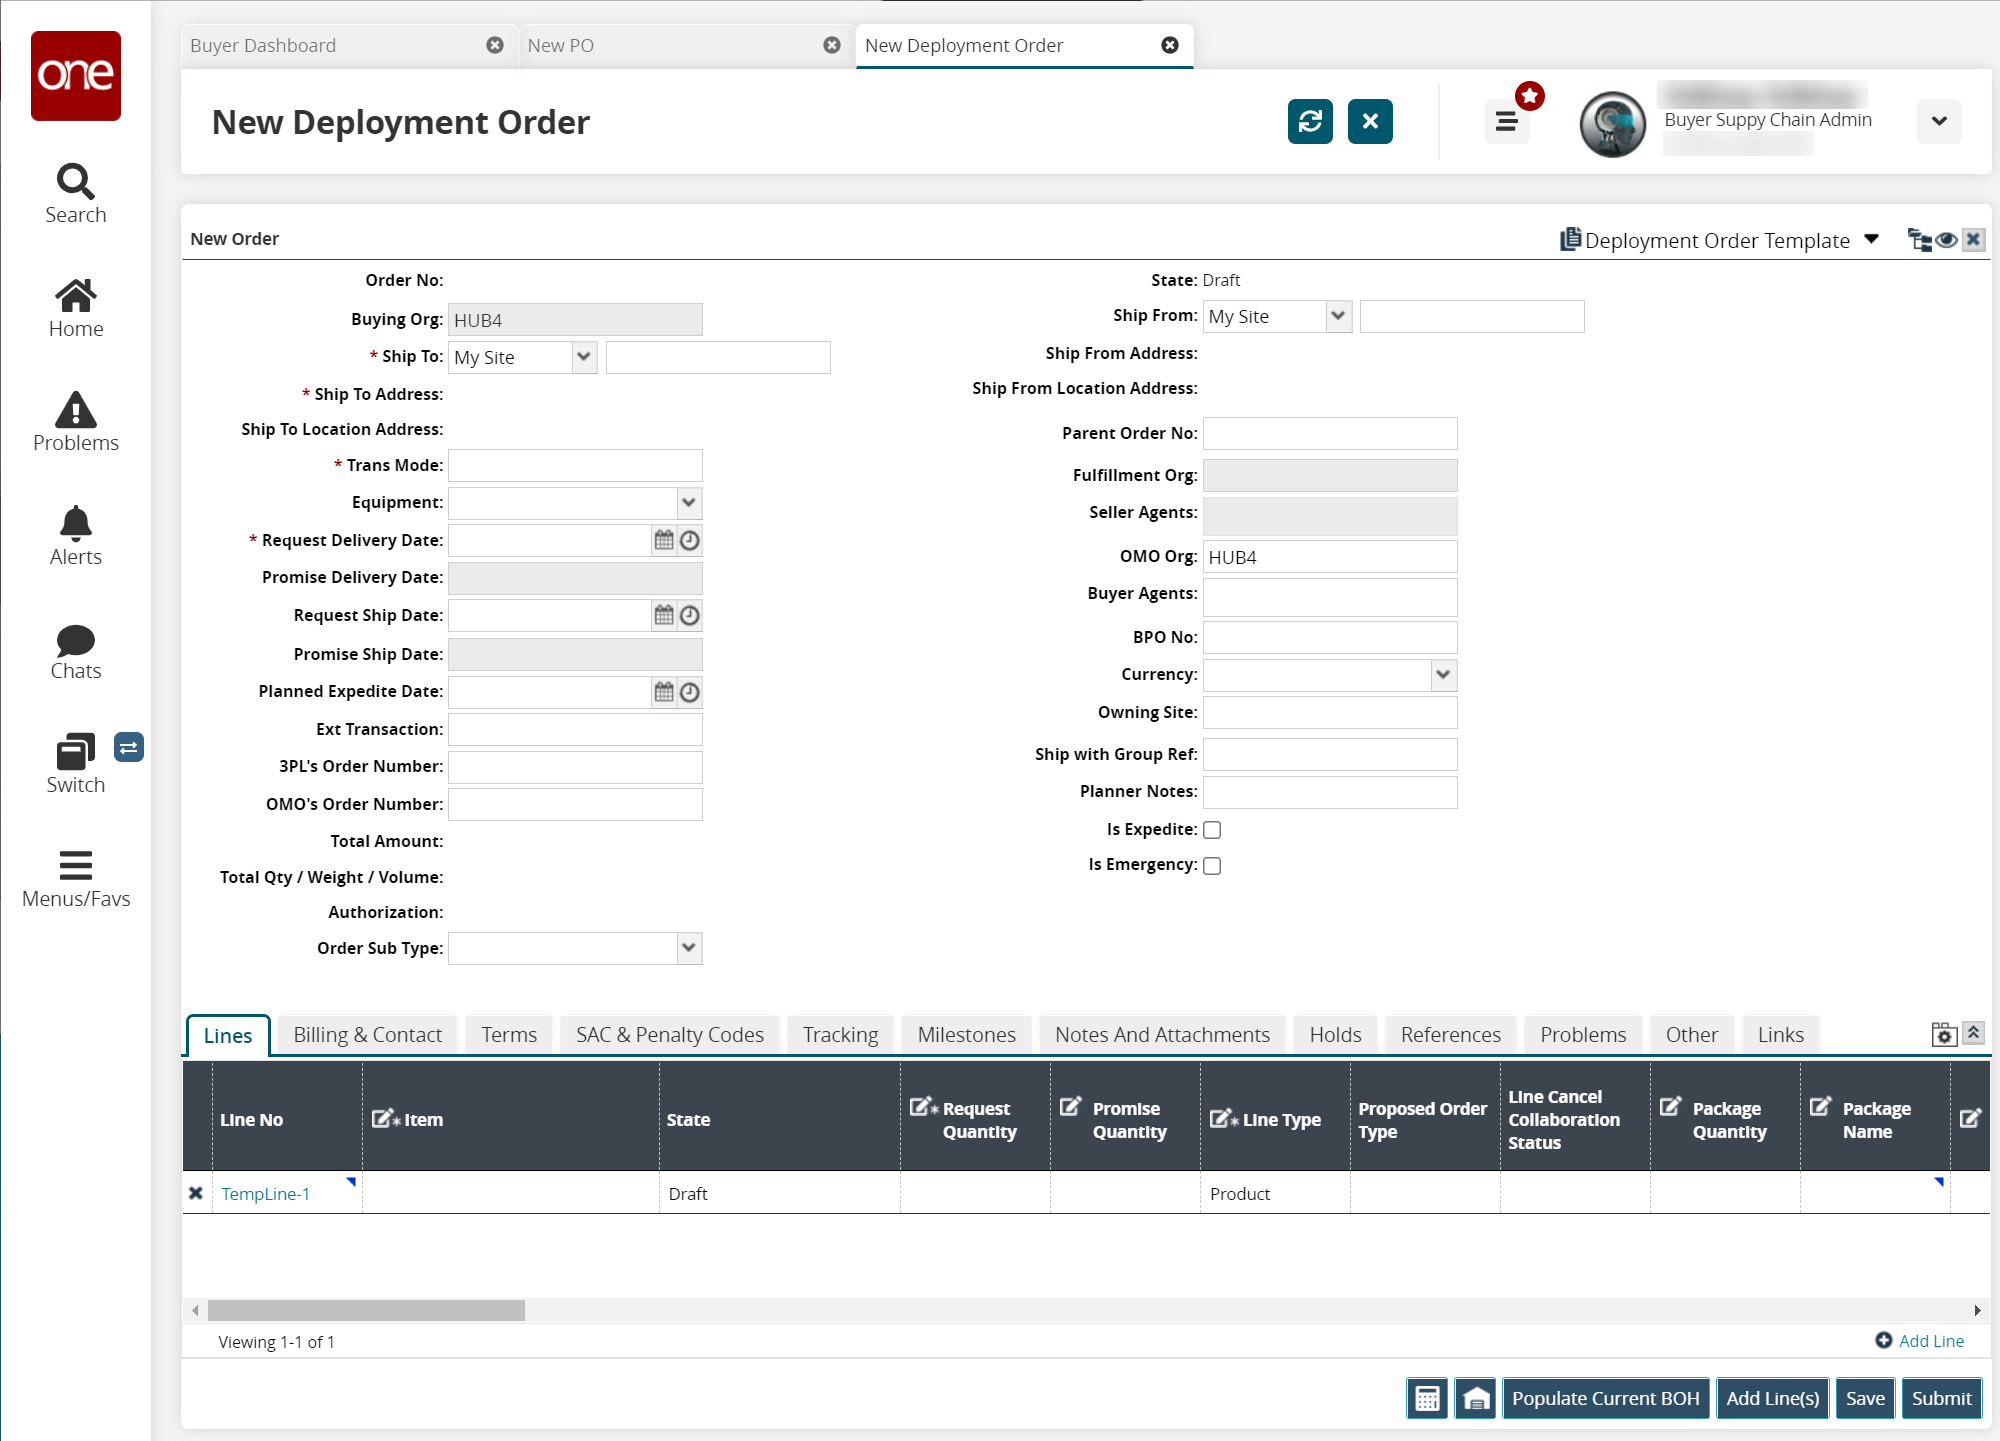
Fill out the following fields. Fields with an asterisk ( * ) are required.
Field Name
Description
Order No
A unique number for the order assigned by the system.
Buying Org
Select a customer using the picker tool. The customer is buying the items on the deployment order.
* Ship To
Select a ship to location using the drop-down menu and the text field. The available options in the drop-down menu are My Site, My Partner Site , and My Location. Begin typing a ship to location in the text field and select an auto-complete option.
Ship To Address
This field is populated by the system based on your selection in the Ship To field.
Ship To Location Address
This field is populated by the system based on your selection in the Ship To field.
* Trans Mode
Begin typing a transportation mode for the deployment order and select an auto-complete option.
Equipment
Select equipment for the deployment order from the drop-down menu.
* Request Delivery Date
Select the date the deployment order is requested to be delivered by using the calendar icon.
Request Ship Date
Select the date the deployment order is requested to be shipped by using the calendar icon.
Promise Delivery Date
Select the date the deployment order is promised to be delivered by using the calendar icon.
Promise Ship Date
Select the date the deployment order is promised to be shipped by using the calendar icon.
Planned Expedite Date
Select the date t the deployment order is planned to be expedited by.
Ext Transaction
Enter an external transaction number.
3PL's Order Number
Enter a third-party logistics order number.
OMO's Order Number
Enter an OMO order number.
Total Amount
The total cost of the order. This field is populated by the system after the deployment order is submitted.
Total Weight/Quantity/Volume
The total weight, quantity, or volume of the order. This field is populated by the system after the deployment order is submitted.
Authorization
Indicates whether the order is authorized. This field is populated by the system after the deployment order is submitted.
Order Subtype
Select an order subtype from the drop-down menu. The available options are Blank, Consignment, Rebalance, Standard, or VMI.
State
The state of the deployment order. This field is controlled by the system.
Ship From
Select a ship from location using the drop-down menu and the text field. The available options in the drop-down menu are Vendor's Site, Vendor's Partner Site, Vendor's Location, and Address. Begin typing a ship from location in the text field and select an auto-complete option.
Ship From Address
This field is populated by the system based on your selection in the Ship From field.
Ship From Location Address
This field is populated by the system based on your selection in the Ship From field.
Parent Order No
Enter a parent order number.
Fulfillment Org
Enter the name of the fulfillment organization.
Seller Agents
Enter the name of the seller agent.
OMO Org
This field is populated by the system based on the users' organization. The order management organization.
Buyer Agents
Enter the name of the buyer agent.
BPO No
Enter the Blanket Purchase Order number.
Currency
Select a currency used for this deployment order.
Owning Site
A pre-populated, editable field used to track the site that owns the order. This field is populated when the Ship To field is populated.
Ship with Group Ref
Enter a Ship With Group reference number.
Planner Notes
Enter any planner notes.
Is Expedite
Select the checkbox if the deployment order needs to be accelerated or hurried.
Is Emergency
Select the checkbox if the deployment order is in an emergency or is very important.
Tip
You can order generic items in place of specific items. For example, you might want ten 40" televisions but do not care about the manufacturer. To order using generic items, you must select the Generic Item Order template. For more information on generic items, see the "Generic Item Orders" section in the Online Help.
You can add duplicate items to multiple lines on the same order if the Duplicate Items on Order feature is enabled. If enabled, items are identified by both item name and line number throughout the system. This eliminates the possibility of any confusion which may result from having duplicate items with the same name on the same order. Contact ONE Network support to enable or disable this feature.
Adding Line Items to Deployment Orders
Complete the following steps to add line items to a deployment order:
Click Add Line link.
The new line appears.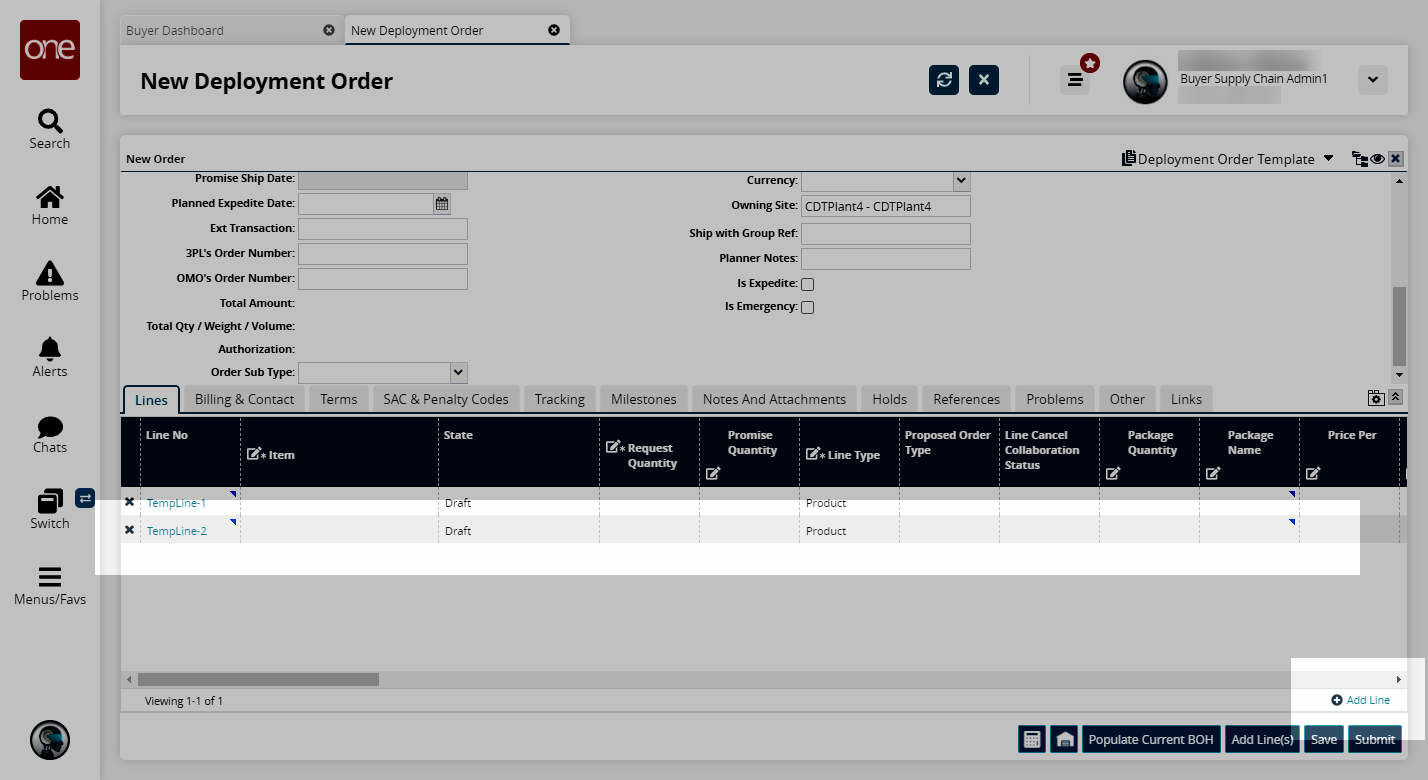
Select an Item.
The Item Description, Quantity UOM, and Unit Price fields are automatically populated based on the selected item.Enter a Request Quantity.
The Line Amount is calculated when the requested quantity is entered.Click the Save button.
A success message appears, and the tab changes to the Update Order screen.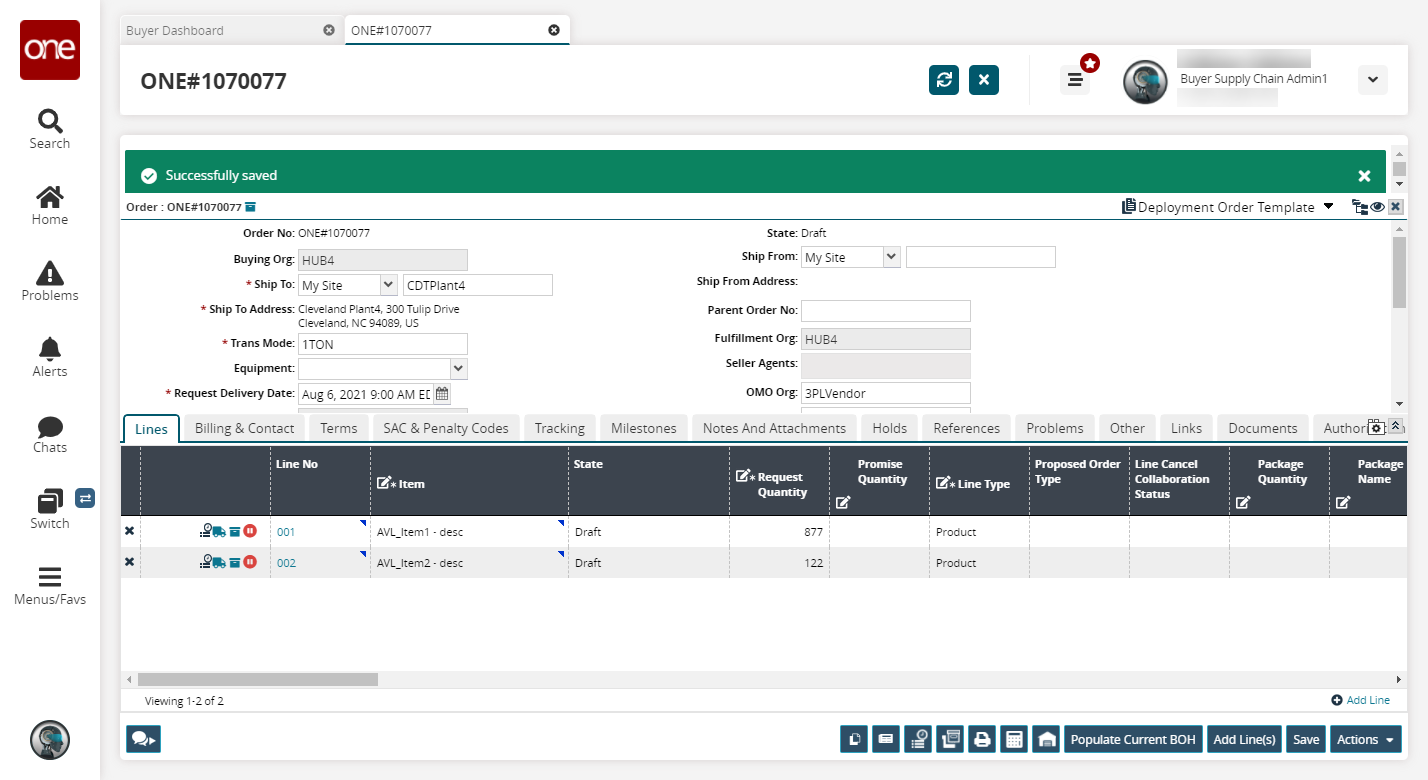
Adding Billing and Contact Information
Select the Billing & Contact tab.
The billing and contact information appear.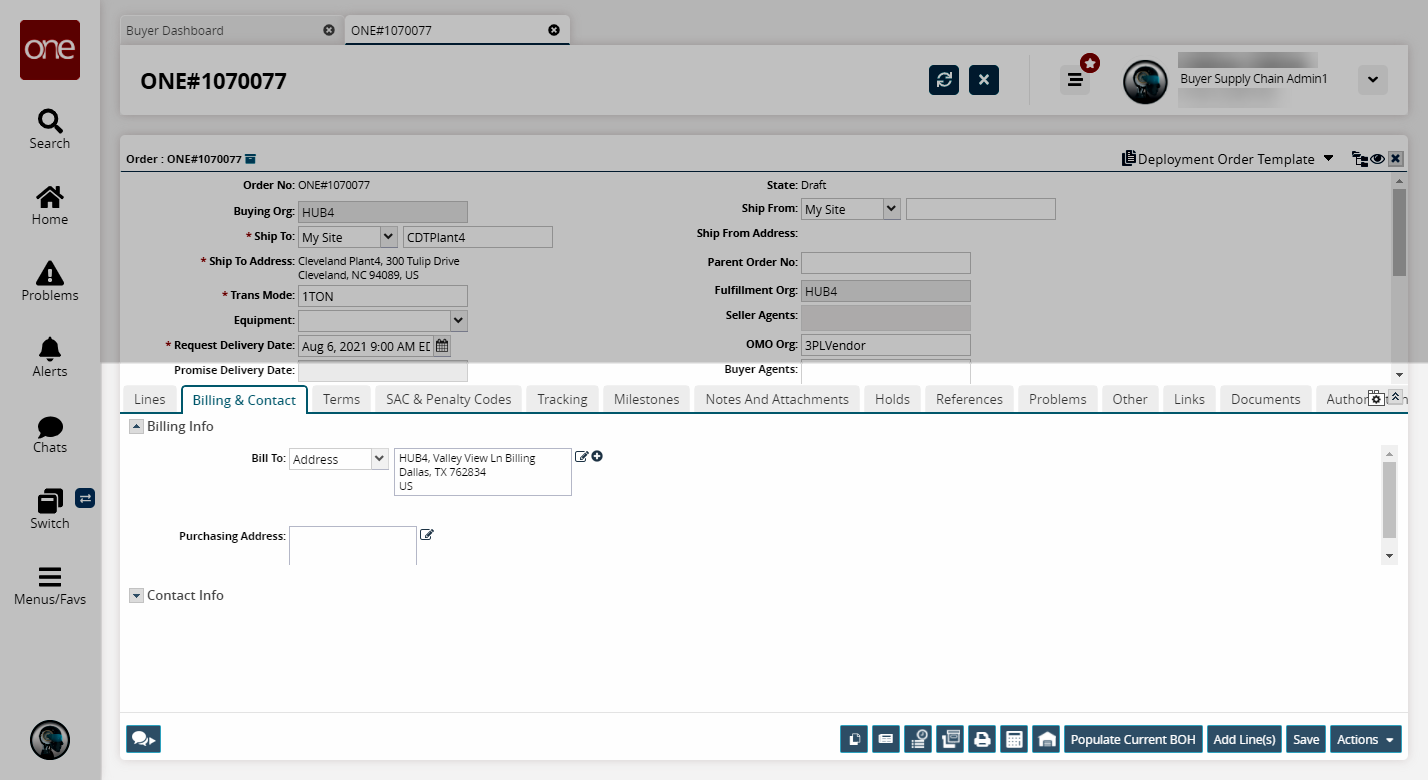
Select a Bill To location using the drop-down menu and the text field. The available options in the drop-down menu are My Site, My Partner Site, and Address. Begin typing a bill to location in the text field and select an auto-complete option. The Bill To Address field populates.
Cl ick the pencil icon for the Purchasing Address field.
An address form appears.
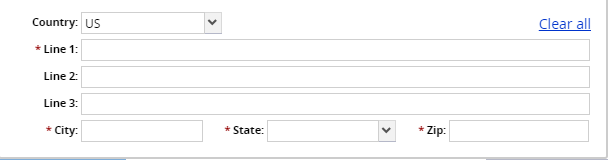
Fill out the following fields. Fields with an asterisk ( * ) are required.
Field
Description
Country
Select a country from the dropdown menu.
* Line 1, Line 2, Line 3
Enter the address in Line 1. Continue the address into Line 2 and Line 3 if needed.
* City
Enter a city.
* State
Select a state from the dropdown menu.
* Zip
Enter a zip code.
When finished entering billing and contact information, click the Save button.
A success message appears.Select a Planner Code.
The planner code identifies a planner to whom email notifications are sent when events occur for the order. Typically the user creating the order does not need to enter a planner code as it is auto-populated.When finished entering billing and contact information, click the Save button.
A success message appears.
Adding Tracking Events
Note that tracking events can be preconfigured.
Select the Tracking tab.
Tracking information displays.
Click Add Tracking Event.
The Add Tracking Event pop-up window appears.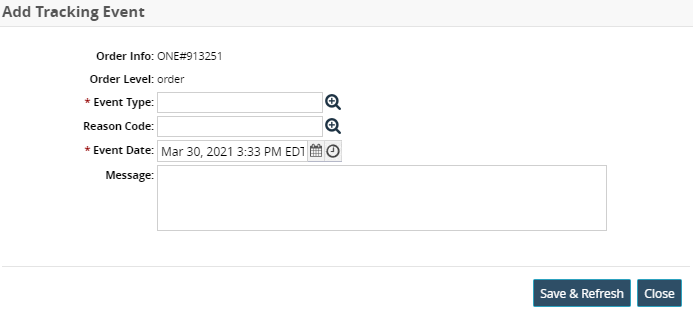
Select an * Event Type using the picker tool.
Select a Reason Code using the picker tool
Enter an Event Date using the calendar and clock tools.
Enter an event Message.
Click Save & Refresh.
The new event appears in the Tracking view.
Working with the Milestones Tab
The Milestones tab for purchase orders (POs) records all order milestones, such as when the order was created, approved, shipped, and so on. The Milestones tab has useful data after the order is created, allowing users to track if the order lifecycle is progressing as per expectations. Note that milestones can be preconfigured.
Complete the following steps to view and work with the Milestones tab:
From the PO details screen, click the Milestones tab.
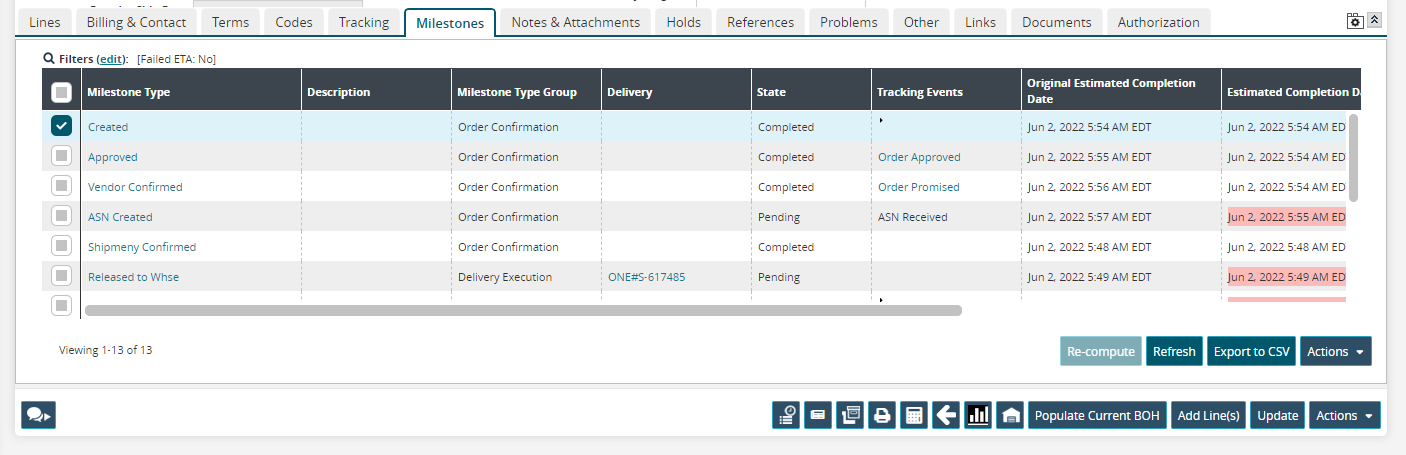
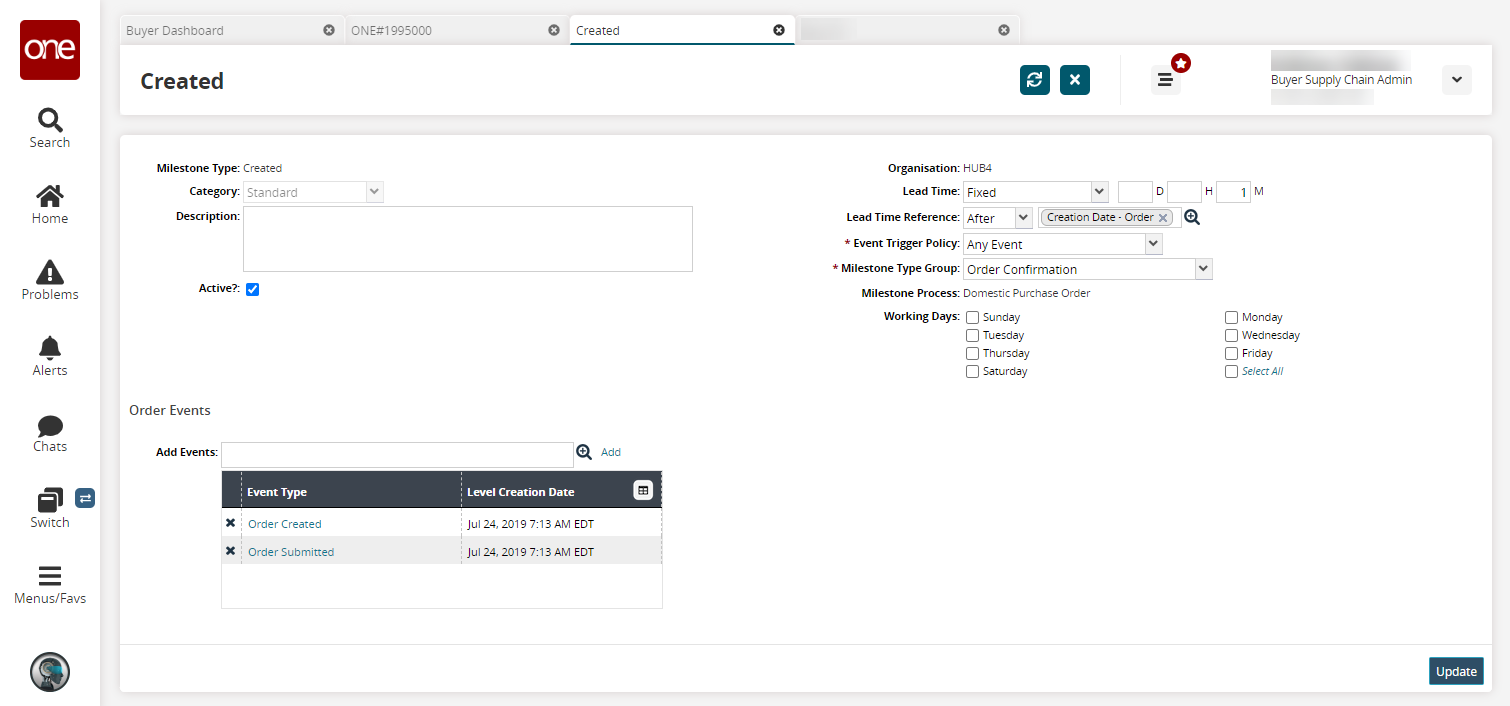
The Milestones tab shows milestone types, milestone states, any related tracking events, estimated completion dates, and actual completion dates.Click a Milestone Type link to open a milestone details page.
Click the Export to CSV button to export the report to a CSV file.
Select one or more milestones and click the Actions button to perform various actions, such as updating reason codes.
Adding Notes and Attachments
From the Notes and Attachments tab, you can add planner notes and buyer attachments.
Select the Notes And Attachments tab.
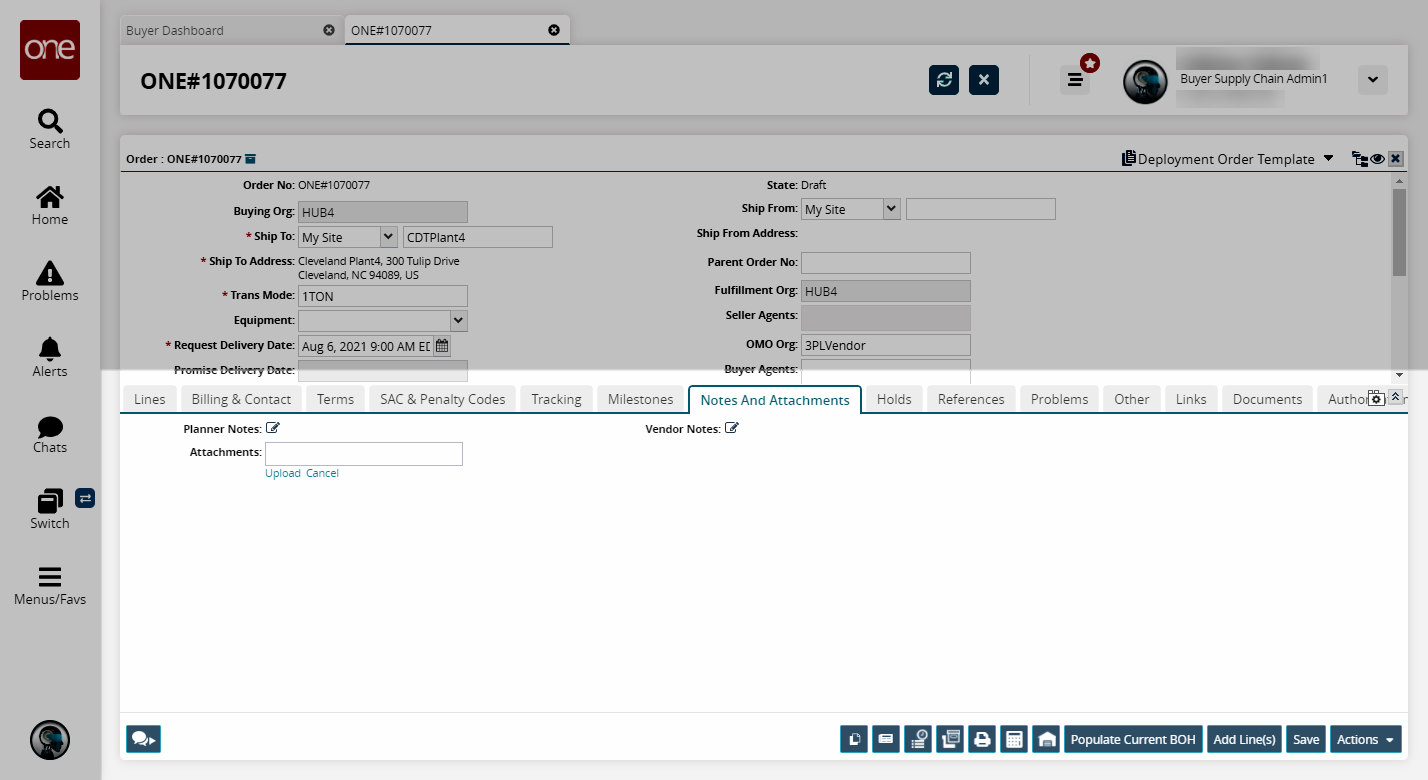
Adding Planner and Vendor Notes
Click the Planner Notes pencil icon to add planner notes.
The Planner Notes window appears.Enter a note in the text box located on the right side of the window.
If the note is a publicly available note, meaning the vendor can also see the note, select the Public check box.
If the note should be included when a PDF of the order is generated, select the Print check box.
Click the Add Note button.
The new note appears on the left side of the Planner Notes window.You can delete notes by clicking the X button to the left of the note.
Adding Attachments
Click the Upload link at the bottom left corner of the Buyer Attachments window.
The Open pop-up window appears.Locate the attachment to upload
Click the Open button.
The attachment appears in the Buyer Attachments window.Click the Save button to save the changes to the order.
A success message appears.
Setting Additional Information
Select the Other tab.
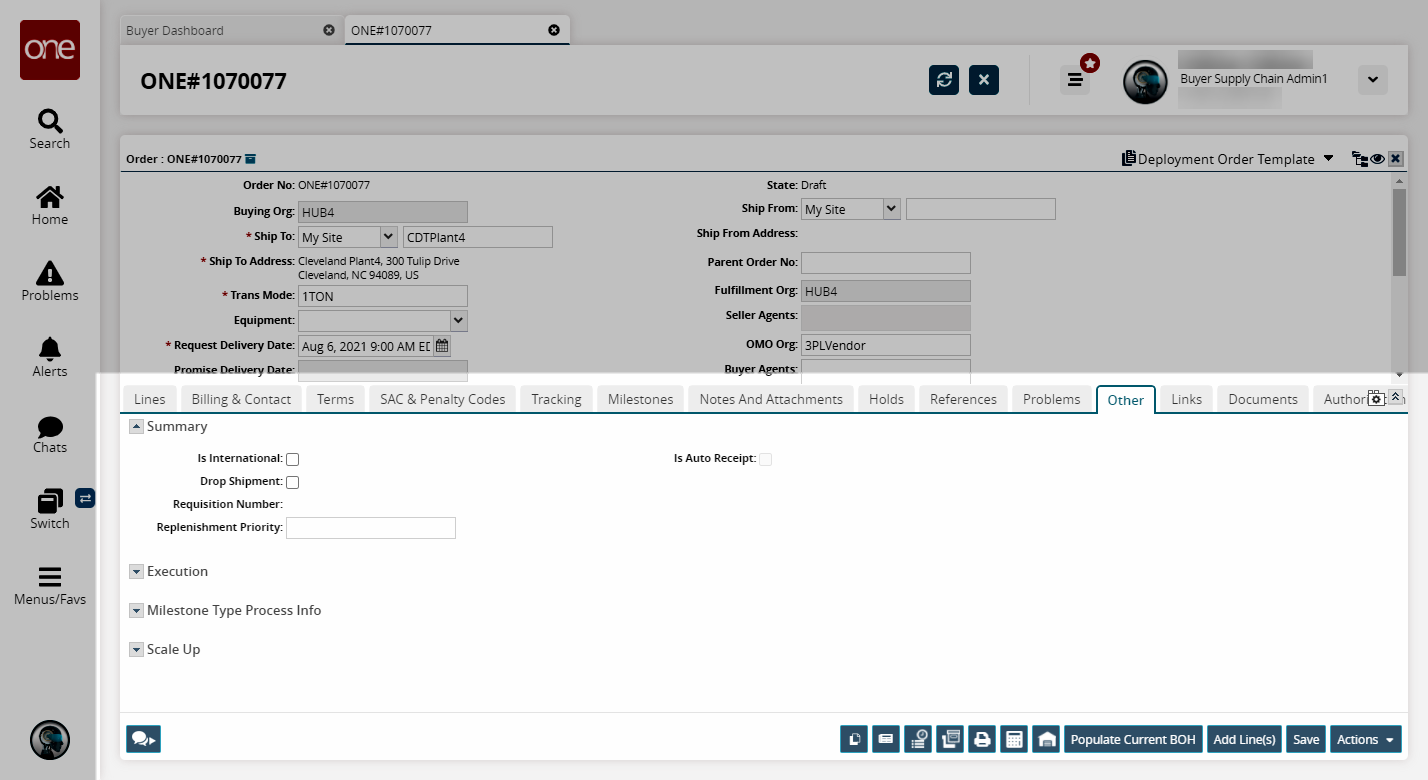
Expand the Summary view. Fill out the following fields. Fields with an asterisk ( * ) are required.
Option
Description
Is International
Select this checkbox to indicate the order is international.
Drop Shipment
Select this checkbox to indicate the order is a drop shipment.
Is Auto Receipt
Select this checkbox to indicate the order will have an automatic receipt.
Replenishment Priority
Enter a replenishment priority.
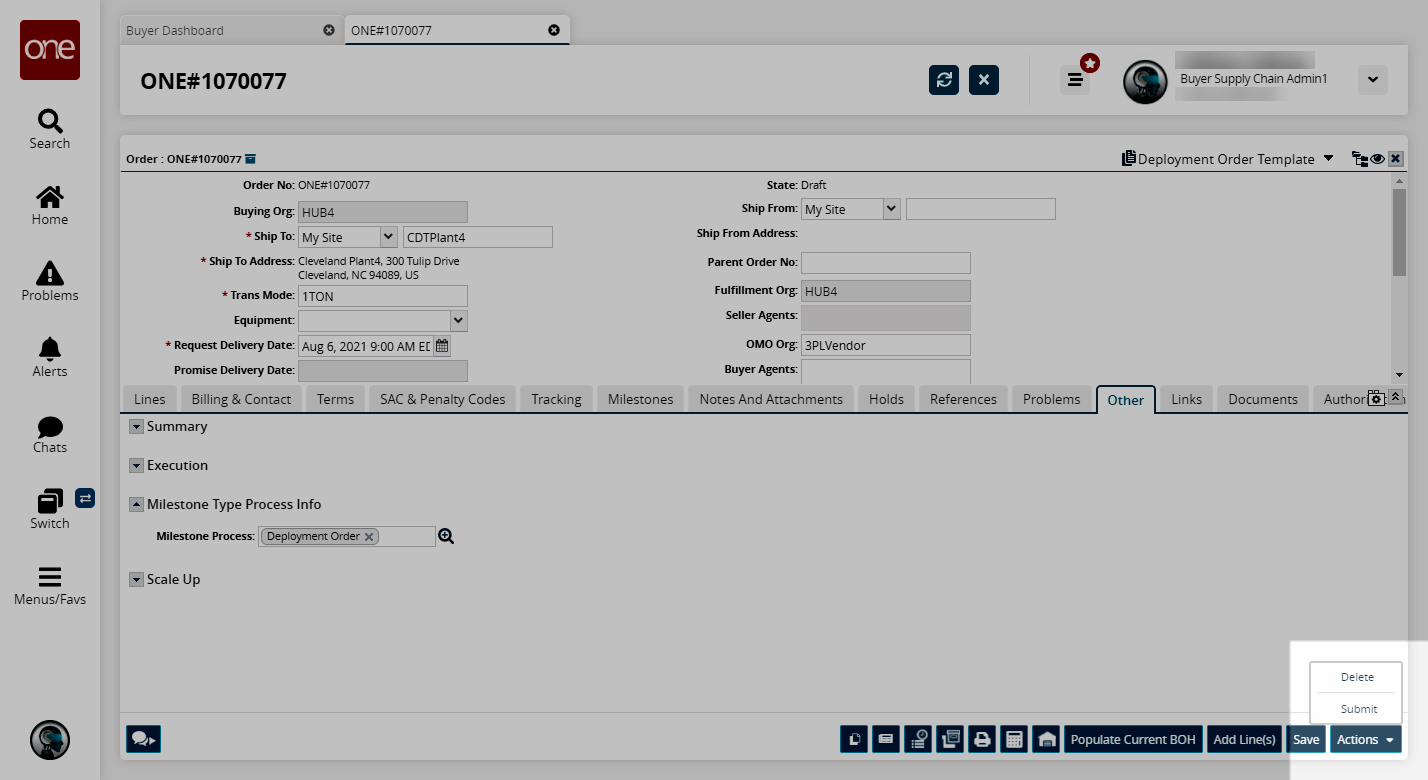
Click Save to save the changes to the order.
A success message appears.Expand the Milestone Type Process Info view.
In the Milestone Process field, select a milestone process using the picker tool.
Click Save to save the changes to the order.
A success message appears.The Execution and Scale Up views are not user-editable.
Submitting and Approving Deployment Orders
When you finish entering information about the order, click the Actions button and then select Submit.
The state changes to Awaiting Approval.Click Actions > Approve.
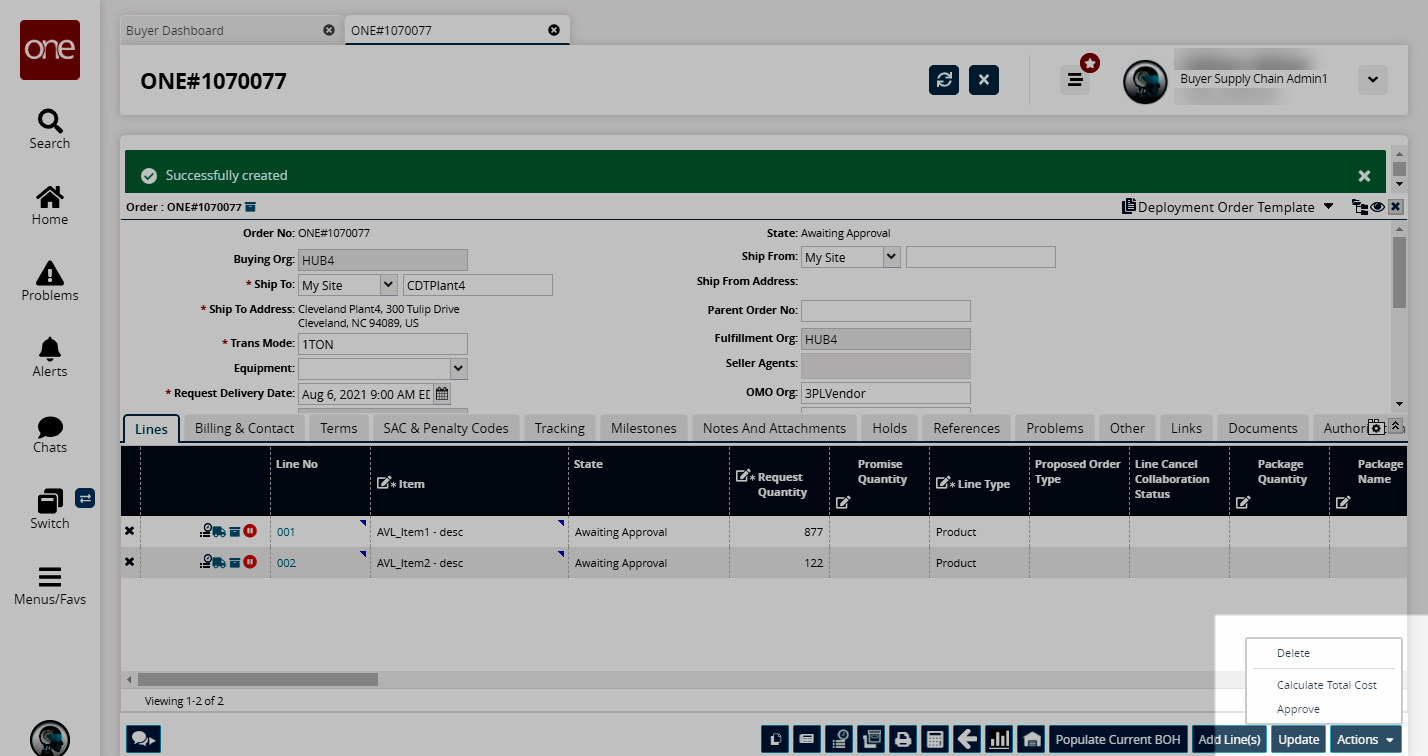
A success message appears.
The order state changes to New.