Creating Geo-Fences
A geo-fence is a virtual perimeter used in a real-world geographic area. Users can create a geo-fence around a specific location on a map, such as a port or a DC. Creating a geofence around a port or DC allows the system to generate arrived and departed events for GPS-tracked trucks and shipments based on the GPS position. The system determines when a vehicle enters and leaves a geo-fenced location and can create arrived and departed events based on this information.
Complete the following steps to create a geo-fence:
L og in to the ONE system.
Click Menus/Favs > Administration > Search Site.
The Search Site screen opens.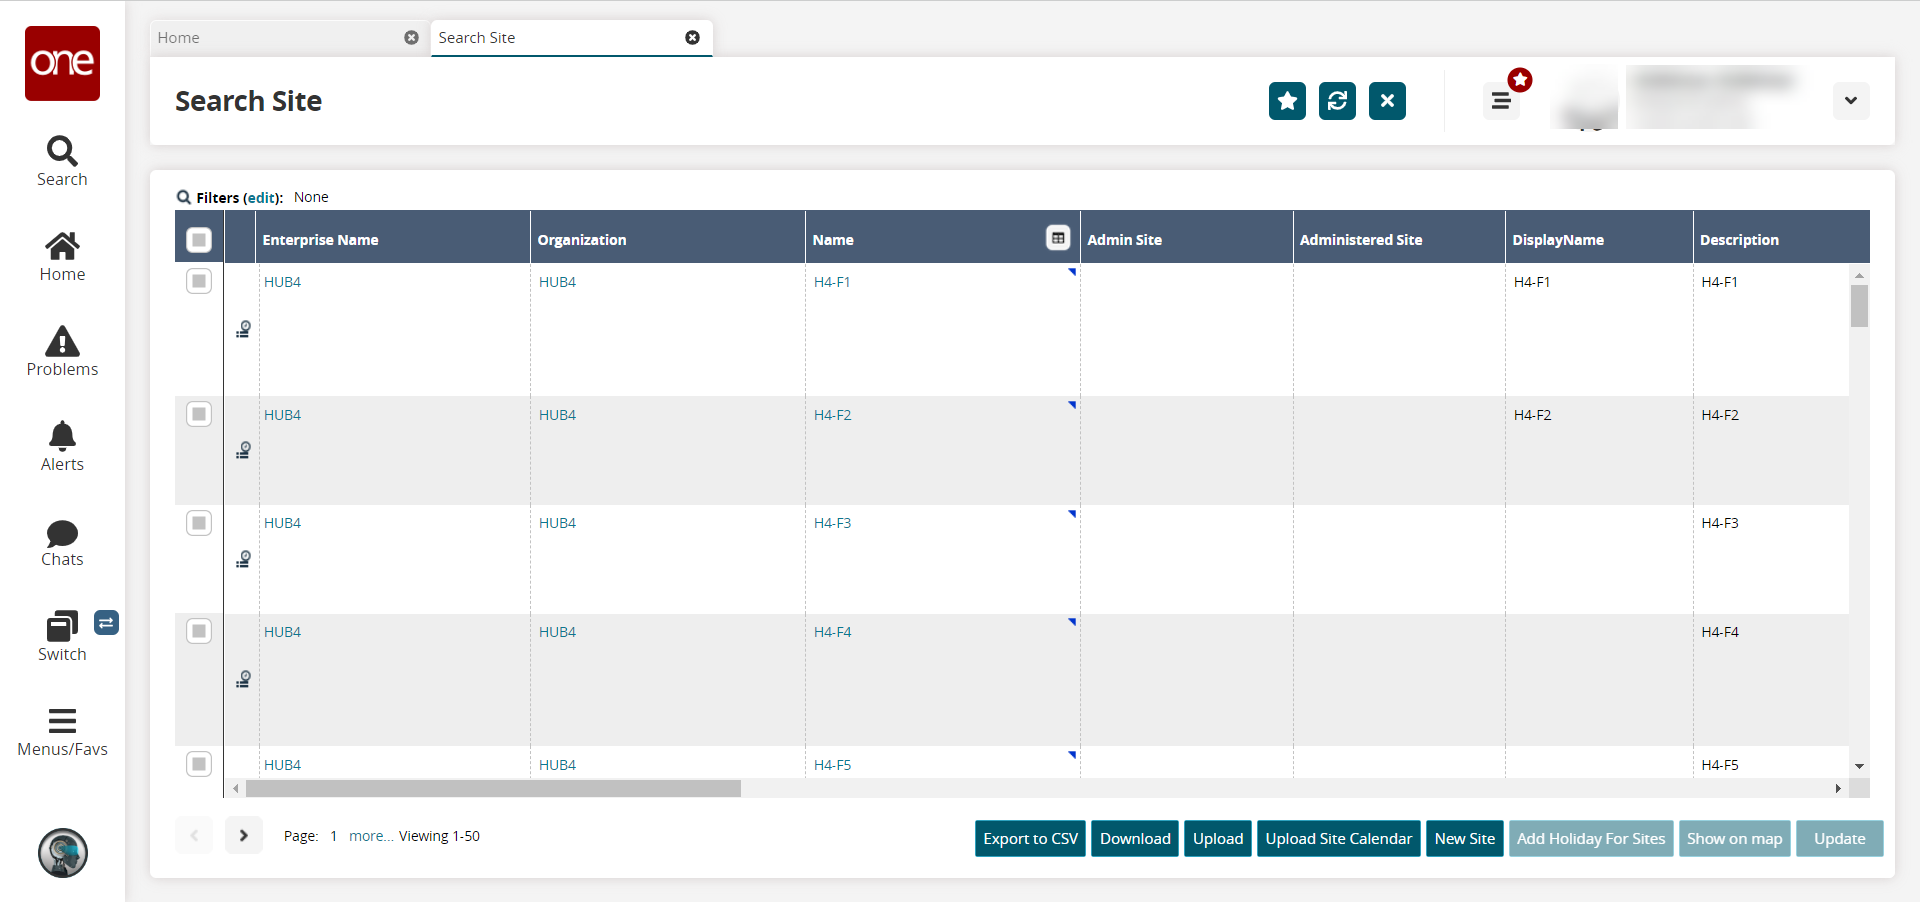
In the Name column, click the desired site link corresponding to the location where the geo-fence will exist. See the "Searching Sites" section for information on locating a specific site.
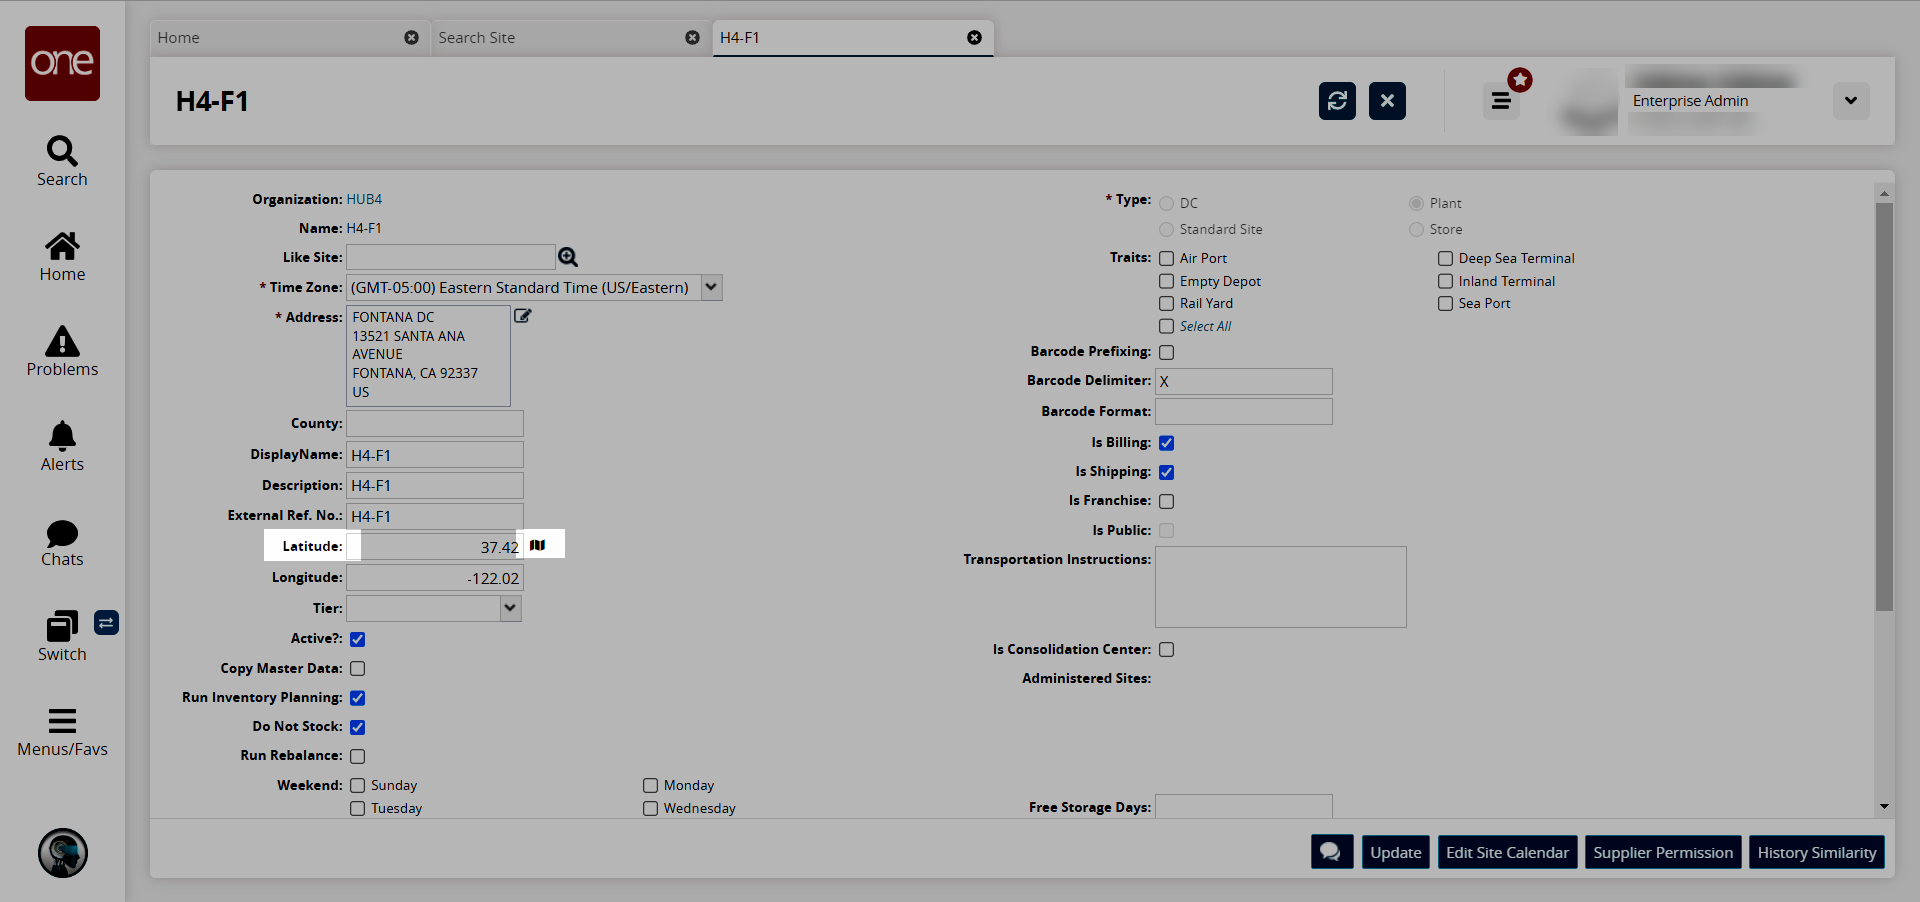
The site details screen opens.Click the map icon next to the Latitude field.
The Show on map popup window opens.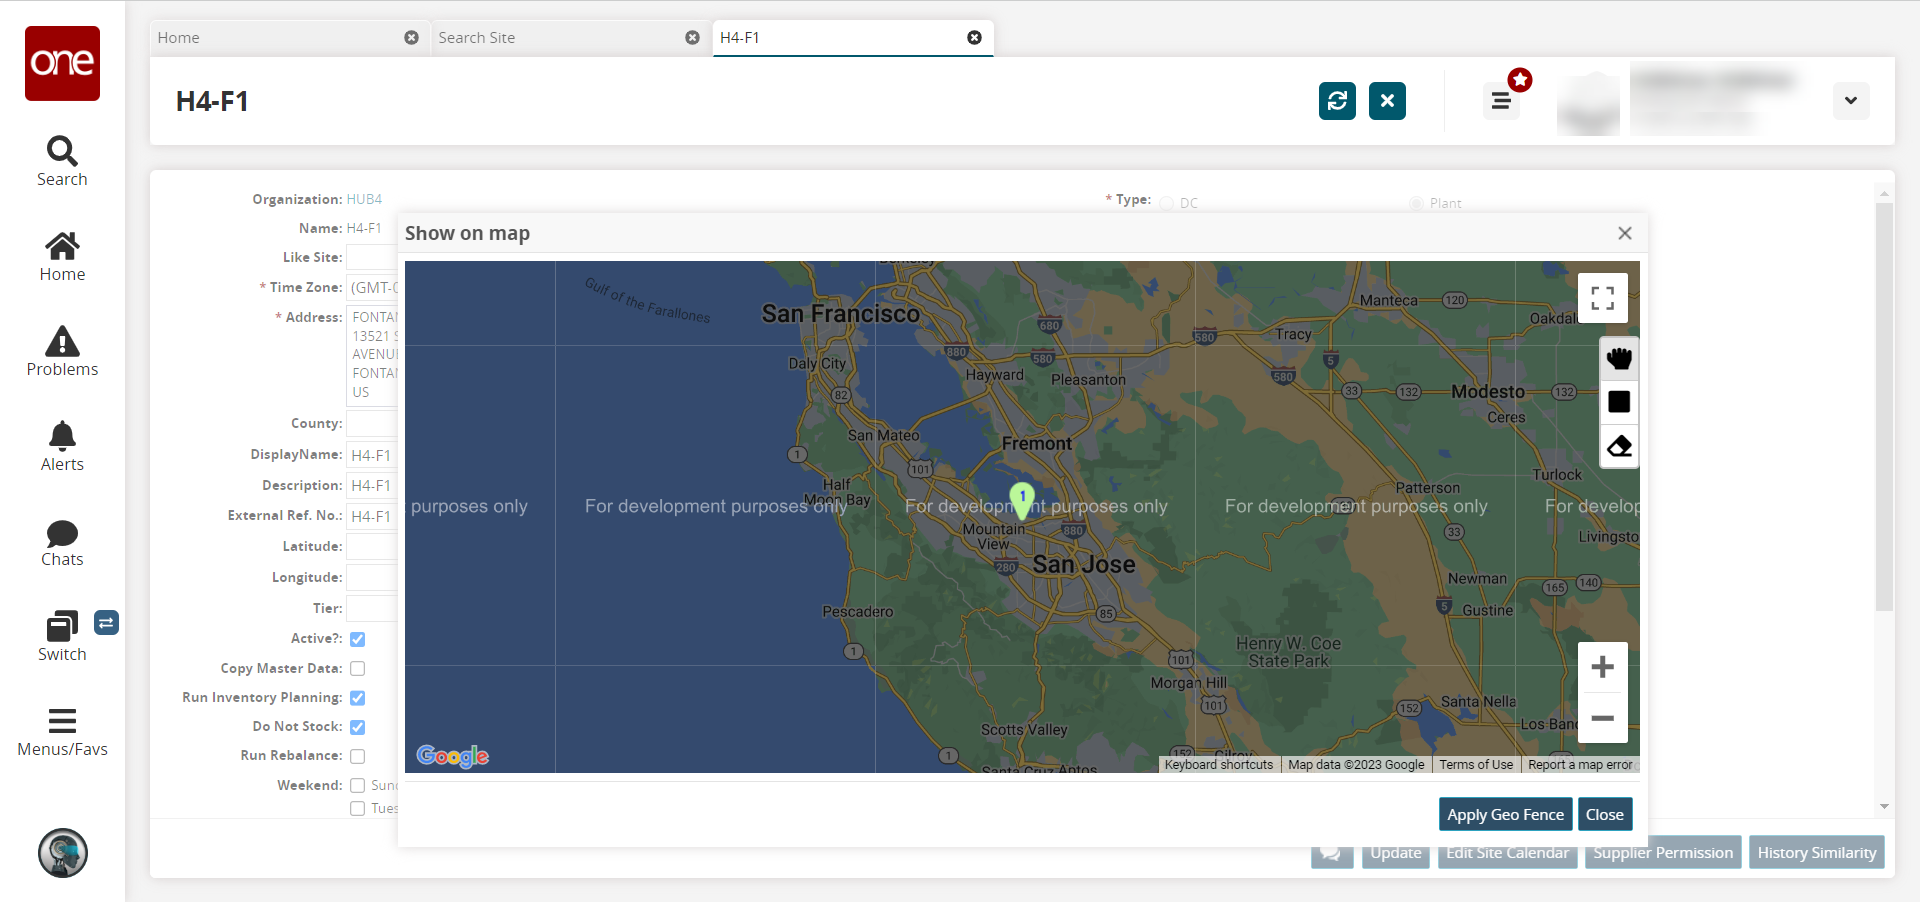
Click the Draw Polygon icon.
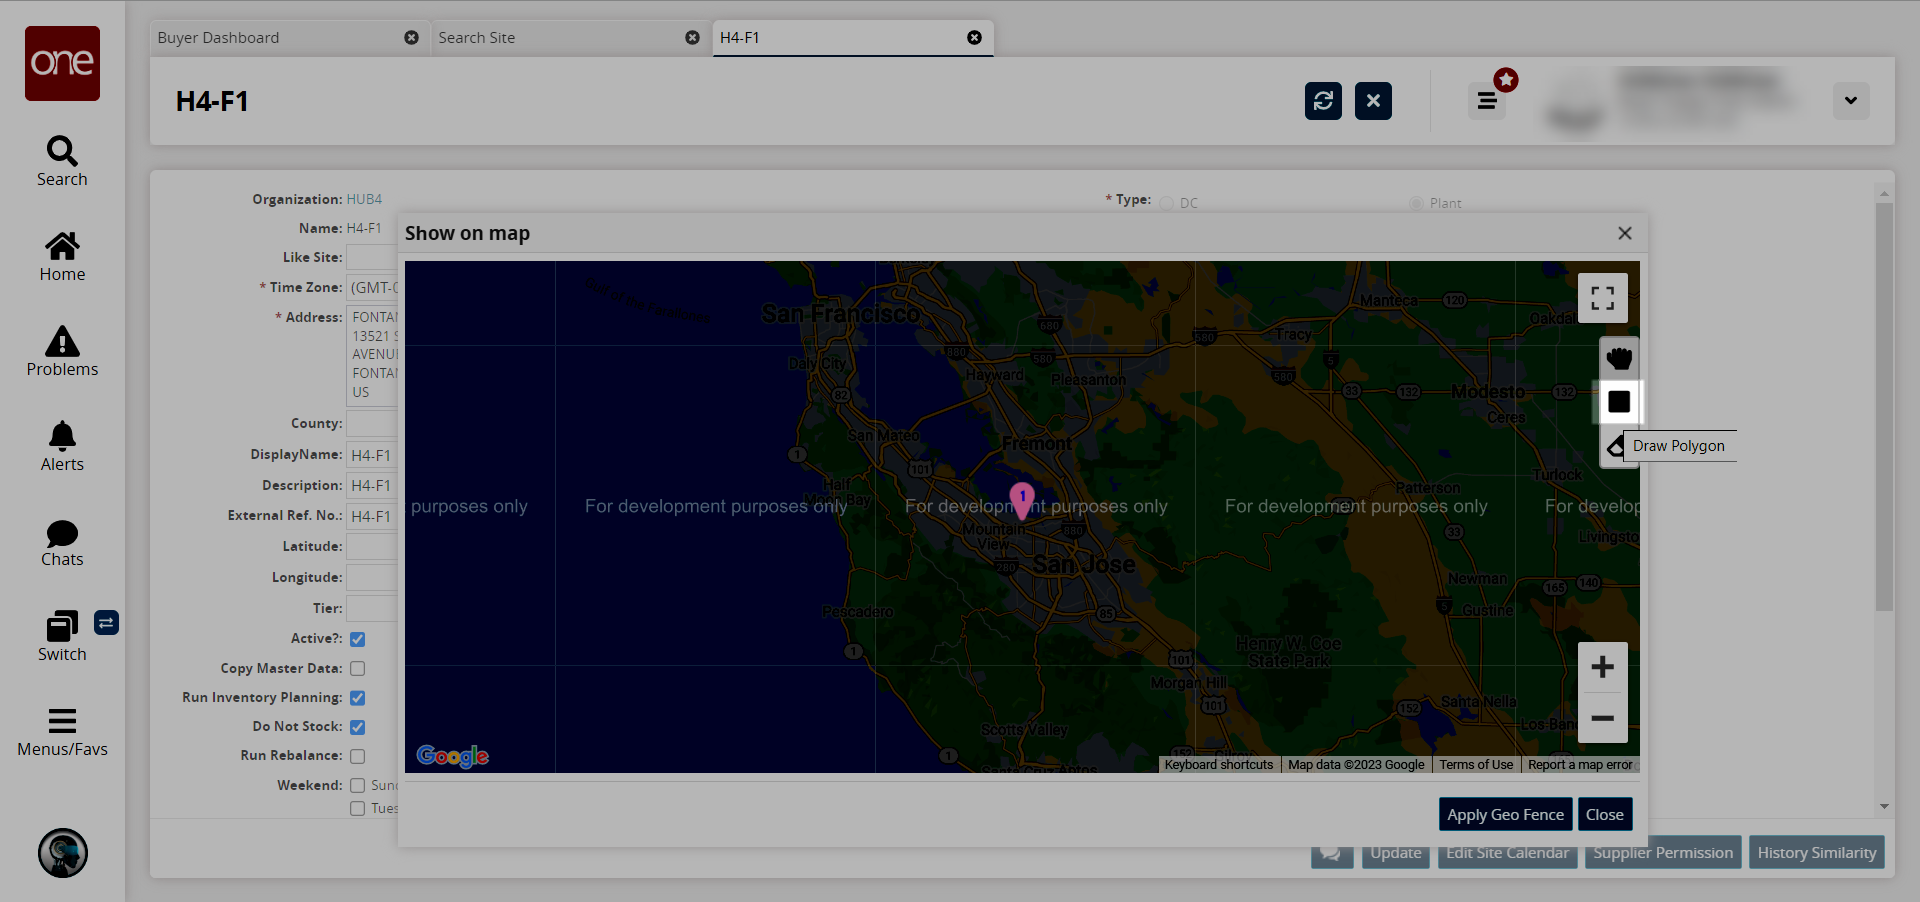
Use your cursor to define the region of the geo fence.
Click the Apply Geo Fence button.
Click the Close button.
The popup window closes.Click the Update button on the site details screen.
A success message displays.