Creating Planning Schedules
Schedules can be created and stored which trigger planning runs at a scheduled time. These can be set to run one time or on a recurring basis. Two options exist for the specific planning engine to run: CM Optimizer (for Continuous Moves) or Load Consolidation (for SPMD, MPSD, MPMD, Pooling, and Backhaul). The Planning Schedule for the CM Optimizer allows the planner to select the Location(s) to be used as optimization sites while the Load Consolidation schedule allows the planner to select one or more Locations to be used as optimization sites along with the directionality.
Complete the following steps to create planning schedules:
L og in to the ONE system.
Select Menu/Favs > Planning > Policies > Planning Schedule.
In the NEO UI, users can click on the Menus/Favs icon on the left sidebar and type in the name of the screen in the menu search bar. For more information, see "Using the Menu Search Bar."
The Planning Schedule screen appears.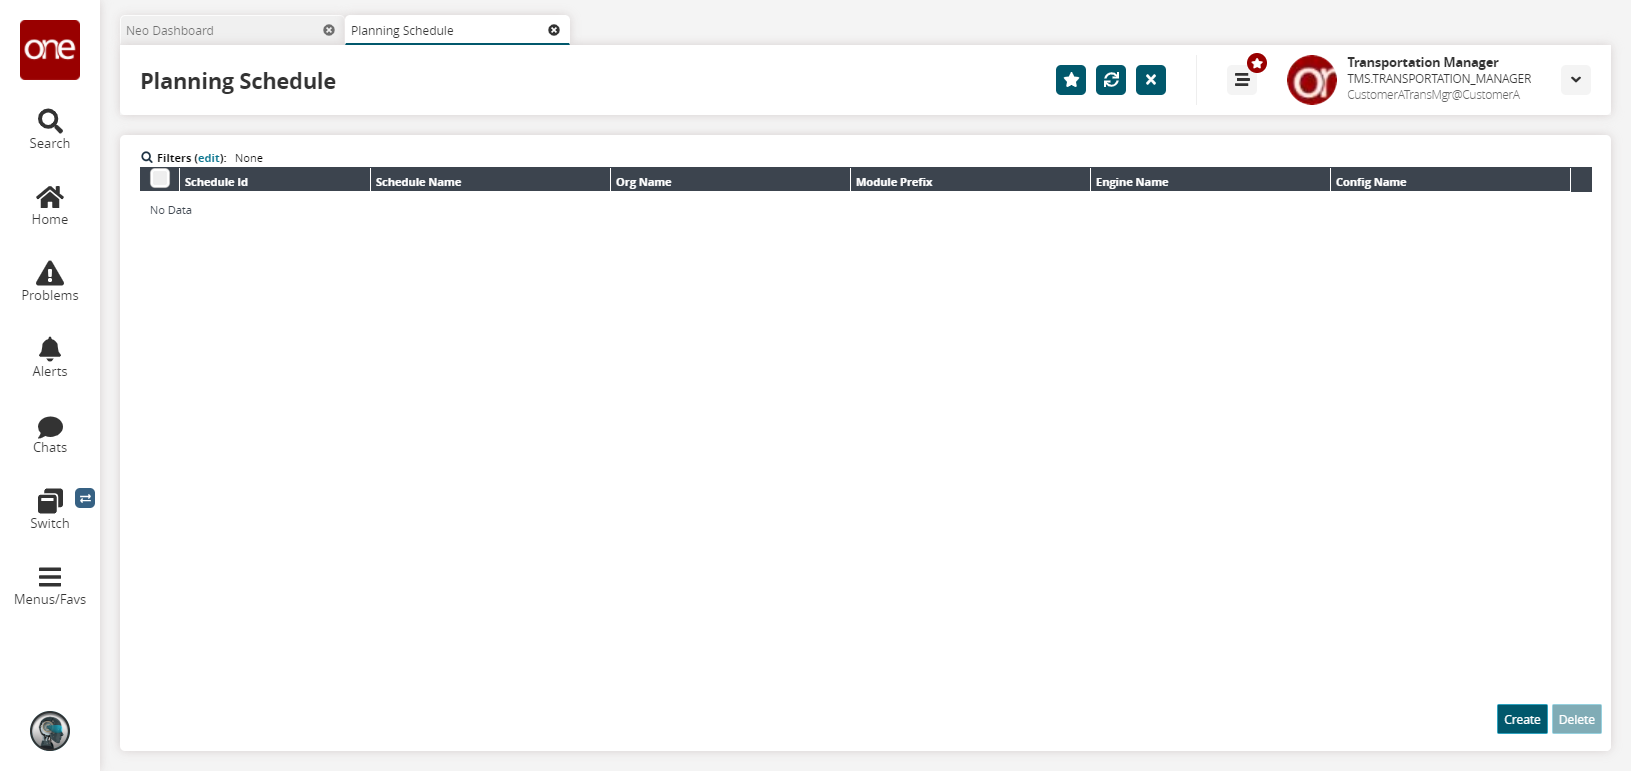
Click Create.
The Create Planning Schedule tab appears.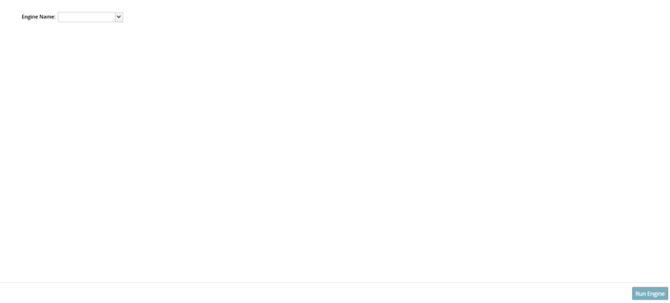
In the Engine Name box, select an engine to use for the Planning Schedule.
Once an engine is selected, the Engine parameters section appears.In the Directionality list, choose an option: Global, Inbound, or Outbound.
In the Site Name list, select the site(s) you wish to use for planning.
Select the date and time for the Start Time.
When all appropriate information has been entered, click Run Engine.
The Job State section displays the current state of the process.