Working with the Planning Analysis Report
Transportation Planner users can view the Planning Analysis report in the system. Additionally, you can create Static Routes from the report.
Complete the following steps to view the Planning Analysis report:
L og in to the ONE system.
Select Menu/Favs > Planning > Reports > Planning Analysis.
In the NEO UI, users can click on the Menus/Favs icon on the left sidebar and type in the name of the screen in the menu search bar. For more information, see "Using the Menu Search Bar."
The Planning Analysis screen appears.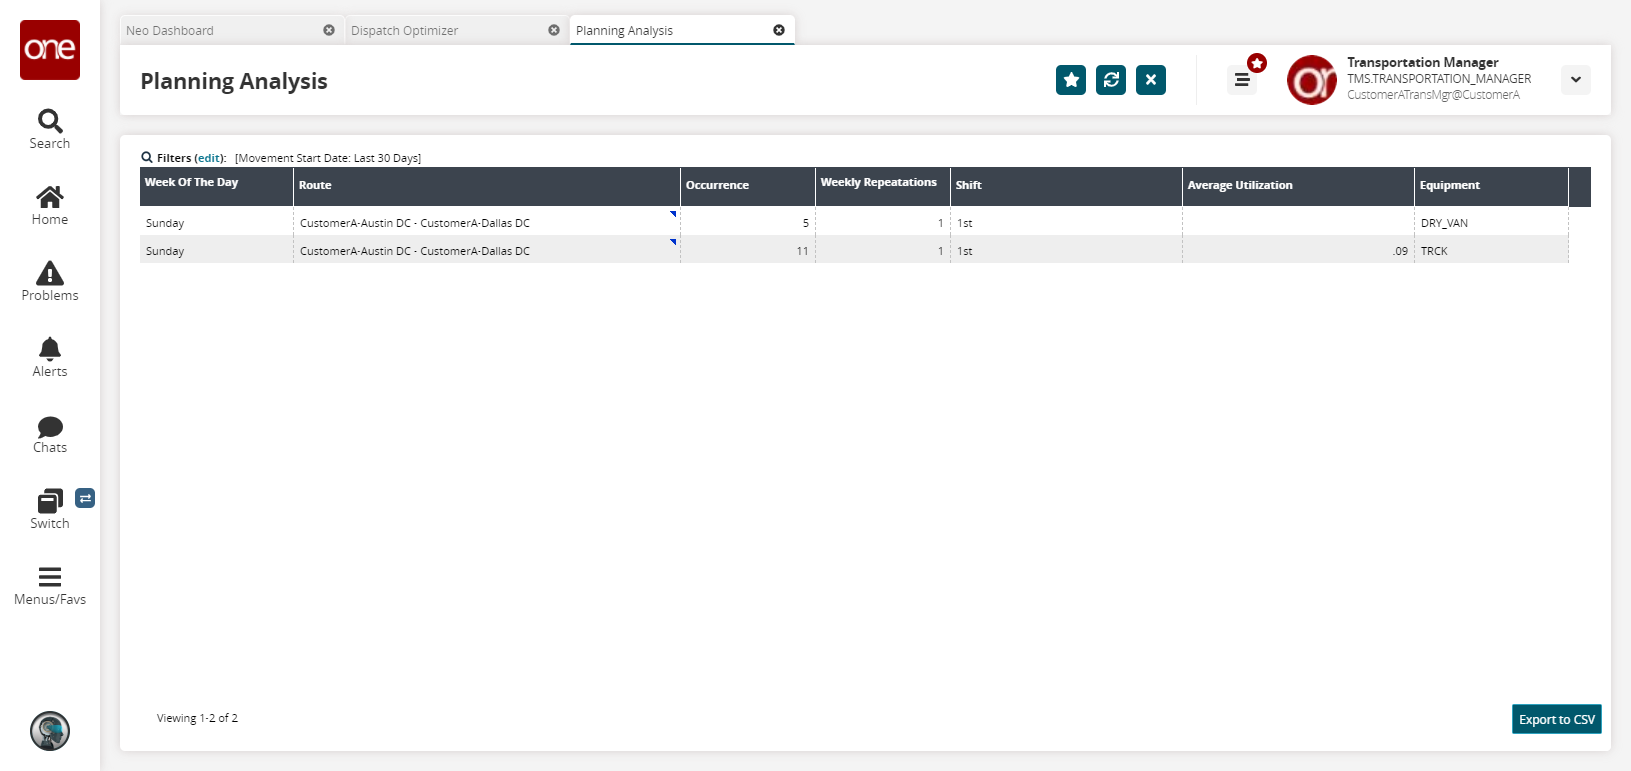
The report displays the day of the week the route occurs, the route description, the number of occurrences, the shift when the route happens, and the average percentage of utilization of the route expressed in decimal form.Click the Export to CSV button to export the report to a CSV file.
To create a static route from any of the routes, click the context menu at the top-right portion of the Route cell and select Create Static Route.
The Create Static Route screen appears.

Enter a Route No.
Select the Effective Dates using the date pickers.
Use the Schedule Days checkboxes to select the days the static route is active.
In the Directionality drop-down menu, select Inbound or Outbound.
Select Equipment and a Depot using the picker tool.
Select a Schedule Time.
Fill out the remaining fields as desired.
To add static route stops, click the Add button.
A new row appears on the Stop form.
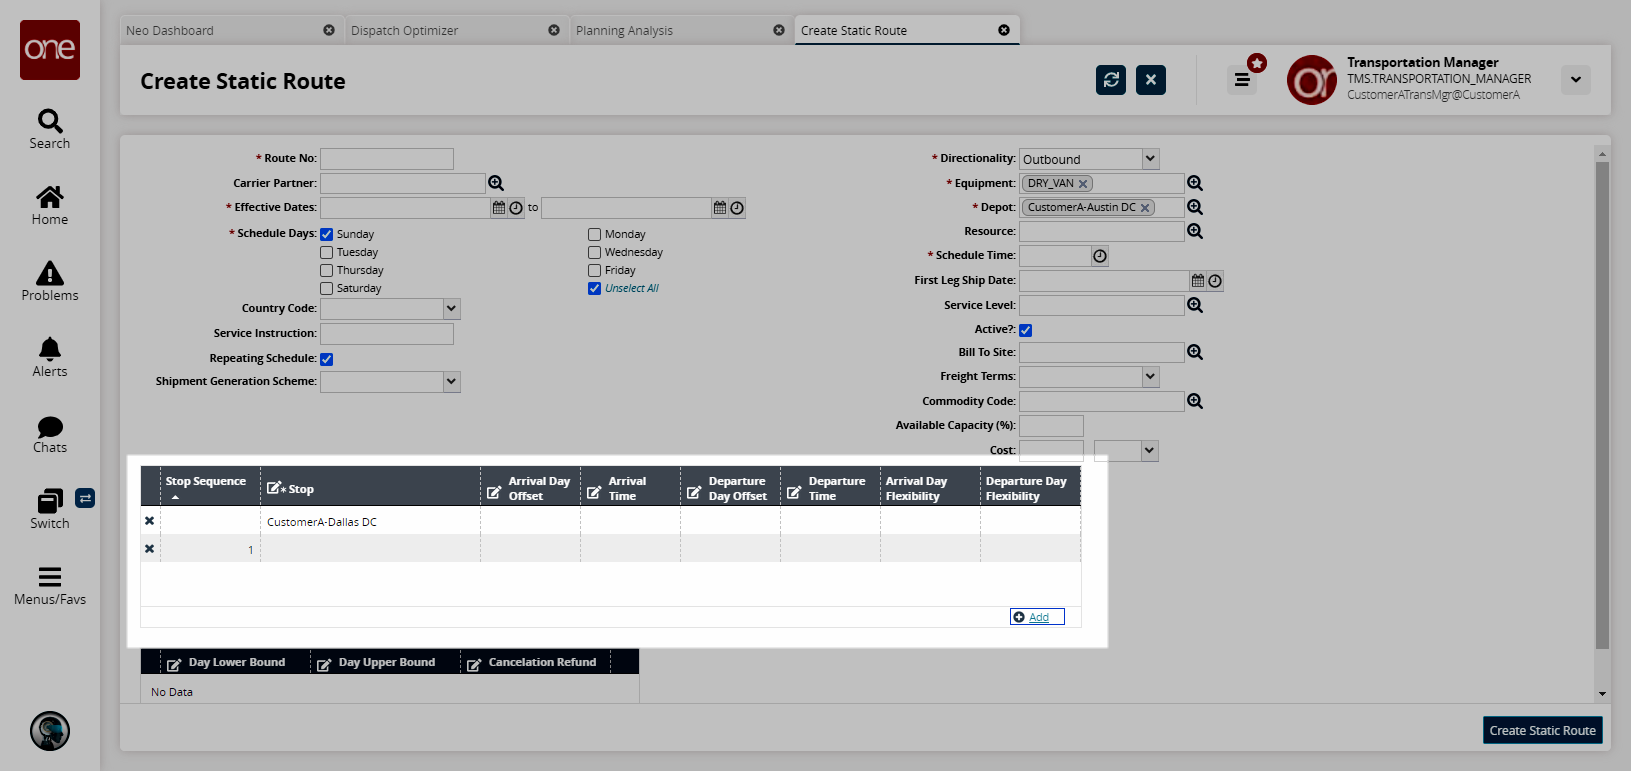
Use the picker to add a stop to the Stop field.
As required, select Arrival Day, Arrival Time, Departure Day, and Departure Time.
To add lower and upper bounds, click the Add link and fill out the information as desired.
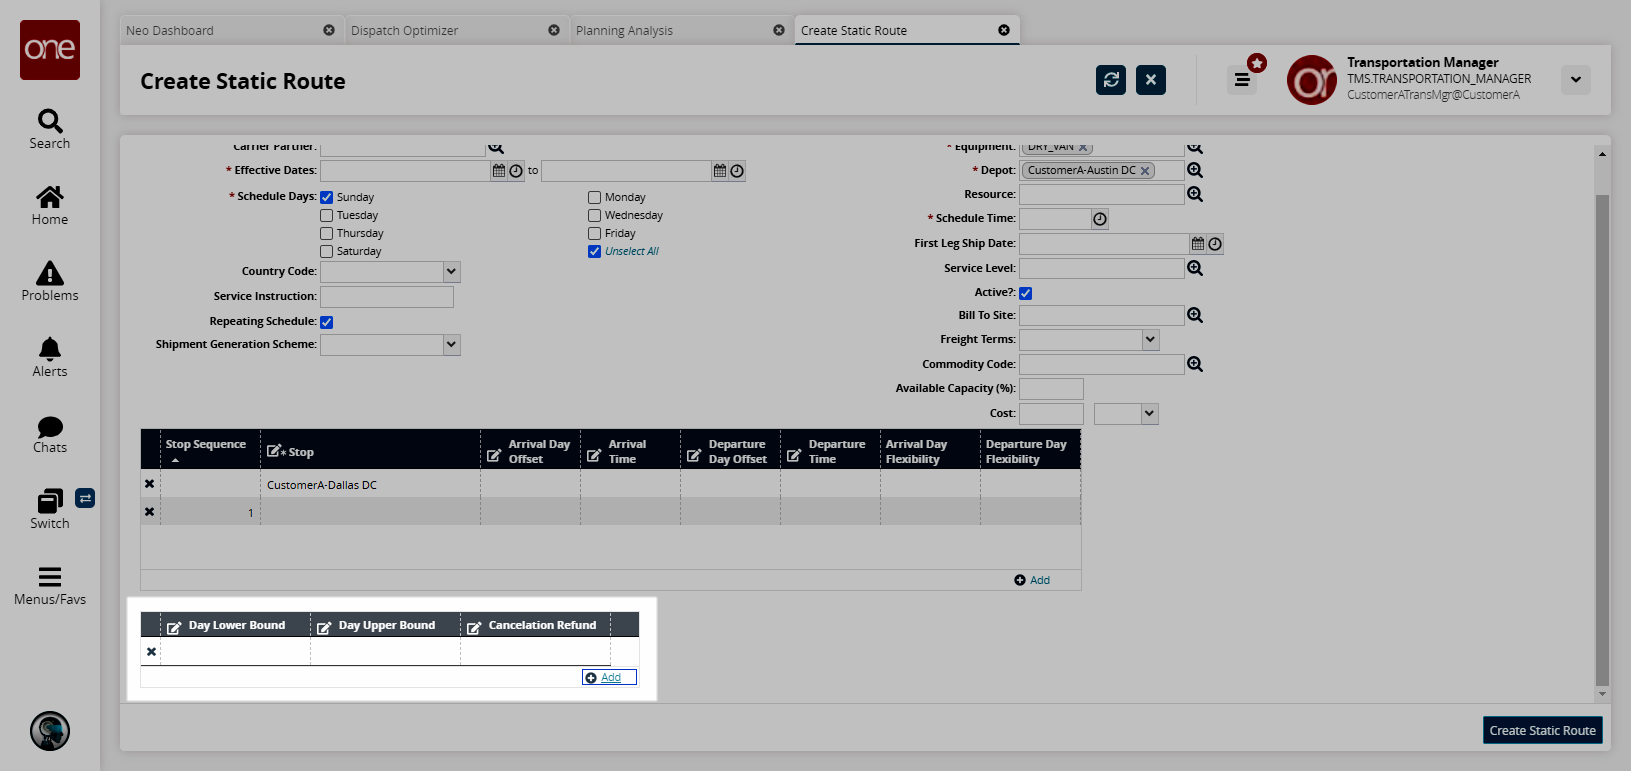
After entering all static route details, click Create Static Route.
A success message appears.