Creating RFQs
Complete the following steps to create RFQs:
Click the New RFQ link in the Explorer pane.
The Create RFQ popup appears.
Enter a Name and a Description.
Click Create.
The new RFQ appears in the Explorer pane.Click the new RFQ.
The right pane updates with details.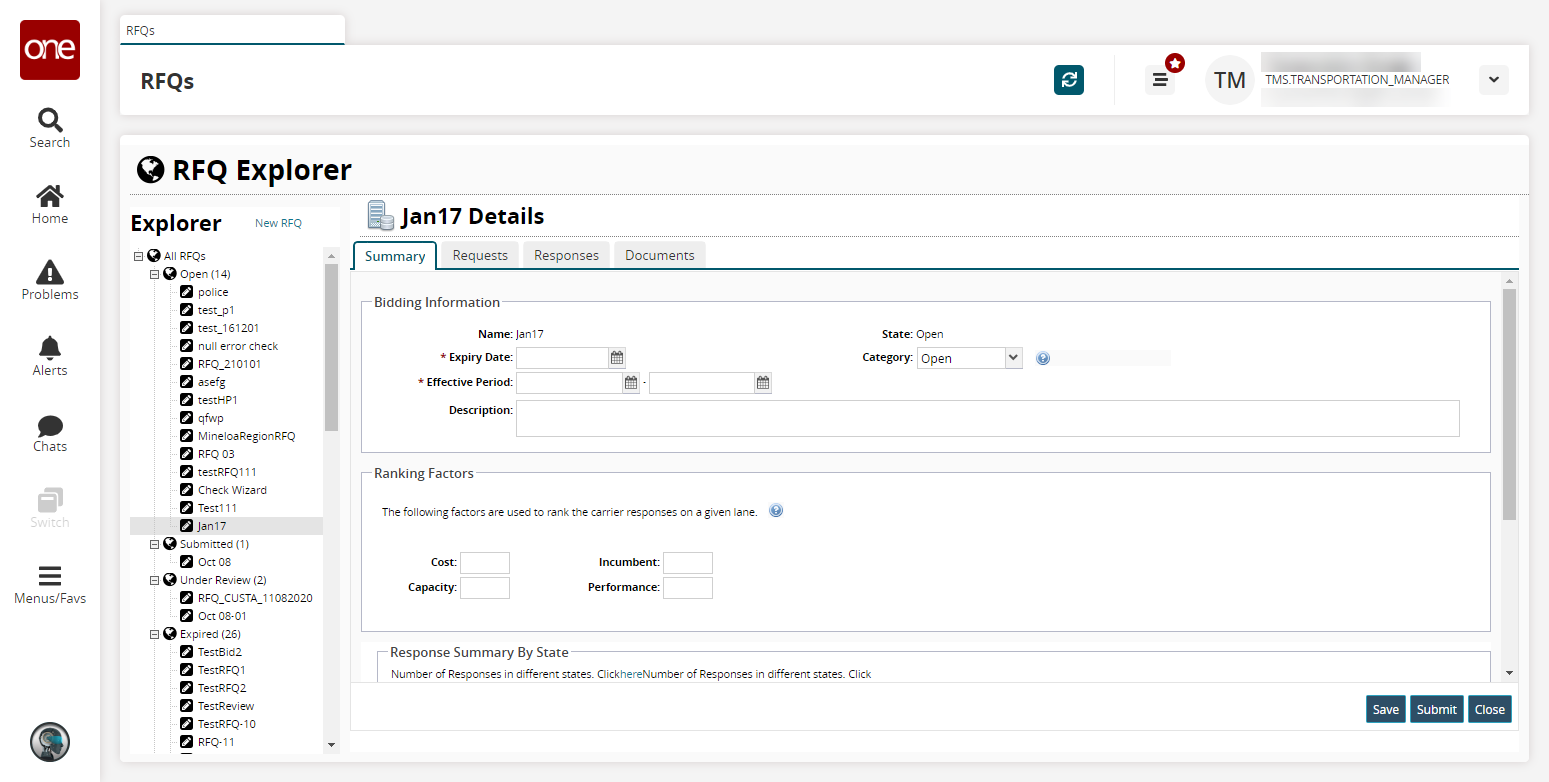
Fill out the following fields. Fields with an asterisk ( * ) are required.
Field
Description
* Expiry Date
Select an expiration date using the calendar button.
* Effective Period
Select an effective date range using the calendar buttons.
Description
Enter a description.
Category
Select a category from the dropdown menu.
In the Ranking Factors section, enter values for Cost, Incumbent, Capacity, and Performance.
There are four factors used to rank carrier responses on a given lane: cost, capacity, i ncumbency, and performance. To view the following information in the system, click the Task Help button (
 ).
The ranking calculation algorithm is:
).
The ranking calculation algorithm is:
 where:
lW is the ranking factor, assigned by the user, for whether a carrier is an incumbent.
f(I) is a function of IW. It is relevant at the time of request and response. f(I) = 0 if the corresponding carrier is not an incumbent and f(I) = 1 if the carrier is an incumbent.
OTPW is the ranking factor, assigned by the user, for on-time performance.
f(OTP) is a function of OTPW. It is relevant at the time of request and response. This function equals the compliance percentage. For example, if a carrier's OTP is 95%, f(OTP) = 95.
CW is the ranking factor, assigned by the user, for the carrier rate/cost.
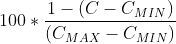
f(C) is a function of CW. It is only relevant at the time of response. This function is derived by using the minimum cost (CMIN) and maximum cost (CMAX) of all responses and by dividing the costs distribution into a 100-point scale and giving 1 point for each step. The closer the cost in response is to CMIN, the more points the corresponding response receives. If the cost in response is CMIN , the response receives 100 points. If the cost in response is CMAX , the response receives 0 points. f(C) of a particular response with cost (C) is computed as:
CAPW is the ranking factor, assigned by the user, for carrier shipment capacity.
f(CAP) is a function of CAPW. It is only relevant at the time of response. f(CAP) = 1 if the response satisfies the capacity requirement in the request, and f(CAP) = 0 if not.
Enter zero to ignore a certain factor in the calculation.
Click Save to save your changes and Submit to submit the RFQ to the carrier.
A success message appears.
TBD---
Requests
The Request tab enters the lanes used for bidding and the corresponding carriers to which each lane is assigned.
To create or update requests, click Update Wizard.
The Update Requests dialog box appears.
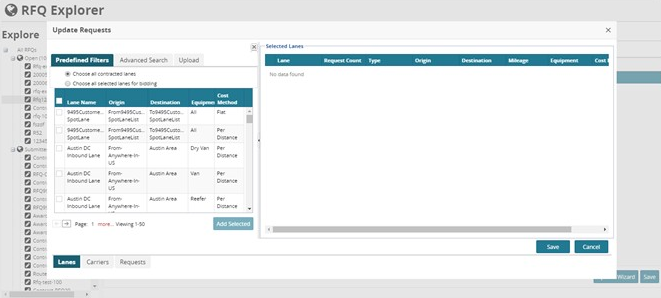
Along the bottom of the wizard are tabs for Lanes, Carriers, and Requests. The Requests tab derives from information selected in the Lanes and Carriers tabs. In the Lanes tab, you can choose lanes using predefined filters; choose all contracted lanes; choose lanes after filtering for lane name, lane origin, lane destination, and contract; or choose lanes using the file upload feature.
The following example uses Predefined Filters, Choose all contracted lanes option, and Austin DC Inbound Lane – Dry Van, Austin DC Outbound Lane – Dry Van, Dallas DC Inbound Lane – Dry Van, and Dallas DC Outbound Lane – Dry Van.In the Predefined Filters tab, select an option: Choose all contracted lanes or Choose all selected lanes for bidding.
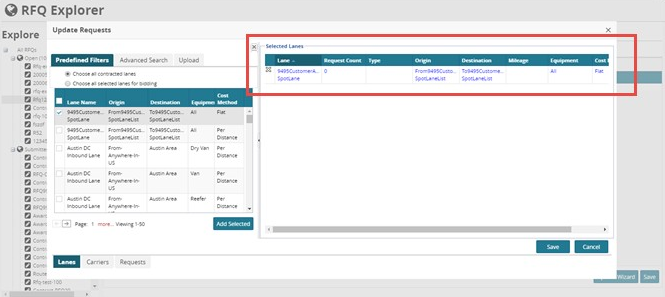
Select the check box for each lane to be included in the list of lanes, and then click Add Selected.
The selected lanes appear in the Selected Lanes list.
Click the Carriers tab at the bottom.
The two tabs at the top show options for carriers, and the right-hand pane shows Selected Carriers.
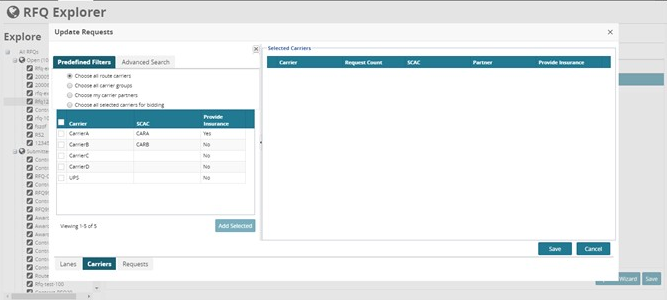
The following example uses Predefined Filters; Choose my carrier partners option; and Carrier A, Carrier B, Carrier C, Carrier D, and Carrier E.In the Predefined Filters tab, select an option: Choose all route carriers, Choose all carrier groups, Choose my carrier partners, Choose all selected carriers for bidding.
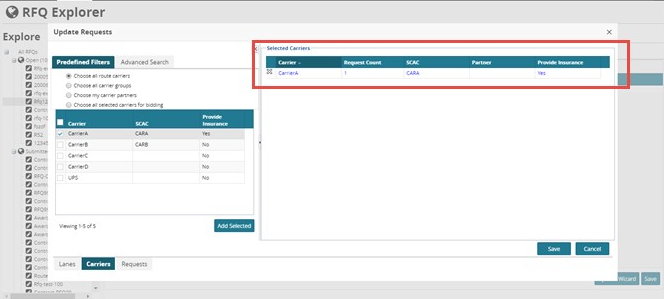
Select the check box for each carrier to be included in the list of carriers, and then click Add Selected.
The selected carriers appear in the Selected Carriers list.
Click the Requests tab to view the lane bidding requests generated from the selected lanes and carriers.
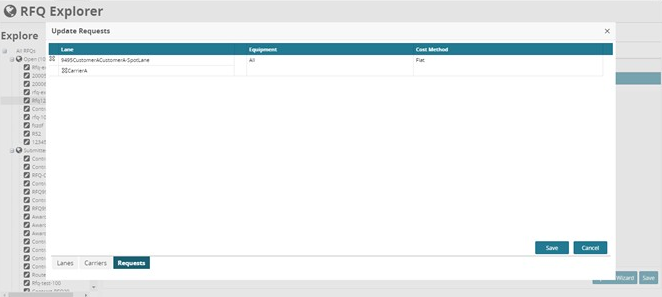
After reviewing the lane bidding requests, click Save.
The Analytics button appears for each lane.Close the Update Requests dialog box.
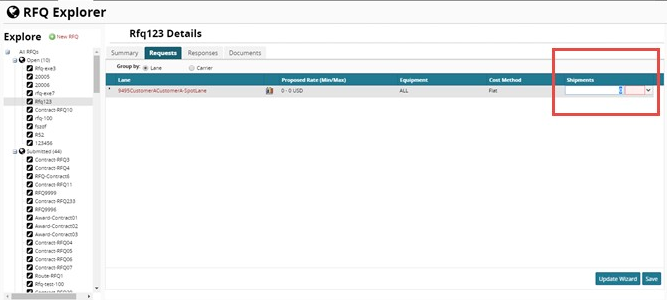
The <new RFQ name> Details pane shows Requests details.
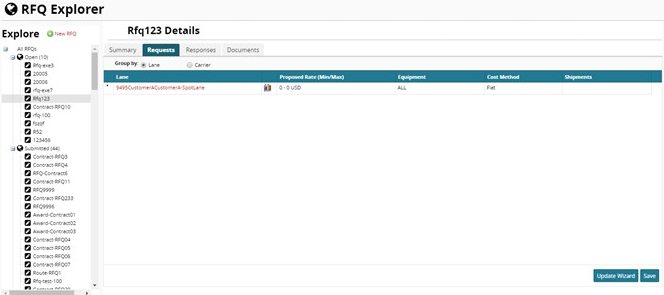
Double-click inside the Proposed Rate (Min/Max) field to make the range boxes editable, and then type the values for the minimum and maximum of the rate range. In the Currency list, click a currency option.
Double-click inside the Shipments field, type the number of shipments. In the Duration list, click a duration option.
Repeat the previous steps for each request, and then click Save.
Tip
You can filter some of the carriers from the requests based on past performance on those lanes if you have already used those carriers for executing shipments in the system.
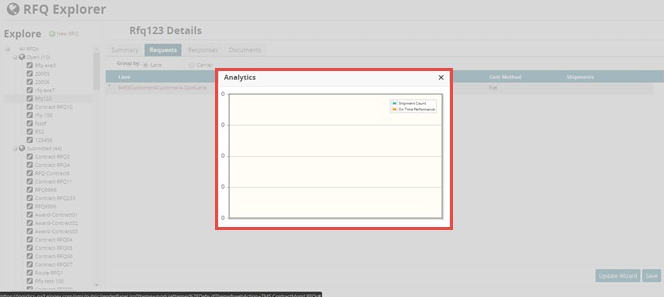
To view a graphical analysis of the past performance of carriers on a lane, click the Analytics button.
The following figure shows the Analytics graph for Carrier D and Carrier C on the Dallas DC Outbound Lane.
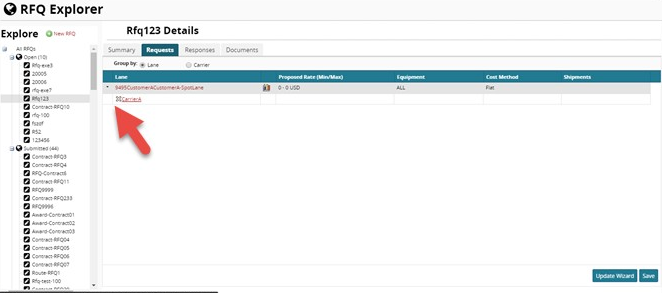
To remove a carrier, expand the request row by clicking the expand button, and then click the Remove button.
The selected carrier has a line drawn through it.To restore the carrier, click the Restore button.
To view requests grouped by carrier,click Carrier, and then expand the carrier row by clicking the expand button.
To submit the RFQ, on the Summary tab, click Submit.
A success message appears.
After the RFQ is submitted, carriers get visibility to the RFQ for responding.